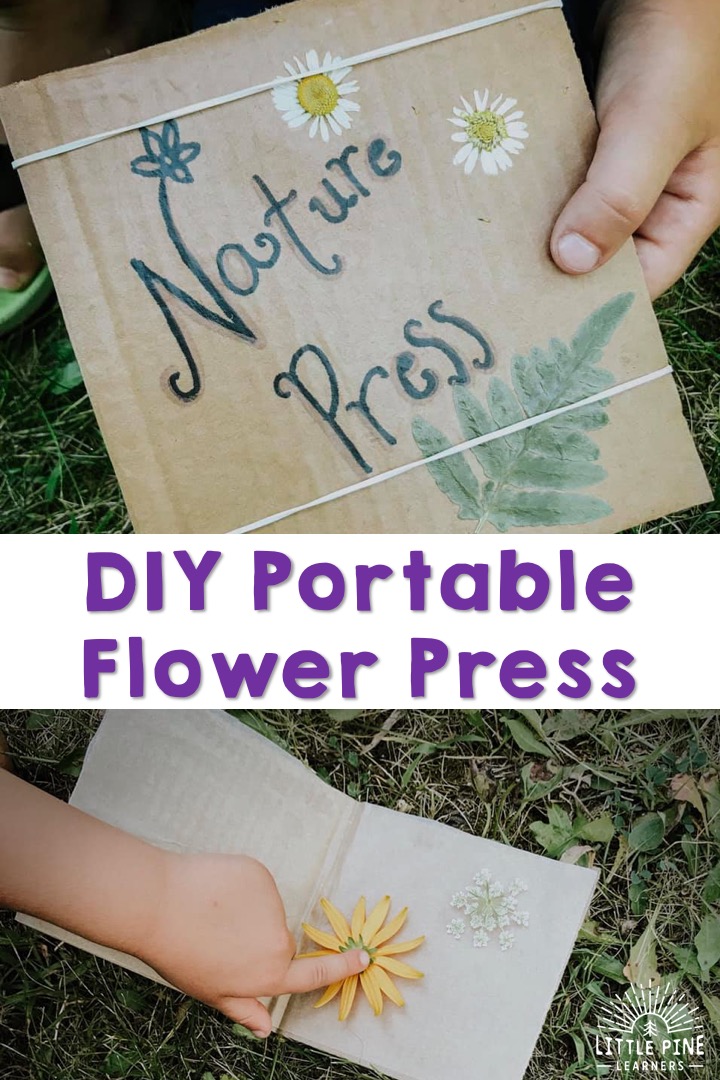
Bring along this DIY flower press the next time you go on a nature walk! This is an easy way to get kids outside and they will love looking for the perfect flowers to press. You can also press leaves and other flat pieces of nature!
If you follow this blog, it’s no surprise that we love to play, craft, and learn with collected pieces of nature! We love to collect flowers, but they don’t last very long after you pick then. One way to help your flowers last longer is to press and dry them. This process transforms flowers into unique and beautiful preserved piece of nature, ready for crafting and creating!
Most flower presses are heavy, clunky, and include many tiny pieces that are difficult to keep together, especially when you are outdoors. This adorable DIY flower press can be effortlessly stored in a pocket or backpack and is easy to use with just a few simple pieces.
Ready to make one!? Here’s what you’ll need..
Supplies:
- A piece of cardboard
- Rubber bands
- Markers
- Mod podge (optional)
- Pressed nature (optional)
This post contains Affiliate links for your convenience.
RELATED: Check out A Simple and Beautiful Nature Craft to Try Today!
Here’s How to Make Your DIY Flower Press:
Step 1:
You can completely skip this step if you don’t have any pressed flowers (yet) or you can order some pressed pieces of nature on Amazon to decorate your cover!
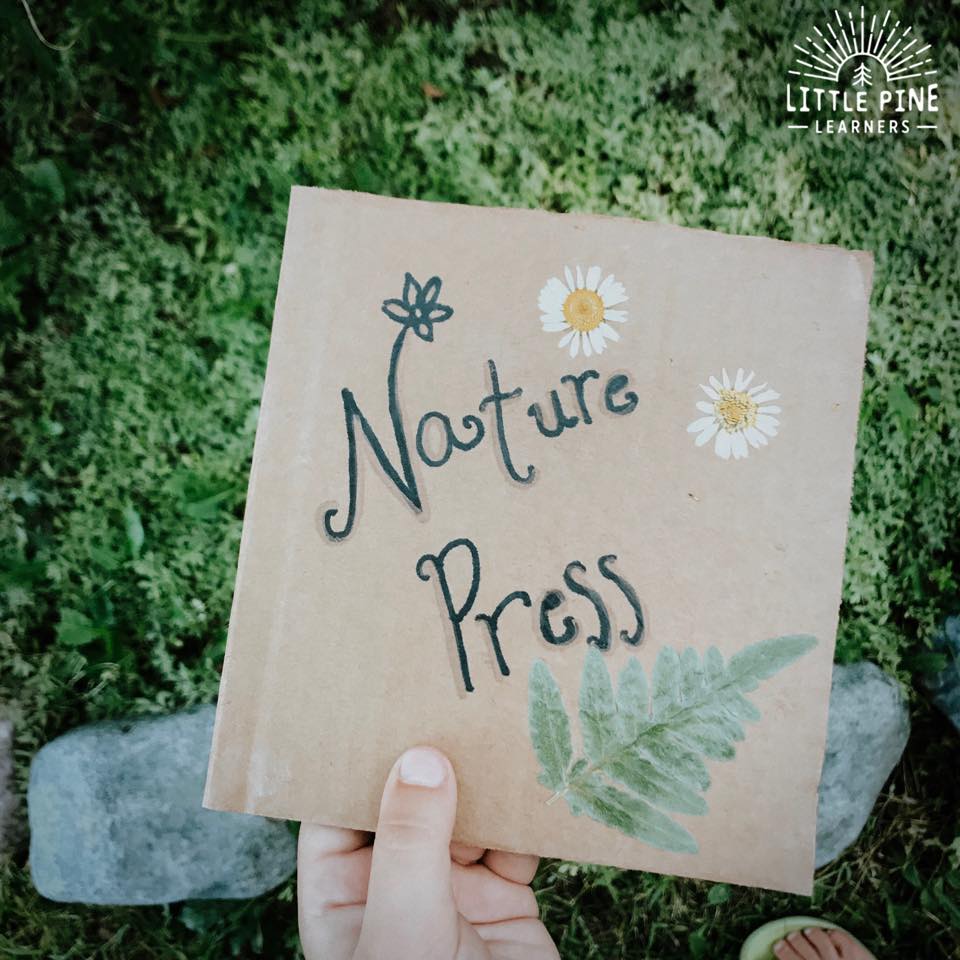
First, cut a piece of cardboard and fold it to look like a book.
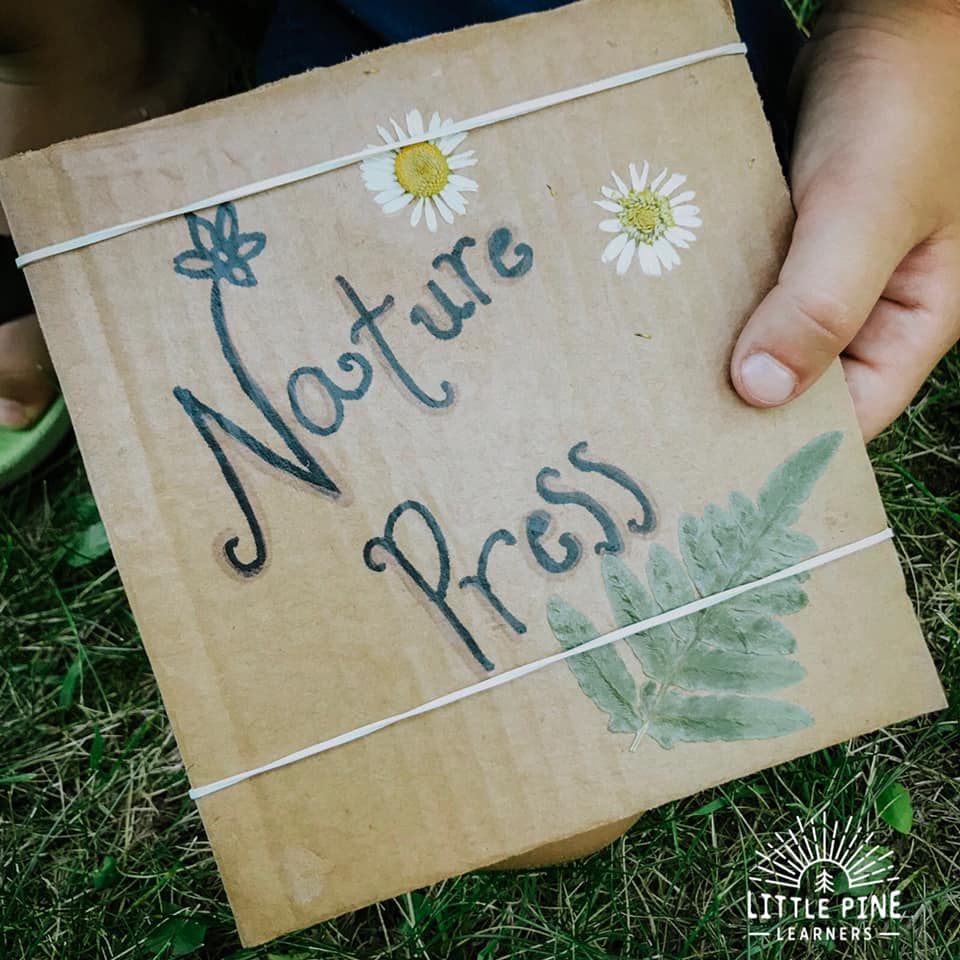
I wrote “nature press” on the cover, let the marker dry for about 5 minutes, and then put a thin layer of Mod Podge on the entire cover of the nature press. My boys put the dried flowers and ferns on the wet Mod Podge and I sealed the pieces of nature with another layer of Mod Podge.
Step 2:
Next, line the inside of the flower press with your choice of paper. My boys rubbed a glue stick on the corners of the cardboard to keep the paper in place. You can use white copy paper, tissue paper, or newspaper.
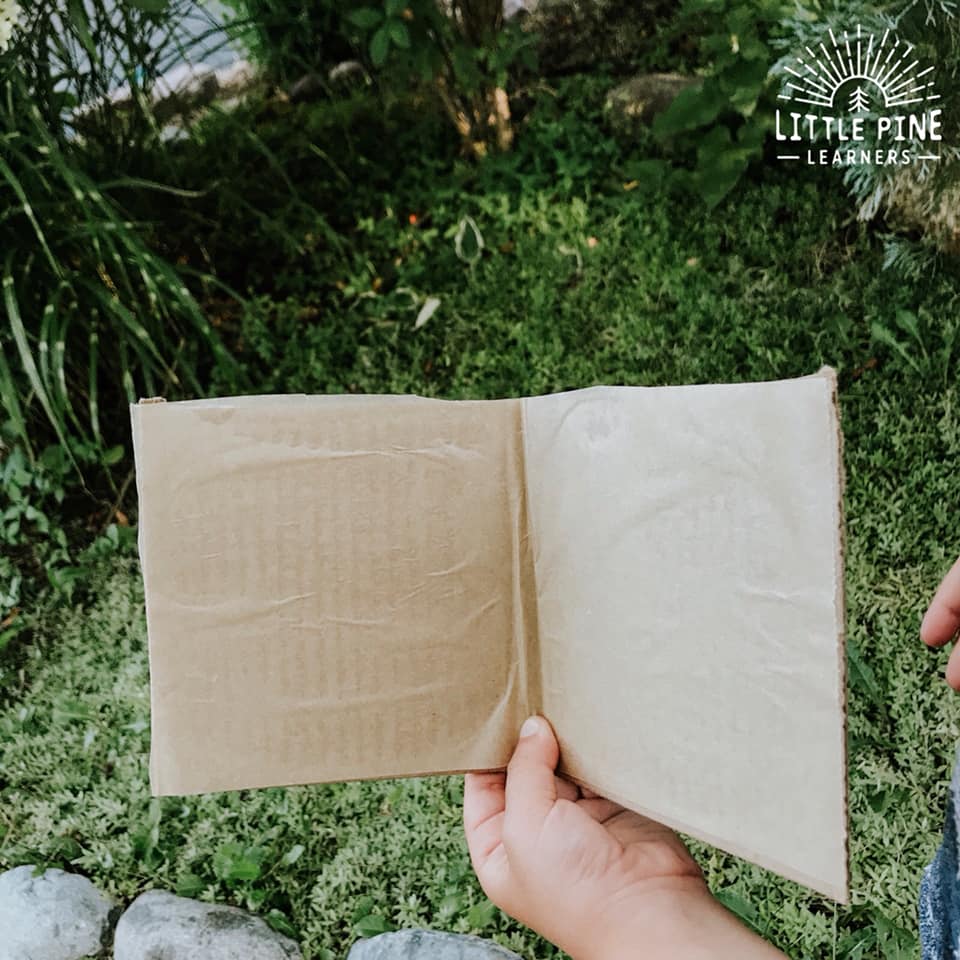
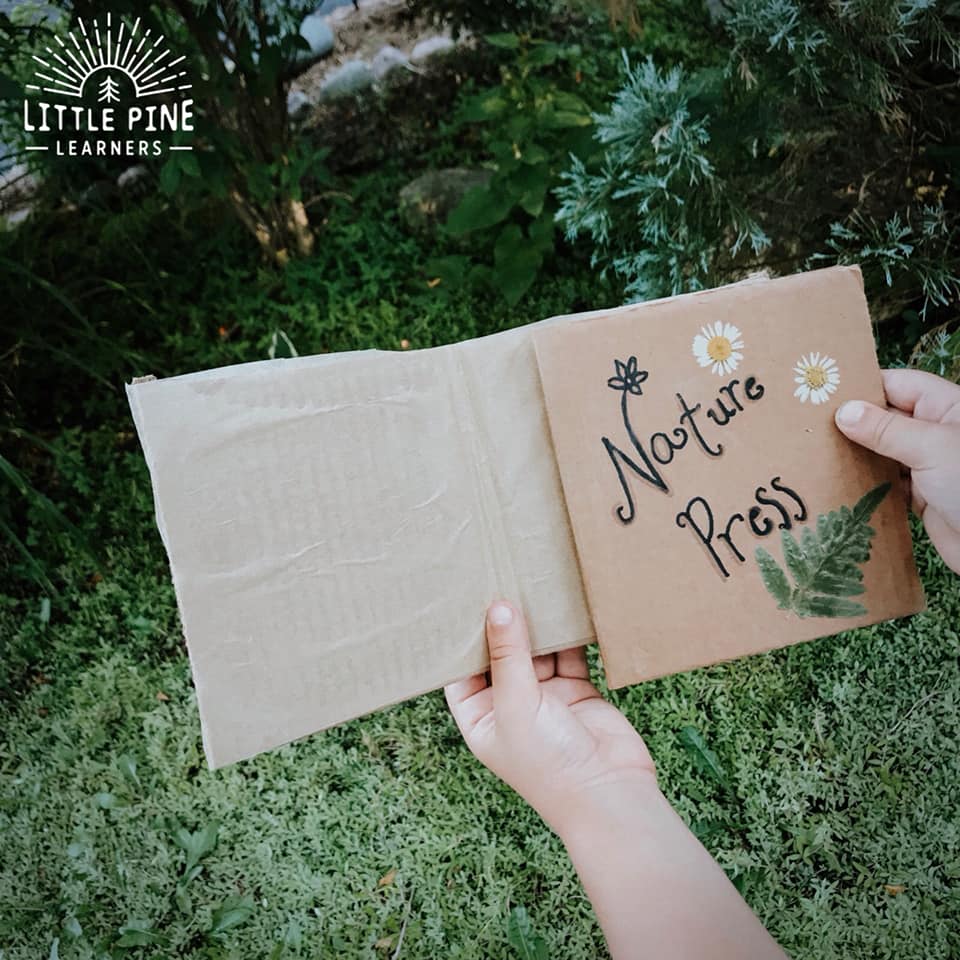
This is how the inside and outside of the press will look like when you complete the first two steps. Grab a couple of rubber bands and wrap them around your nature press to keep all the pieces together. Your DIY flower press is all set!
Now find pieces of nature to press. You can press flowers, leaves, or flatter pine branches! Experiment with different types of nature! I do suggest finding pieces of nature that are around the same thickness so they will flatten evenly.
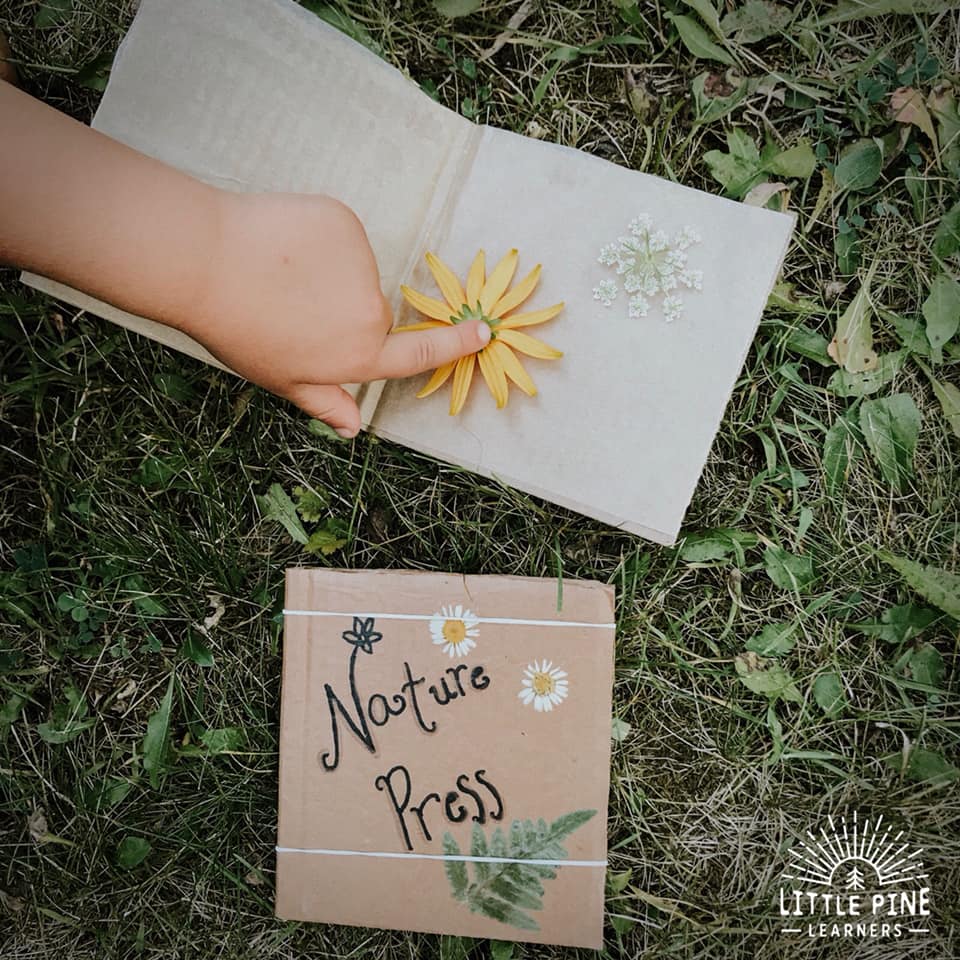
When you are finished, wrap a couple of rubber bands around your press to keep your pieces of nature flat and in place. When you get home, you can either transfer the pieces of nature to a book, real flower press, or lay several heavy books on top of your DIY press! Check on them in a couple of weeks and they should be pressed. If they are not dried, give them one more week and check back.
Pin it and save it for later!
I hope you give this simple DIY flower press a try! I promise, your little nature lovers will love this one.
∼Tara