Check out one of my favorite cardboard ideas! This DIY nature display is perfect for showcasing all of your beautiful nature finds. Children will love looking for pieces of nature to put in the box and enjoy organizing and looking at their collection. At the end of each season, take a photo of your display and start a new collection!
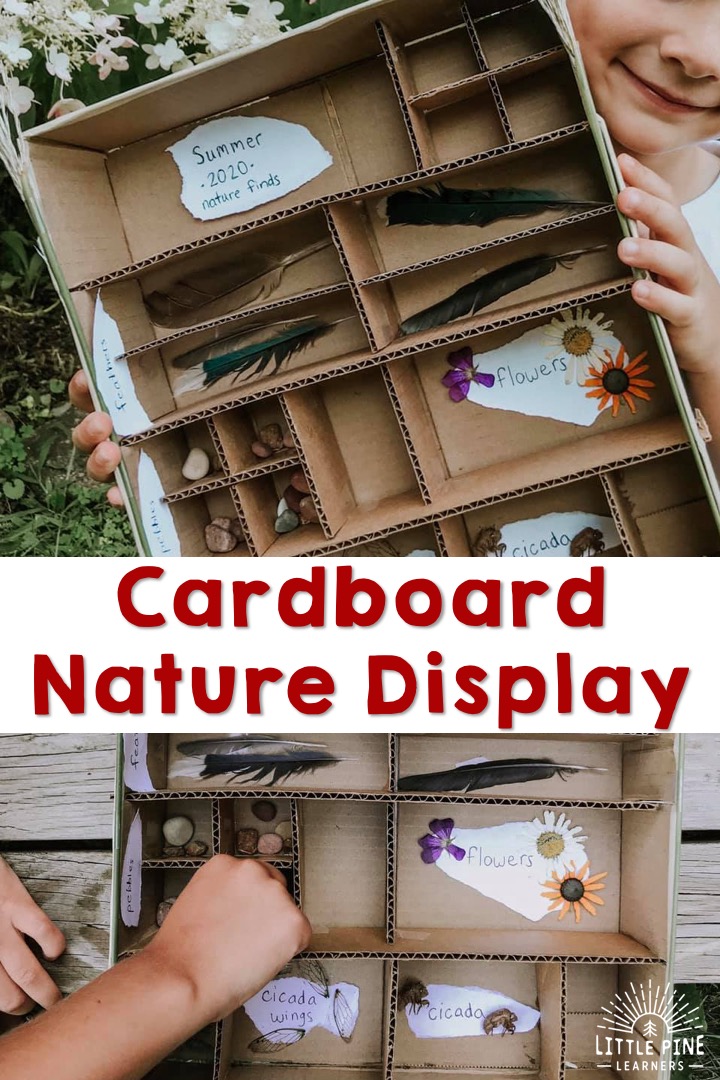
I LOVE wooden nature display shelves, but they are pretty expensive. I decided to save some money and make my own out of a cardboard Amazon box! It was fun to personalize it for our needs and it turned out so cute.
Ready to make a nature display shelf!? Here’s what you’ll need..
Supplies:
- A box
- Tape
- Masking Tape
- Nature
- X-ACTO knife or scissors
This post contains Affiliate links for your convenience.
RELATED: Check out Rainbow Flower Threading Board
Here’s How to Make This Nature Display:
Step 1:
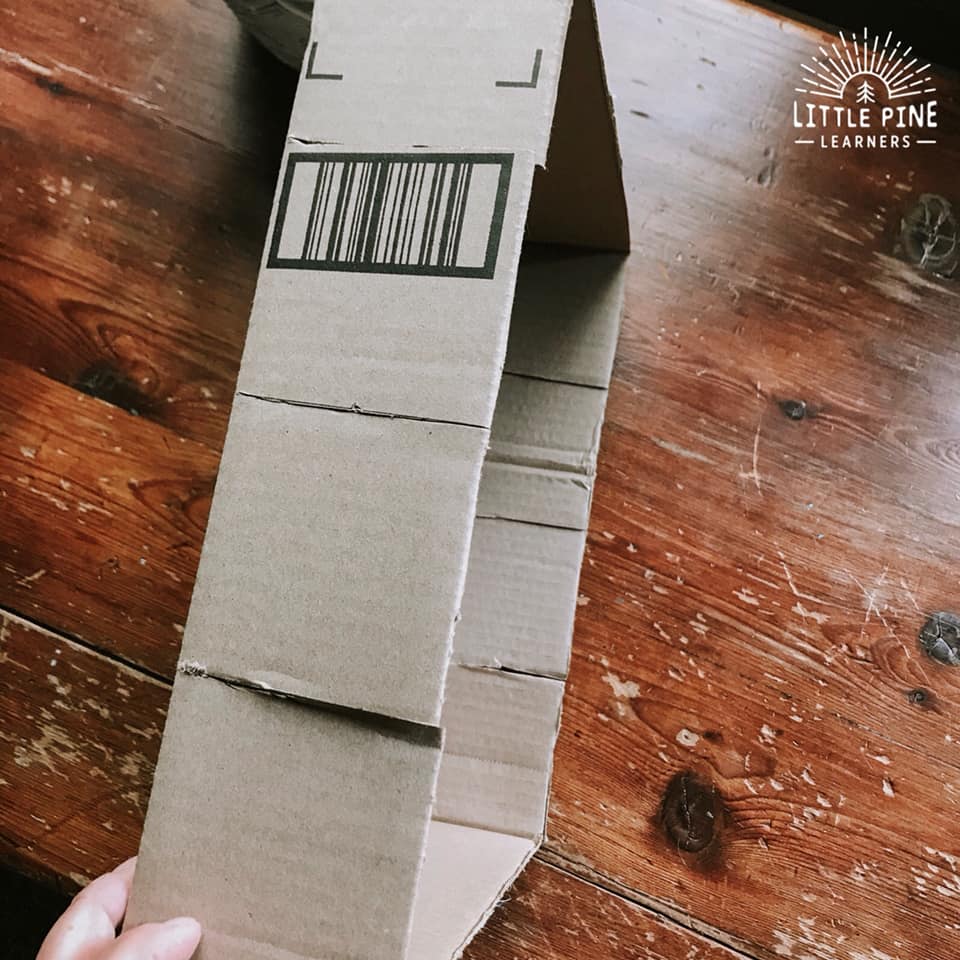
Cut out the sides of your box. I cut two of the flaps on the bottom of the box as well.
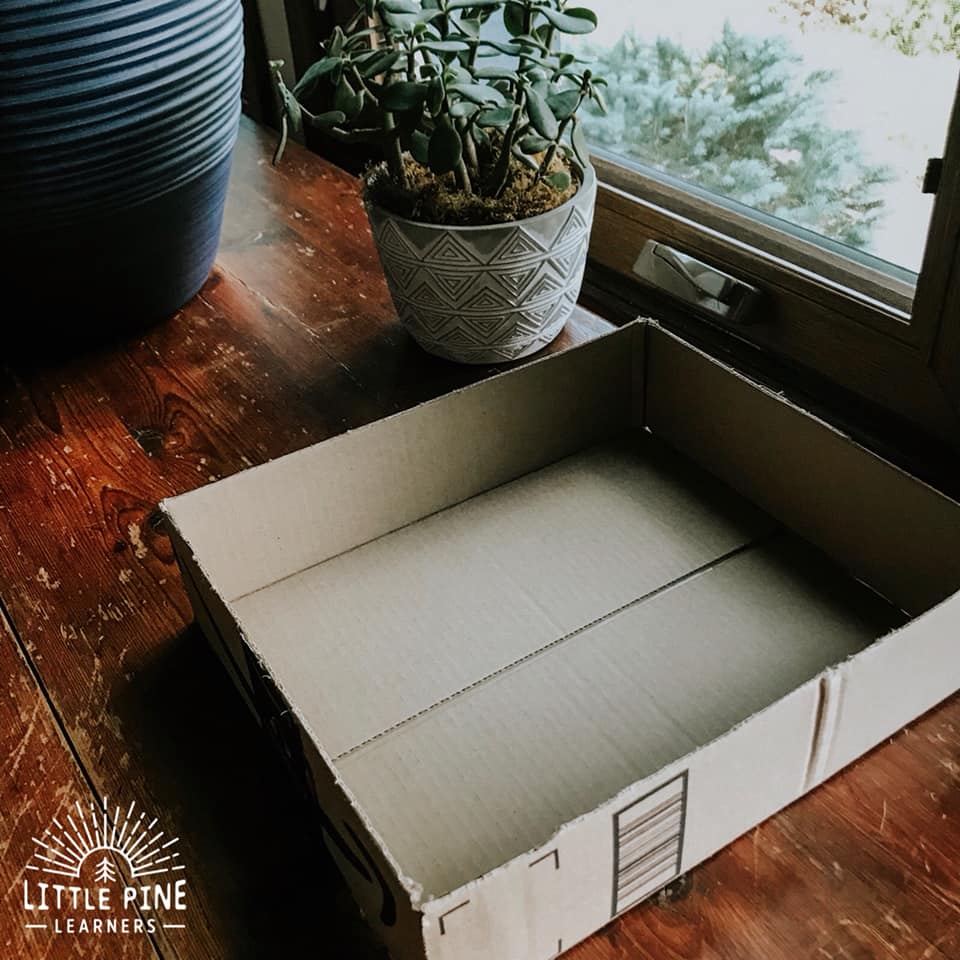
Step 2:
Measure out equal sections and cut slits on the side of the cardboard box. You will want level shelves, so make sure you cut marks are straight.
Step 3:
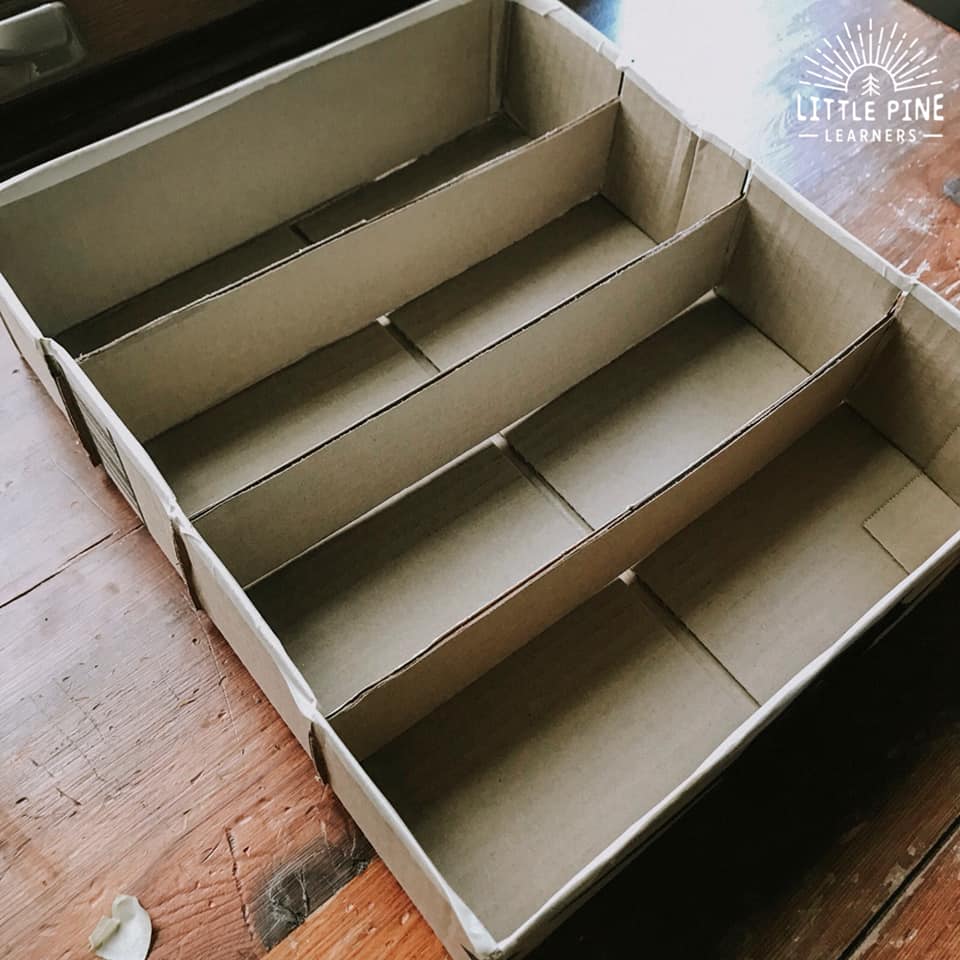
Cut strips of cardboard that will act as shelves in your box and slide them into the slits on the side of the box. I trimmed them down a bit so the ends wouldn’t sticking out too far on the sides of the box. *One thing to remember here, you don’t want your compartments too deep or it will be difficult to organize your pieces of nature. Play around with the size and depth of your shelves before you cut all of them out.*
Then I put masking tape around the box to give it a more finished look. You can also try decorative washi tape for this step!
Step 4:
Now you can personalize your nature display by cutting little pieces of cardboard to make your little compartments. It will take a little trial and error to find the perfect size to fit in between the shelves. Once you find the right size, use that as a template and trace it for the rest of the pieces.
I tried gluing these pieces at first, but that didn’t work well for me. I ended up taping the corners in the box as shown below.
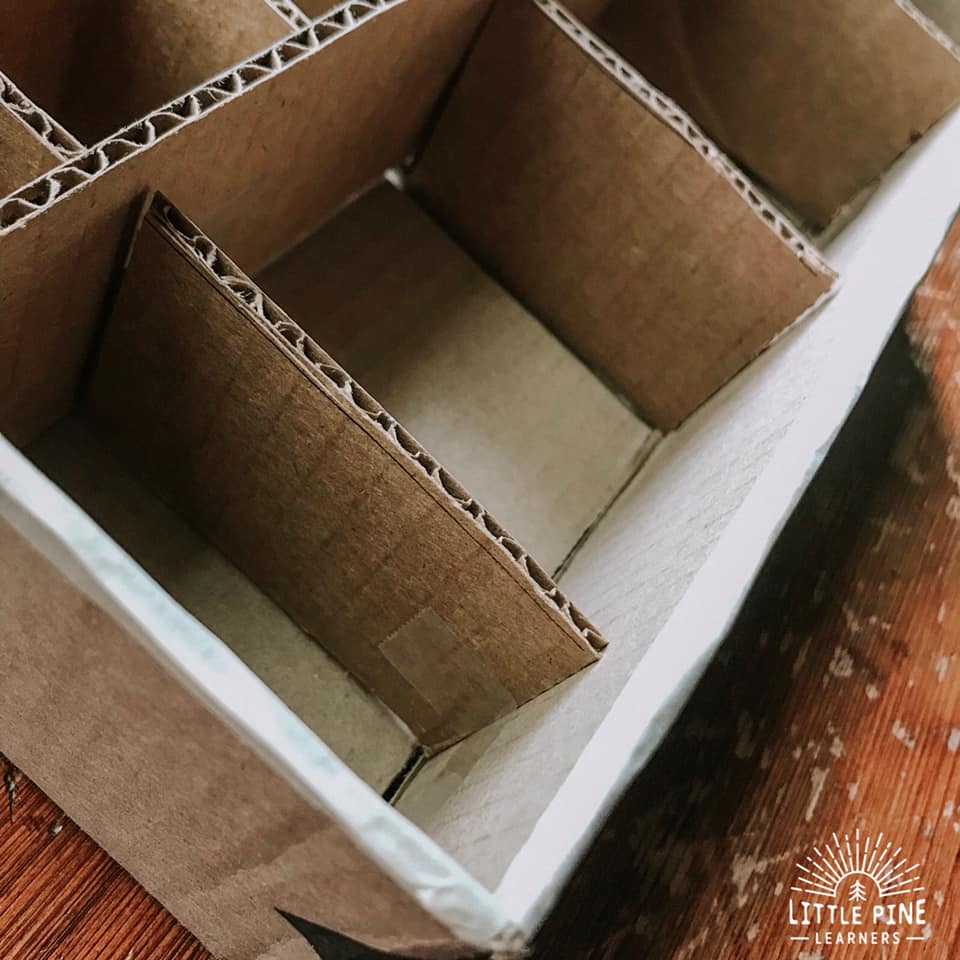
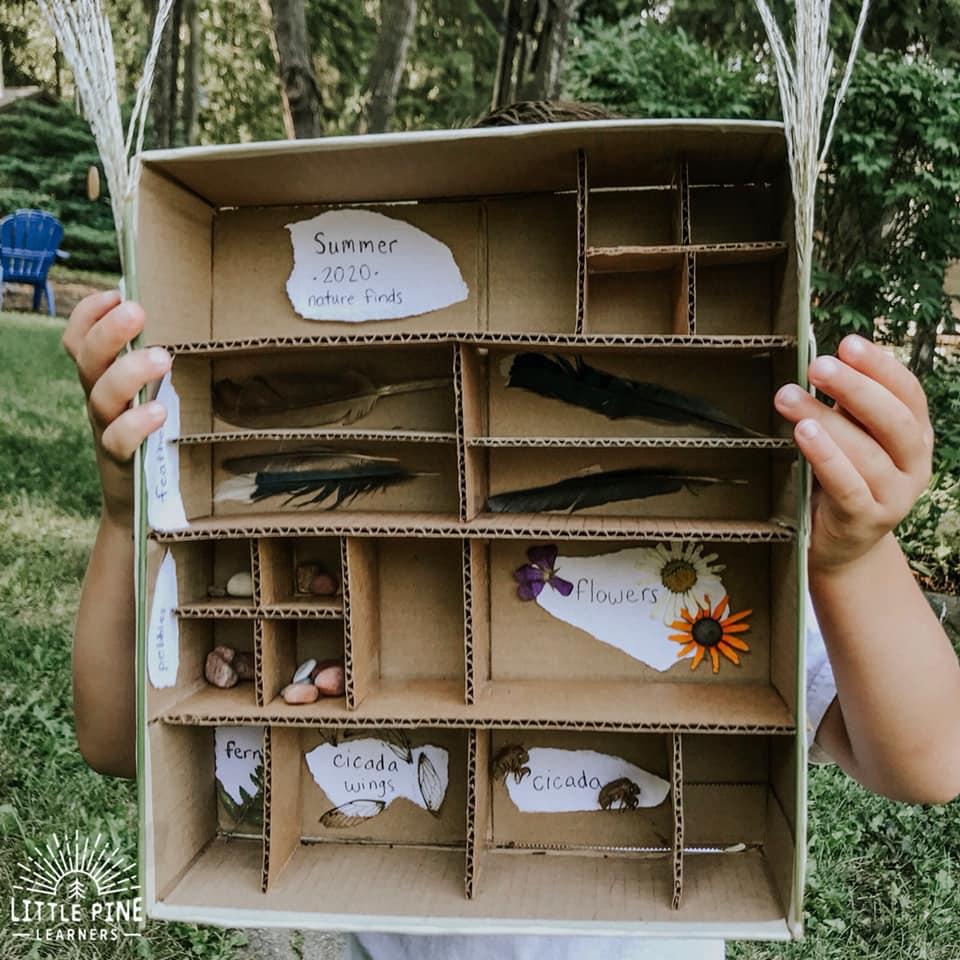
Your nature display is complete! Now you can choose to add labels or just fill the compartments with nature pieces! We decided to label our compartments. My five year old tore the pieces of nature, my seven year old helped sound out the words, and I wrote the words.
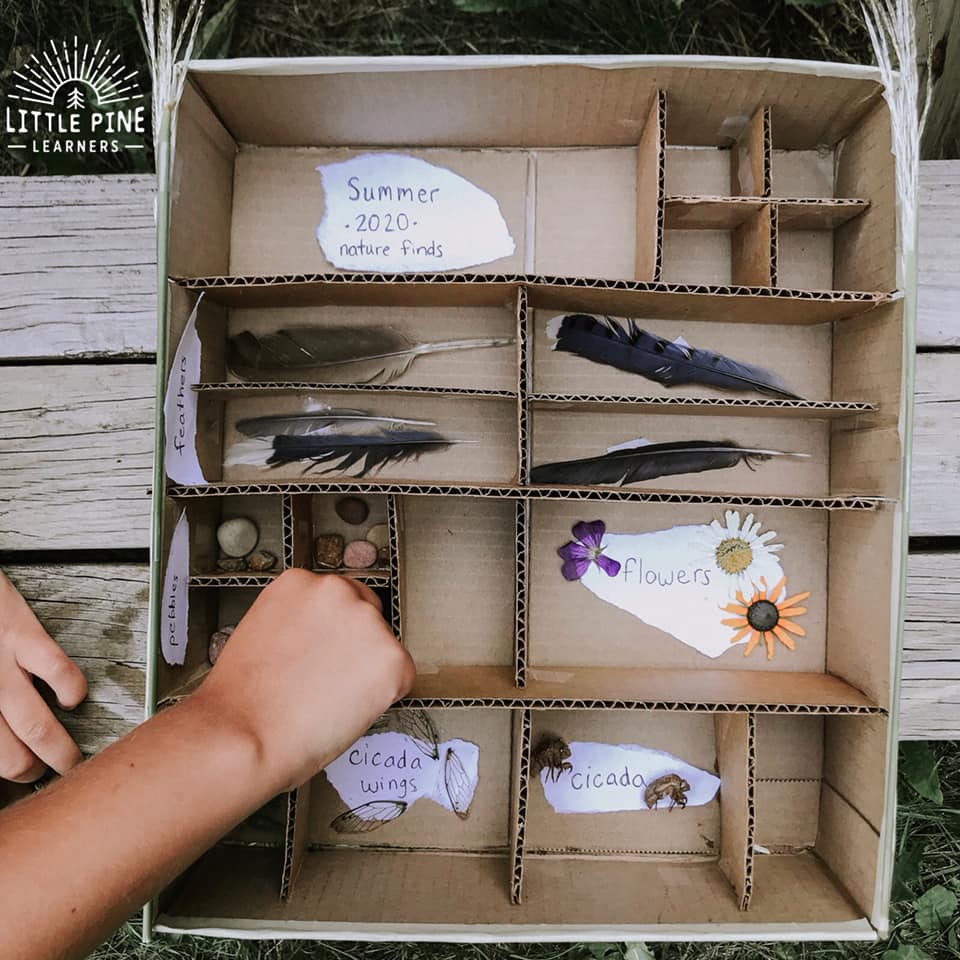
Then we added our nature finds. We had a bunch of items stored in a shoebox, so it was nice to organize the pieces and see them displayed.
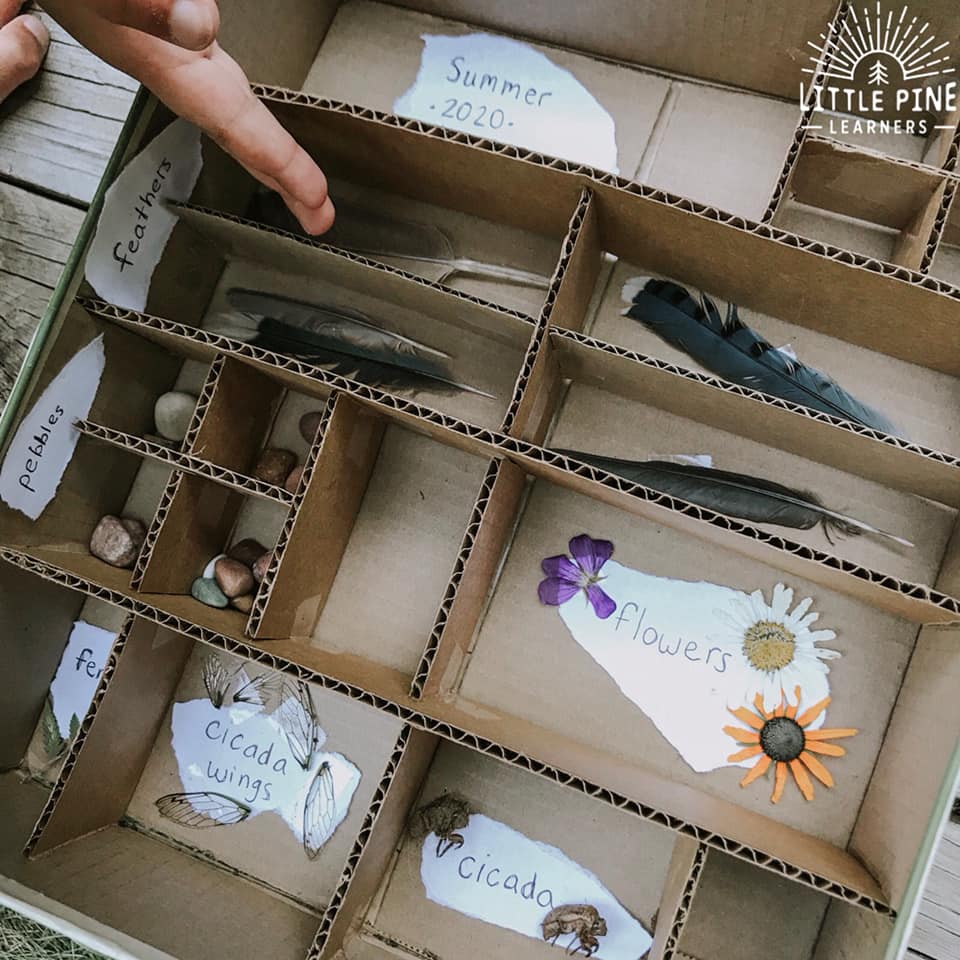
I used double-sided tape to stick the labels and nature pieces to the shelf. You can choose to keep them loose if you would like! My boys liked the idea of the nature pieces sticking to the shelf when it was standing upright. We kept the pebbles loose, but everything else was taped on the box.
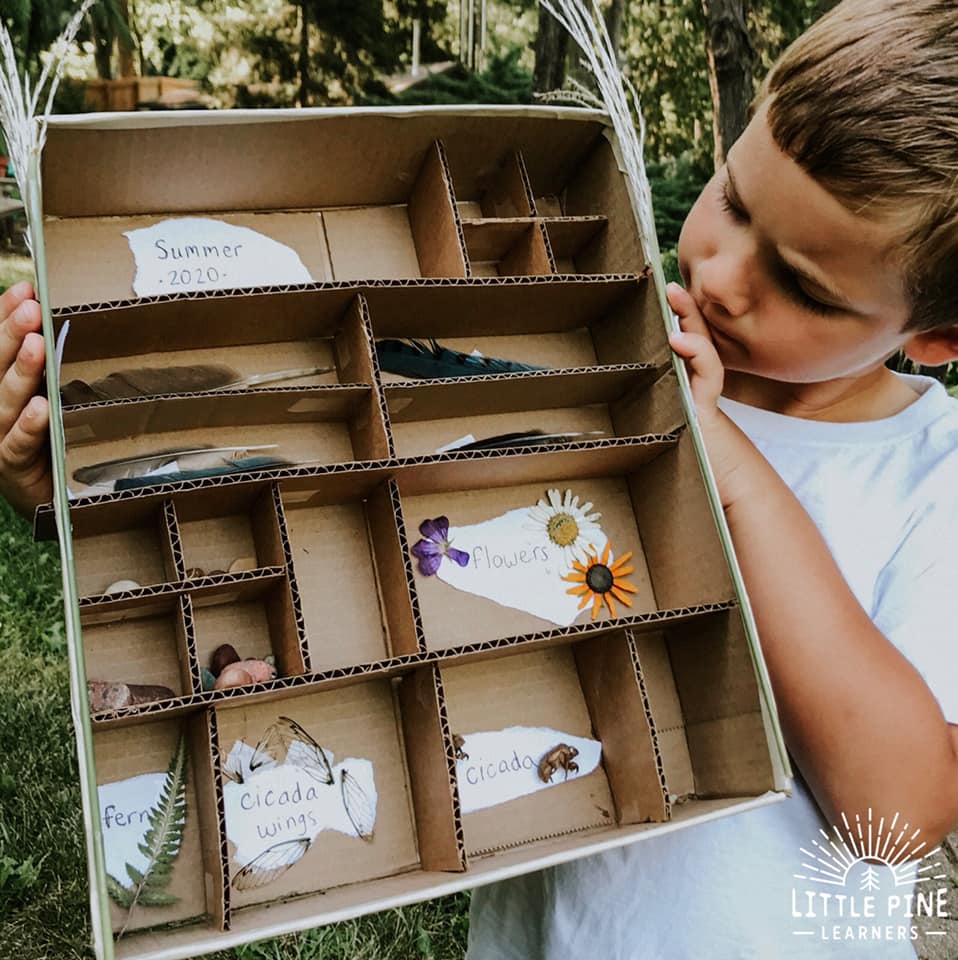
We still have over a month of summer to go, so we have some blank compartments to fill! I can’t wait to see what special treasures we will find to fill our nature display.
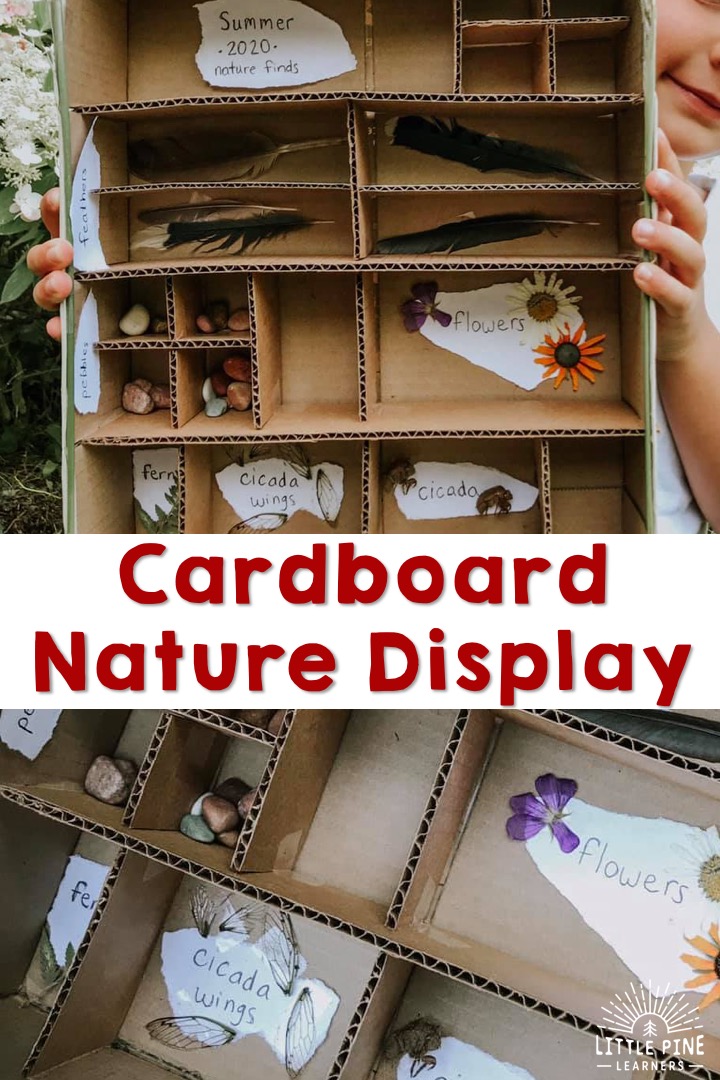
Pin it and save it for later!
I hope you give this fun DIY nature display a try! I promise, your little nature lovers will love this one.
∼Tara

