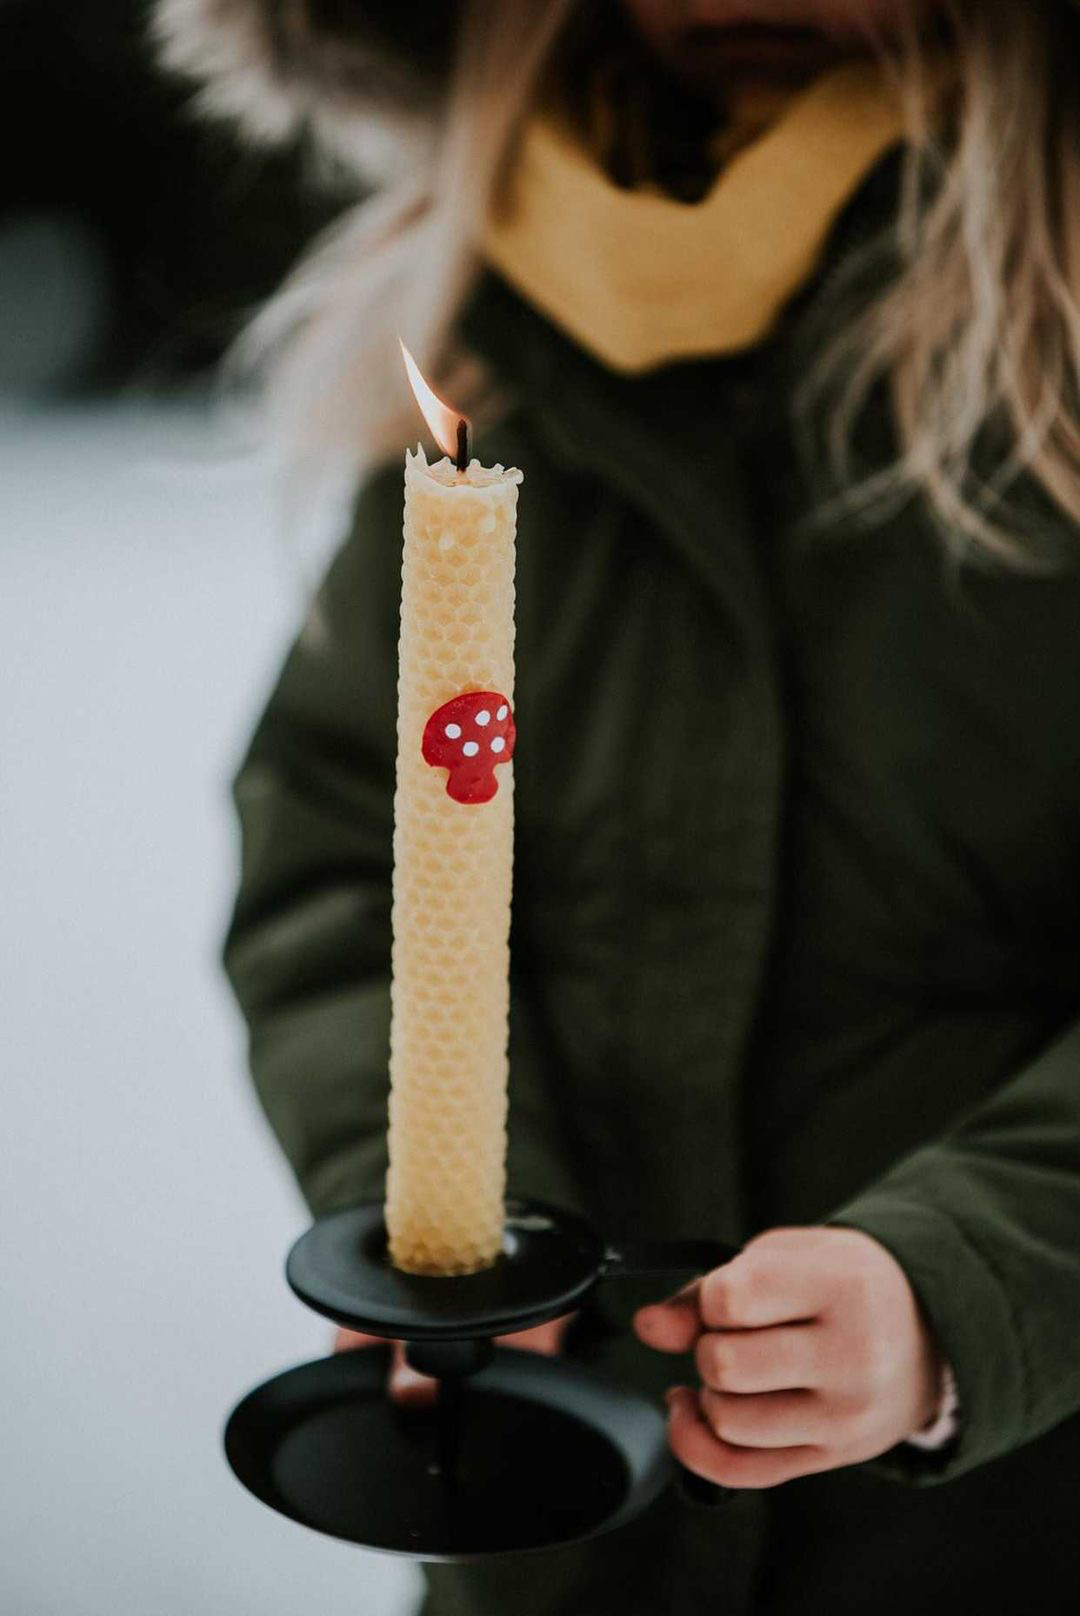
Making rolled beeswax candles is a fun activity for both kids and adults! They are easy to make and a safe way for kids to make candles. Handmade beeswax candles give your home an instant feeling of warmth and coziness on a dark and chilly day.
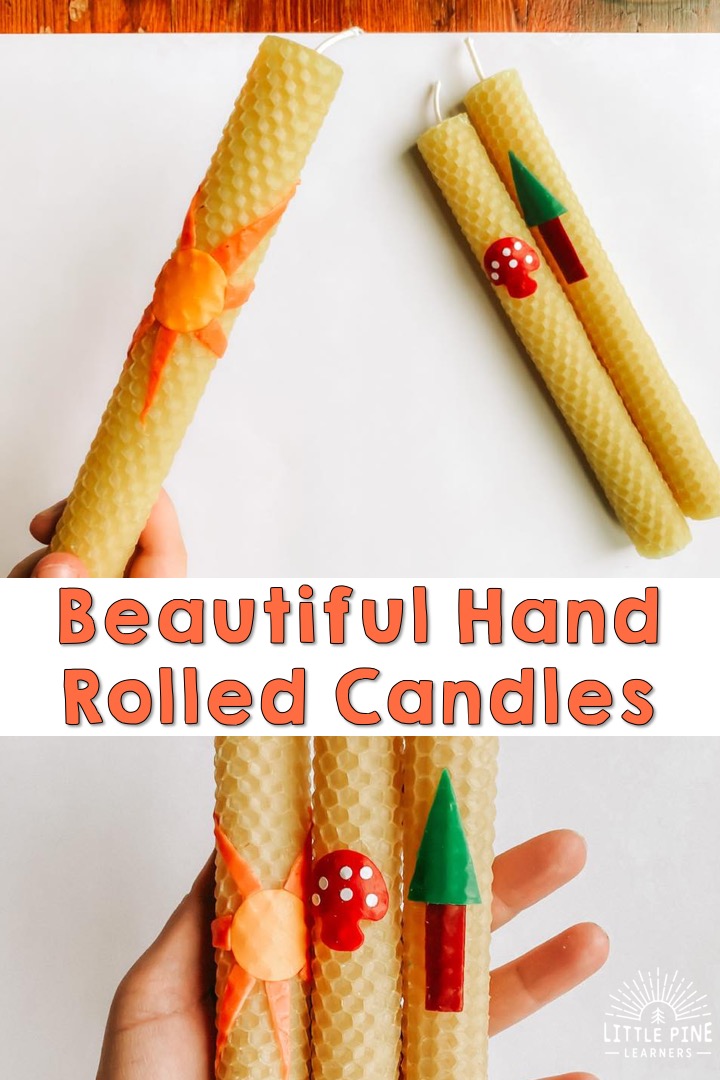
I’ve been wanting to make rolled beeswax candles for years. Every time the winter solstice comes around, I think about this craft but never seem to get to it. This year, we gave it a try and it was a huge hit with my boys! They couldn’t stop making them and this simple method of making candles gave them an immediate sense of accomplishment and satisfaction!
We loved them so much that we gifted a few of them to our family on Christmas!
Ready to make a candle or two? Here’s what you’ll need….
Supplies for Rolled Beeswax Candles:
- Beeswax candle kit– I love this kit from Woodlark’s beautiful shop! We have also used this set of colorful beeswax sheets.
- Modeling wax kit– Creates colorful pictures on your candles
- Small veggie cutters– Optional! We used this set for the circle in the sun and mushroom.
- Butter knife or something to cut the modeling wax.
This post contains Affiliate links for your convenience.
RELATED: Check out Clay Dish with Evergreen Pieces
Here’s How We Made Our Rolled Beeswax Candles:
First you need to cut a sheet of beeswax into an 8″ by 8 1/4″ piece. If you order the kit listed above, you just need to cut a sheet in half and it will make the perfect sized sheet.
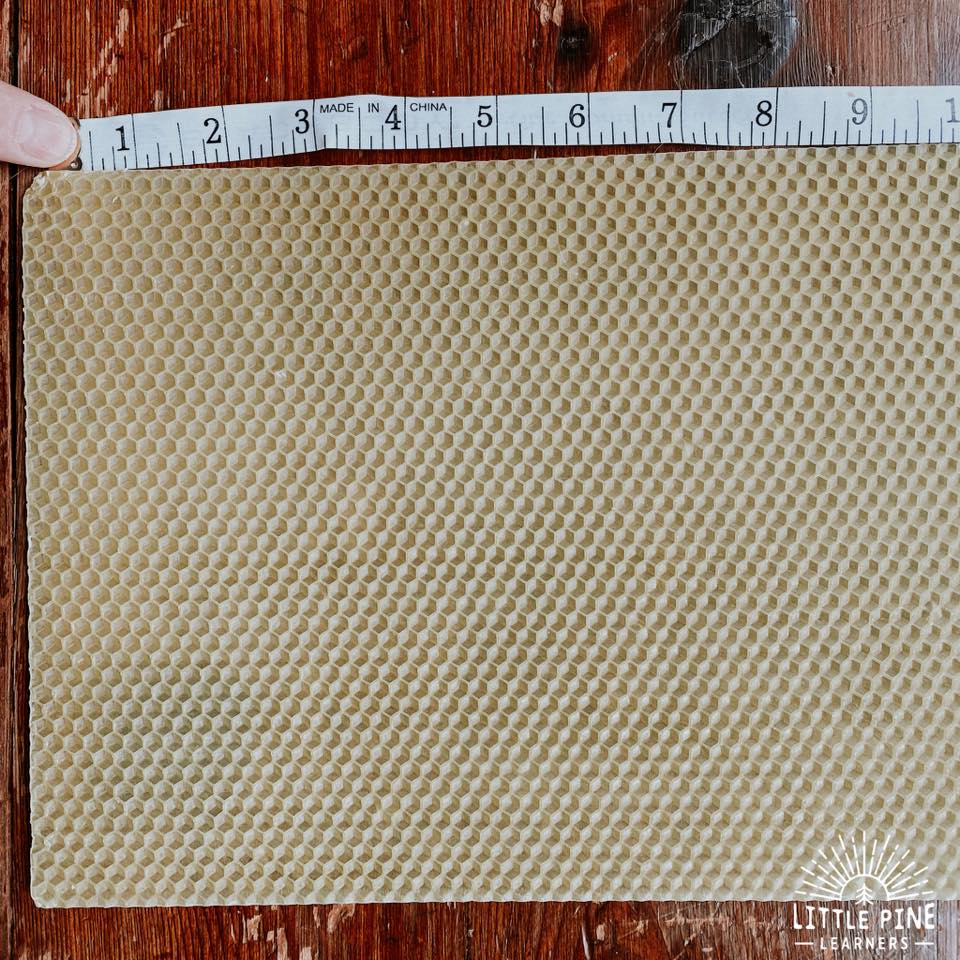
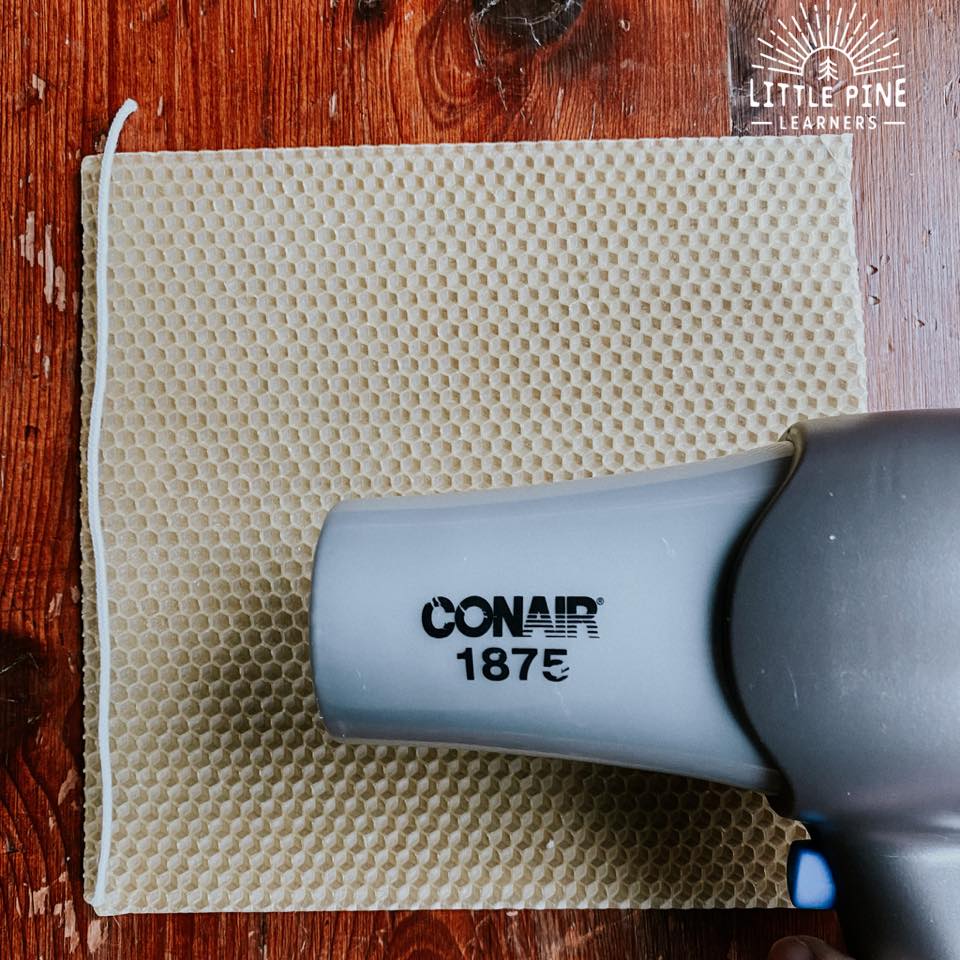
At this point, I like to slightly soften the beeswax by running a hair drying over the sheet for about 10 seconds. This will make it much easier for kids to roll the beeswax sheet.
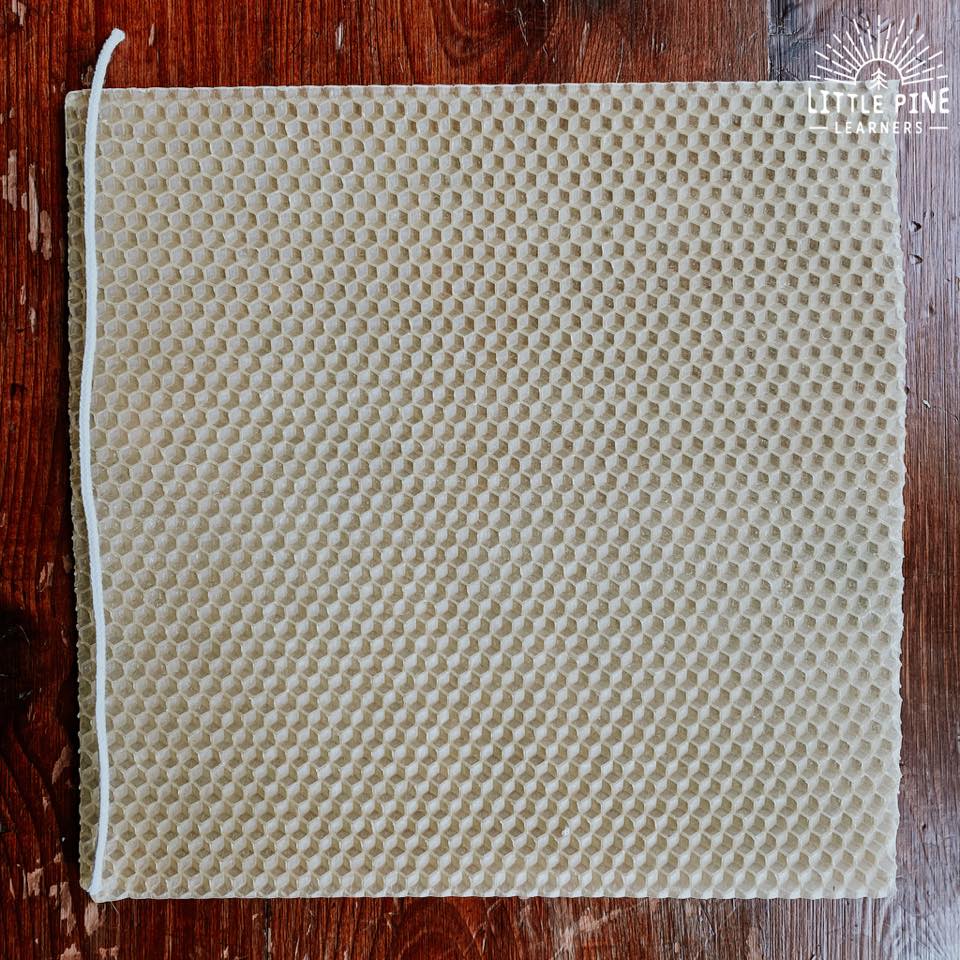
Cut a piece of wick, leaving about 1/2″ for the top of the candle. Place it at the edge of the candle.
Now press tightly to secure the wick. I helped my boys with this step because you need to press the wick pretty firmly.
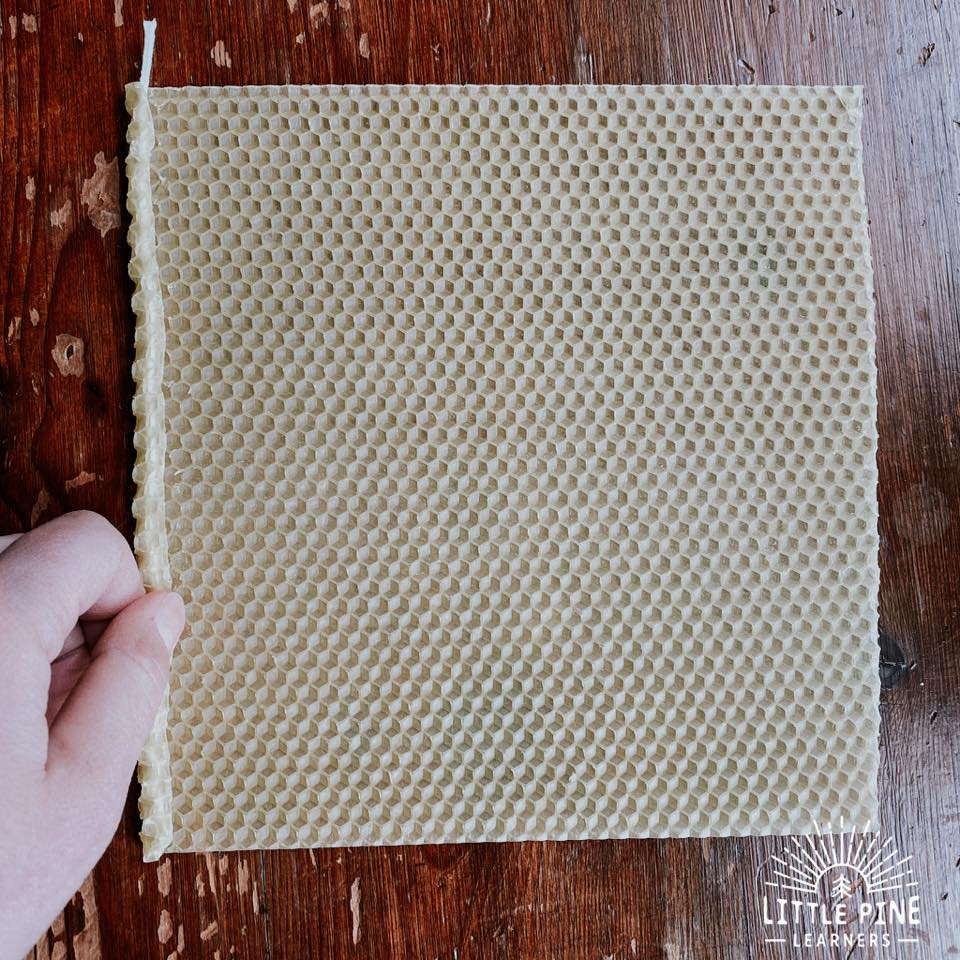
Now they were all set and LOVED rolling the candles. I reminded them to gently apply pressure as they rolled the candle forward. They needed a little help with making sure the candles were straight and even, but had it down by the second candle.
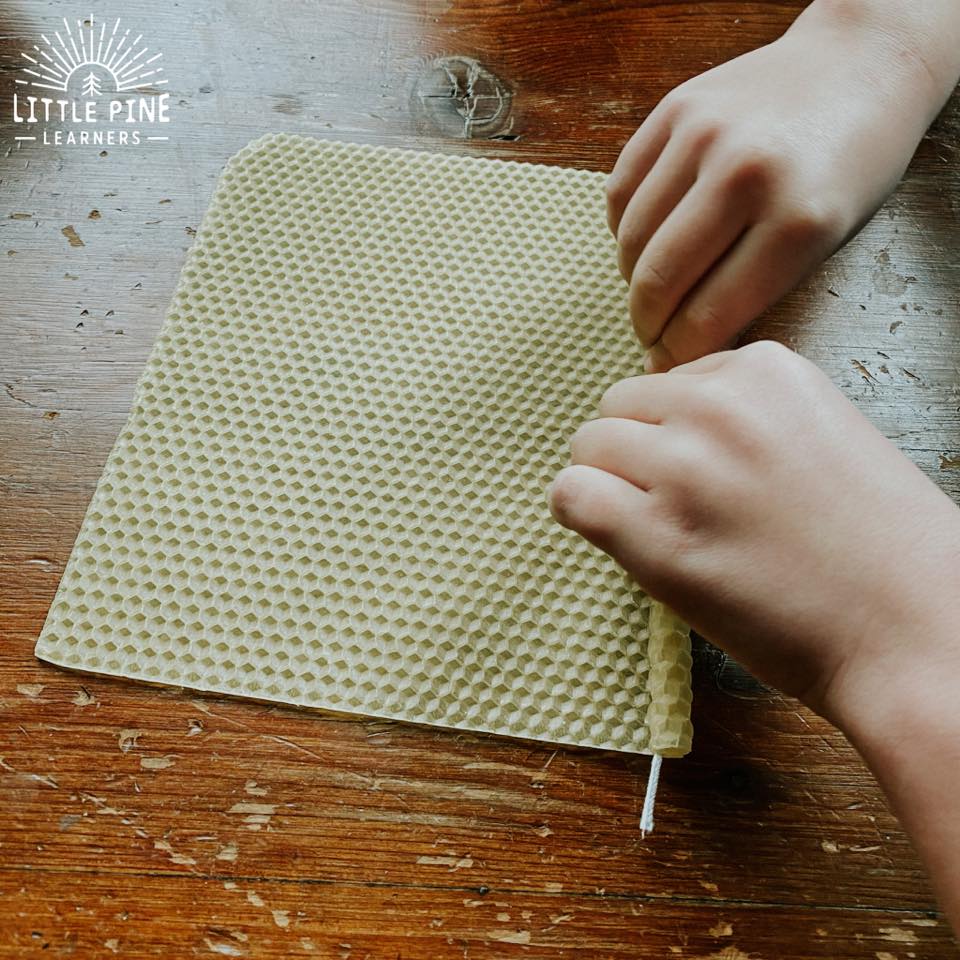
Continue until you reach the end of the sheet and gently press the edge into the candle. Don’t press too hard or you might ruin the honeycomb pattern!
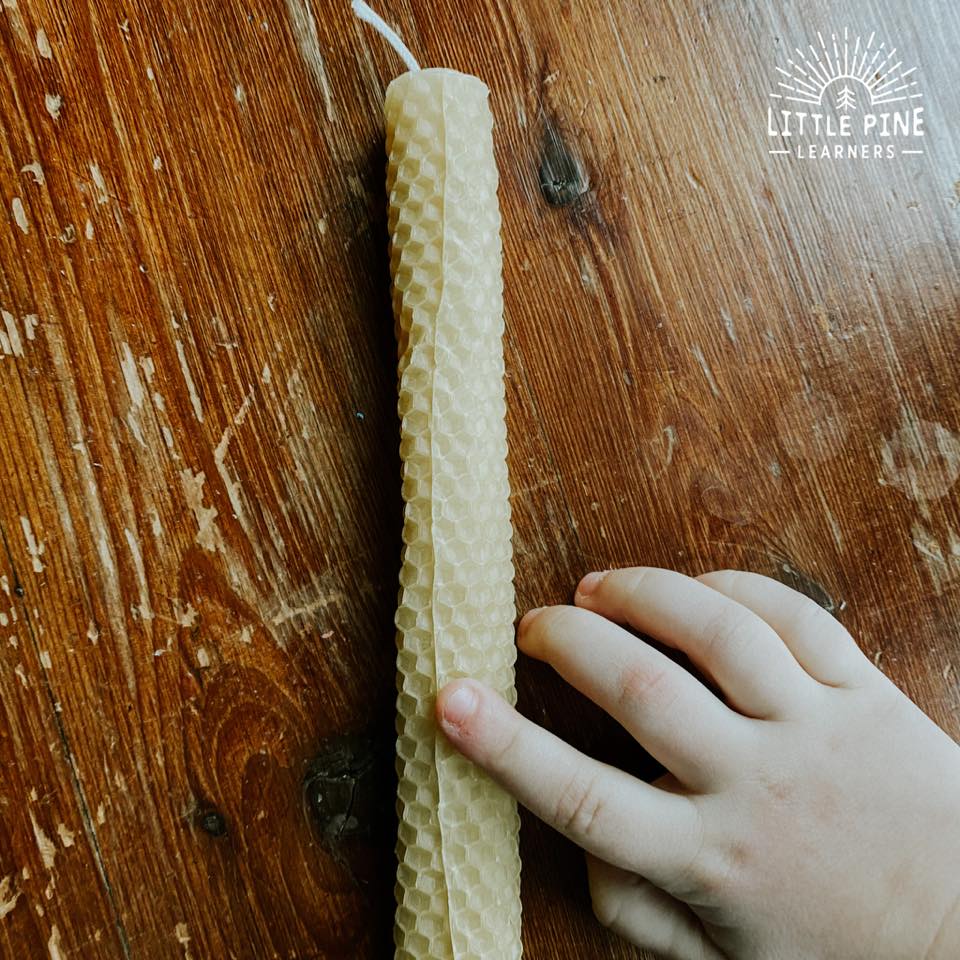
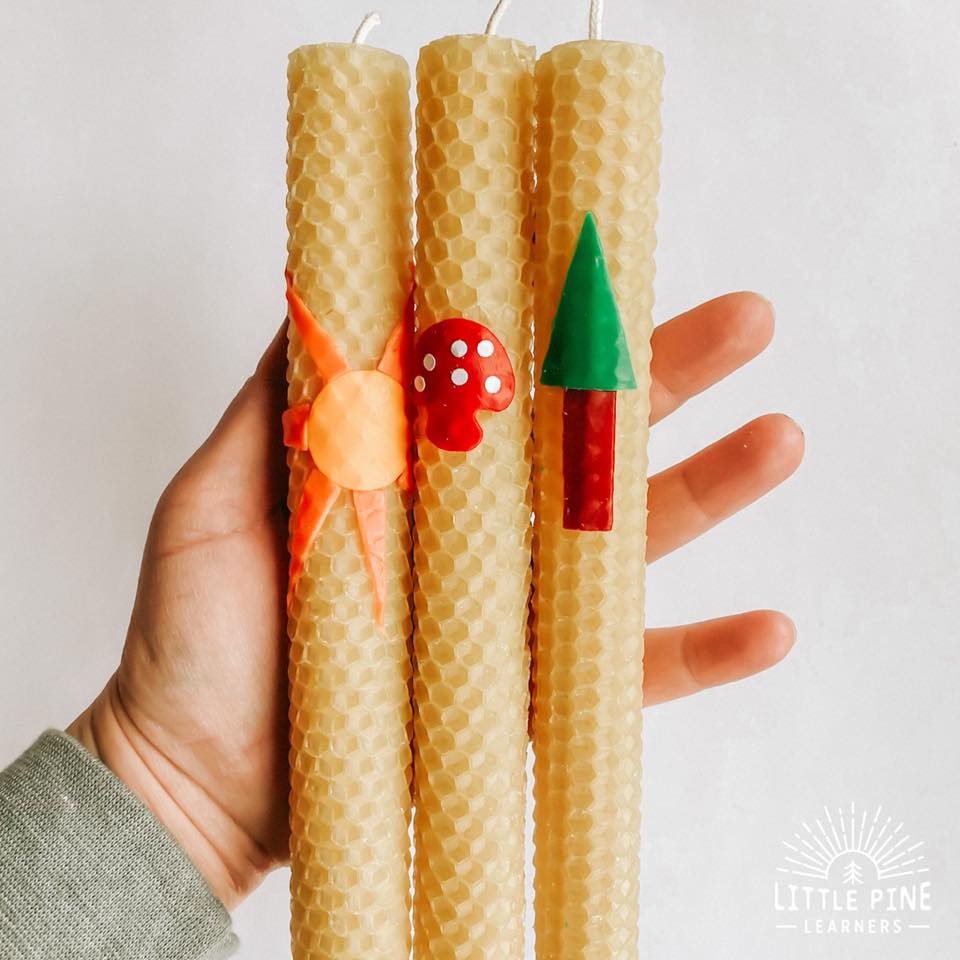
The rolled beeswax candles are beautiful bare, but we decided to add colorful molding wax to add pictures to our candles. We used a couple different tools to make our pictures. First we used small veggie cutters. I used a Q-tip to pop out the wax pieces from the veggie cutters. Just gently poke the Q-tip through the veggie cutter top to loosen the wax piece.
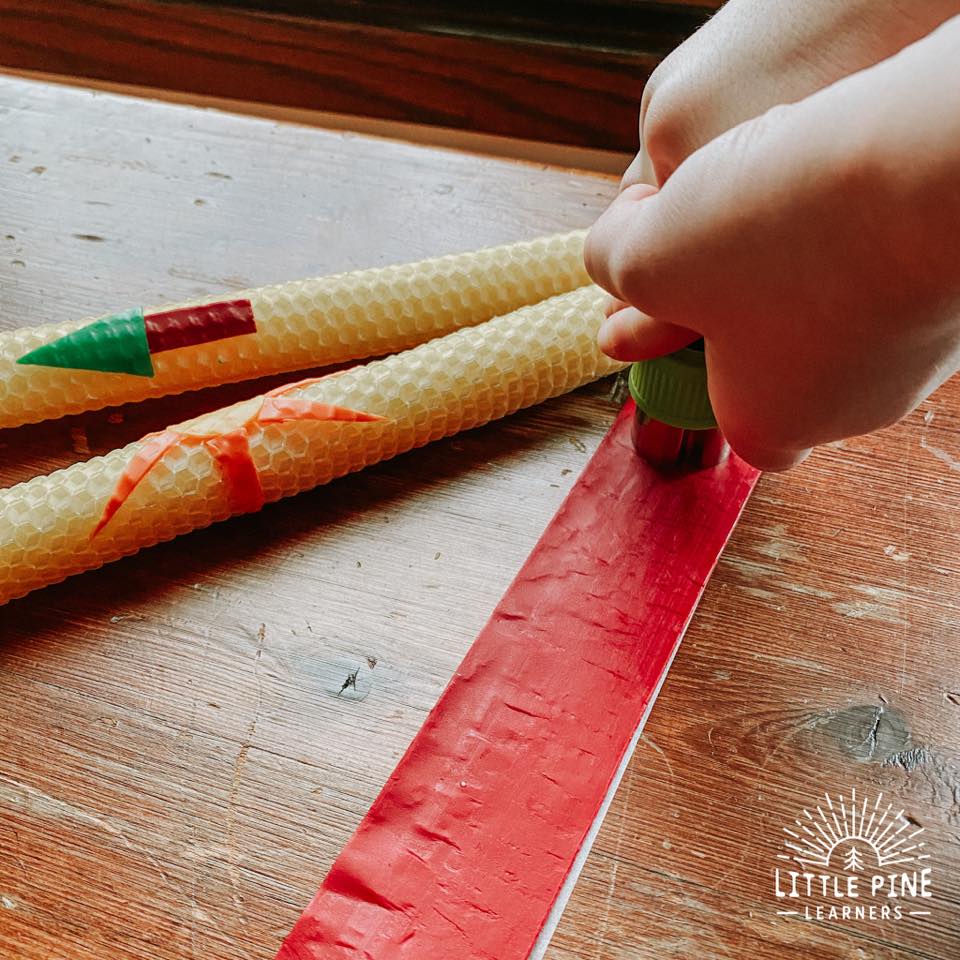
We also cut triangles and rectangles for the pine tree and sun rays.
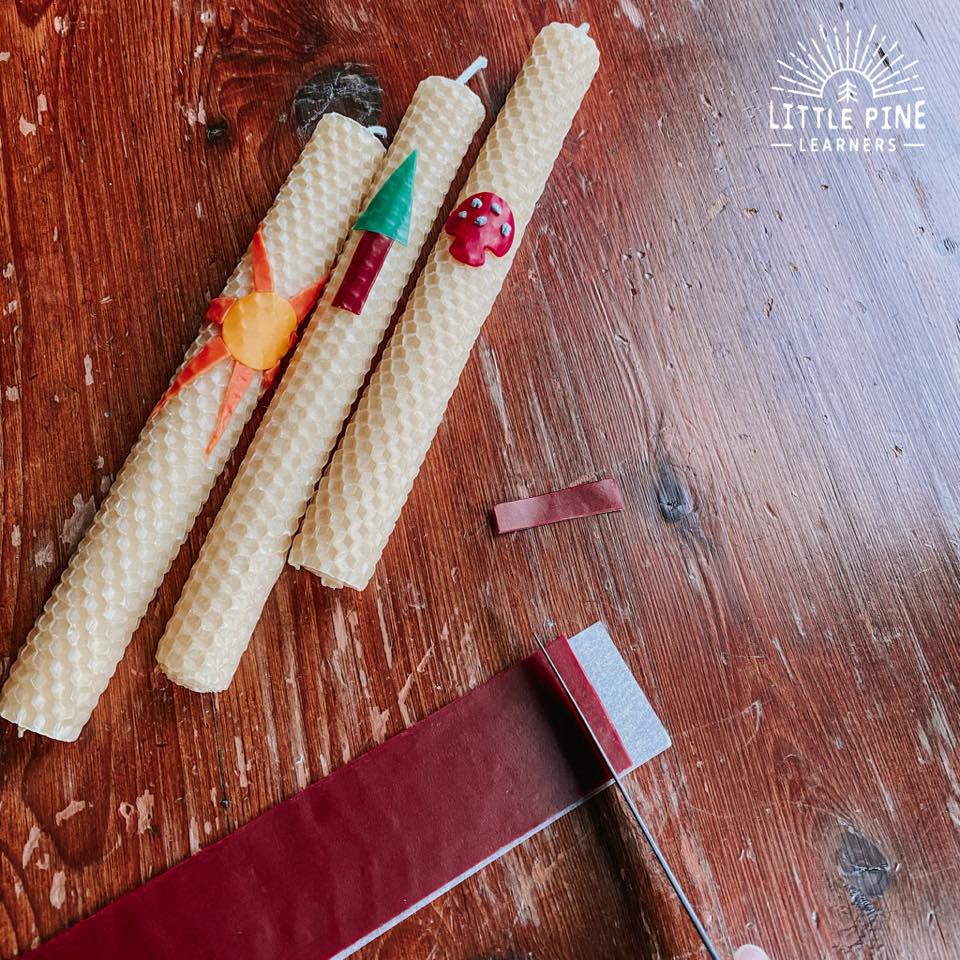
We played around with the beautiful colors in the modeling beeswax kit! I love the golden tree trunks on this rolled candle.
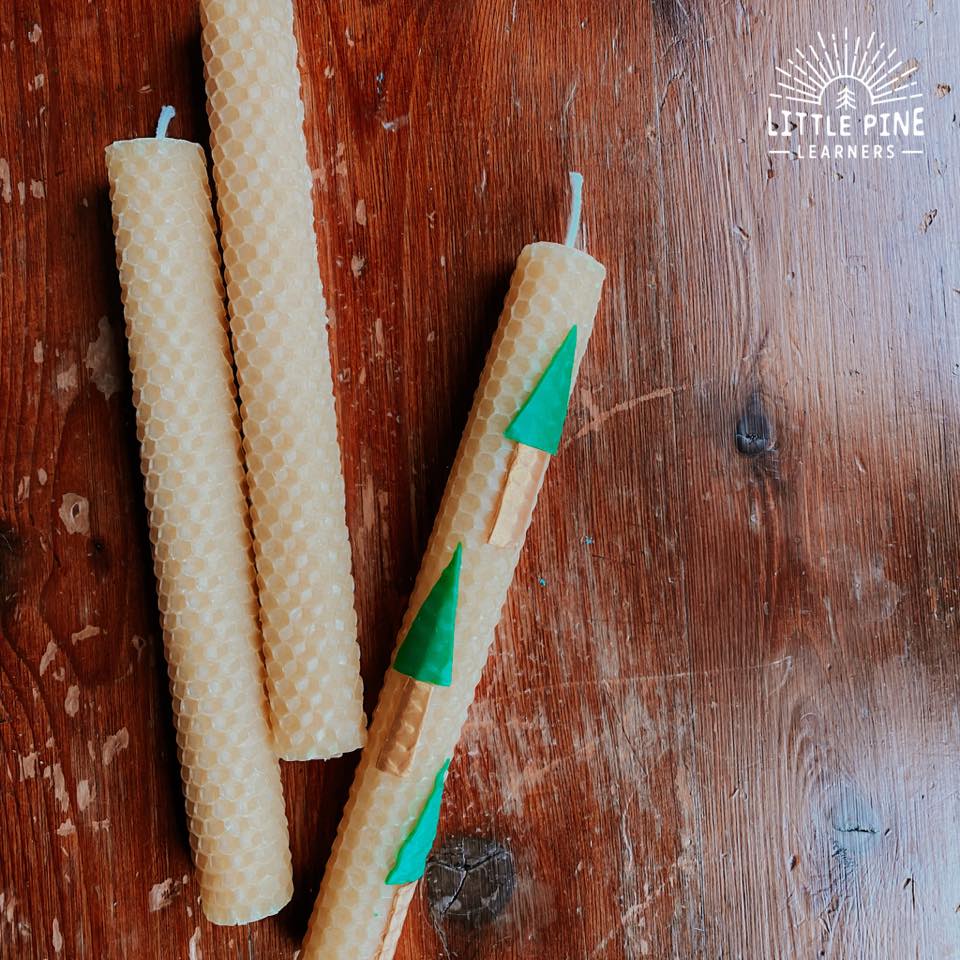
We love making these rolled beeswax candles so much! Which is your favorite?
Pin this activity to save it for later!

I hope you make some rolled beeswax candles! I promise, your little nature lovers will love this craft as my boys.
∼Tara
Looking for more nature activity ideas?! Check out:
Wikki Stix and Stones- A Must Try Activity!
Get Kids Outside with These 10 DIY Hiking Sticks
