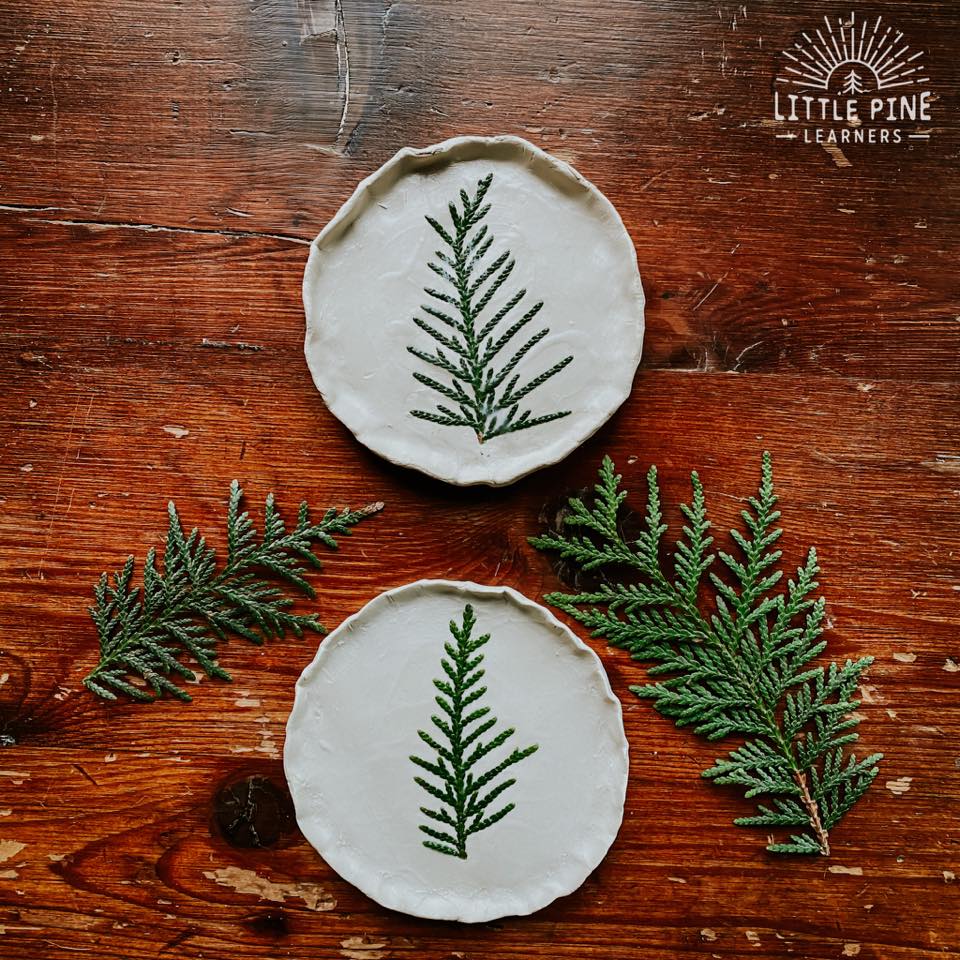
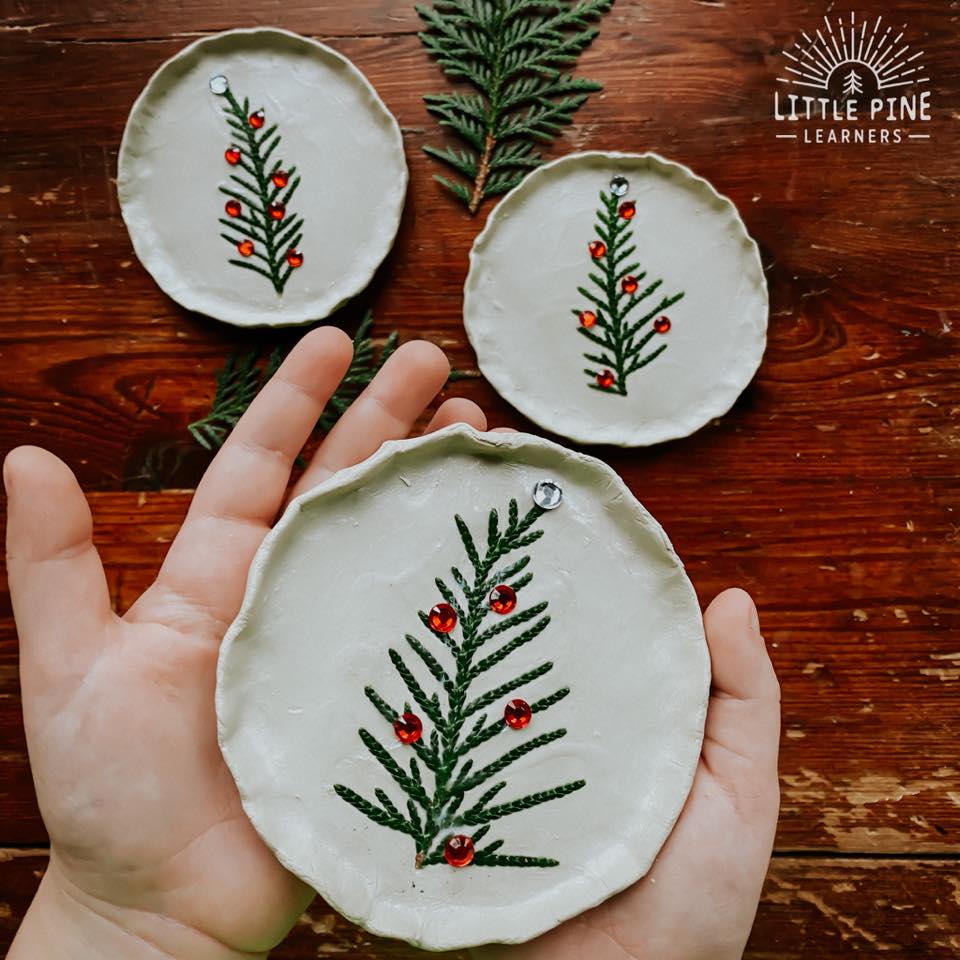
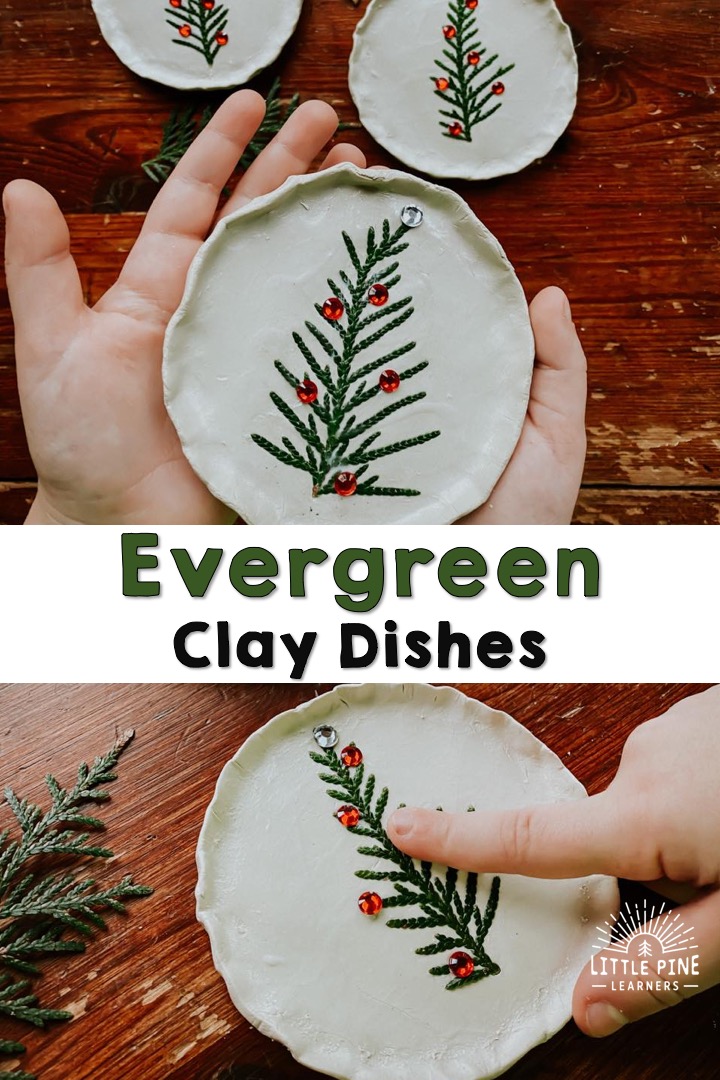
This beautiful evergreen clay dish is the perfect DIY decoration or handmade gift for the holidays. It’s so easy to make and as you can see, looks so pretty when complete. Keep the tree bare for a cute winter craft or add gem ornaments to make a sweet Christmas tree clay dish!
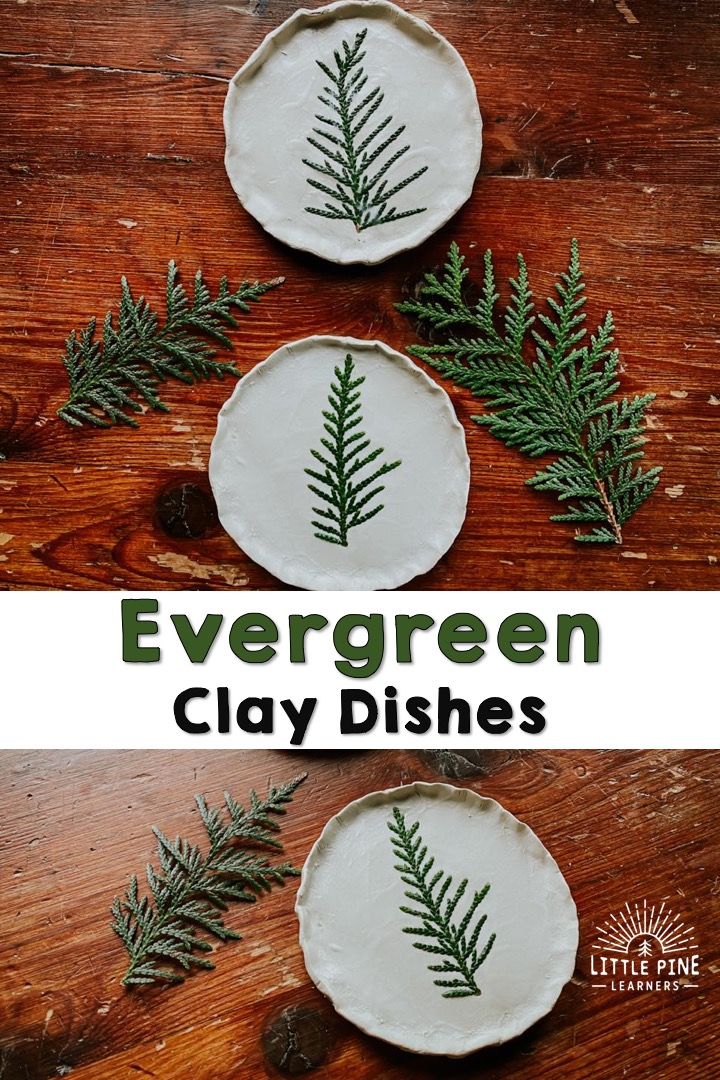
If you are looking for an easy and beautiful Christmas nature craft, this is it! This clay dish is absolutely stunning and I have perfected a process that makes this activity possible for even the littlest hands. We made nature pinch pots last spring with pressed flowers, but this clay dish is even easier to make!
Ready to make one? Here’s what you’ll need….
Supplies:
- Arborvitae branch
- Air Dry Clay
- Matte Mod Podge
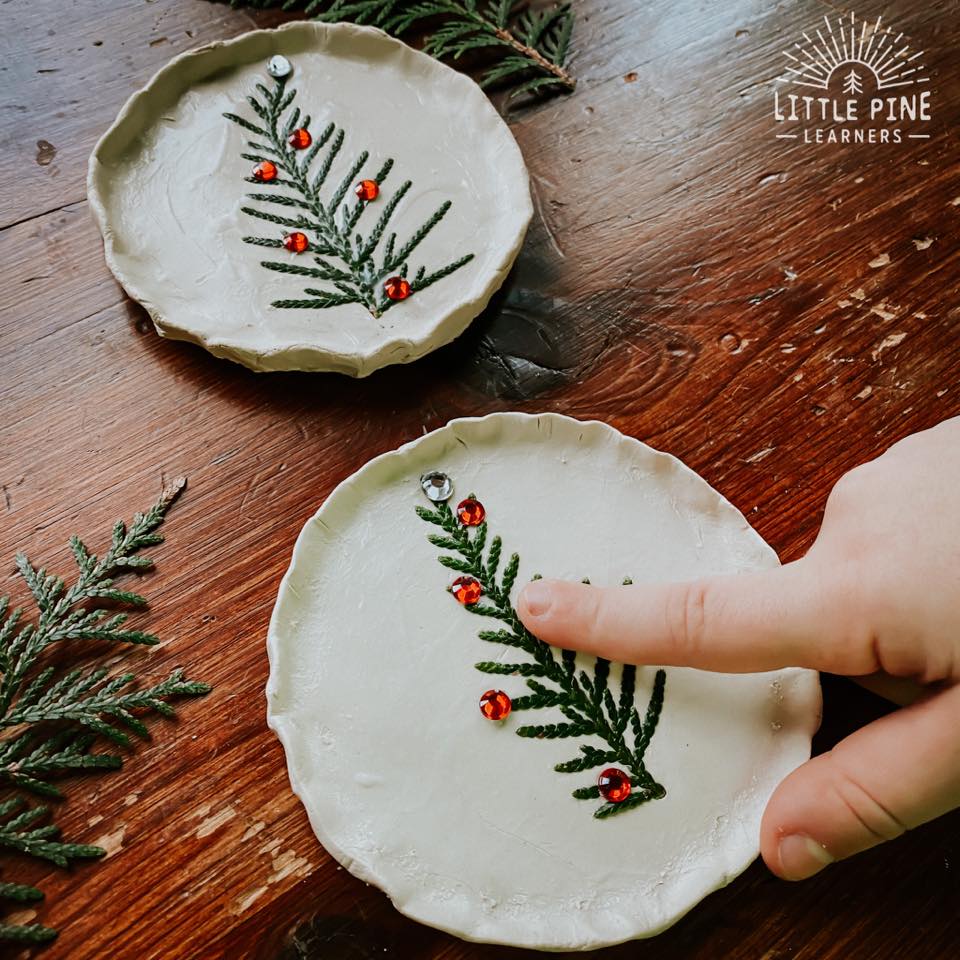
- Sticker gems– If you want to turn your tree into a Christmas tree!
This post contains Affiliate links for your convenience.
RELATED: Check out Mini Christmas Tree Lantern
Here’s How We Made Our Clay Dish:
Step 1:
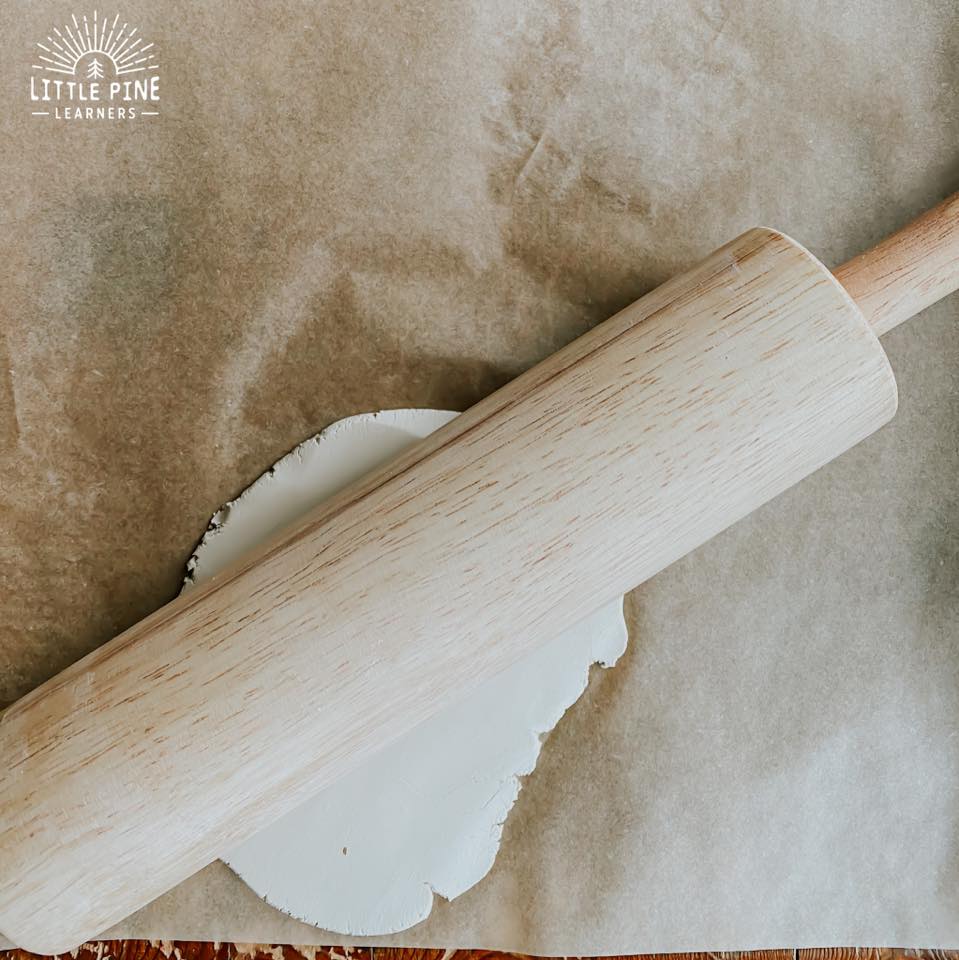
Roll out the clay. A rolling pin is very handy and makes this step a bit easier, but you can flatten the clay with your hands as well.
I do want to mention that we used old clay and it was sitting in a closed container for about a month. This makes it easier to work with because it’s slightly harder and more moldable than brand new clay. Brand new clay will also work, but it won’t hold it’s shape as well. You can always purchase your clay, open it and cover it again, and let it sit overnight. That should help!
Step 2:
Make your dish shape. You can either find something round from your home and cut around it with a knife or press a round piece of Tupperware into your rolled out clay.
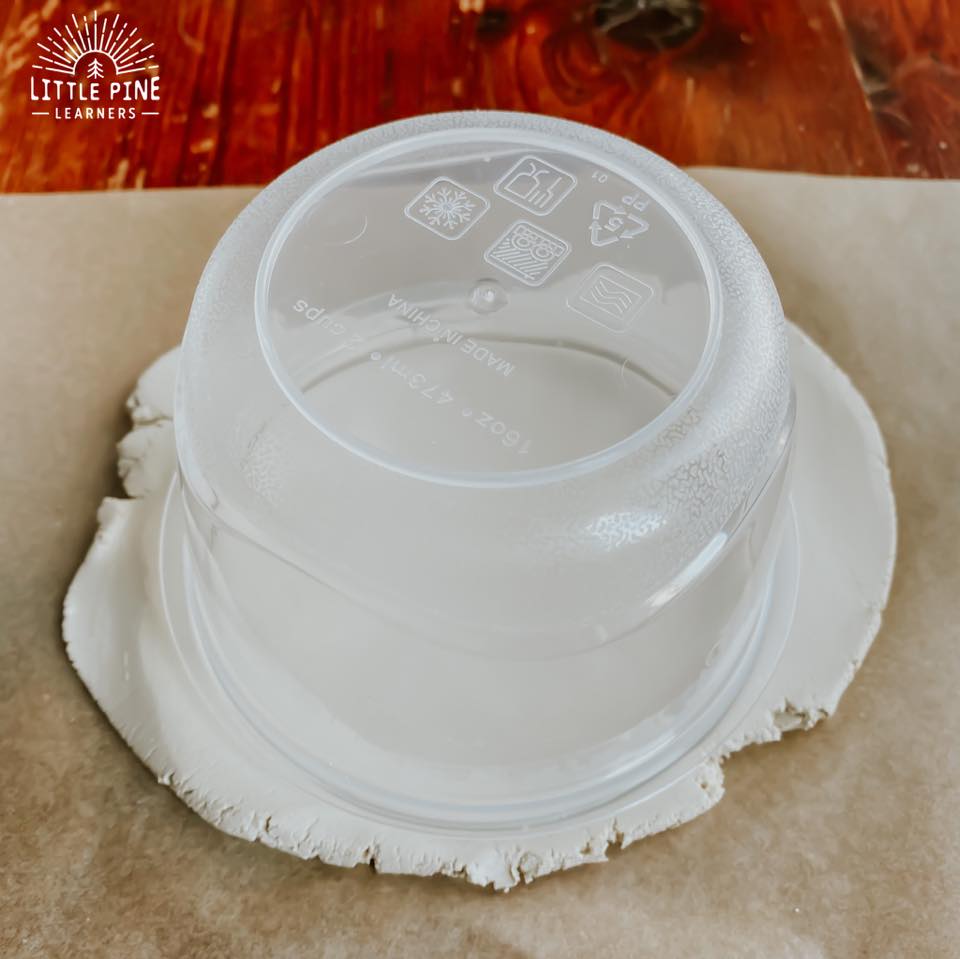
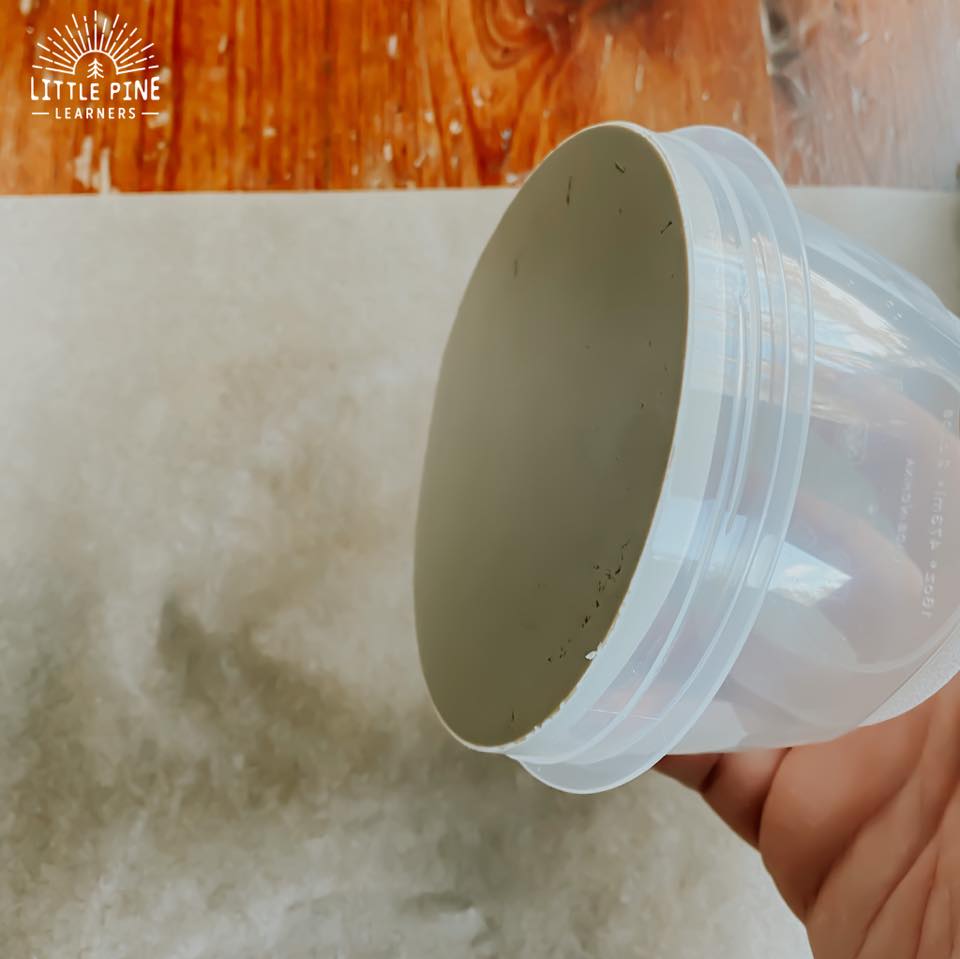
If you used a round piece of Tupperware, then gently wipe away the excess clay and gently squeeze the container to loosen the clay dish.
Step 3:
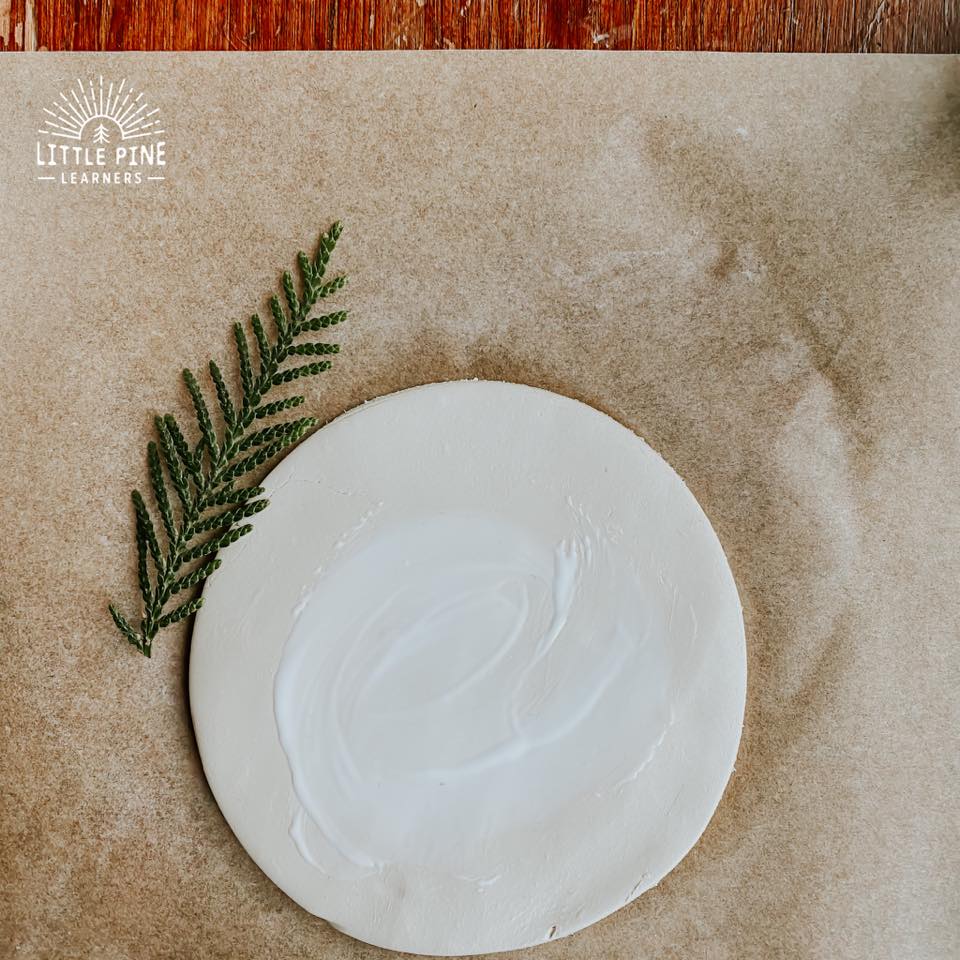
Wipe some Mod Podge onto your clay dish. You can use your finger or a foam brush for this step.
Step 4:
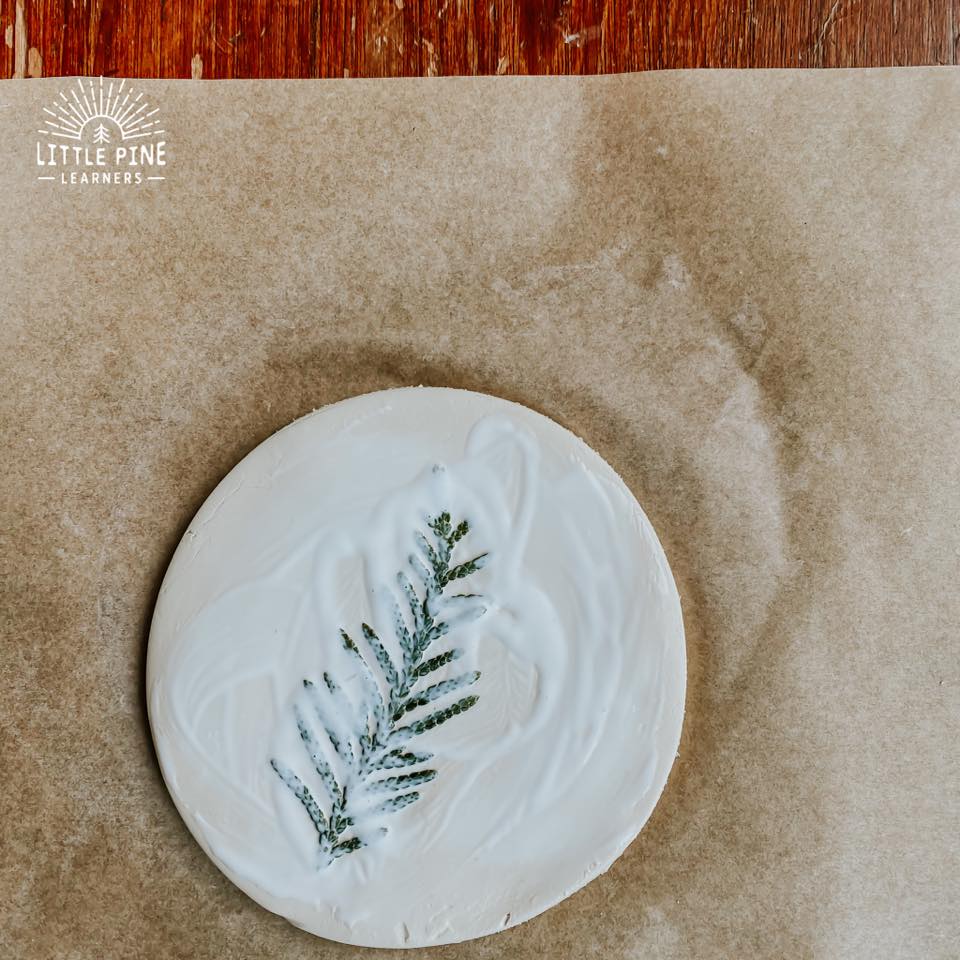
Place the evergreen piece on the Mod Podge and gently press it into the clay. We tried the pinch pot method for this dish first and that didn’t work because the bottom part of the pot was rounded. The evergreen pieces “like” this flat surface much more and did not curl up from the dish while drying.
Finish this step by adding one more layer of Mod Podge on the evergreen piece.
Step 5:
Let your clay dish dry for about an hour. This will slightly harden your clay and make it easier to mold the curved edges. Then revisit your clay dishes and start pinching the edges to curve them up!
You can also continue to gently press down the evergreen pieces at this point or add a little more Mod Podge if you see any pieces sticking up.
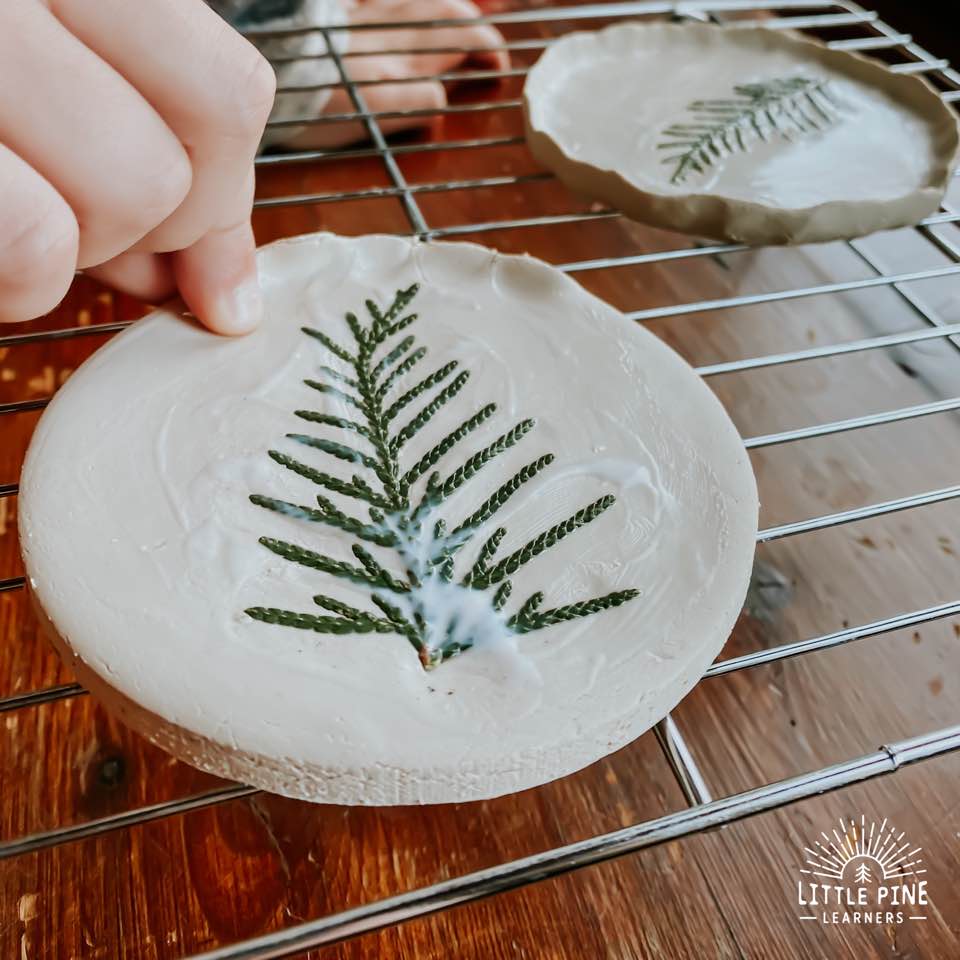
Now let them dry for about 2 day. After they are dried, you can leave the tree bare OR…..
OR try gluing cute gem ornaments to the tree!
Either way, your clay dish will be stunning!
Pin this activity to save it for later!
I hope you make a clay dish! I promise, your little nature lovers will love this craft as my boys.
∼Tara


