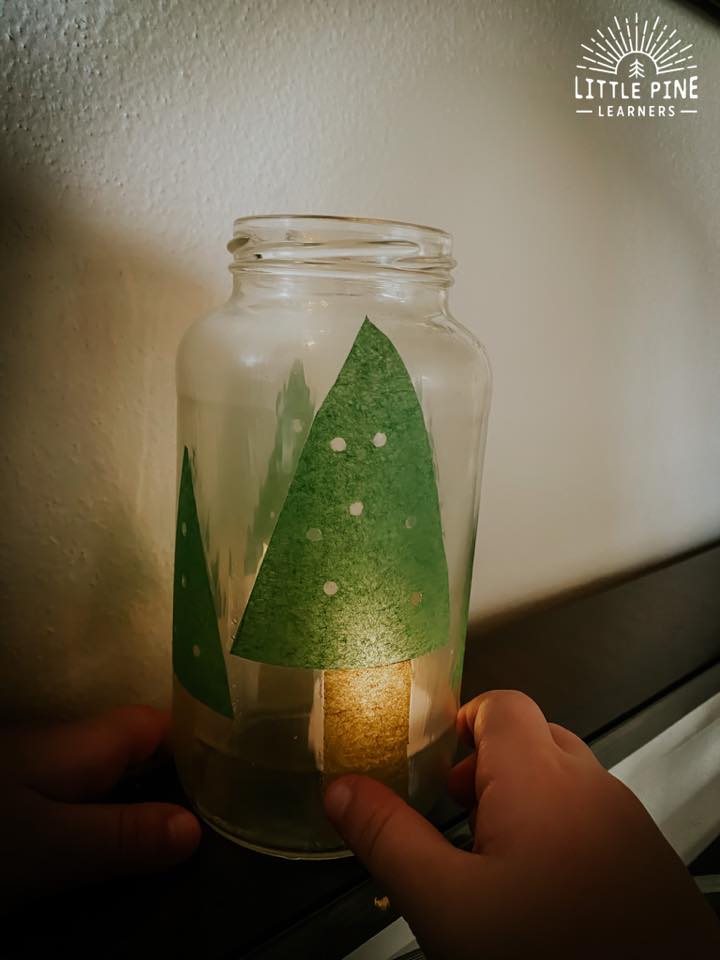
A pine tree lantern makes the perfect handmade Christmas gift, nature walk accessory, or forest themed decoration for your home! You can make a lantern from a mason jar or reuse any old jar home. These are so easy to make, inexpensive, and kids will love to help with the process. We have a group of three lanterns in our living room and they are some of our favorite holiday decorations!
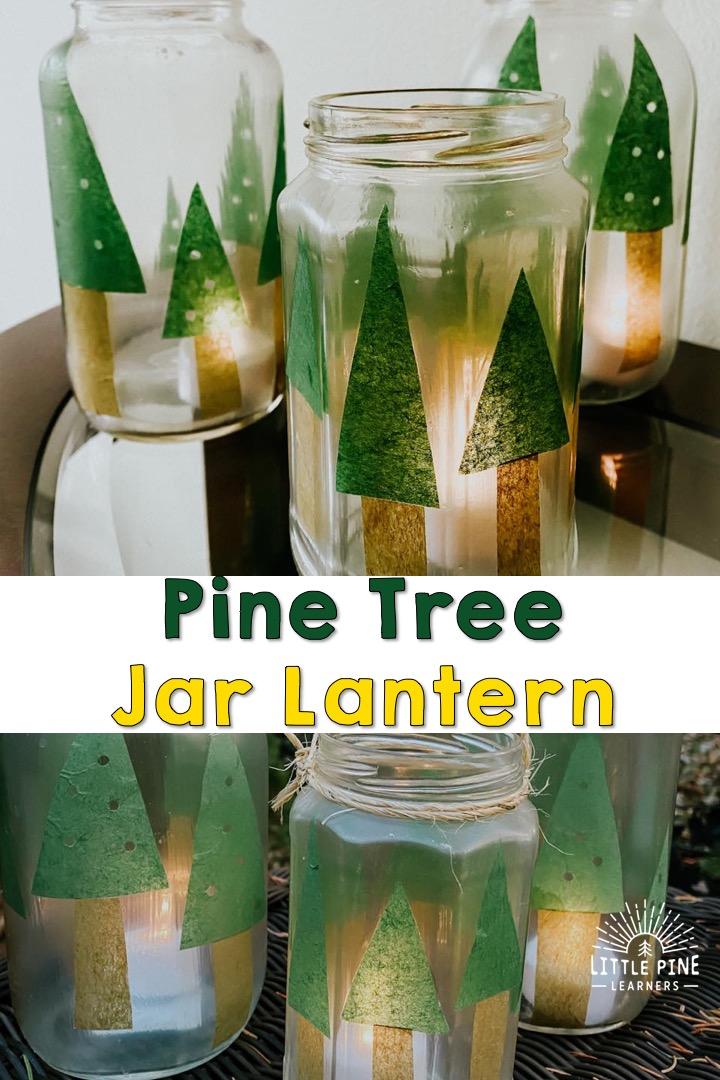
This sweet mason jar lantern were inspired by this gorgeous mushroom lantern tutorial from Woodlark. As soon as I saw this idea, I knew I wanted to try a pine tree version! These mason jar lanterns are perfect for the darker days of winter and will add a lovely glow in your home.
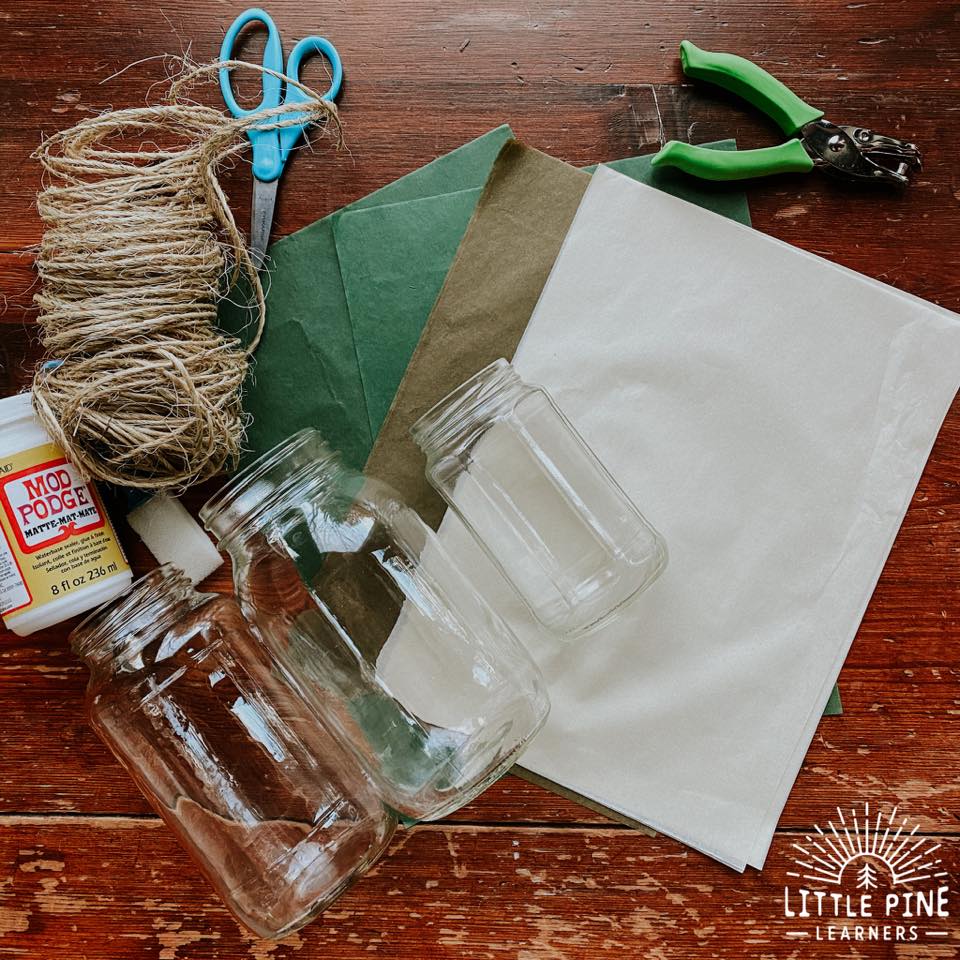
Ready to give it a try!? Here’s what you’ll need..
Supplies for your Mason Jar Lantern:
-
- Jar- We reused pasta sauce and jelly jars.
- Tissue paper
- Twine or string
- Scissors
- Small paper punch
- Mod Podge– I like the matte variety for this project.
- Foam brush– These are super helpful for spreading mod podge on the jar!
- Flameless tea light candles
This post contains Affiliate links for your convenience.
Related: Check out Jingle Bell Holiday Hiking Stick
How to Remove a Label From a Jar:
If you are reusing glass jars, you will need to remove the label first! Here’s how we did it:
- Fill the jar with hot (not boiling water) and let it sit to loosen the glue behind the label. Be careful when handling the jar!
- Mix equal parts cooking oil and baking soda. I used about 2 tablespoons for each.
- Rub it on your label and let it sit for about an hour.
- Peel off as much as you can. I like to fill the jar with more warm/hot water at this point to continue loosening the glue. You can also run the jar under warm water and add a little more of the baking soda mixture to get the last bits and pieces off.
Here’s How to Make a Mason Jar Lantern:
Step 1:
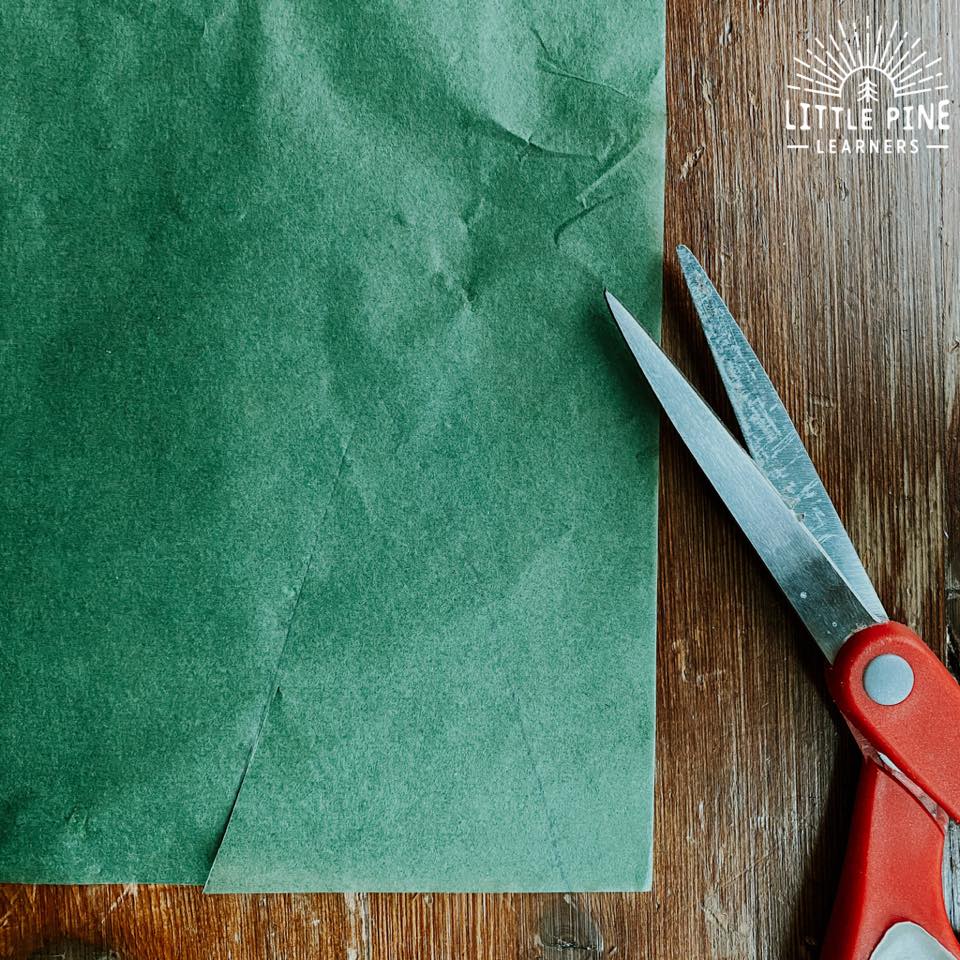
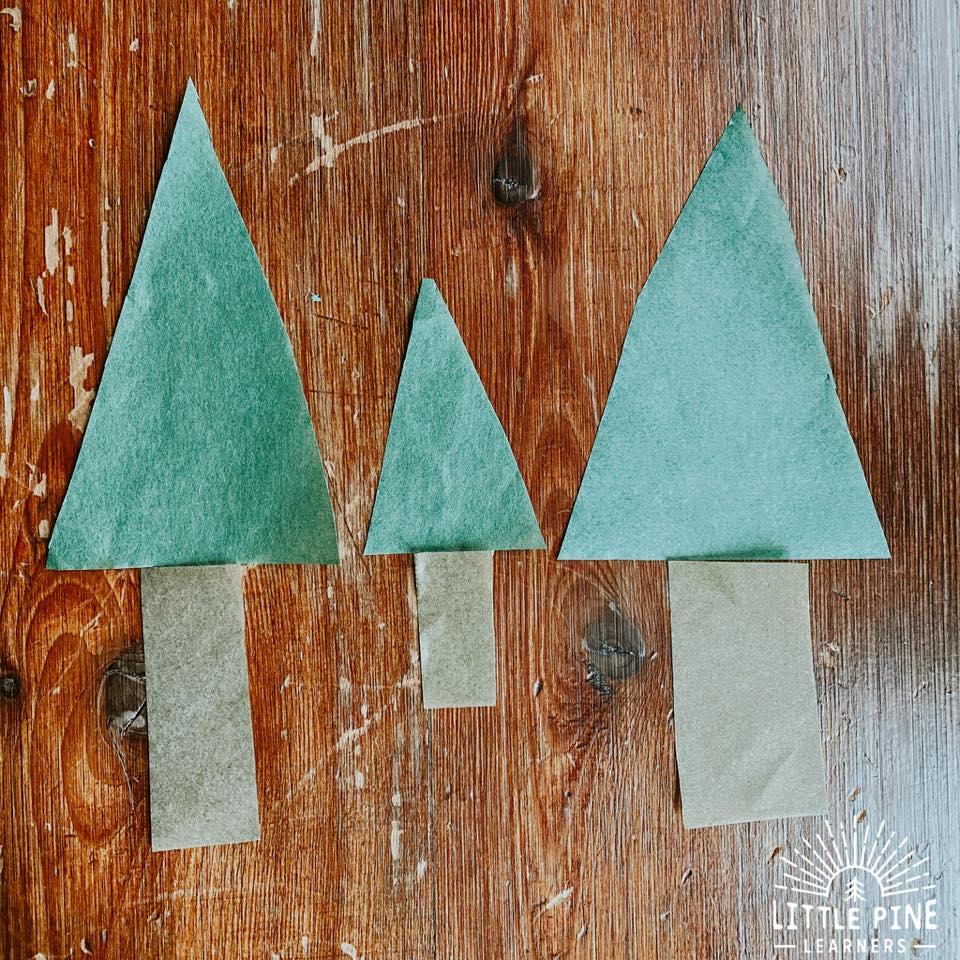
Cut out pieces of tissue paper for your pine trees. We cut out simple triangles for the branches and rectangles for the tree trunks. If your children are old enough, you can draw the shapes and invite them to cut them out.
Step 2:
Find the perfect top and bottom combos for your trees, so they are ready to go when the Mod Podge is applied to the jar.
Step 3:
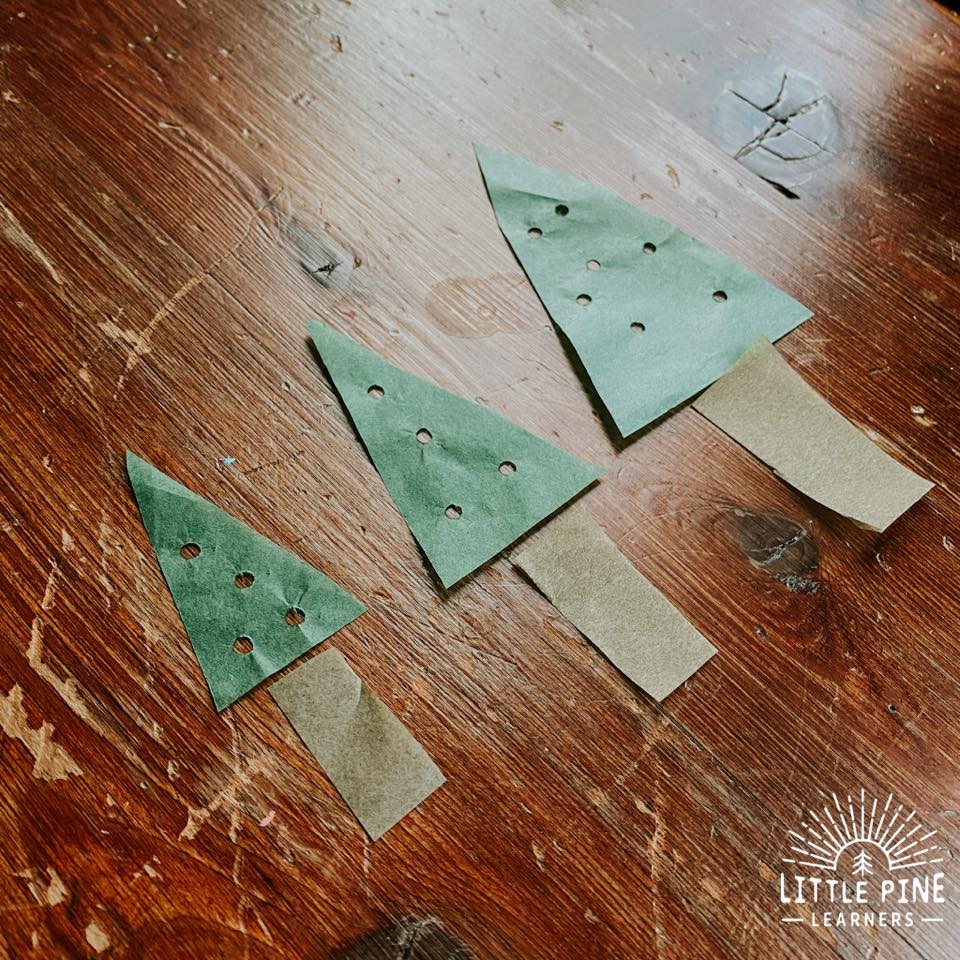
For two of the lanterns, we paper punched holes to mimic Christmas lights. We also made one without holes so we could compare them. I think they both look really cute!
Step 4:
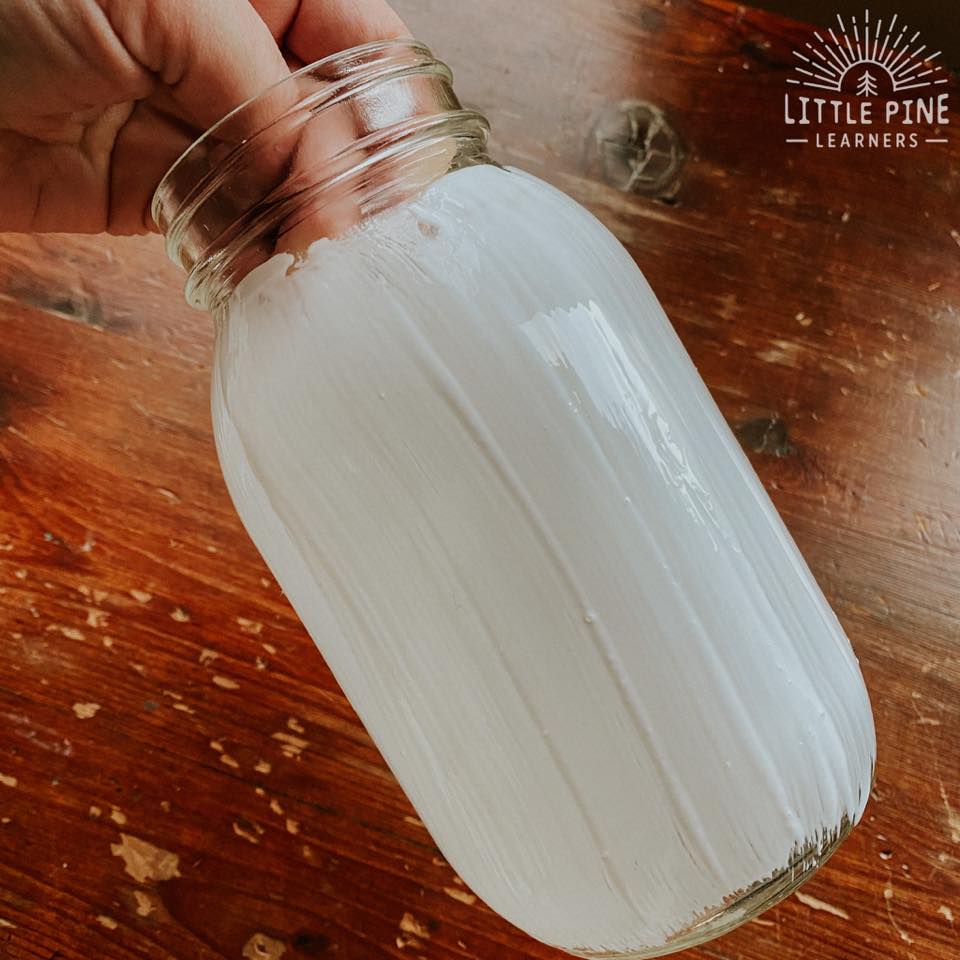
Now that your trees are ready, put a thin layer of Mod Podge on your jar with a sponge brush. My boys LOVED helping with this step!
Step 5:
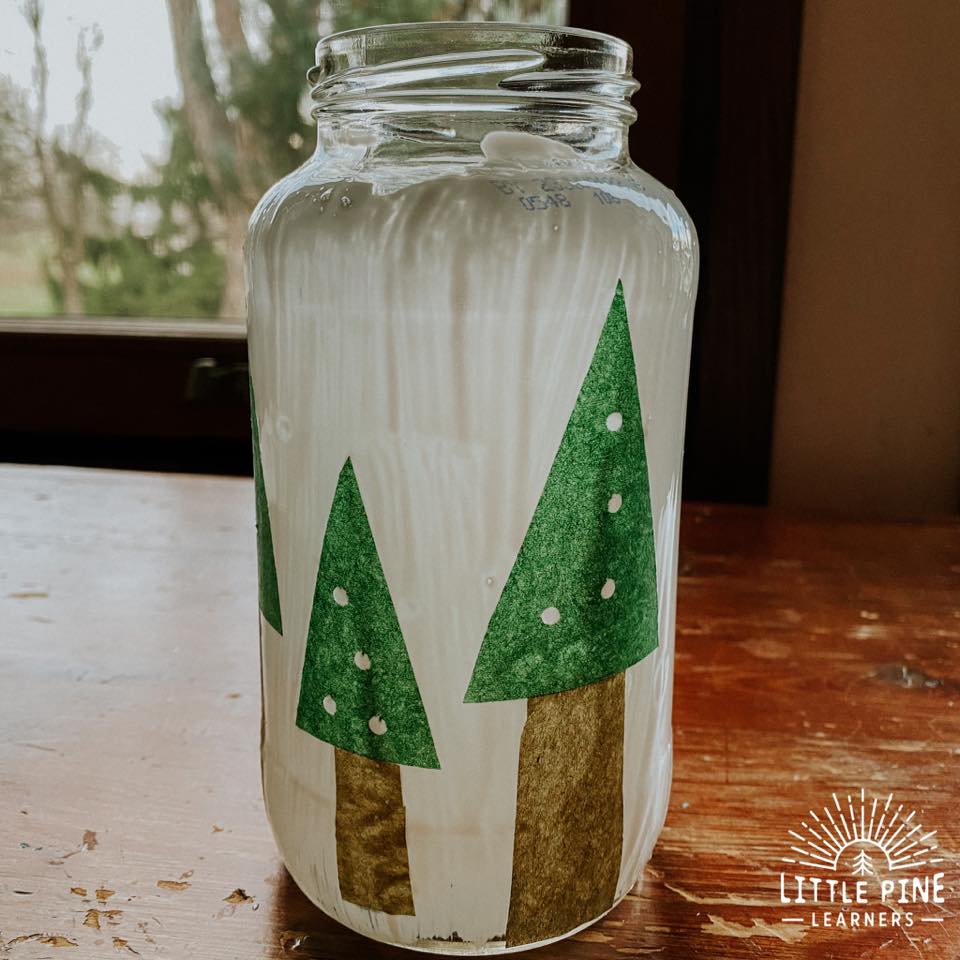
Carefully put your trees on the jar. You can’t adjust the tissue paper much once it touches the Mod Podge, so keep that in mind during this step.
Once your trees are on the jar, let the Mod Podge dry.
Step 6:
After the first layer of mod podge is dry, add another layer over the tissue paper. This will protect the tissue paper and keep it from peeling up as everything dries.
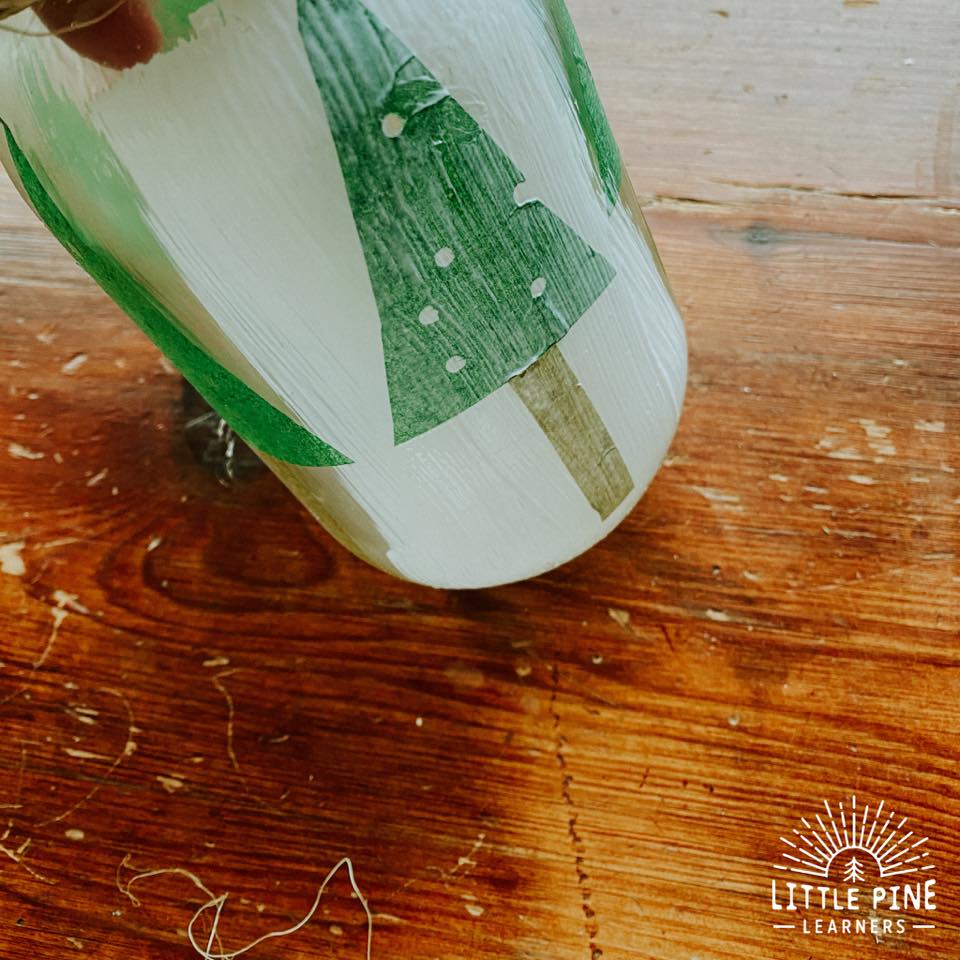
Last step for your mason jar lantern!
Once your second layer of mod podge is dry, add a handle to your mason jar lantern.
Tie the twine around the neck of the jar two times and give it a double knot.
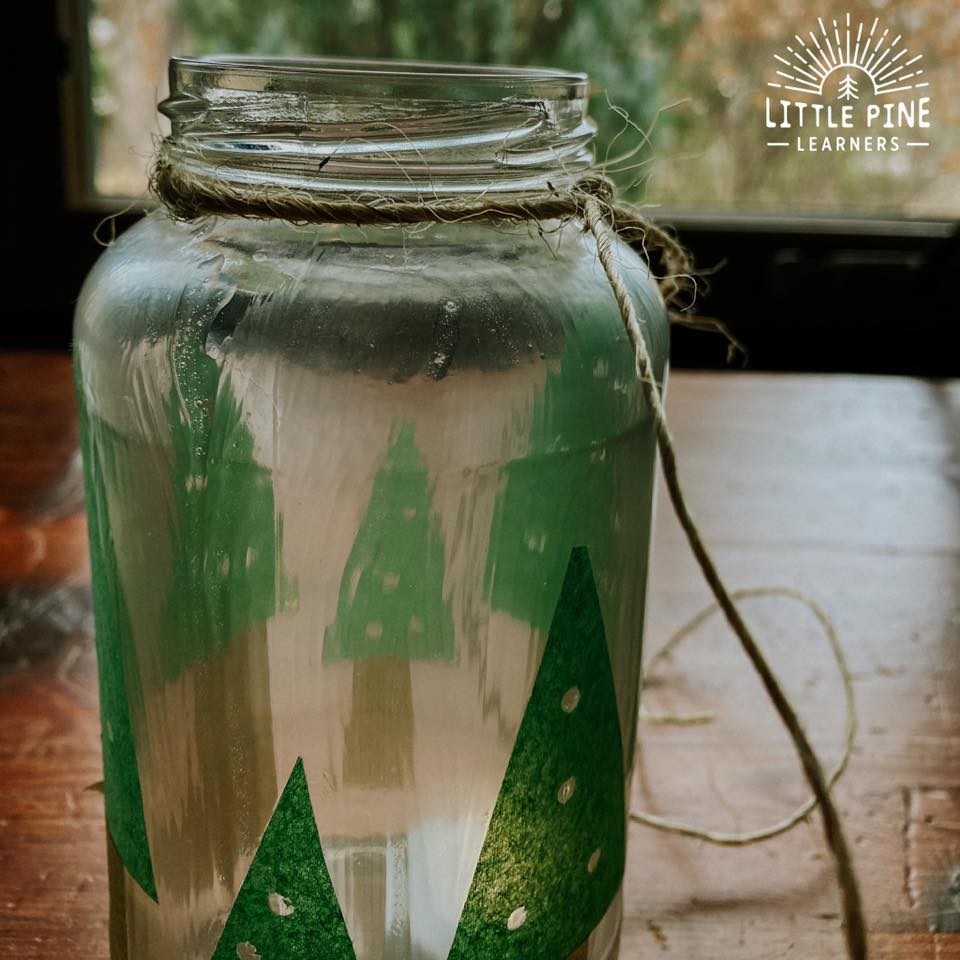
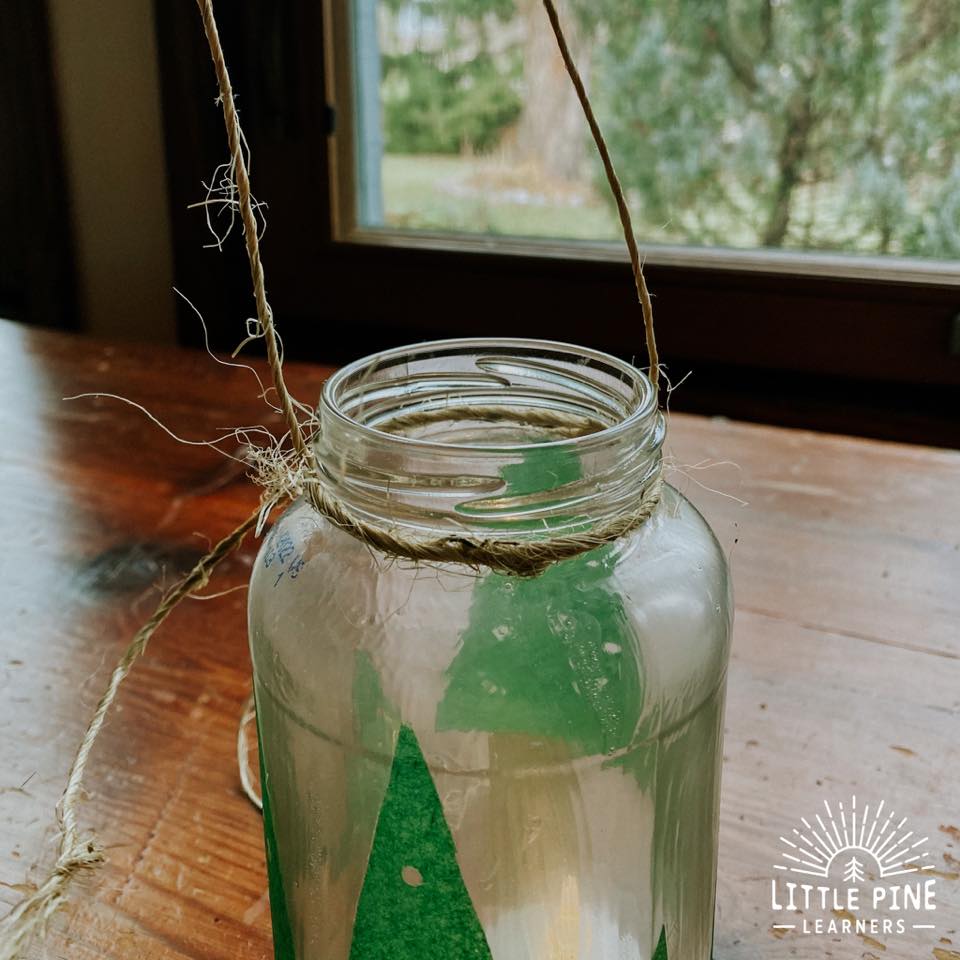
Now take one of the strings and weave it through the tied string on the other side of the jar. This can be a little tricky since the twine is tied tightly around the neck of the jar, but this method worked for all three of my jars.
Once you wiggle the twine through, tie another double knot on that side.
Then tie the other two pieces of twine together, cut the excess. and you’re all set!
These look gorgeous during the day! I love how you can see the trees on the other side of the jars and the subtle light looks so pretty.
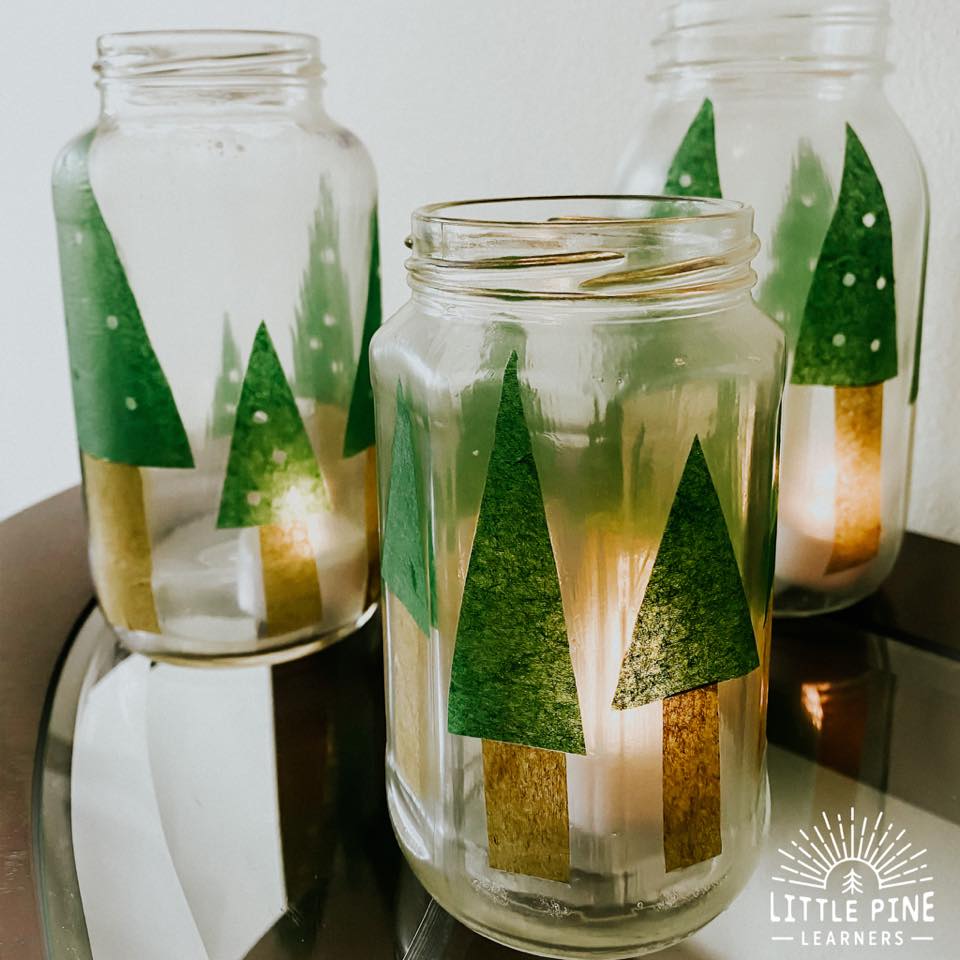
My boys love looking at the mason jar lanterns at night. At bedtime, they carry them into their bedrooms to use as nightlights!
Pin it and save it for later!

I hope you try making a mason jar lantern a try! I promise, your little nature lovers will love it as much as my boys.
∼Tara

