Are you ready for the ultimate fall sensory experience?! This activity is one of our favorite fall traditions and it will quickly find it’s way onto your list of favorite fall activities as well. Keep on reading if you are interested in learning how to preserve leaves!
The sense of smell is closely linked with memory, probably more so than any of our other senses. This simple method of preserving leaves will fill your home with the most lovely beeswax aroma and will surely create a strong link to fun fall memories for your children. Think about it, how cool is that?! This will be one of those activities that your children will remember and love forever!
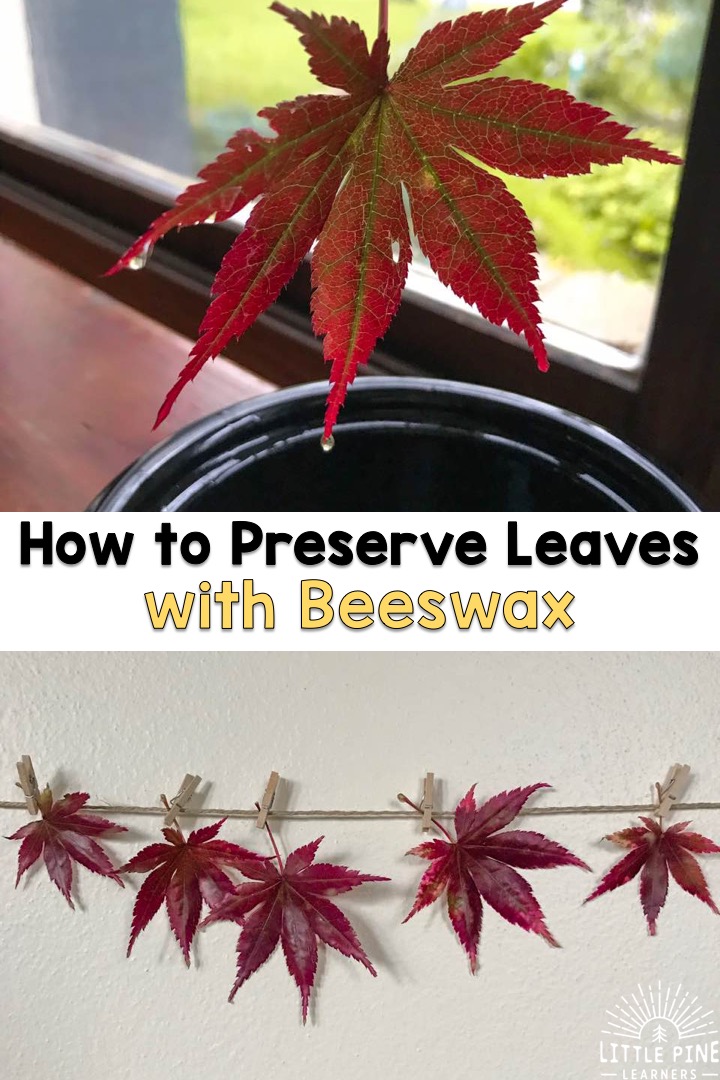
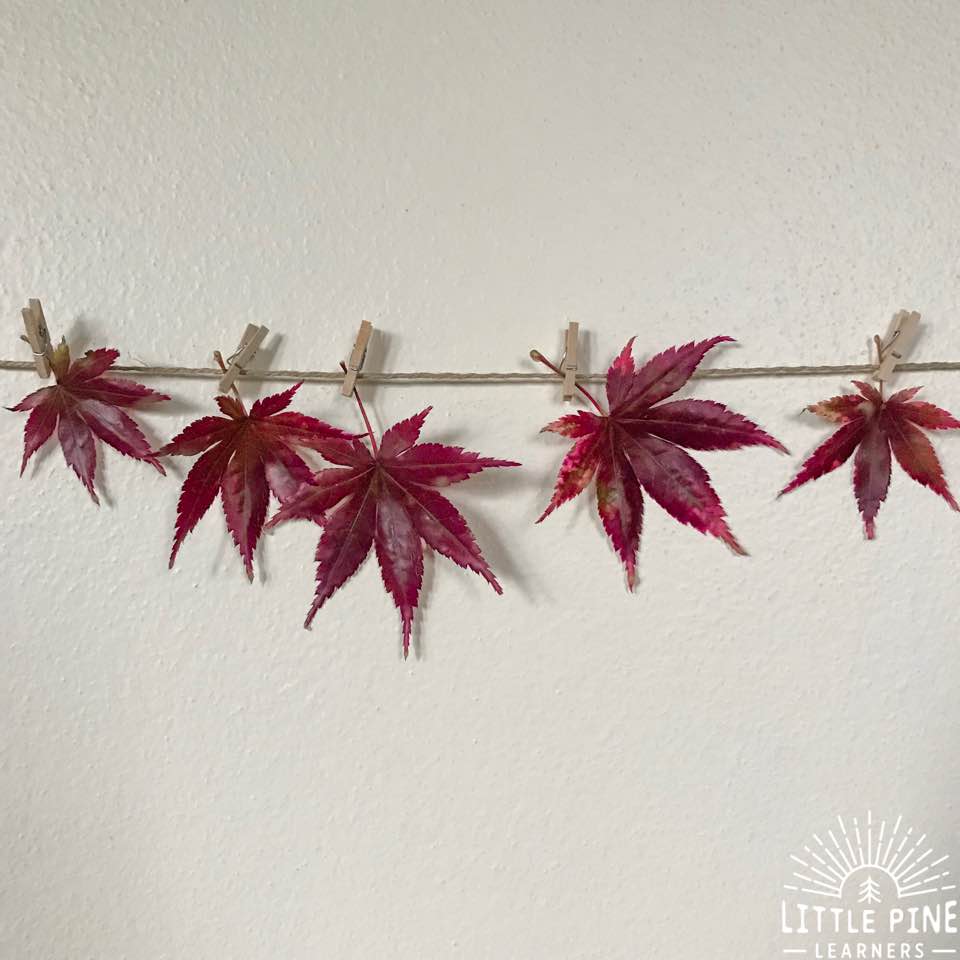
Not only does the beeswax smell amazing, but it helps seal in and preserve the vivid colors of those beautiful fall leaves. These preserved leaves will have a nice sheen and texture after the beeswax dries. This makes them the perfect addition to transient art activities or your fall nature table. You can also hang them from twine with clothespins to make a beautiful fall garland. The possibilities are endless!
Here’s what you’ll need to preserve fall leaves…
Supplies:
- Leaves- Try a wide variety to see what works best for you. Choose leaves with the stems attached because this will help preserve the leaves.
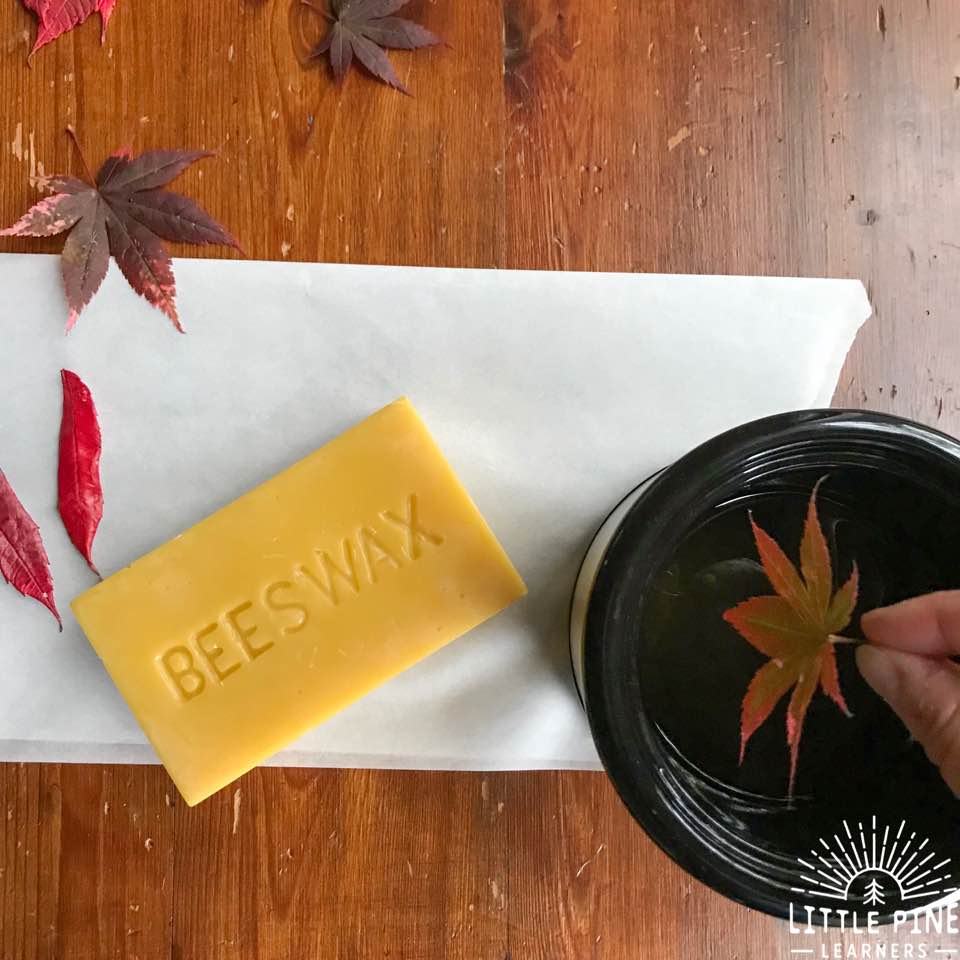
- Beeswax. We bought a block from our local health food store, but you can try this beeswax block or package of pellets.
- Small Crockpot
- Wax Paper
This post contains Affiliate links for your convenience.
RELATED: Check out this Adorable Bat Nature Craft
Here’s What We Did:
Step 1: Gather Leaves
Here are a few quick tips when looking for leaves to preserve:
- Collect freshly fallen leaves on a dry day. If they are wet, you will want to dry them between two pieces of paper towel with a heavy book on top to keep them flat. Preserve them within a day or they will start to loose color.
- You might want to try a variety of leaves to see which type you like to work with the most. We tried two different types of leaves: Japanese Maple and Staghorn Sumac.
- Skip the crispy dry leaves or the ones that have begun to curl.
Step 2: Prepare Your Beeswax
Some people use a double boiler over the stove to melt the beeswax but I find this method rather inconvenient and a little dangerous, especially if children want to help. We opted for a little crock pot that we found at the thrift shop and it’s designated only for this purpose since it’s difficult to get the beeswax out of the pot. We got a large block of beeswax from our local health food store so we had to cut it in little chunks to help it melt quicker.
Step 3: Dip the Leaves
Hold the leaves by the stem and quickly dip the leaves in the beeswax. Make sure you completely coat the leaf, including the stem. If you would like, you can use a tweezer to submerge the leaf.
Our sumac leaves didn’t have a stem, so I dropped them in the beeswax and picked them out with a tweezer. They curled up a bit in the beeswax, but were easy to flatten out on the wax paper.
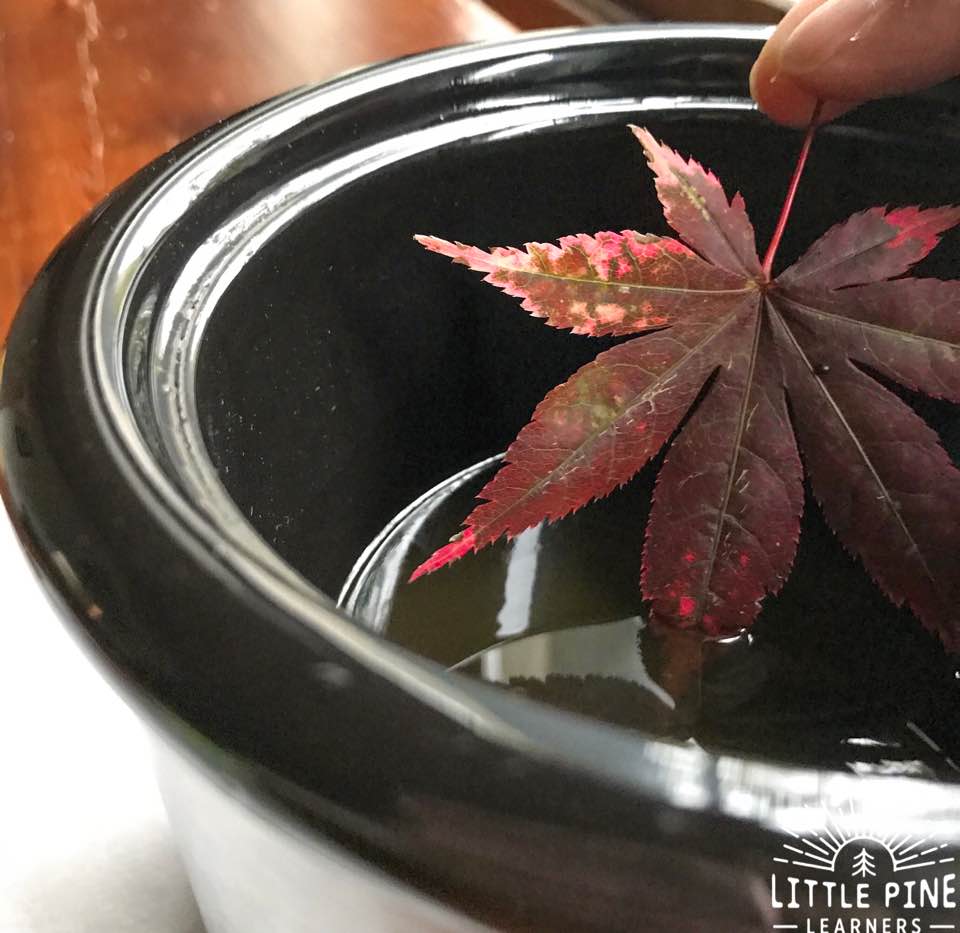
Step 4: Gently Shake Off the Excess Beeswax
Hold the leaf up for a few seconds and let the the excess beeswax drip off the leaf. You might want to give it a little shake too.
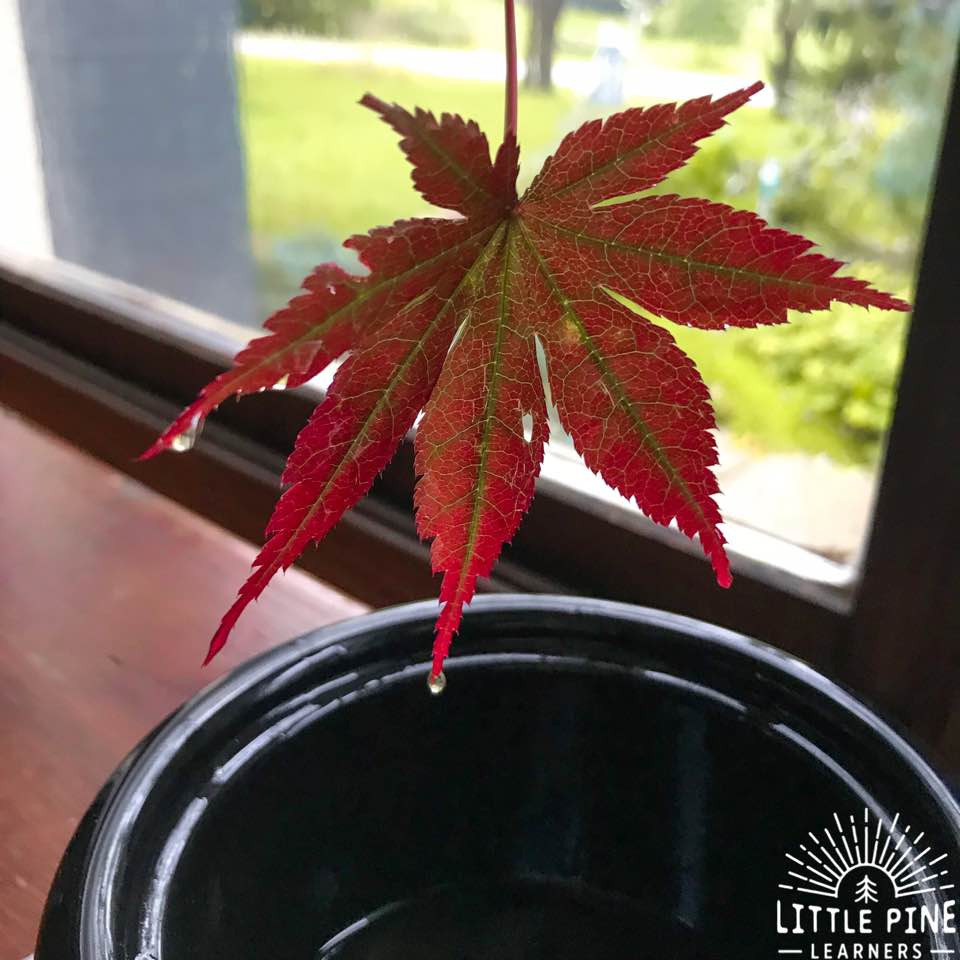
Step 5: Dry the Leaves
Let the leaves dry on the wax paper.
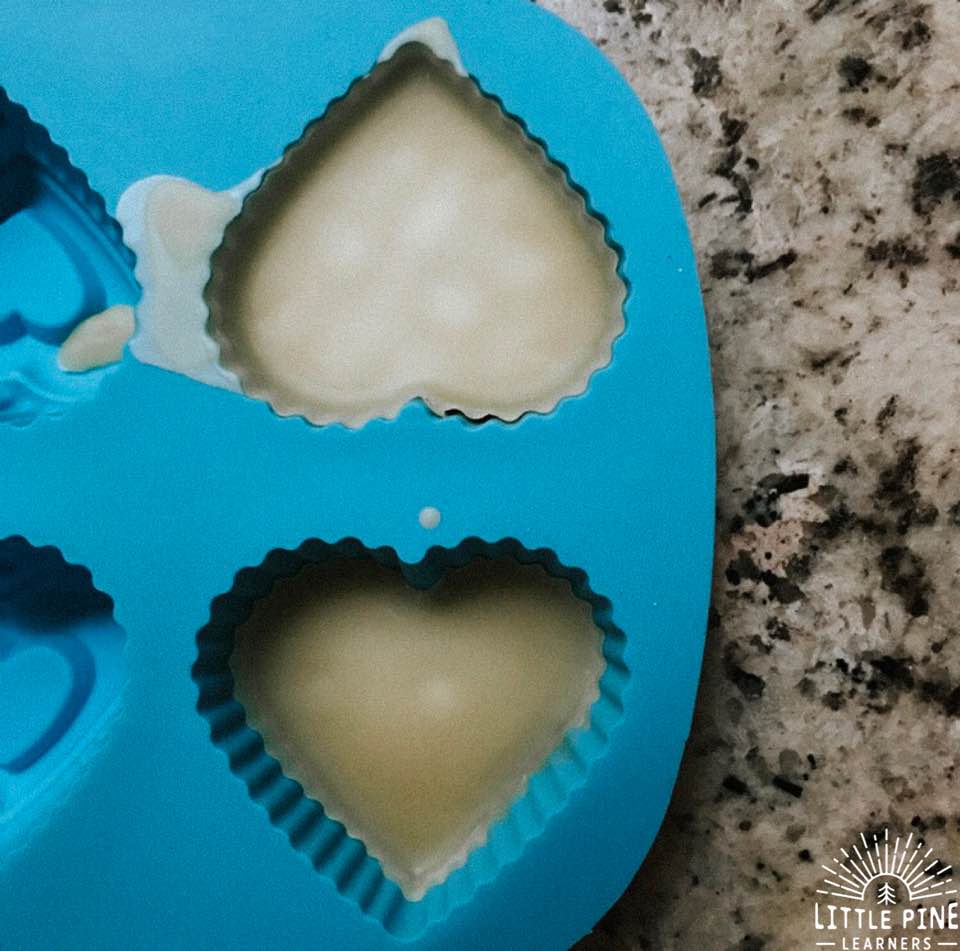
And here’s a quick tip! You can pour your slightly cooled down liquid beeswax in a silicone cupcake or ice cube mold and let it harden. Once it’s a solid again, you can pop them out and put the chunks in a ziplock bag to save until next year.
How to Use Your Leaves:
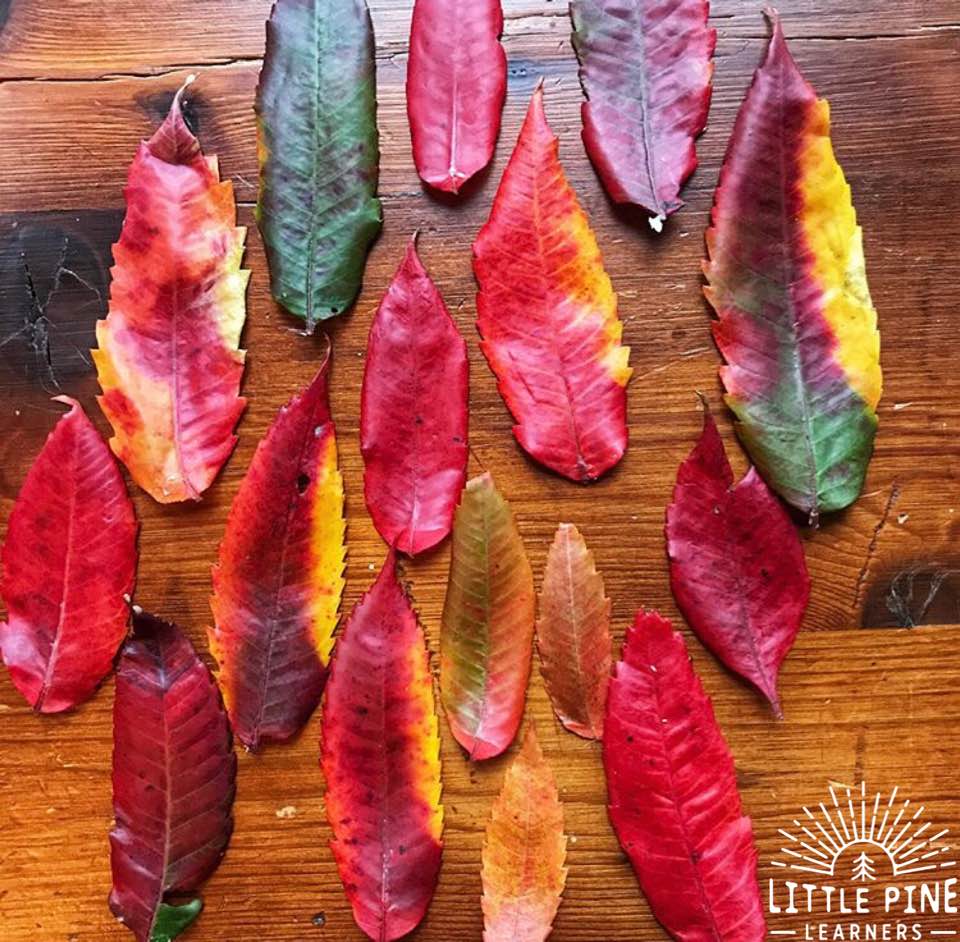
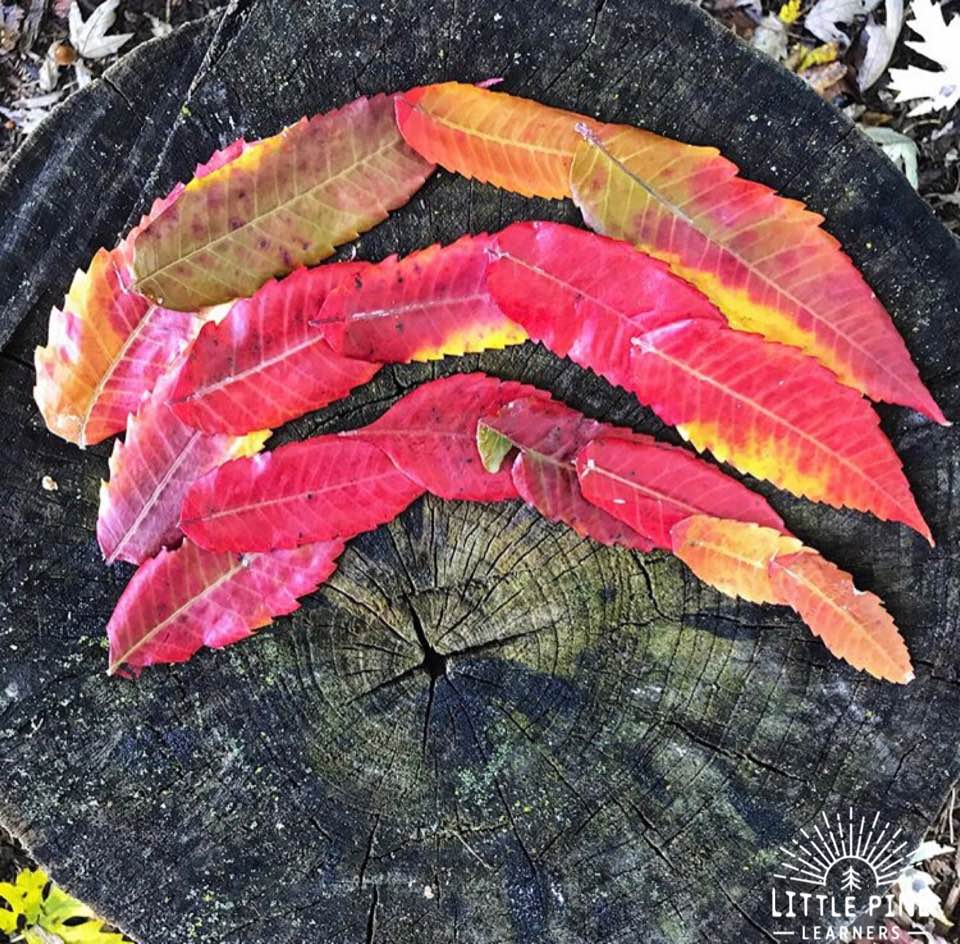
We loved using the sumac for transient art and loose parts activities. They were so beautiful and were just begging to be played with. My son loved organizing them by color, counting them and making designs with them.
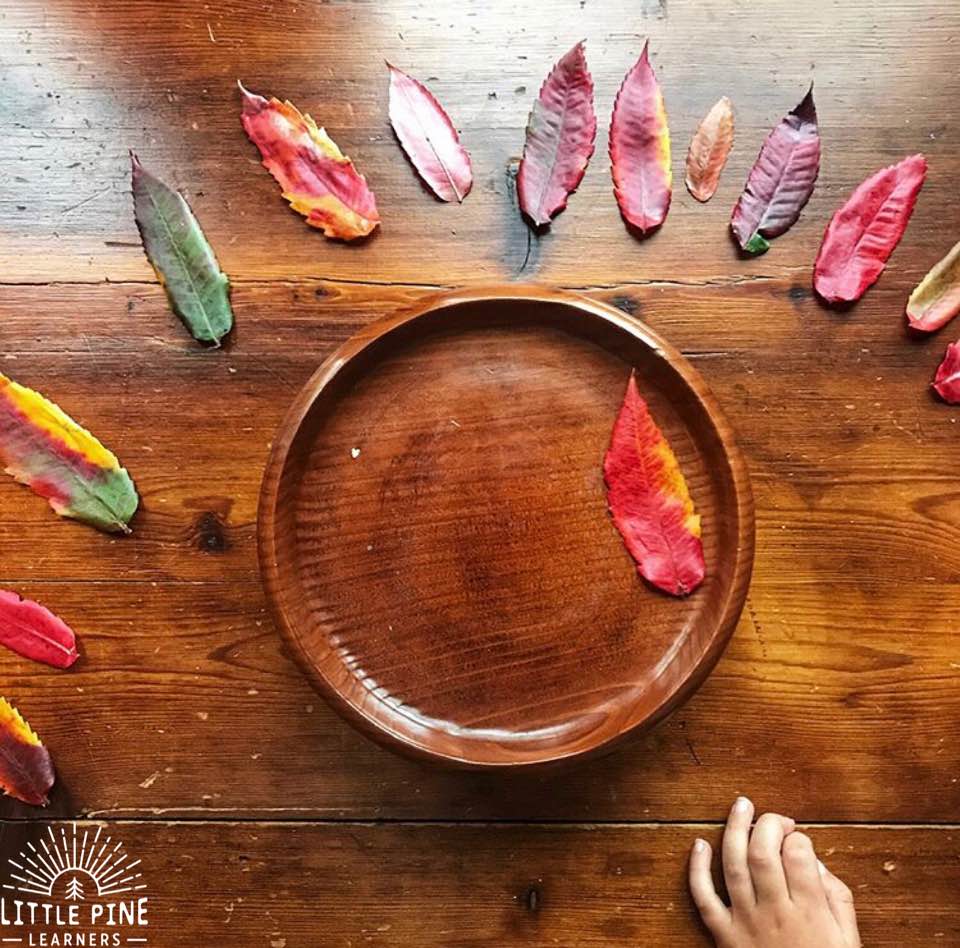
I had to show my son how to be gentle with the leaves because the beeswax can flake off if you are rough with them.
We even brought them outside the following days and he played with them on a tree stump.
The maple leaves were perfect for hanging from garland! They look so beautiful and beeswax not only preserves the colors, but helps them stay flat and not curl up.
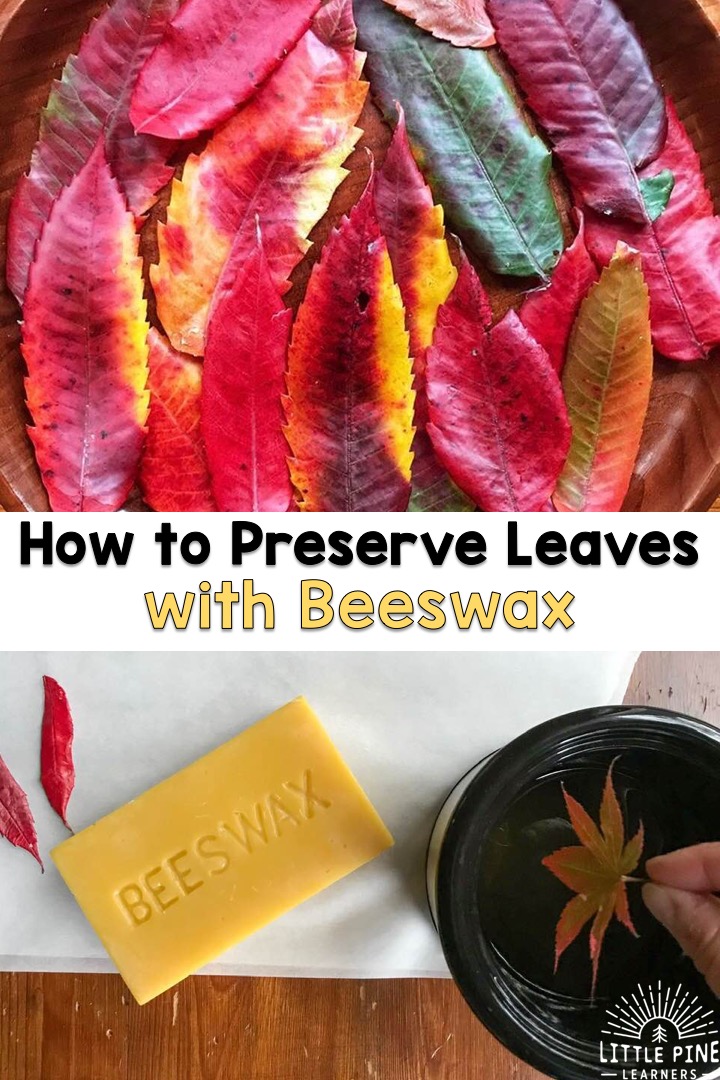
Save it for later and Pin it!
Now that you know how to preserve leaves, I hope you give it a try! I promise, your little nature lovers will love it as much as my boys.
∼Tara
