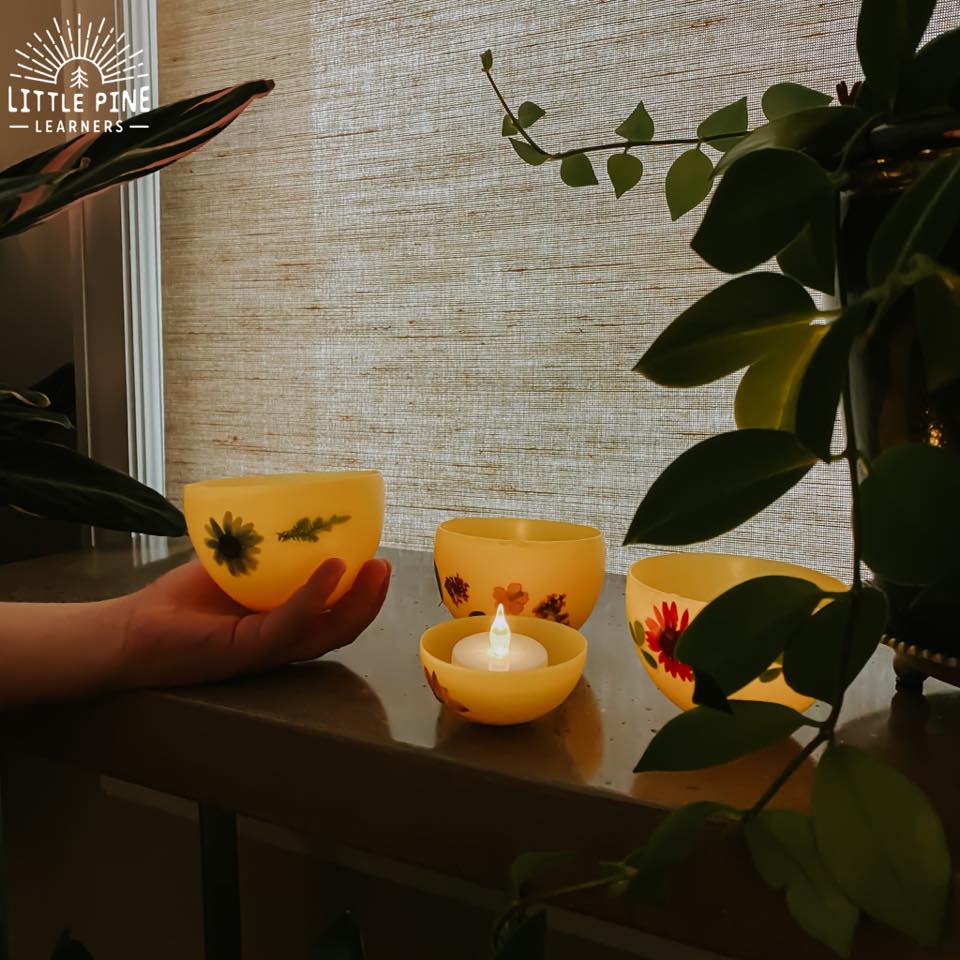
These DIY bowls made of beeswax are so fun to make and look gorgeous when complete! They are functional and can hold little trinkets or look beautiful with a flameless candle. These make a great gift or decoration for your home!
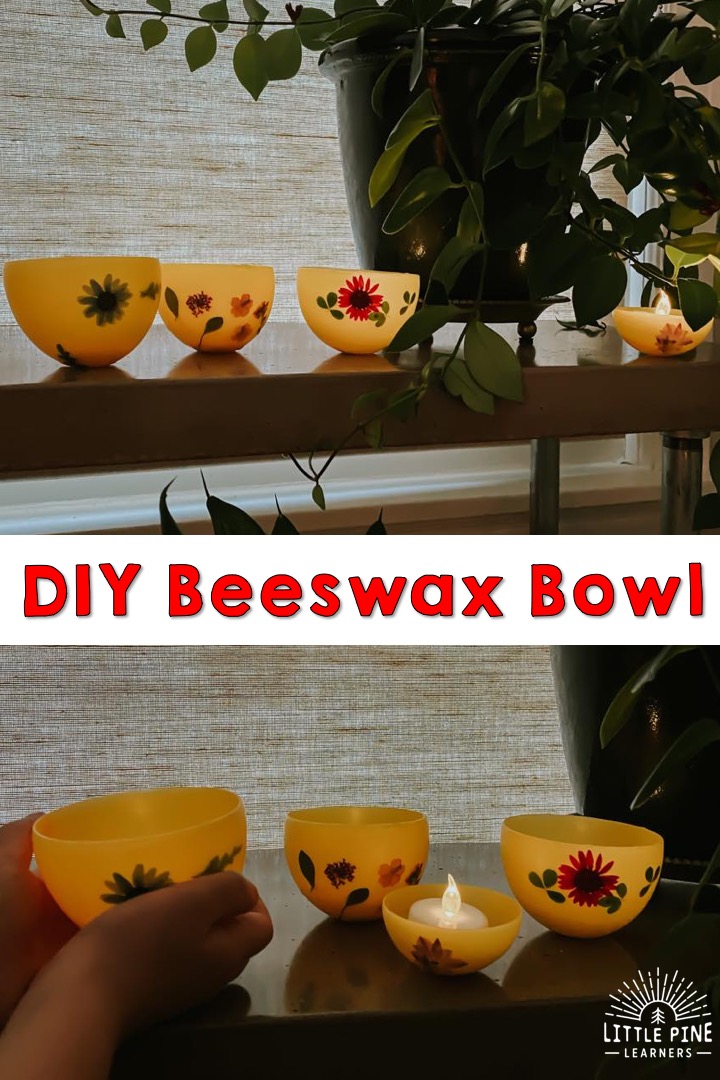
I first saw these DIY bowls made of beeswax over at Woven Childhood on Instagram and then I quickly tumbled down the Pinterest rabbit hole to find the easiest way for me to make these beauties! There are a few step involved, but they are incredibly easy to make!
Ready to make a beeswax bowl or two? Here’s what you’ll need….
Supplies for the DIY Bowls:
- Beeswax– I like this brand of yellow pellets.
- Mini Crock pot– I have a mini crock pot designated for beeswax crafts! We use beeswax quite a bit, so when we are done using it I just let it harden in the Crock Pot and save it for another day. This seems to be the perfect size for all of my beeswax crafts. I don’t suggest using one that is bigger because you will need to use A LOT of beeswax to fill it up. I purchased my Crock Pot at a second hand store, but it is also available on Amazon. If you don’t want to invest in a Crock Pot, many people use a double boiler for this craft.
- Pressed flowers and leaves– If you don’t have any on hand, you can also purchase these on Amazon. I use these for a TON of crafts!
- Water balloons
- Glue– I used Tacky glue, but think typical Elmers glue will work too.
- Flameless candles
This post contains Affiliate links for your convenience.
Here’s How We Made Our DIY Bowls:
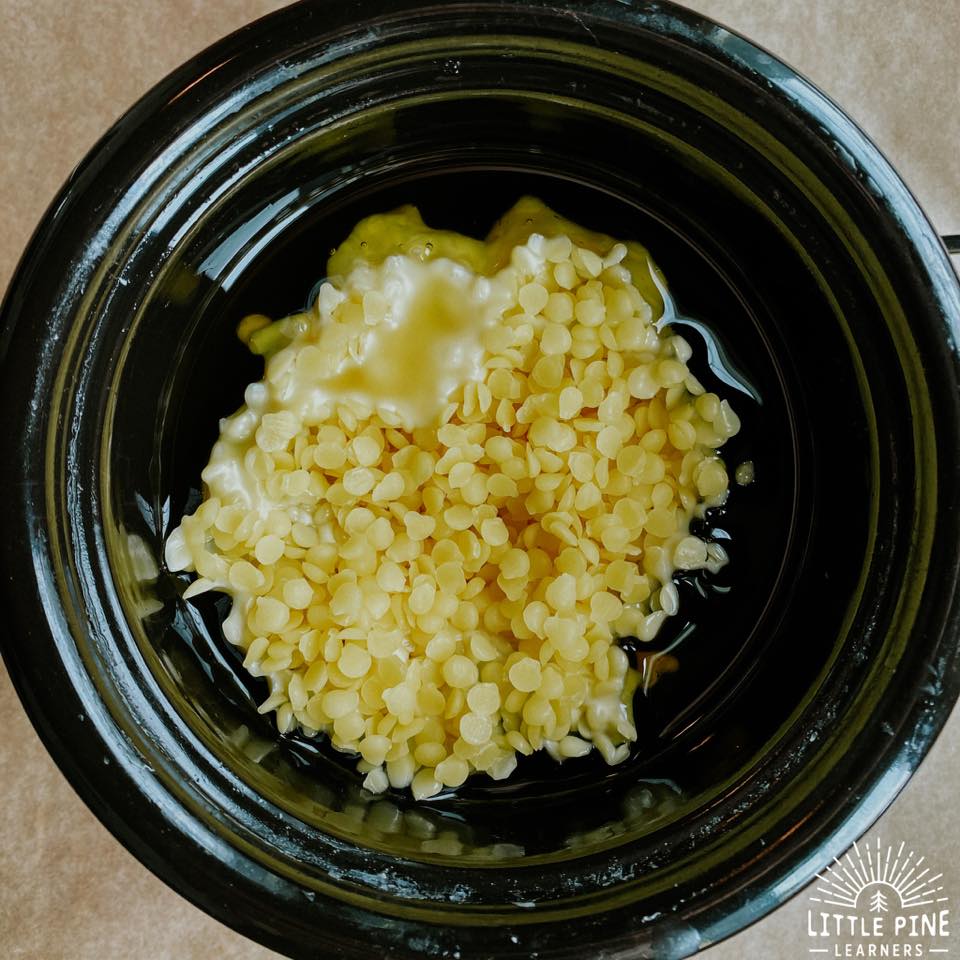
First melt your beeswax. It takes about 30 minutes for about half the bag to melt in the Crock Pot. Don’t fill your entire Crock Pot with beeswax or it will overflow when you dip your balloons!
I like using a Crock Pot for this craft because it’s safer than on the stovetop and I feel more comfortable with my boys helping!
Step 2:
Fill a water balloon with water. Never use a balloon filled with air because you sill pop it! Make sure your water balloons are skinnier than your Crock Pot, so they don’t hit the sides during the dipping process.
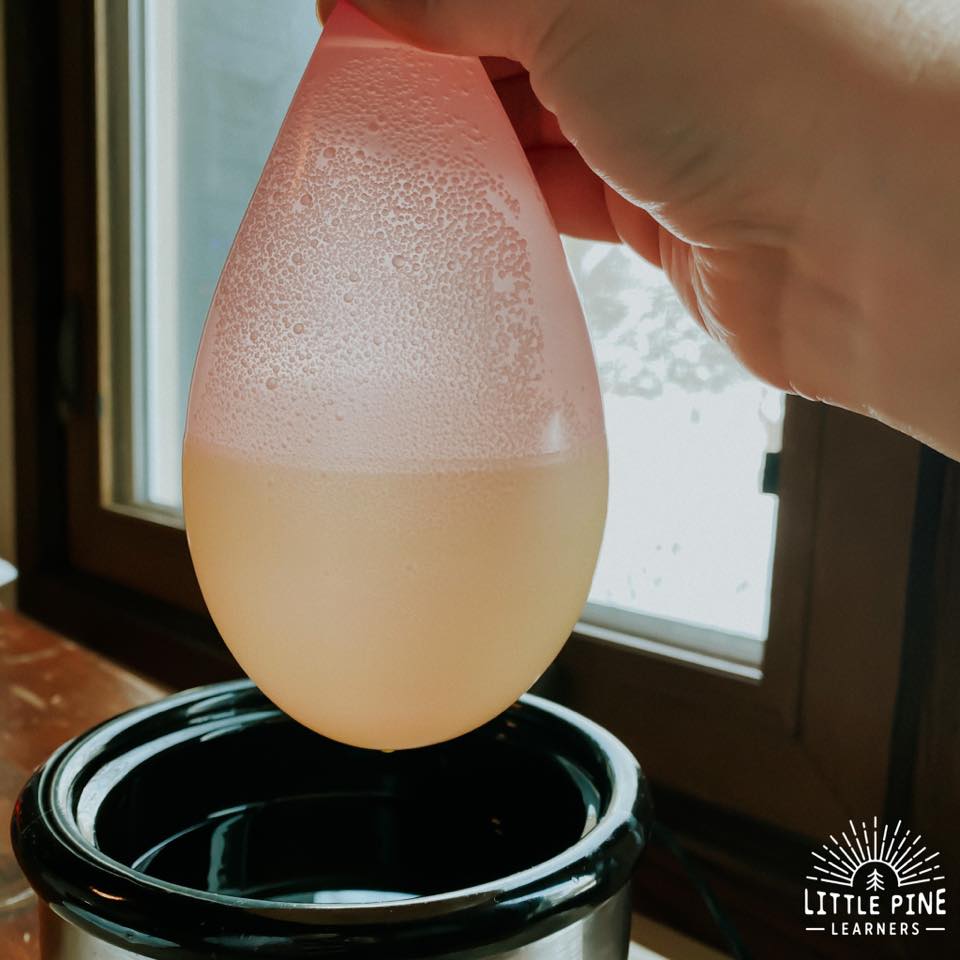
Dip your water ballon about 15 times in the beeswax to the same level. You can dip it more if you want to make a stronger bowl.
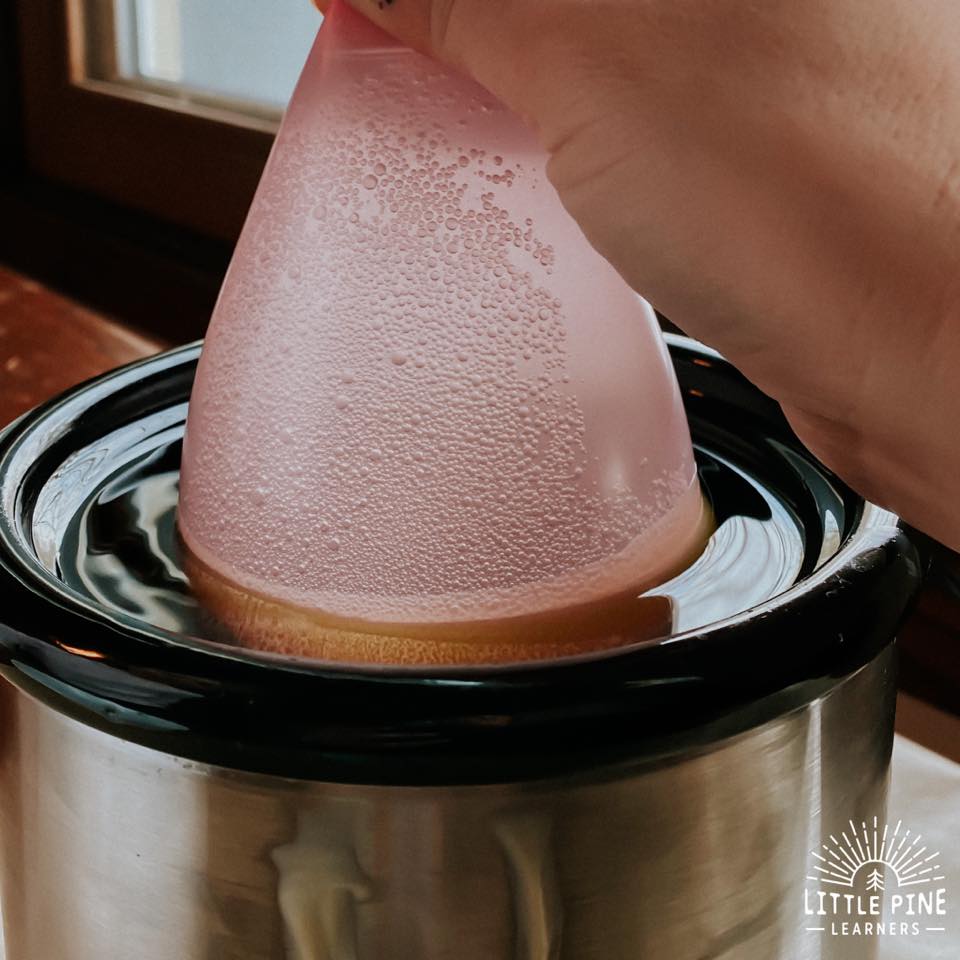
In between dips, let the beeswax dry for about 10 seconds or until the beeswax stops dripping. Give your DIY bowl about 5 minutes to dry after this step.
Step 3:
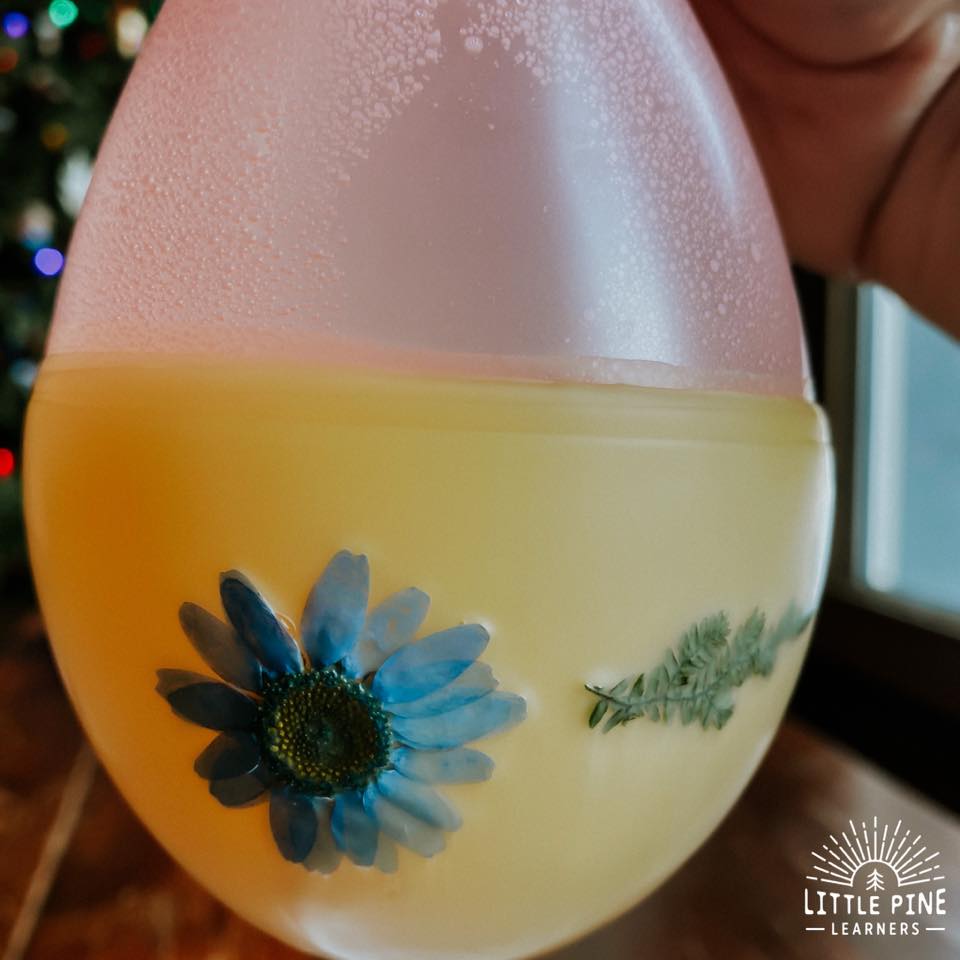
Now it’s time to decorate your beeswax bowl with dried pieces of nature! If you don’t have any on hand, you can purchase a set of dried flower and leaves from Amazon in the link above.
Add a tiny dab of glue directly on the bowl or pieces of nature.
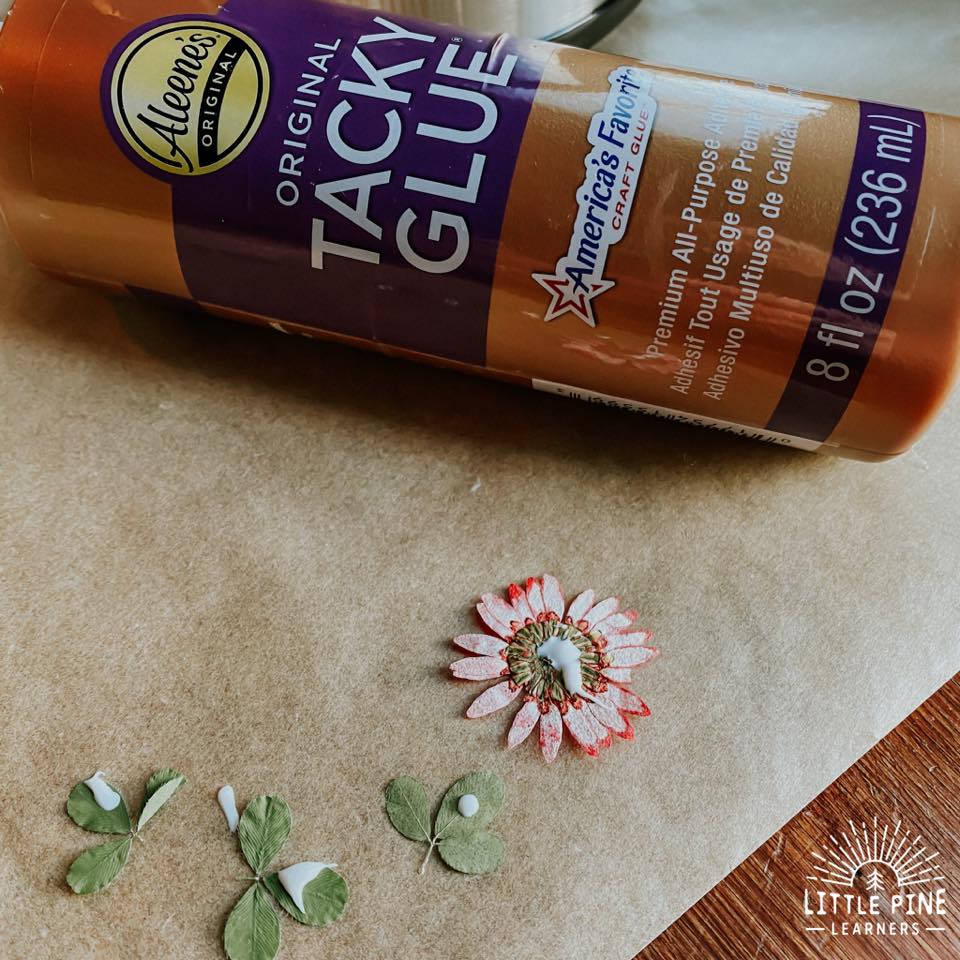
Once they are glued on your bowl, dip your balloon one more time to create a thin layer of beeswax. You don’t want to dip it more than one time, or the pieces of nature will be completely covered and you won’t be able to see them as well. Make sure you completely cover the pieces of nature to preserve them!
Step 4:
Next pop the balloon over the sink, making sure the balloon doesn’t go down the drain. Dry out the beeswax bowl.
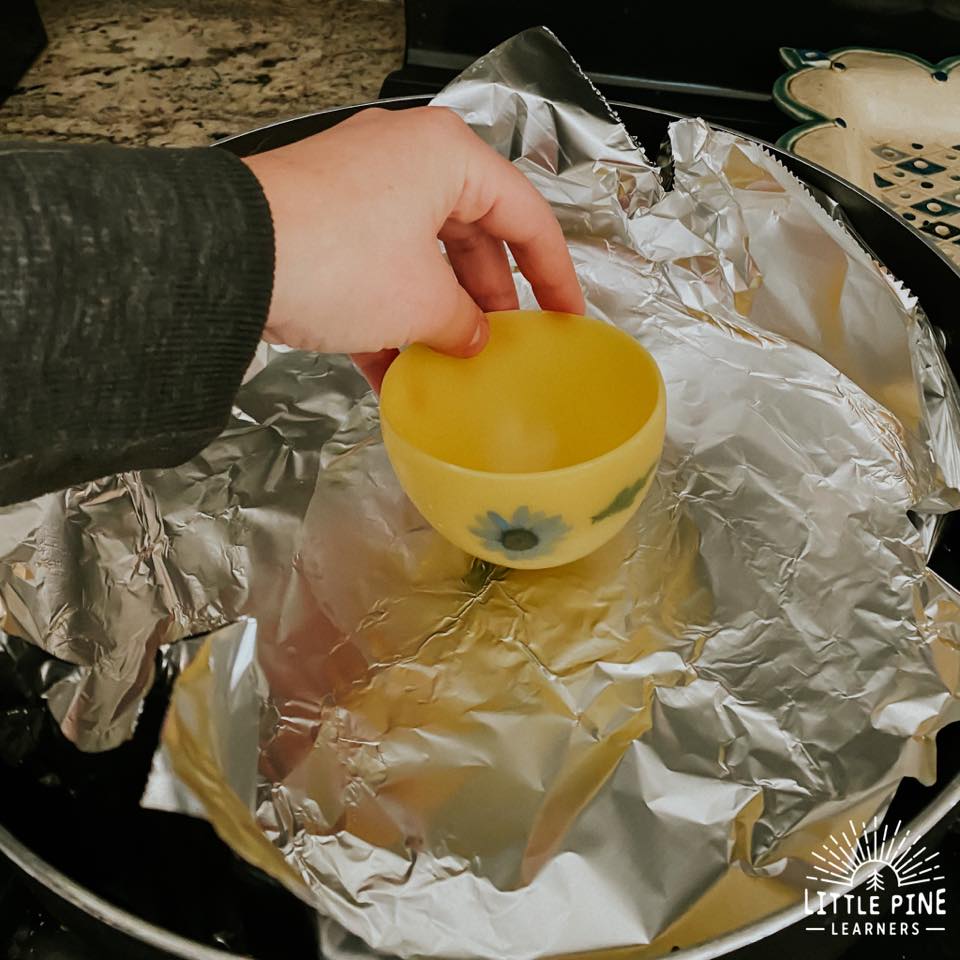
Last, line a pan with foil and heat it on low. After you give the stove top a minute to warm up, quickly run to top edges of the bowl on the warm foil to even the edges.
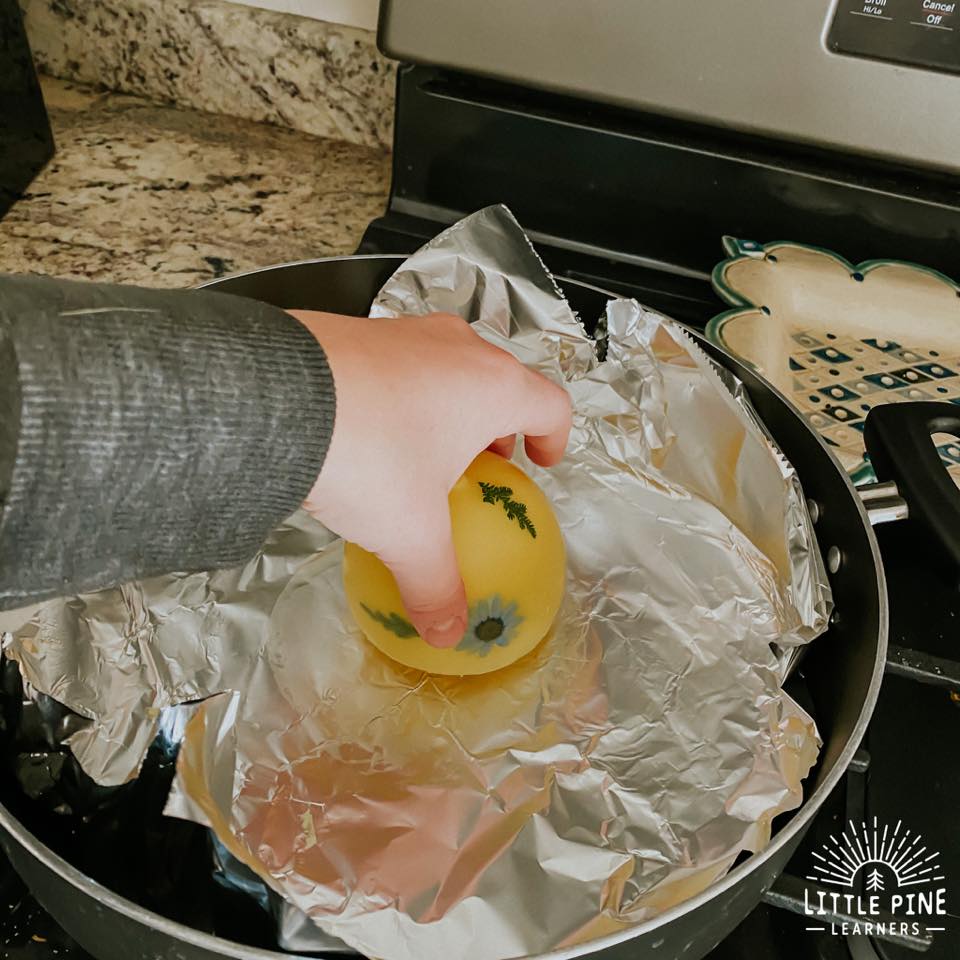
Flip the bowl over and warm the base to give it a small flat surface to sit on.
Your DIY bowls are finished! I like to add a flameless candle to the bowls. The warm glow looks so beautiful!
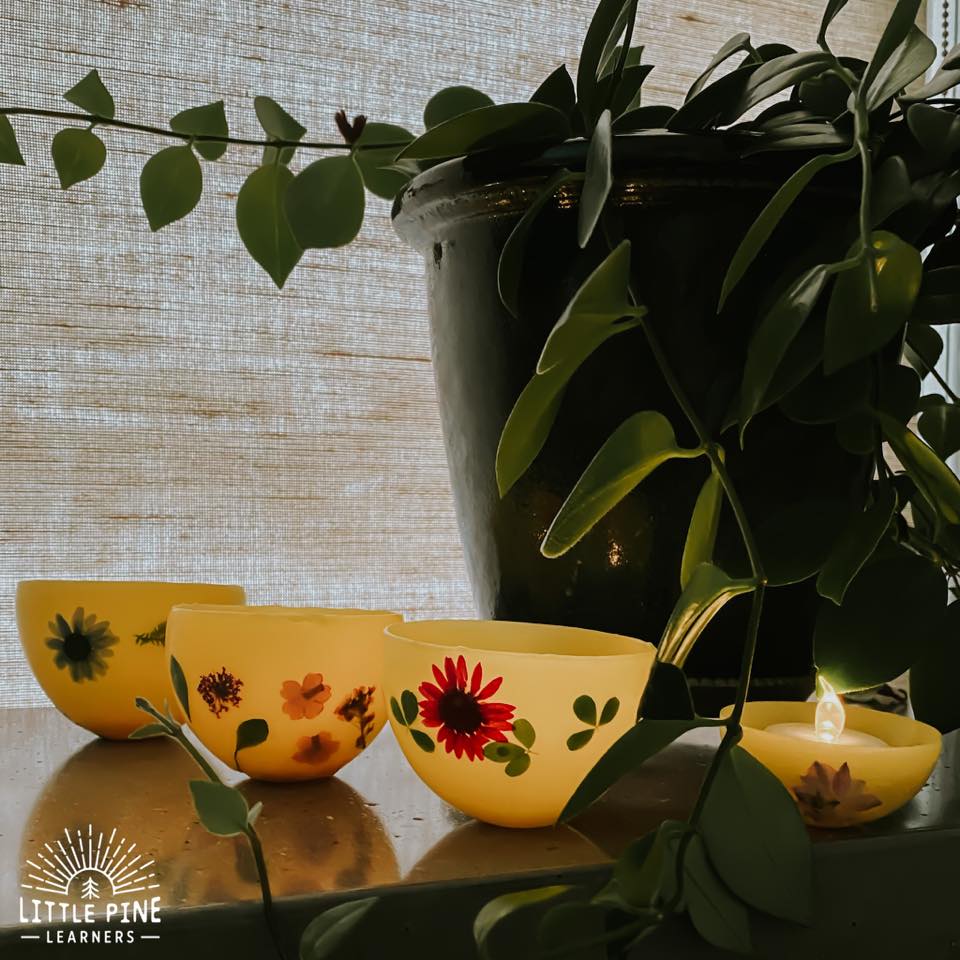
These are a bit delicate, so I taught my boys how to handle them carefully.
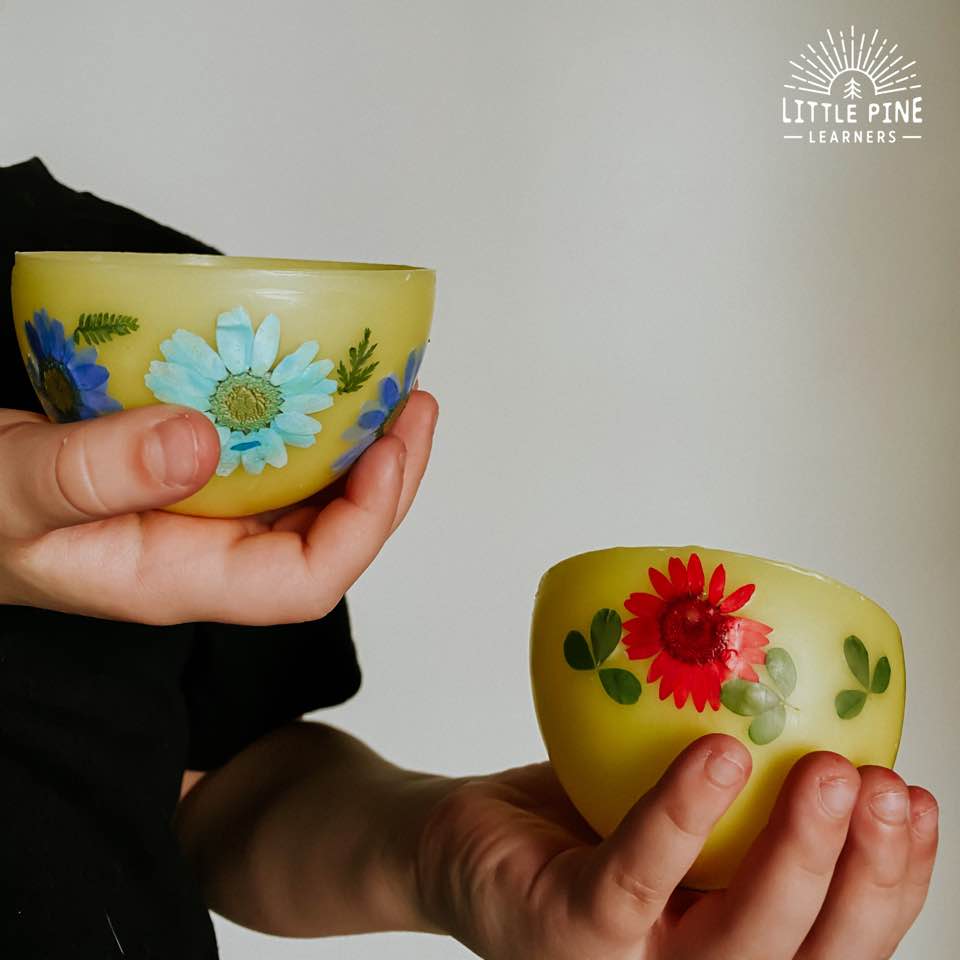
Don’t these make the perfect natural decoration for your home? I hope you love them as much as we do!
Pin this activity to save it for later!
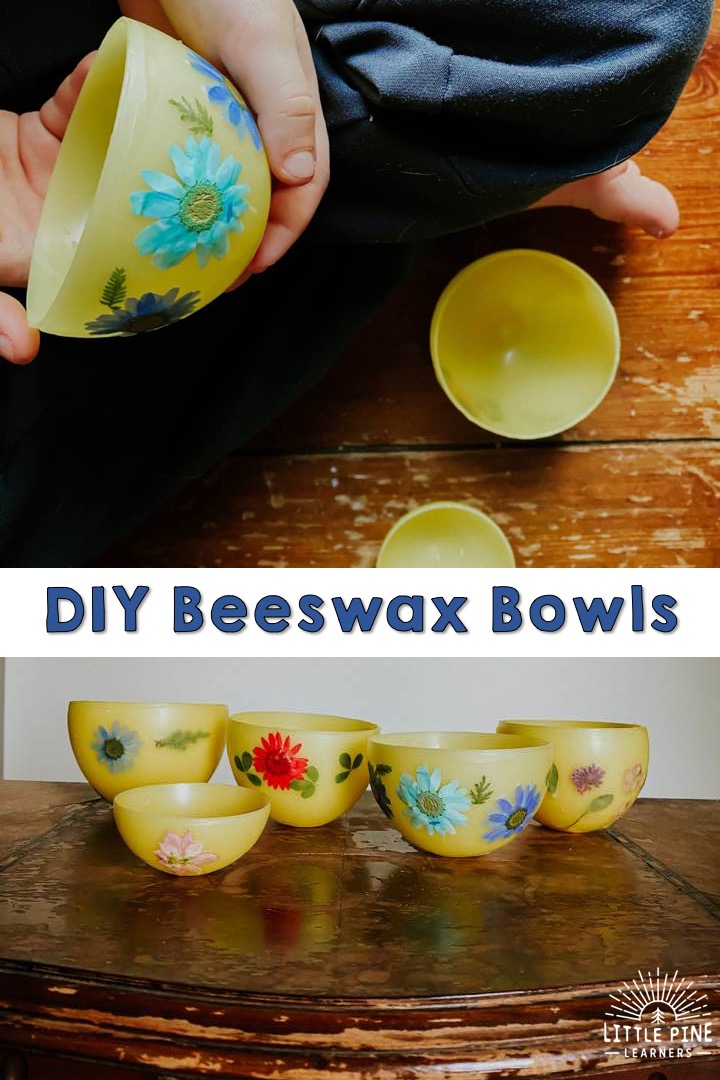
I hope you make some DIY bowls soon! I promise, your little nature lovers will love this craft as my boys.
∼Tara

