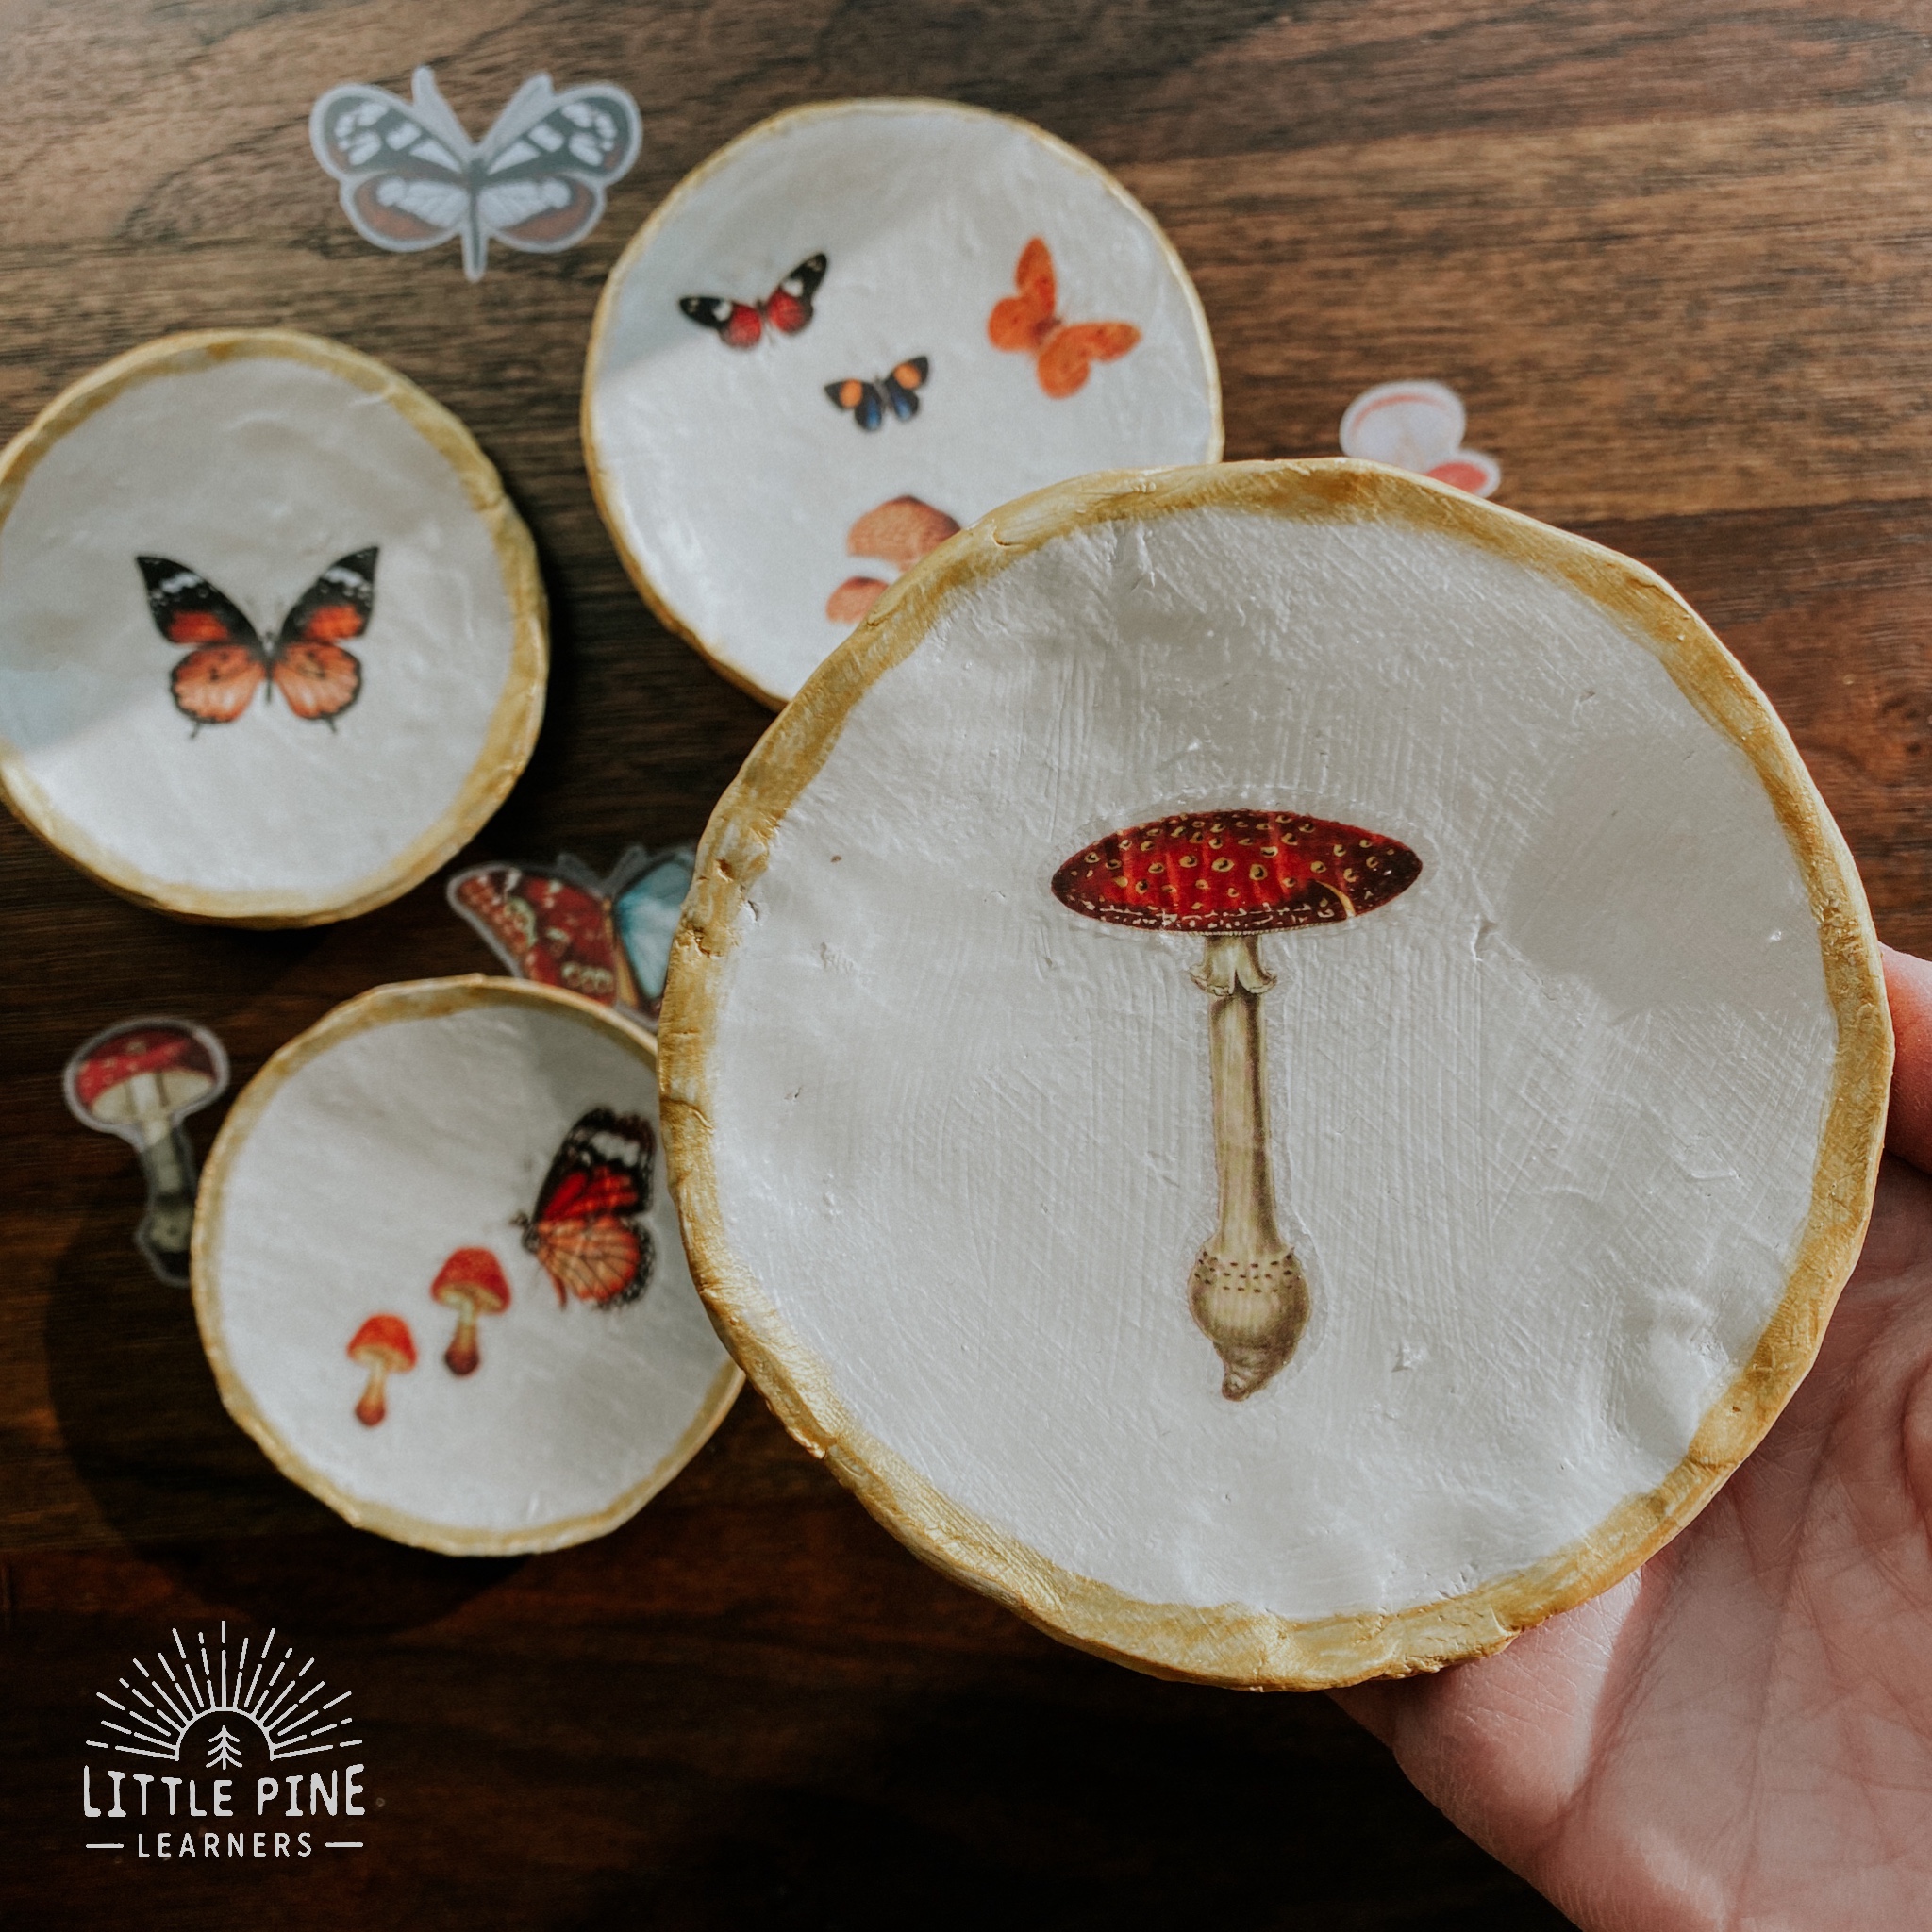
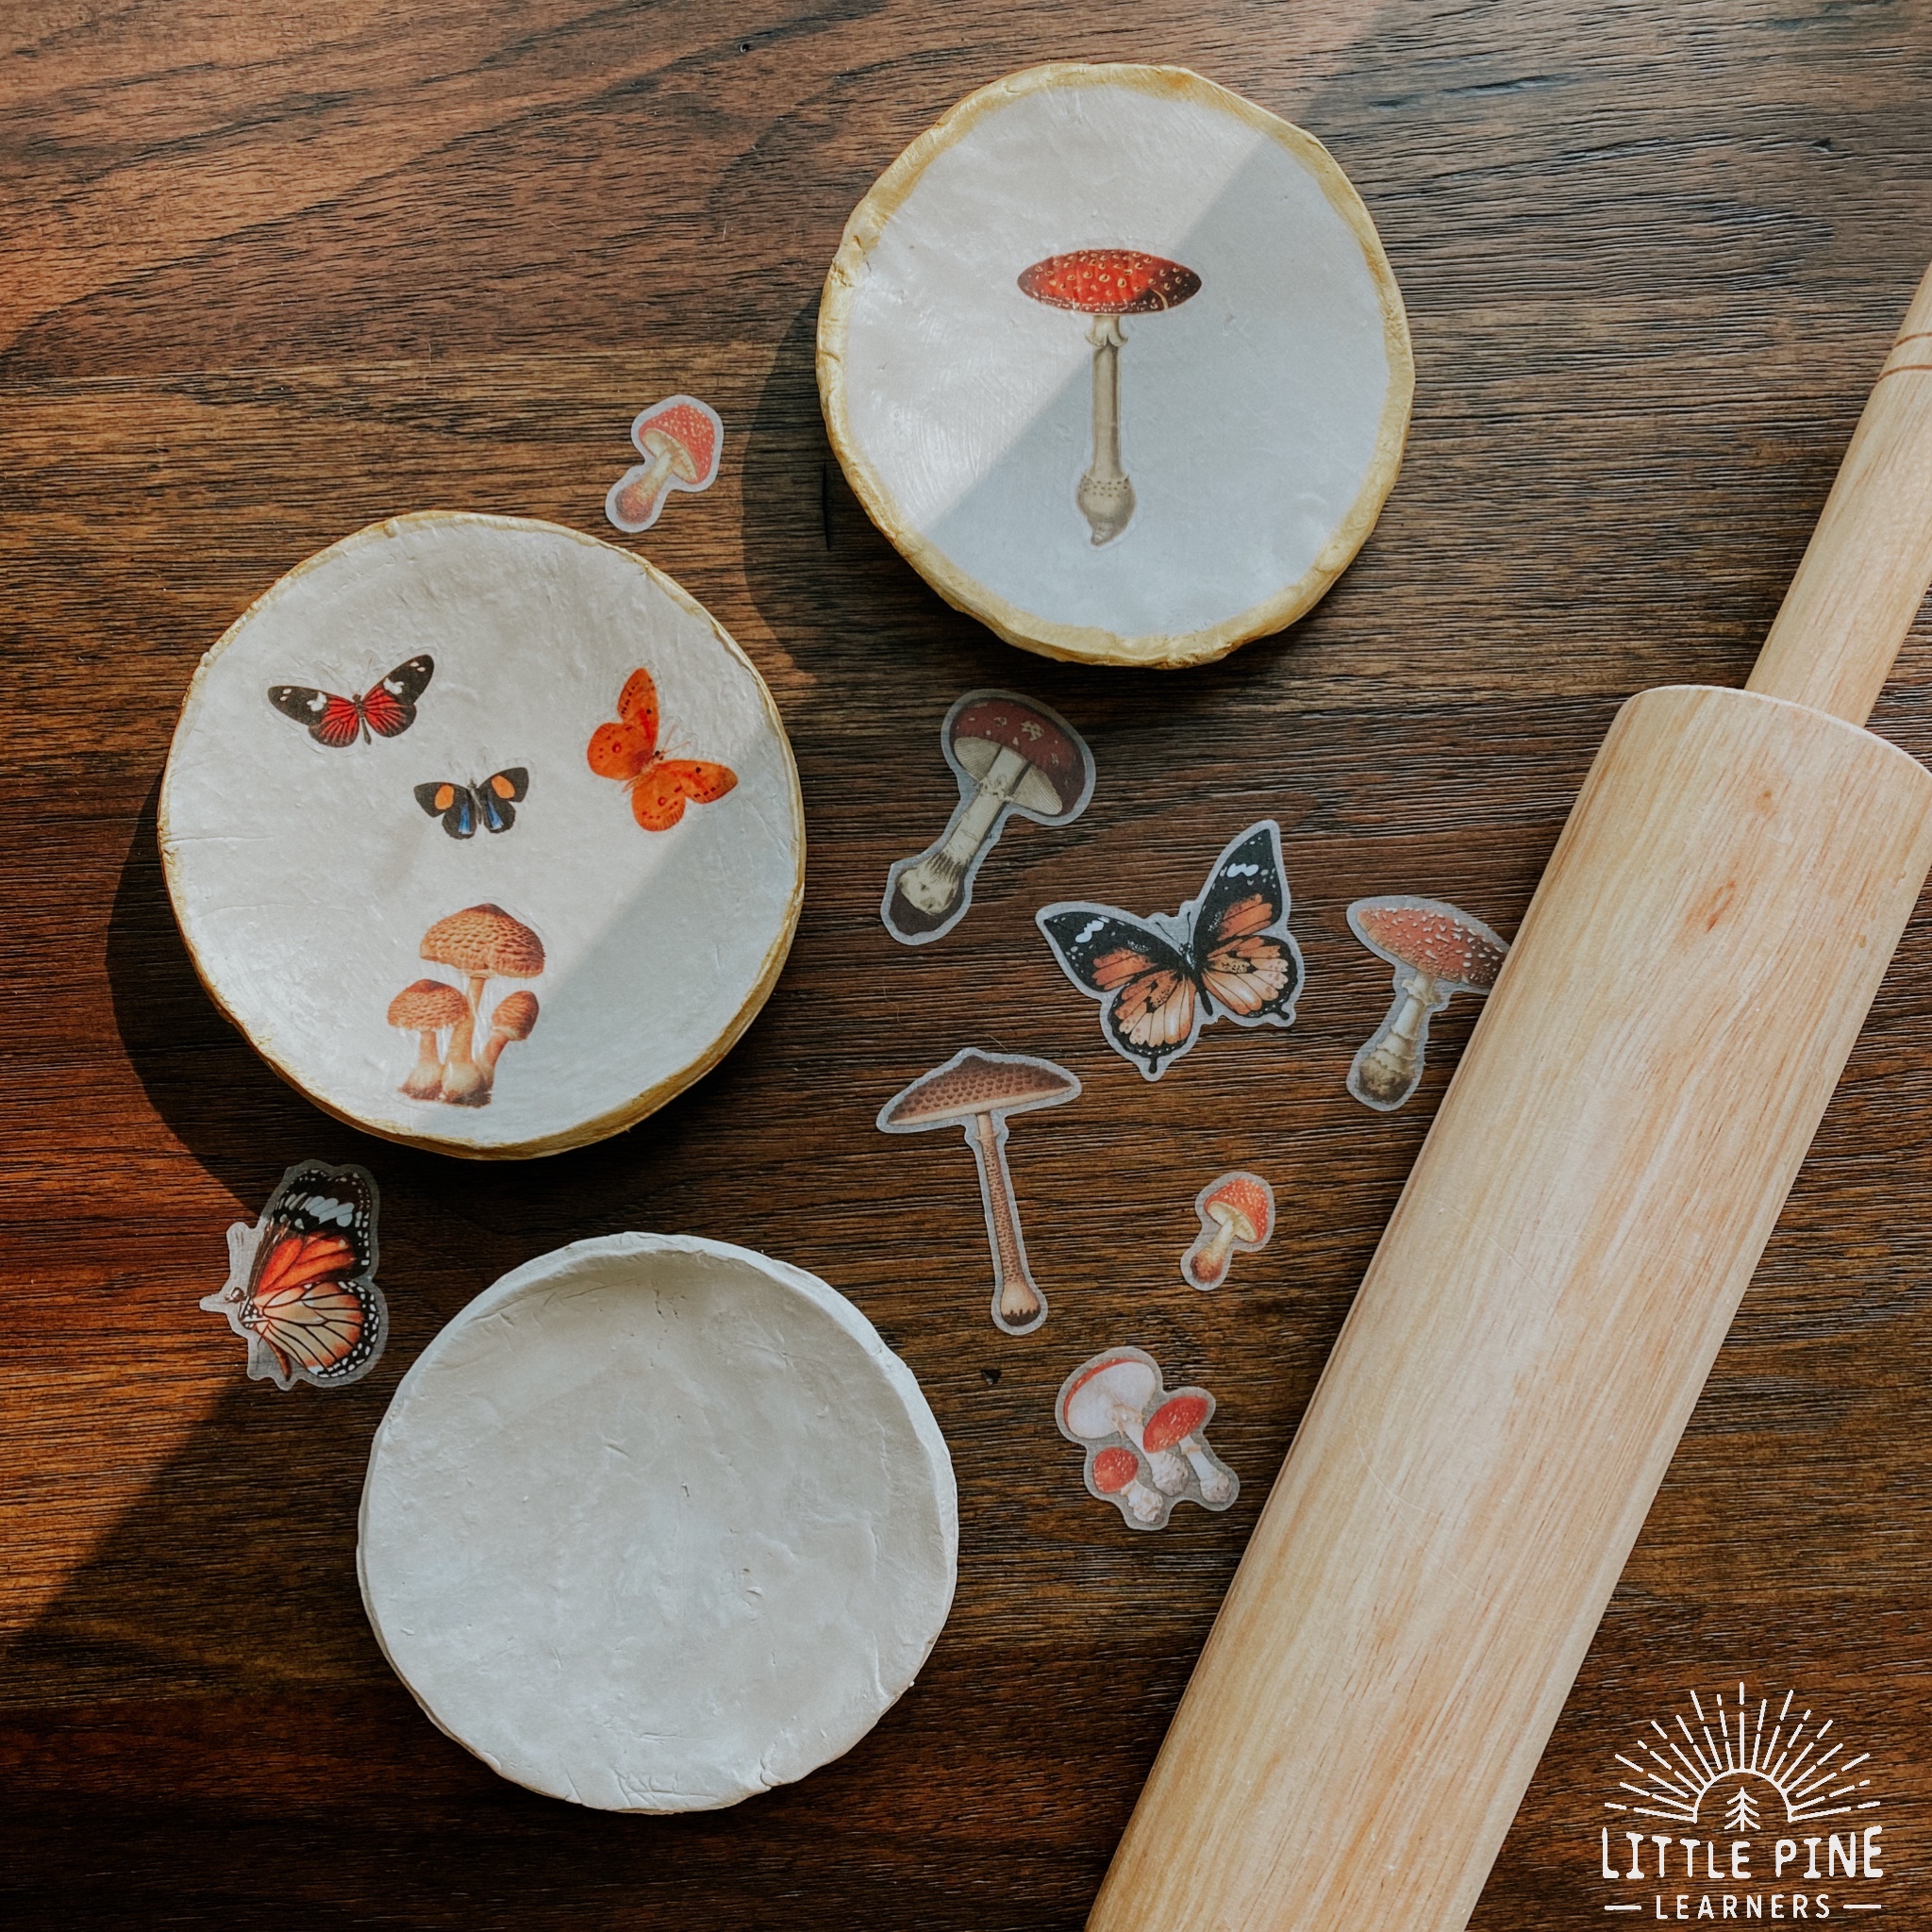
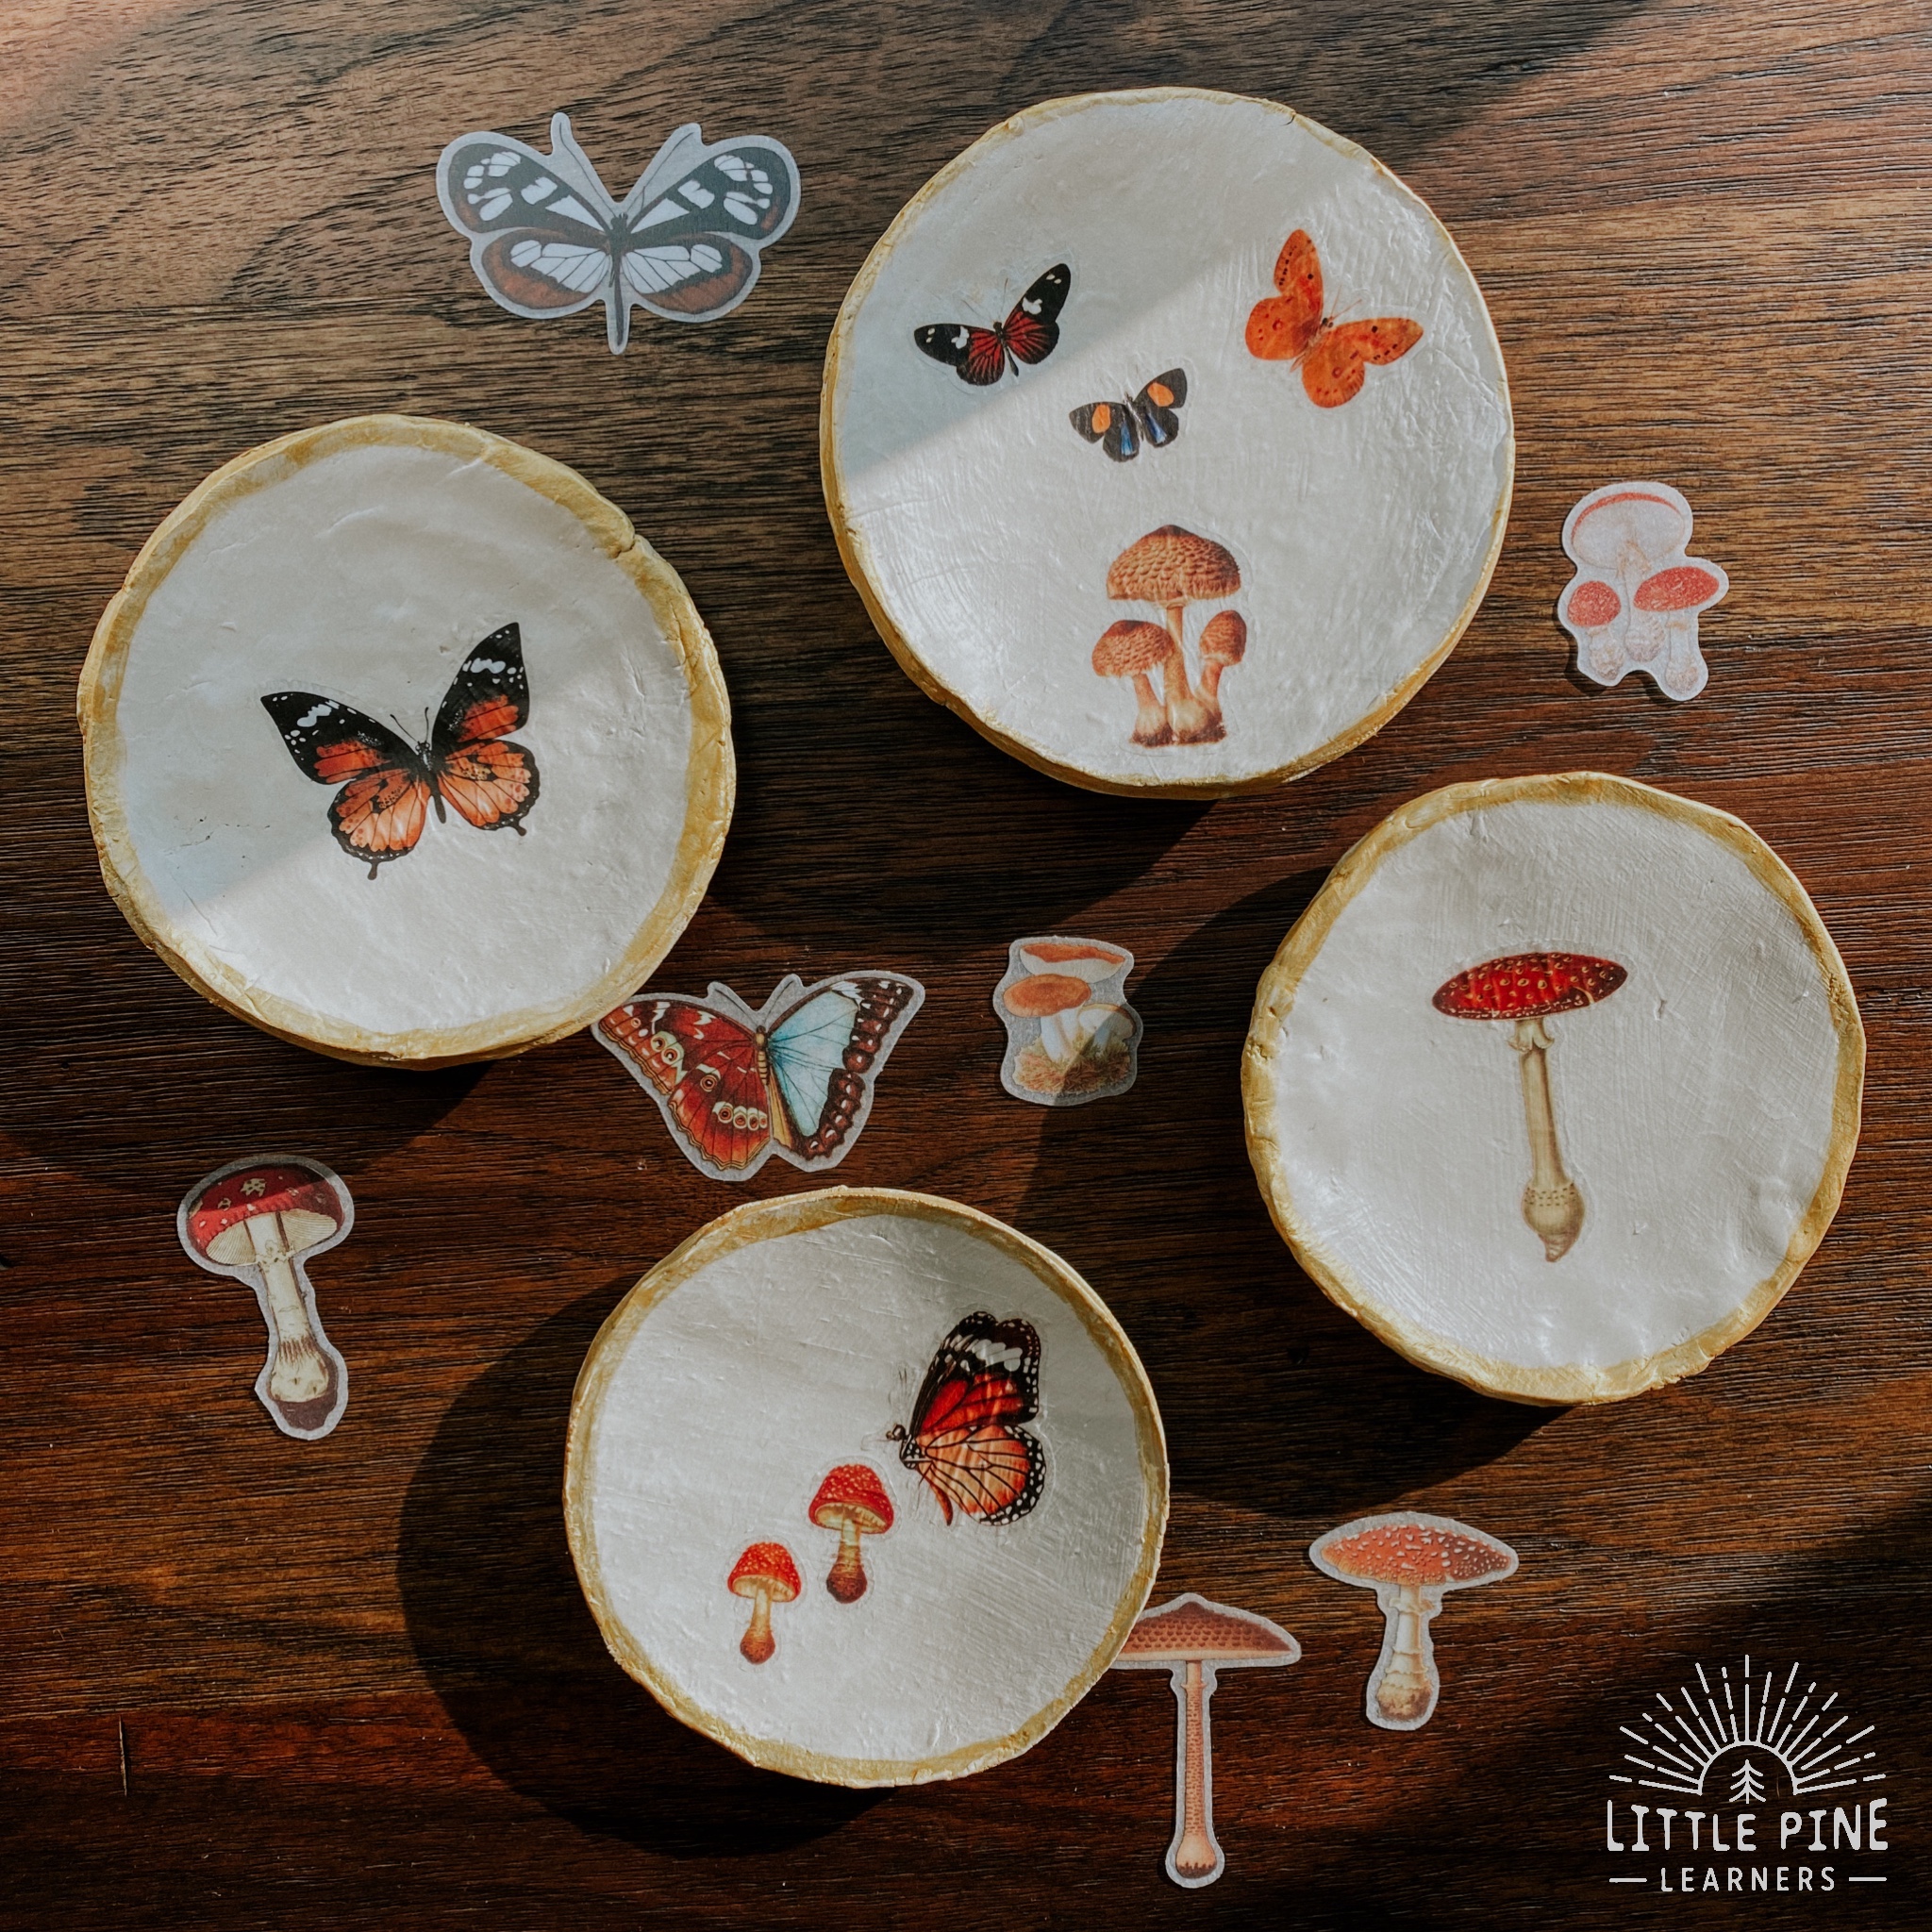
Make a simple and beautiful clay trinket dish for yourself or someone you love. These special stickers mold perfectly on the clay dishes and look beautiful. The stickers look like hand drawn pictures on the clay! This is a great craft for both kids and adults!
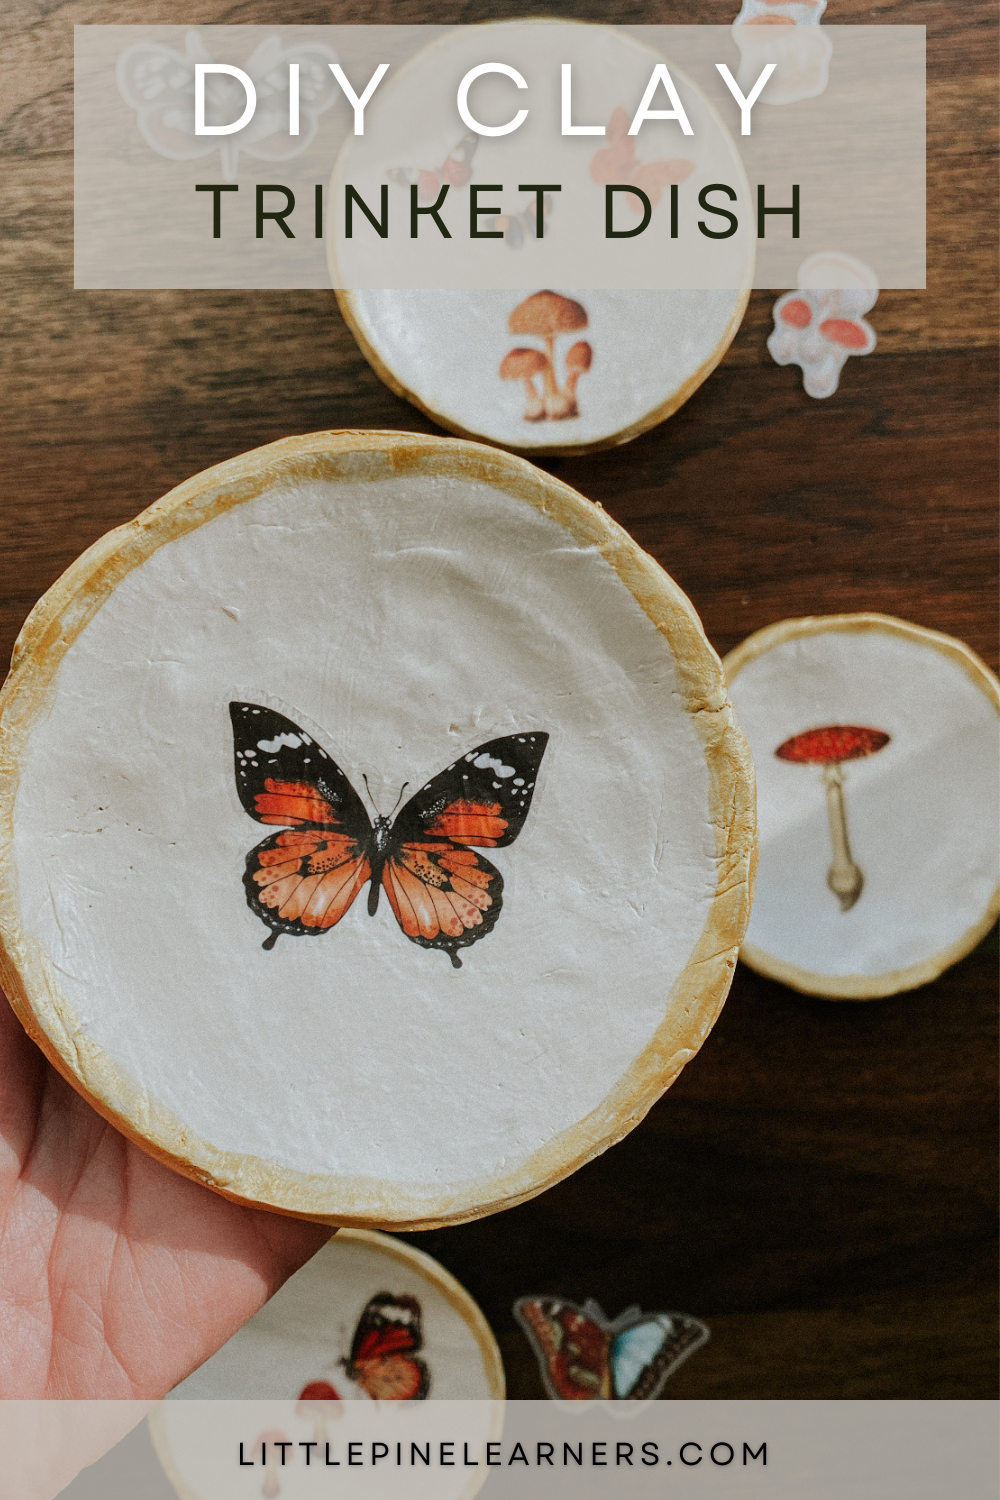
I recently purchased these stickers for my pressed flower magnetic tile DIY activity! I thought mushrooms and butterflies would be fun variations for the project, but quickly realized these stickers didn’t work well for that idea. They have a matte outline around the sticker, which I didn’t love on the clear magnetic tiles.
However, I absolutely LOVED the stickers and started thinking about new ways to use them. I tested them out on different surfaces and thought they were perfect on air dry clay! These stickers are very thin / flexible and the matte surface blends in perfectly with the color and texture of clay.
If you love this craft, you might also love our nature pinch pots!
Ready to make a few dishes? Here’s what you’ll need..
Supplies:
- Air dried clay
- Rolling pin
- Small bowl
- Knife
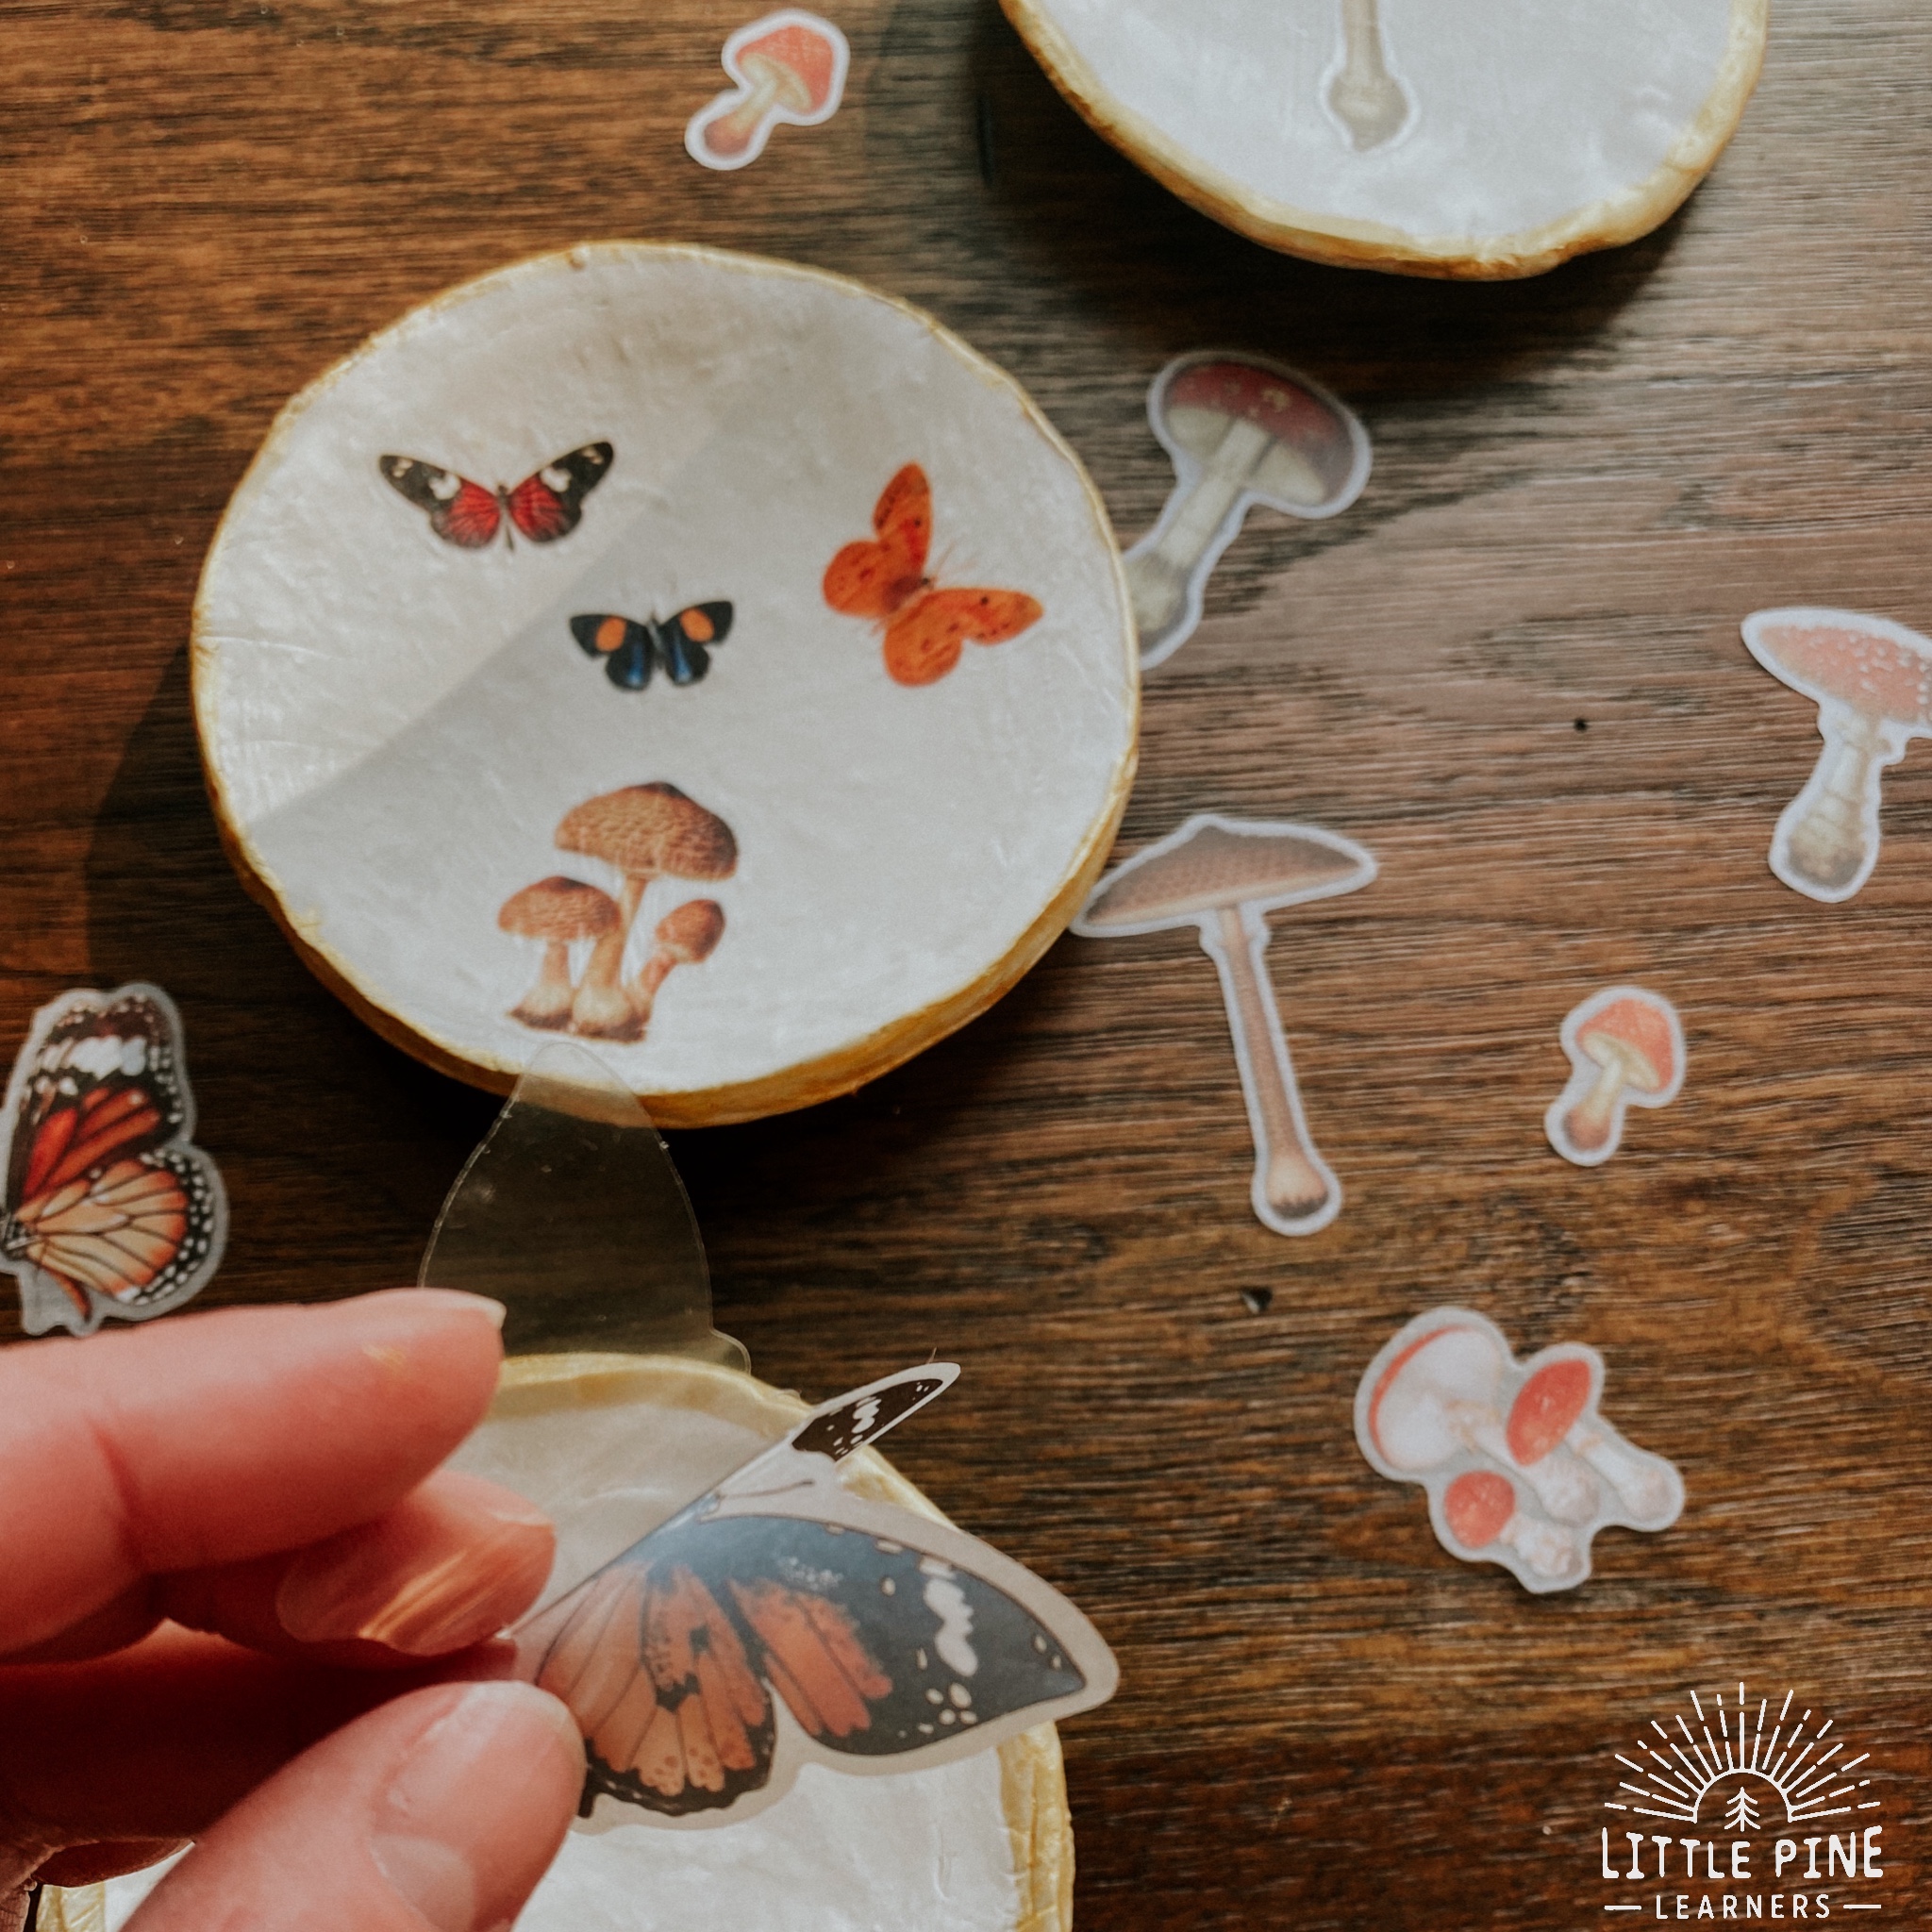
- Stickers- I have these mushroom and butterfly stickers. They are a washi style sticker and are very thin and moldable. I would not use a regular sticker because they would stick out too much and wouldn’t blend in as well with the clay.
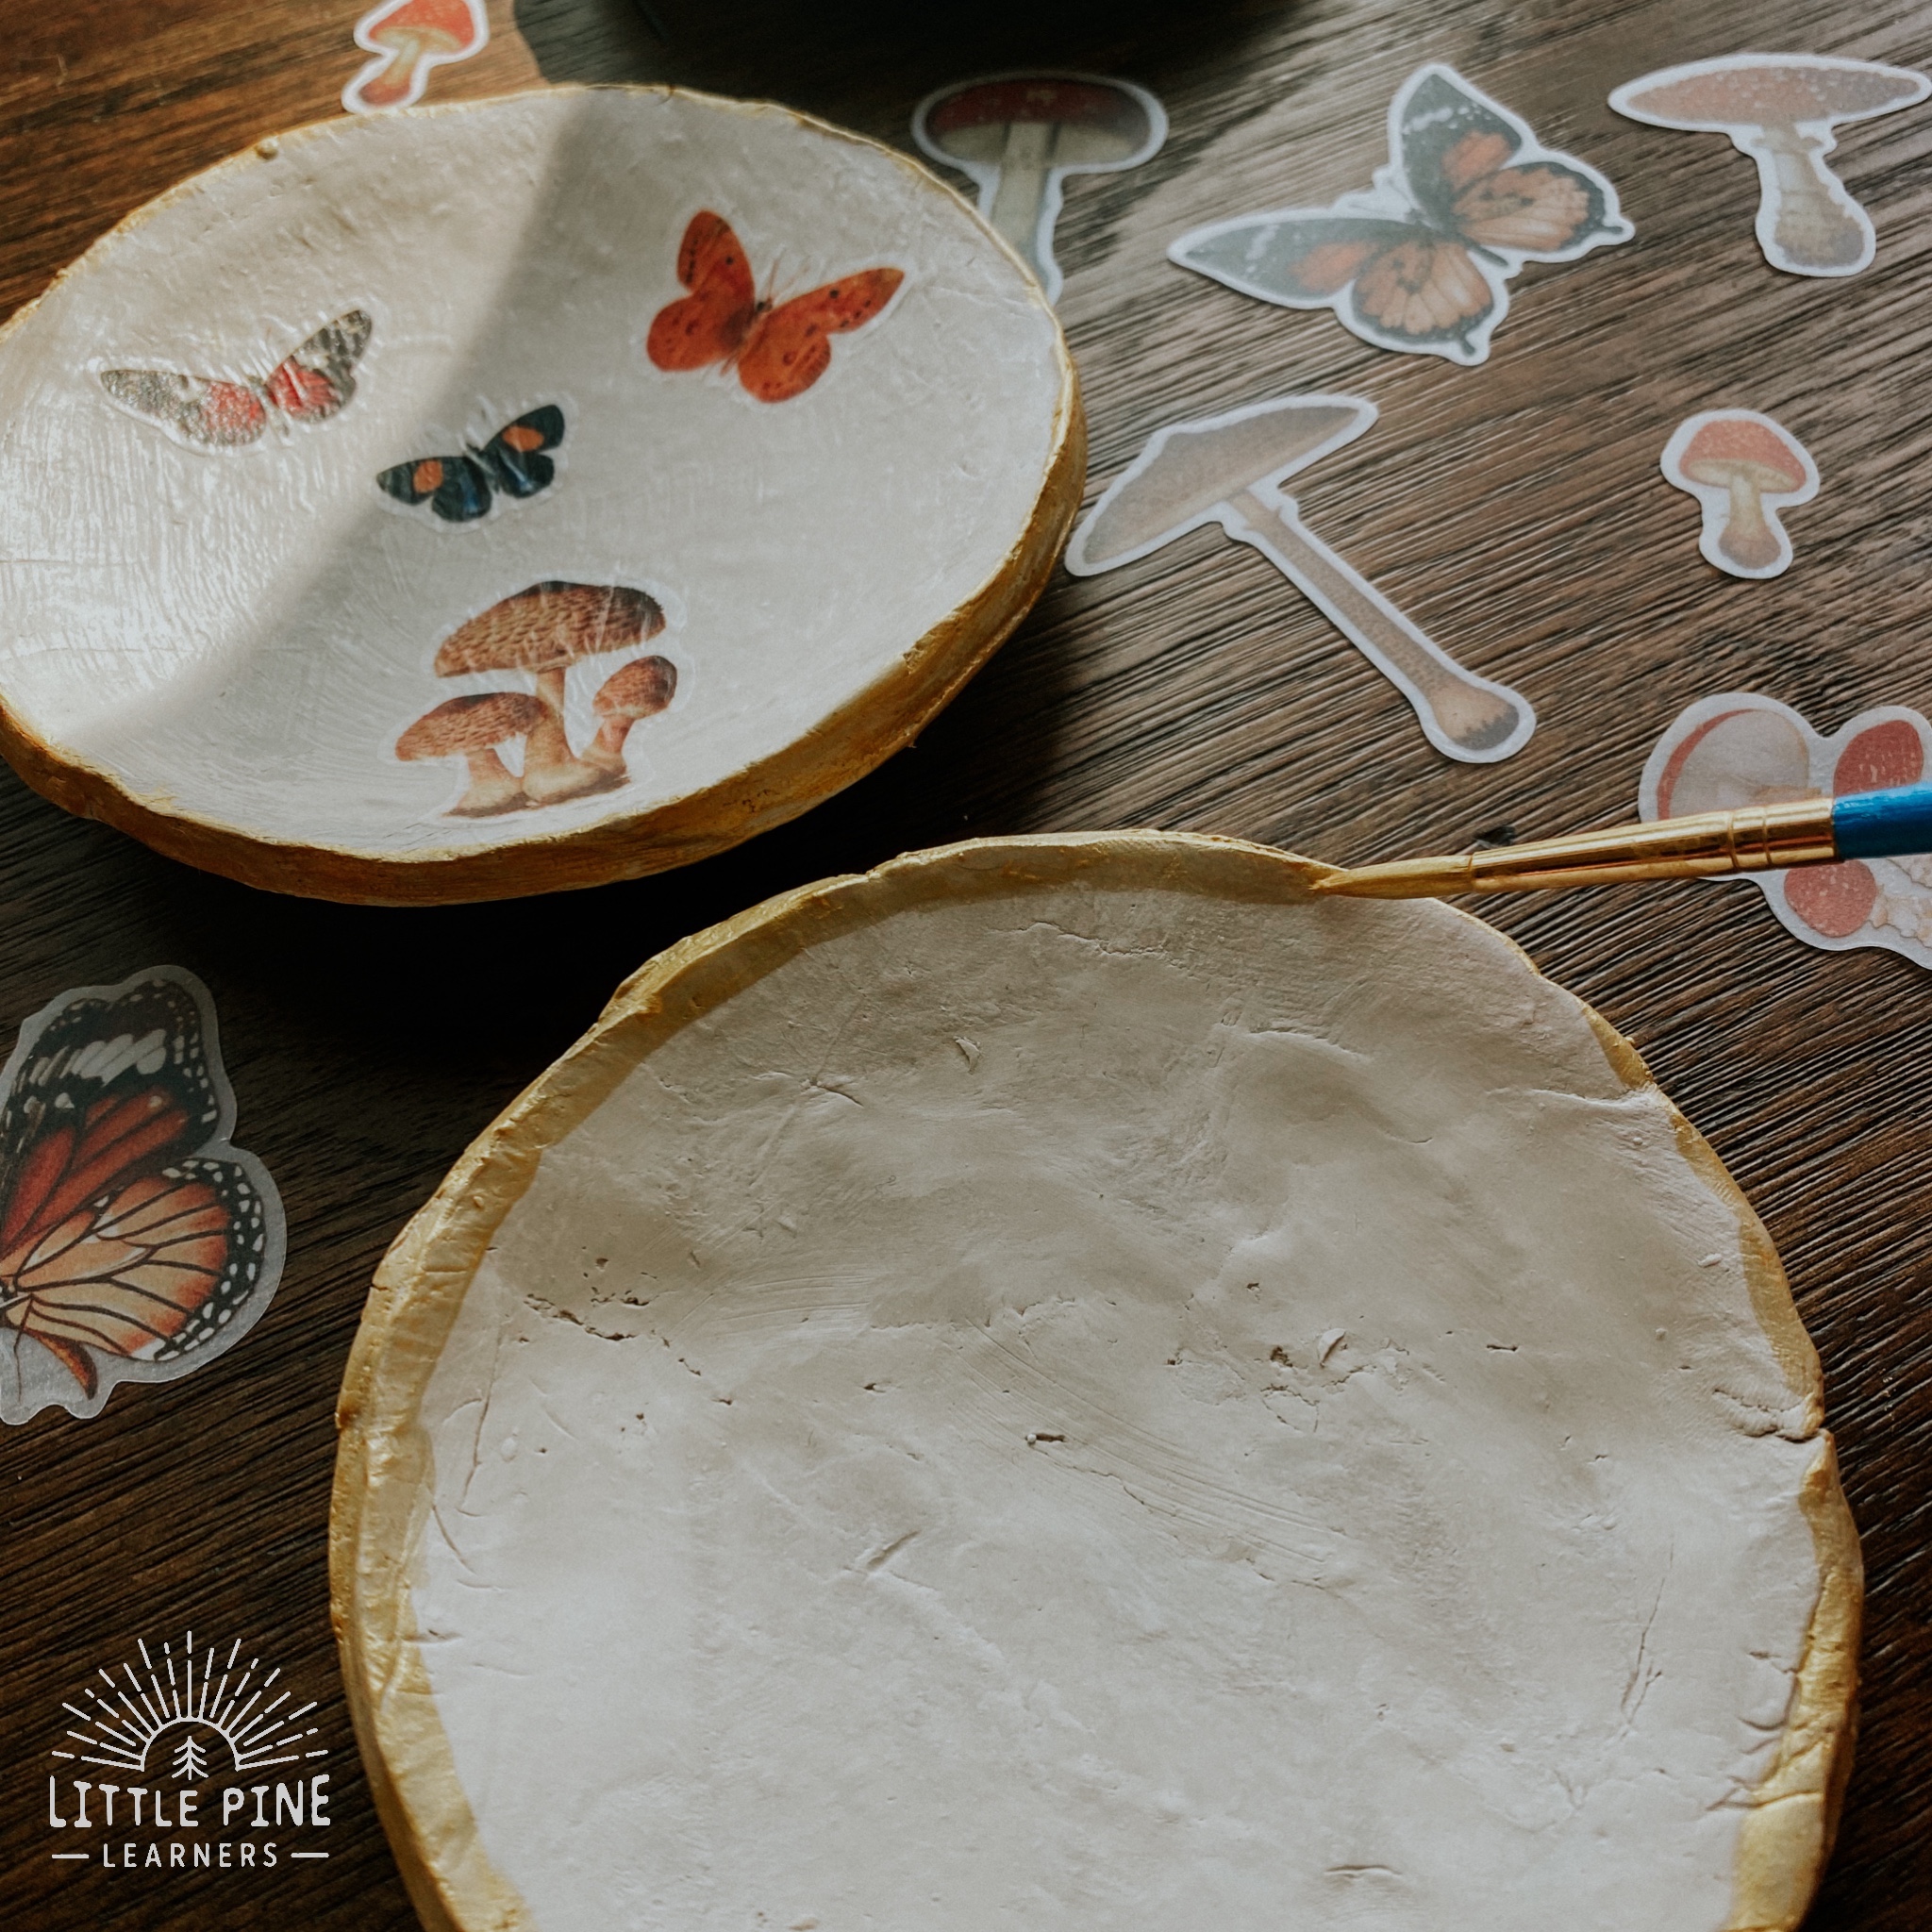
- Metallic paint- I used a metallic gold tempera paint for this project and didn’t love it. I needed to apply several coats and it still didn’t cover well. This gold leaf paint is highly recommended for clay crafts and I will be using this in the future.
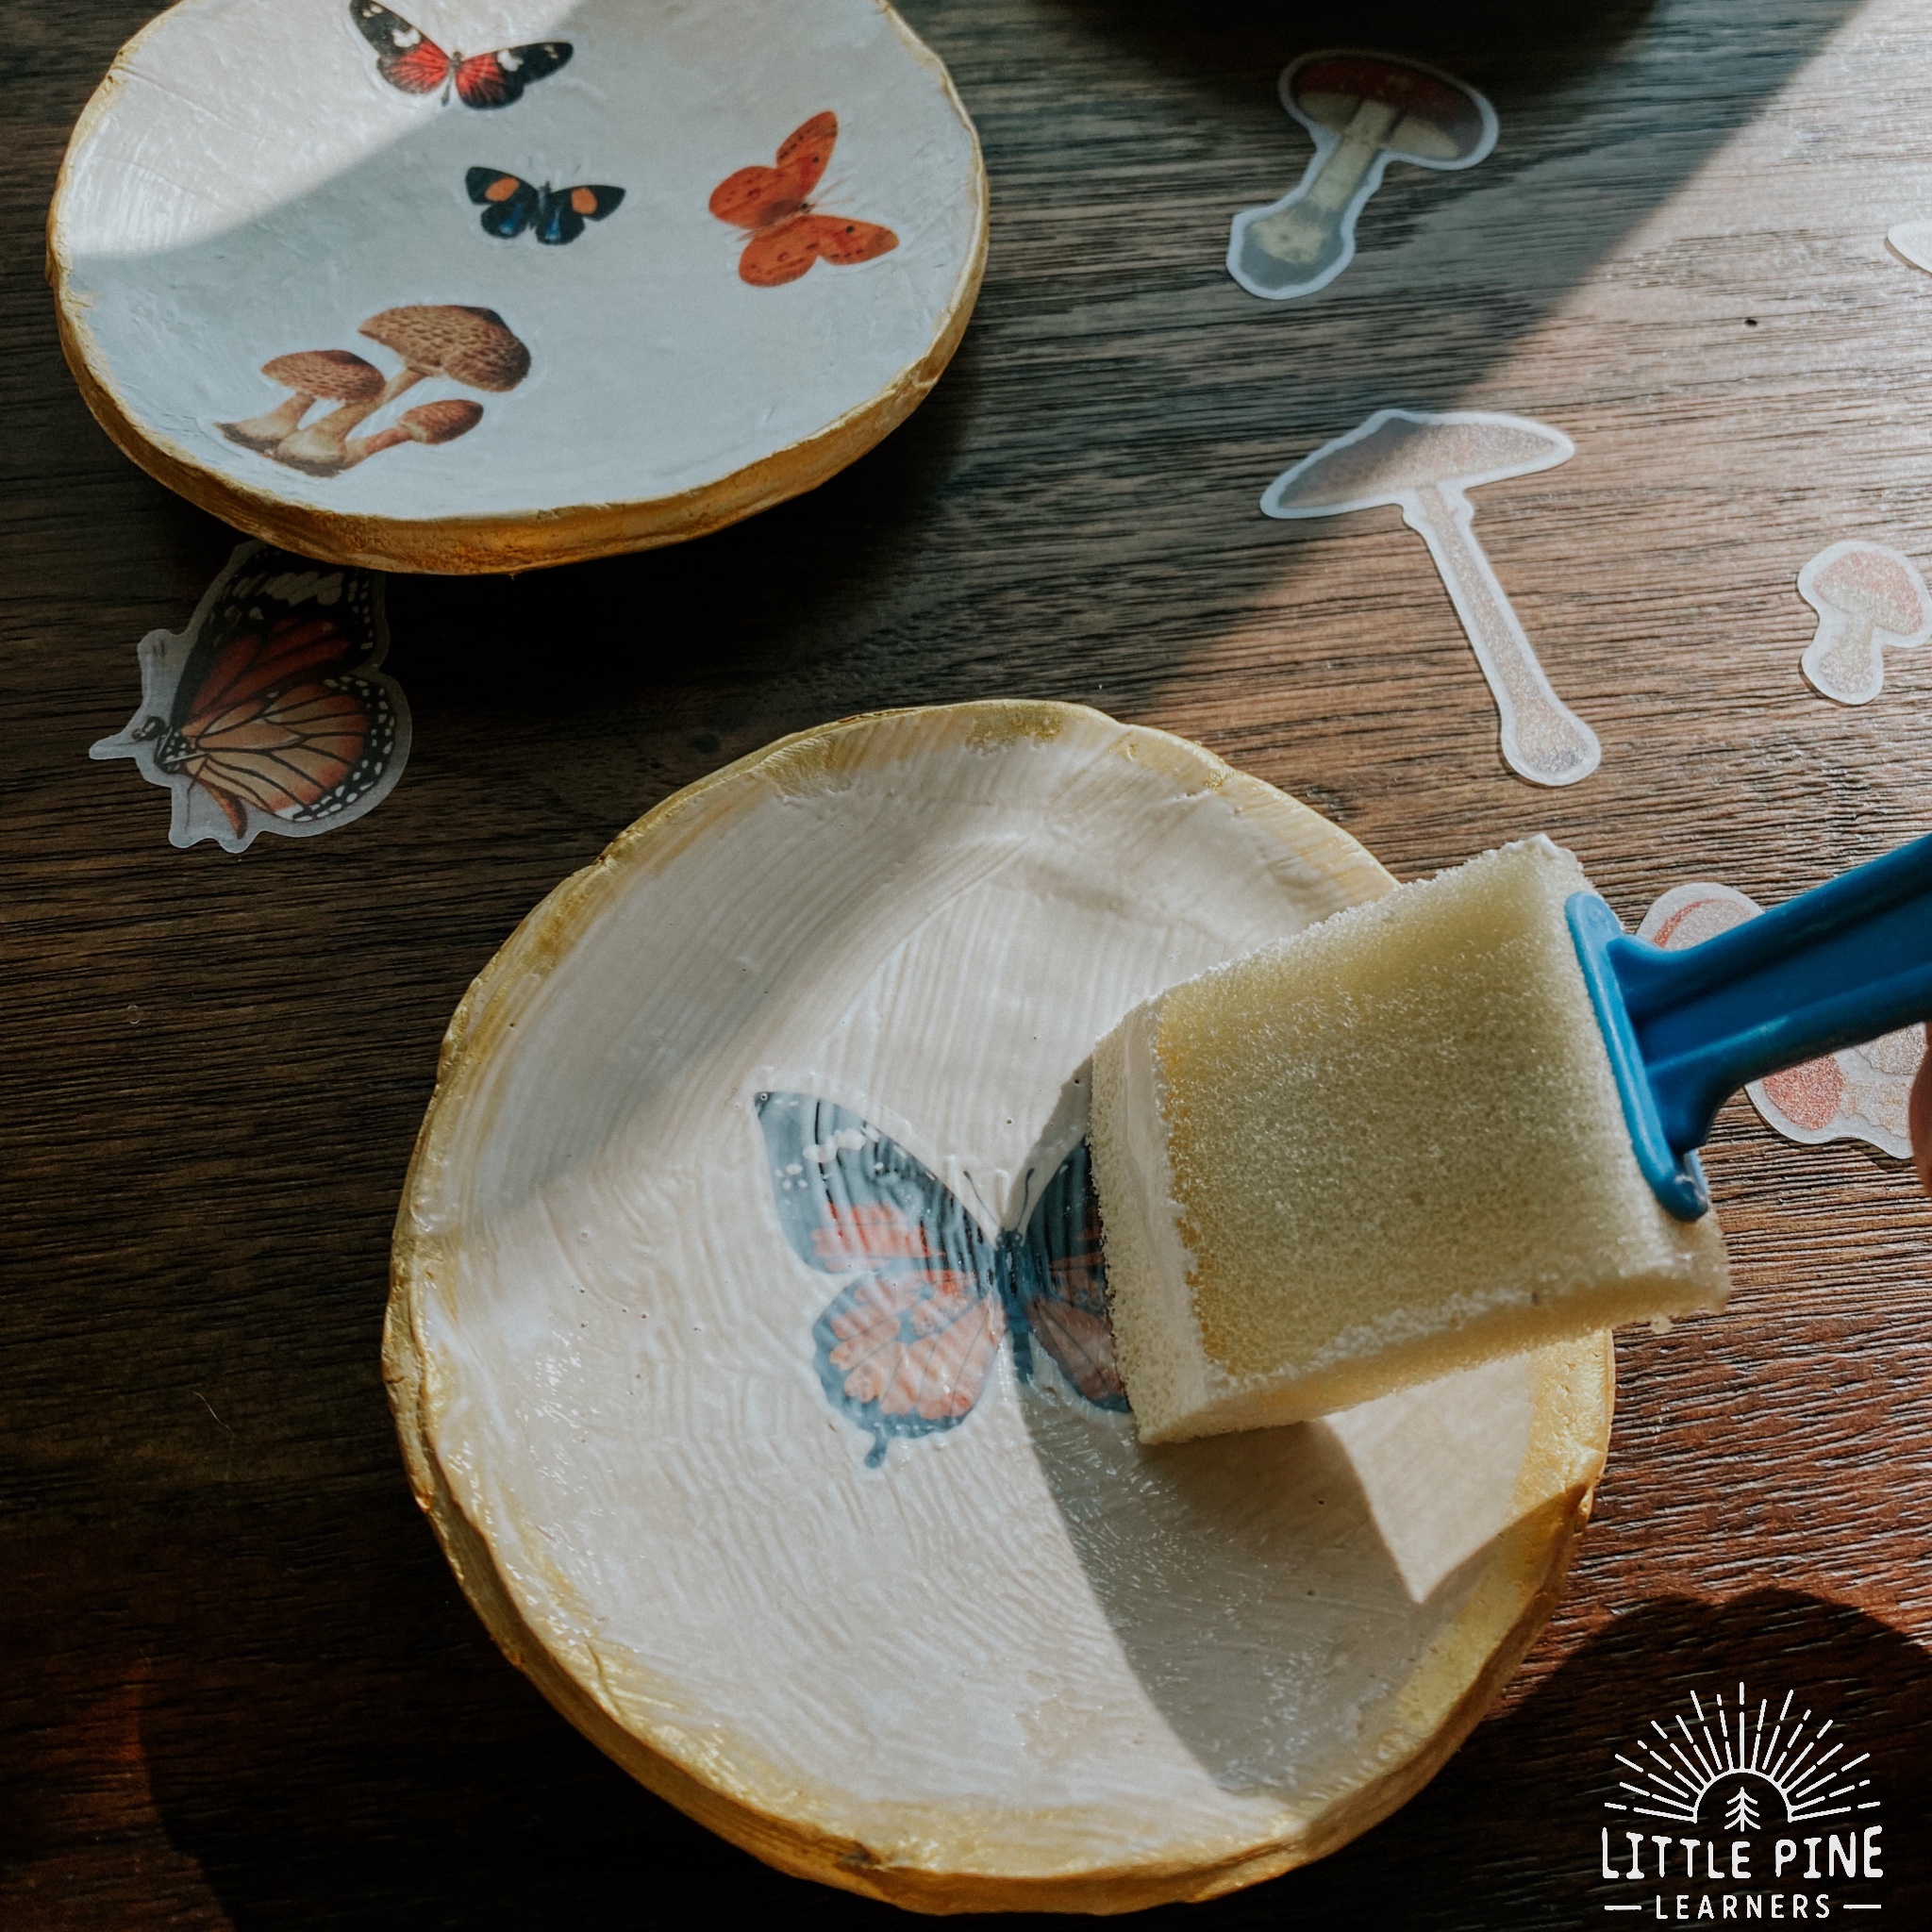
- Mod Podge– We used matte for this project.
This post contains Affiliate links for your convenience.
Here’s How We Made Our Clay Trinket Dishes:
Step 1: Prepare clay
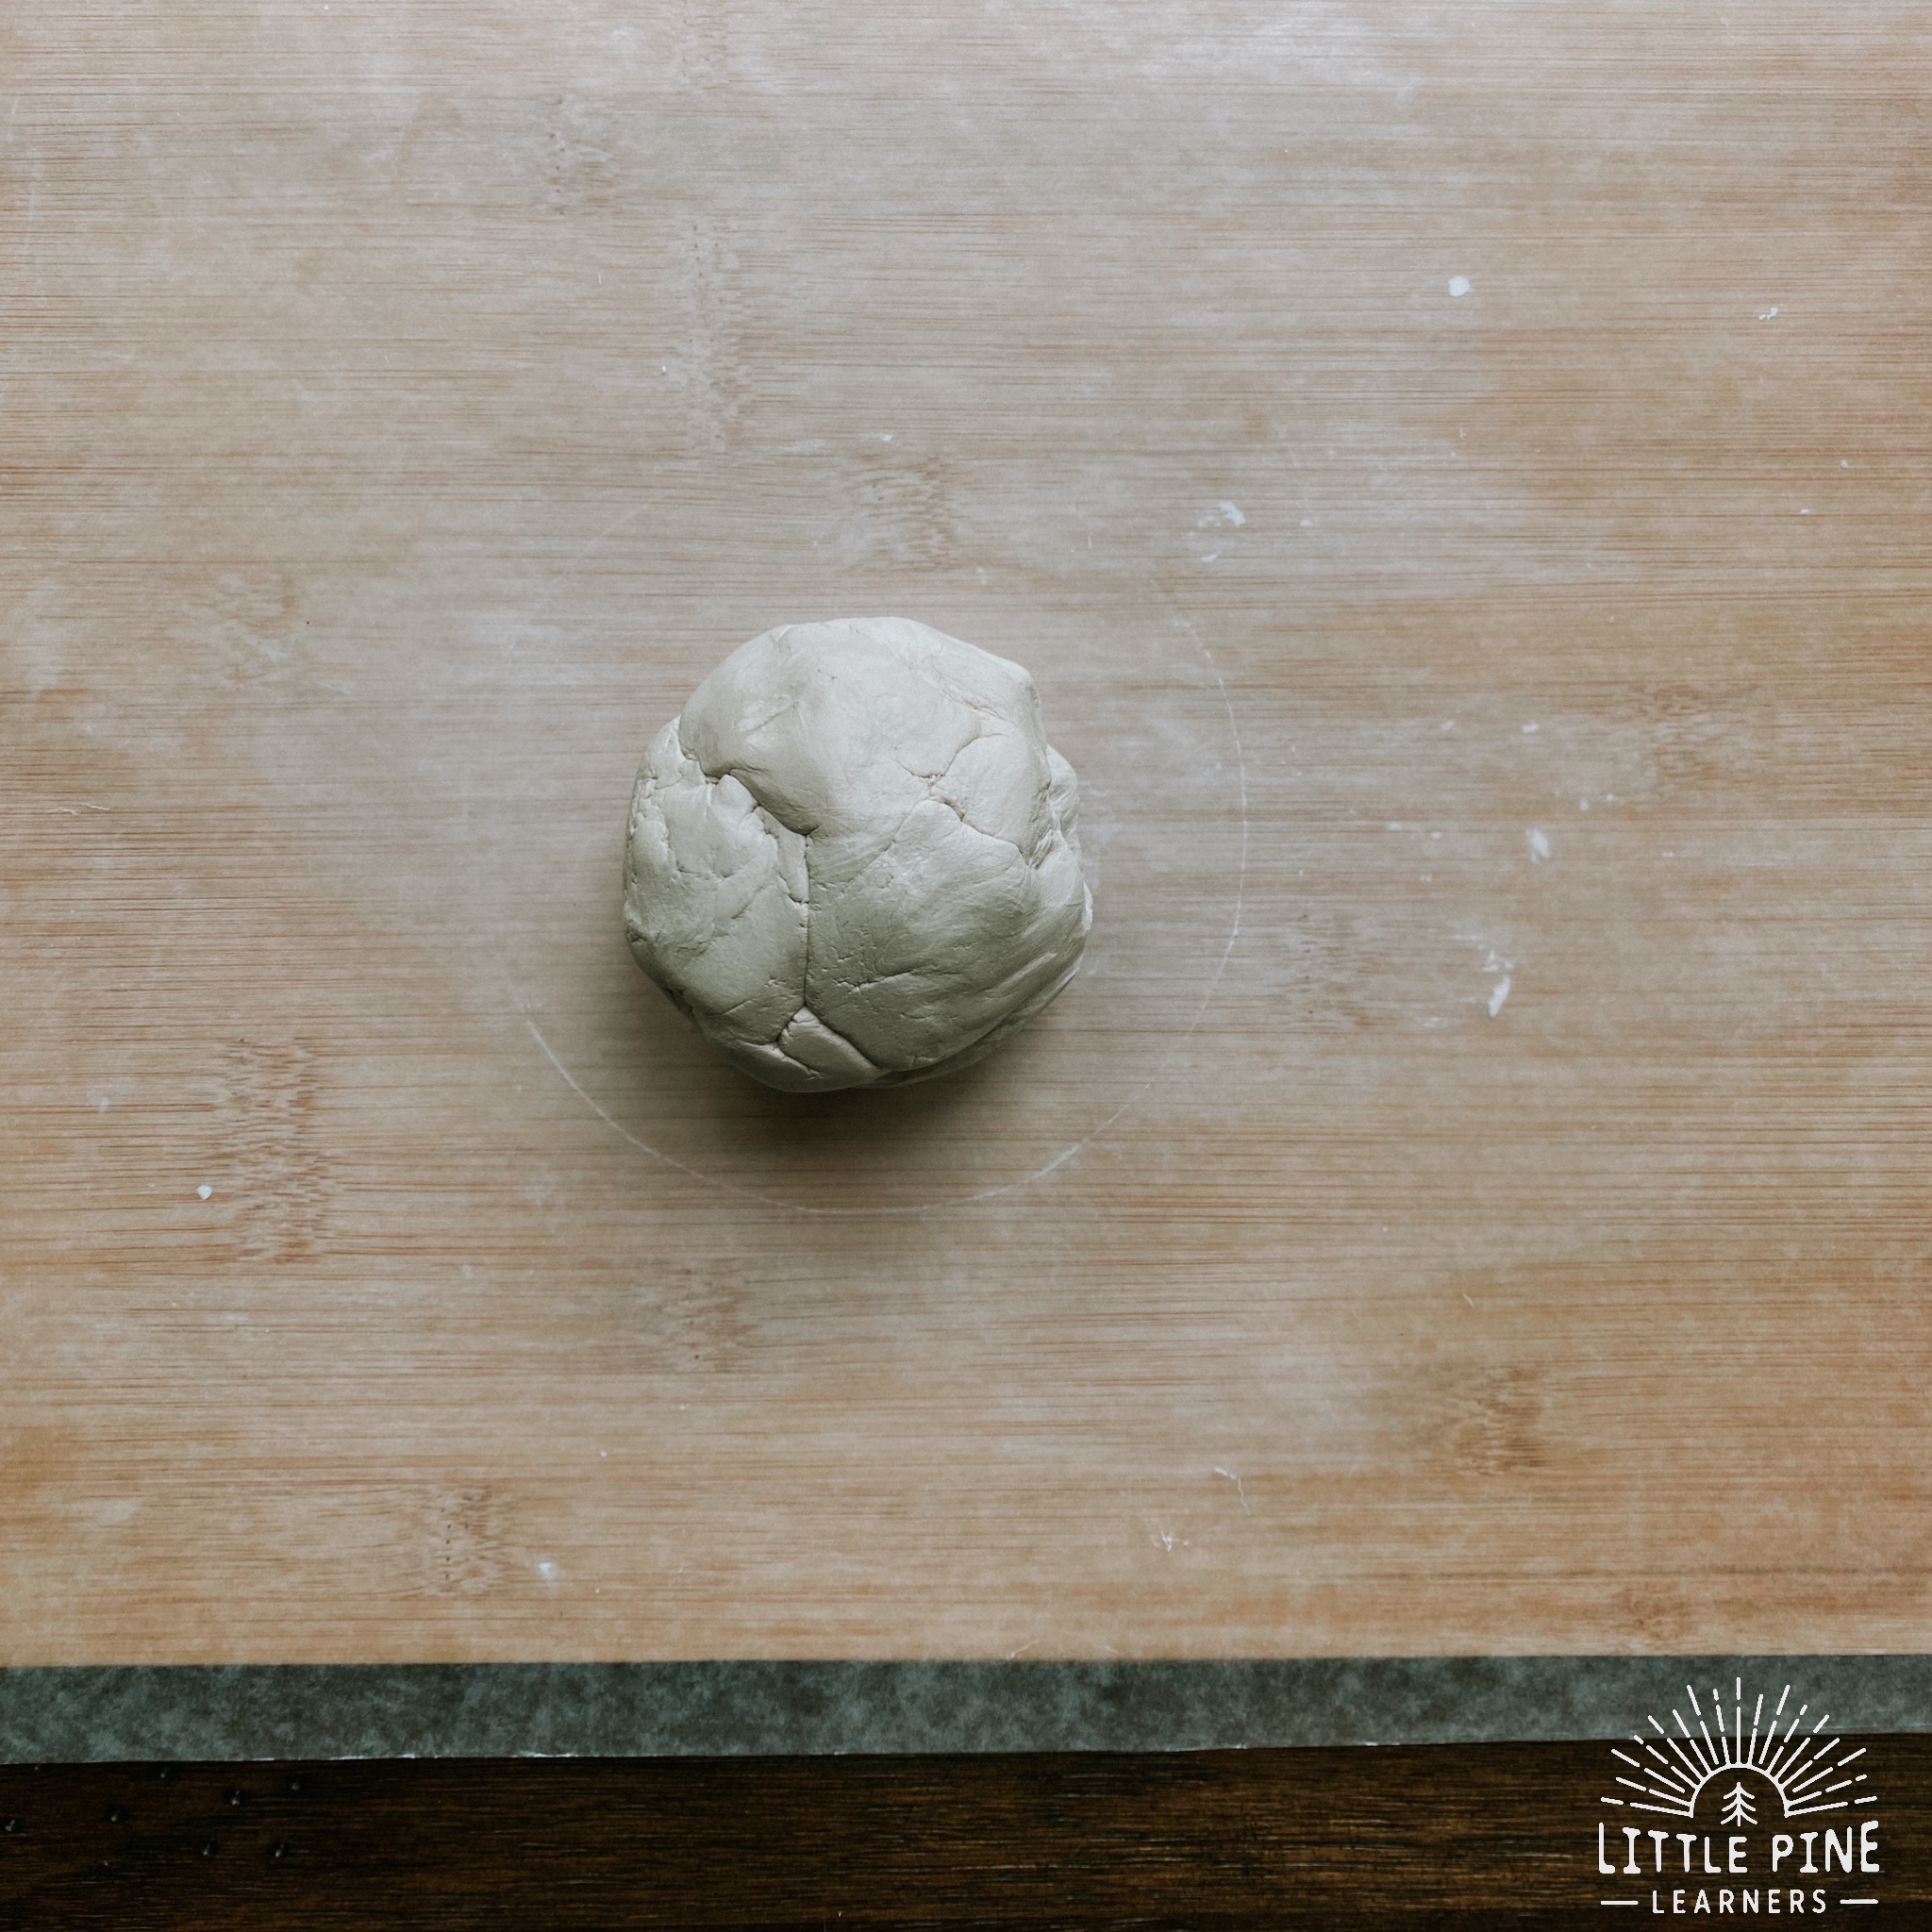
Prepare your work space and roll the clay into a ball. Air dry clay is pretty sticky when it’s fresh out of the container, which makes it a little difficult to work with. I suggest letting it sit out for about 10 minutes to let it dry up a bit before starting your clay dish!
I covered a wooden cutting board with wax paper to keep the clay from sticking to the surface.
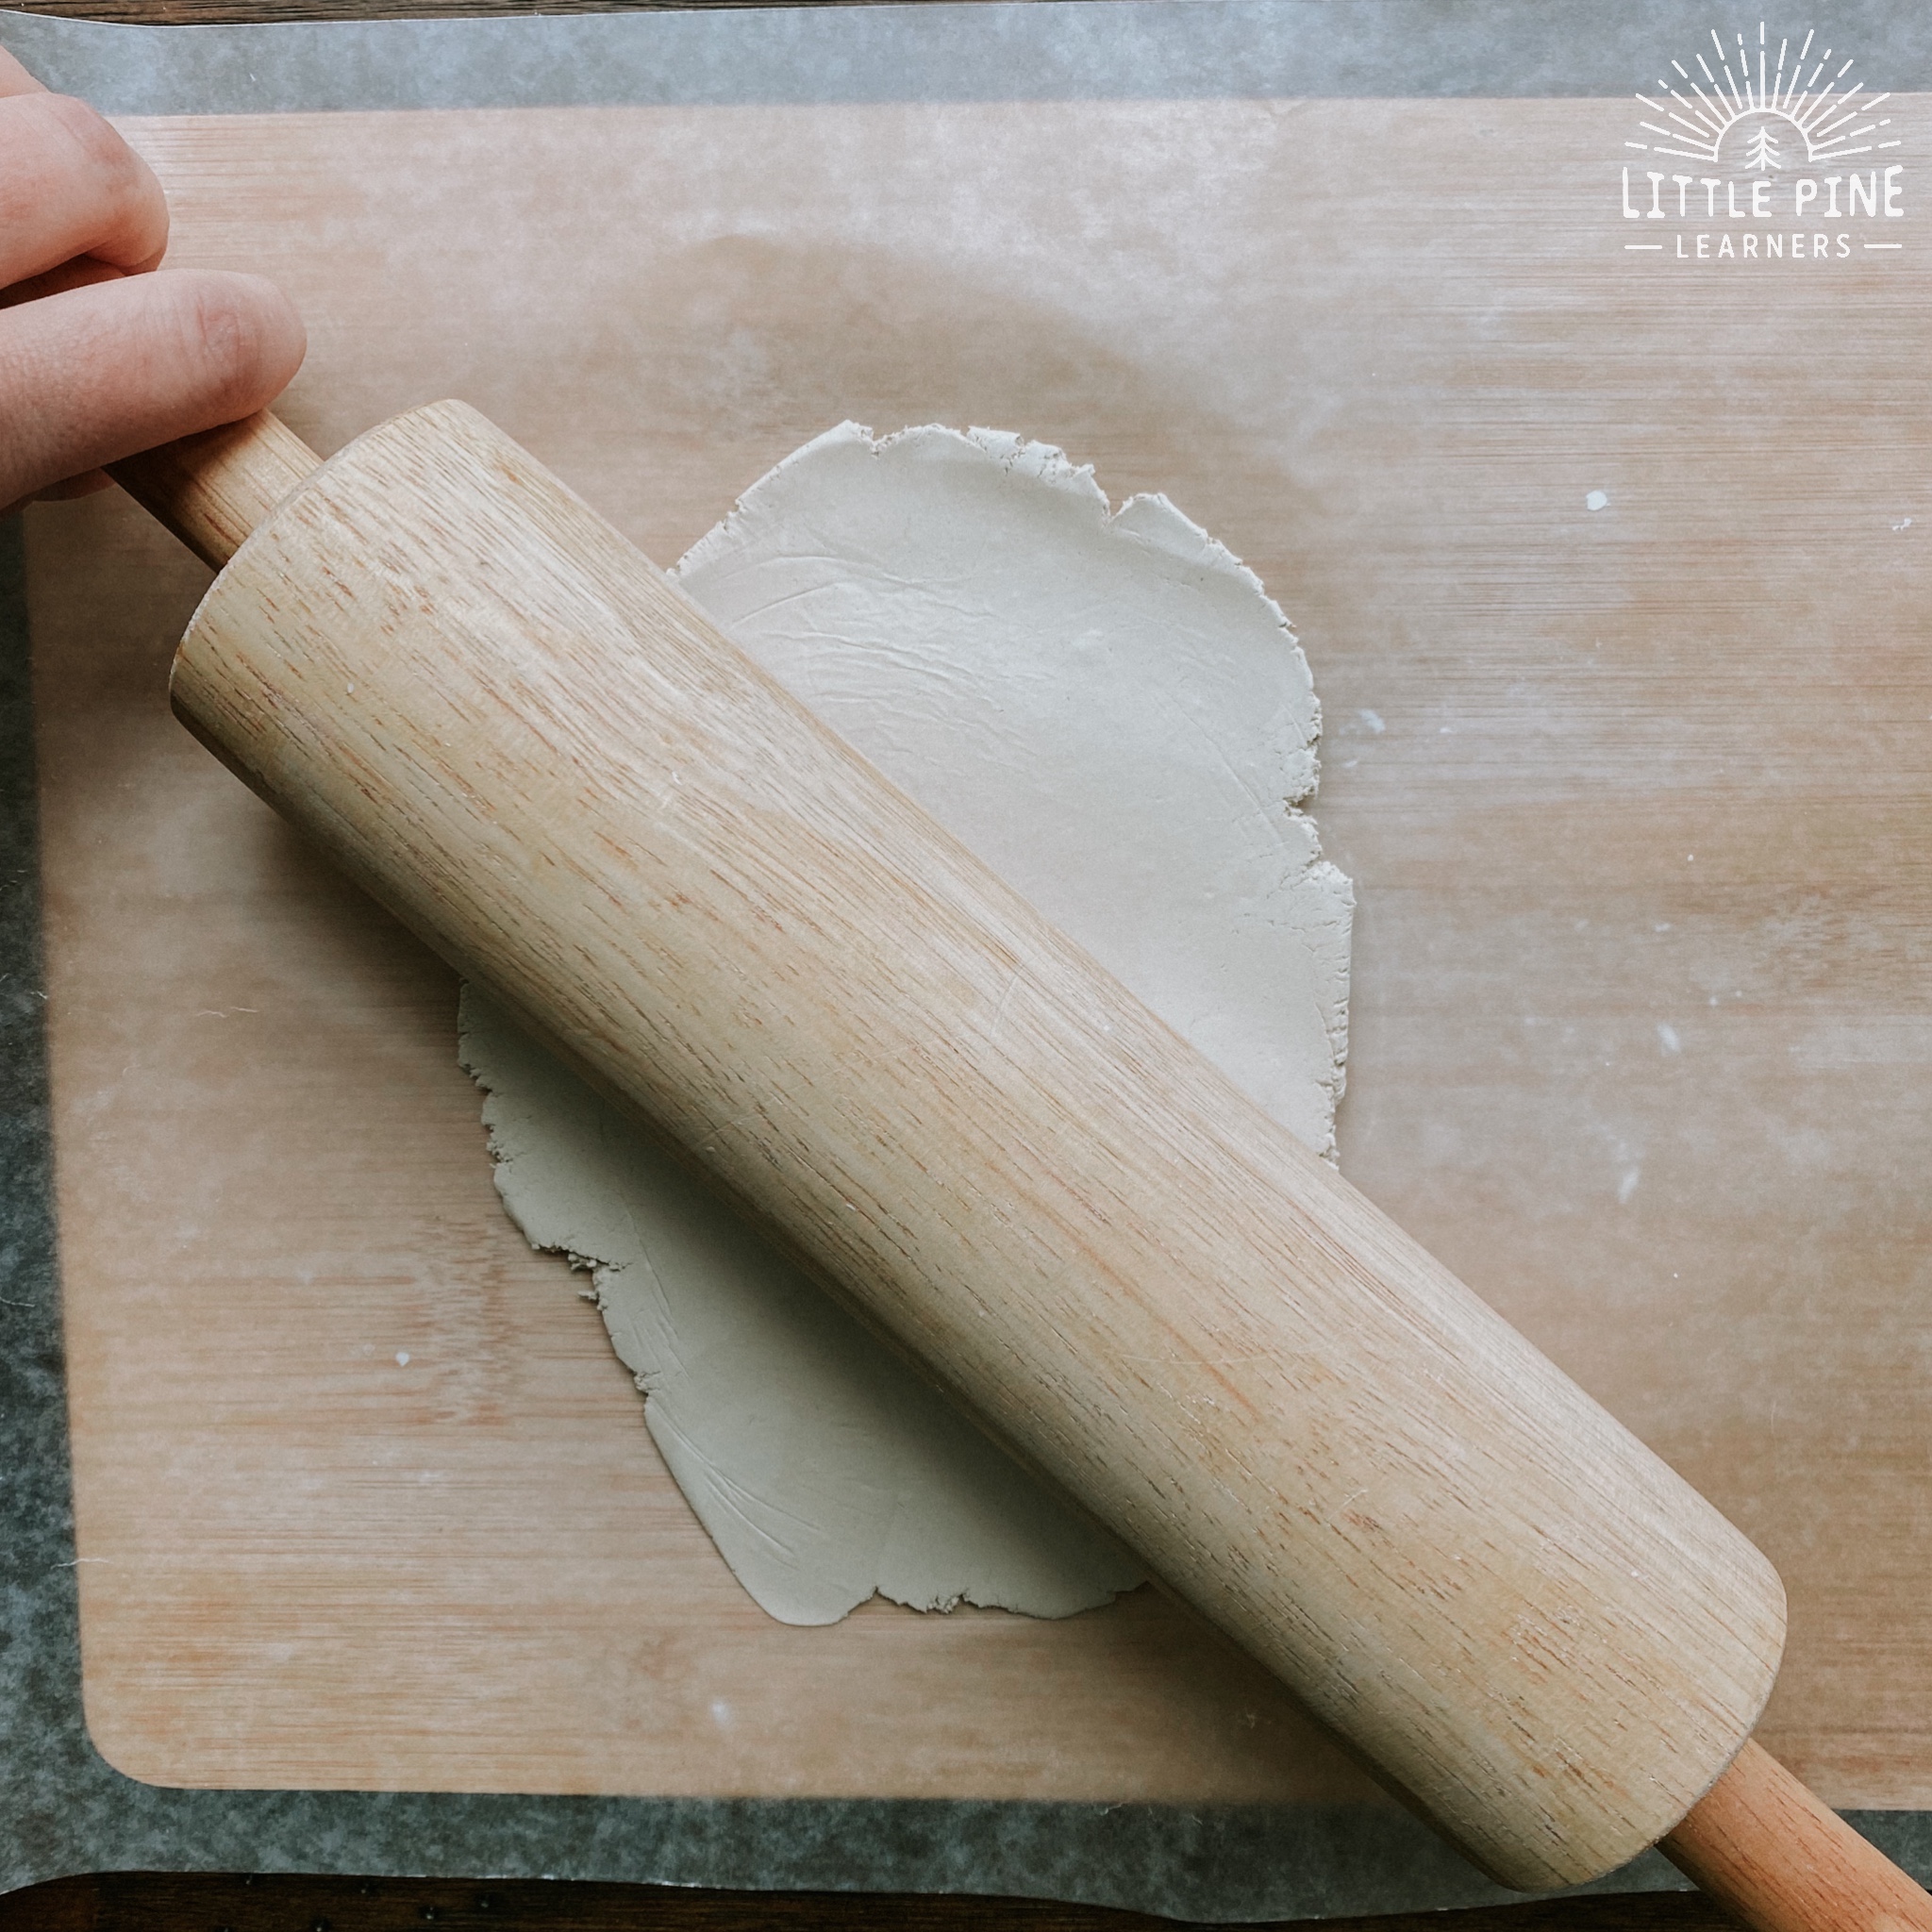
Step 2: Roll out the clay trinket dish.
Use a rolling pin to flatten the clay. I suggest using a designated rolling pin for crafting projects. Roll clay until it is about 1/4 of an inch thick.
Step 3: Cut out clay dish shape.
Find a small bowl for your dish shape. Place it on top of the flattened clay to cut out the dish. Then, gently pull the excess clay away from the dish shape. If children are involved in this craft, make sure they are using a blunt knife or help them with this step.
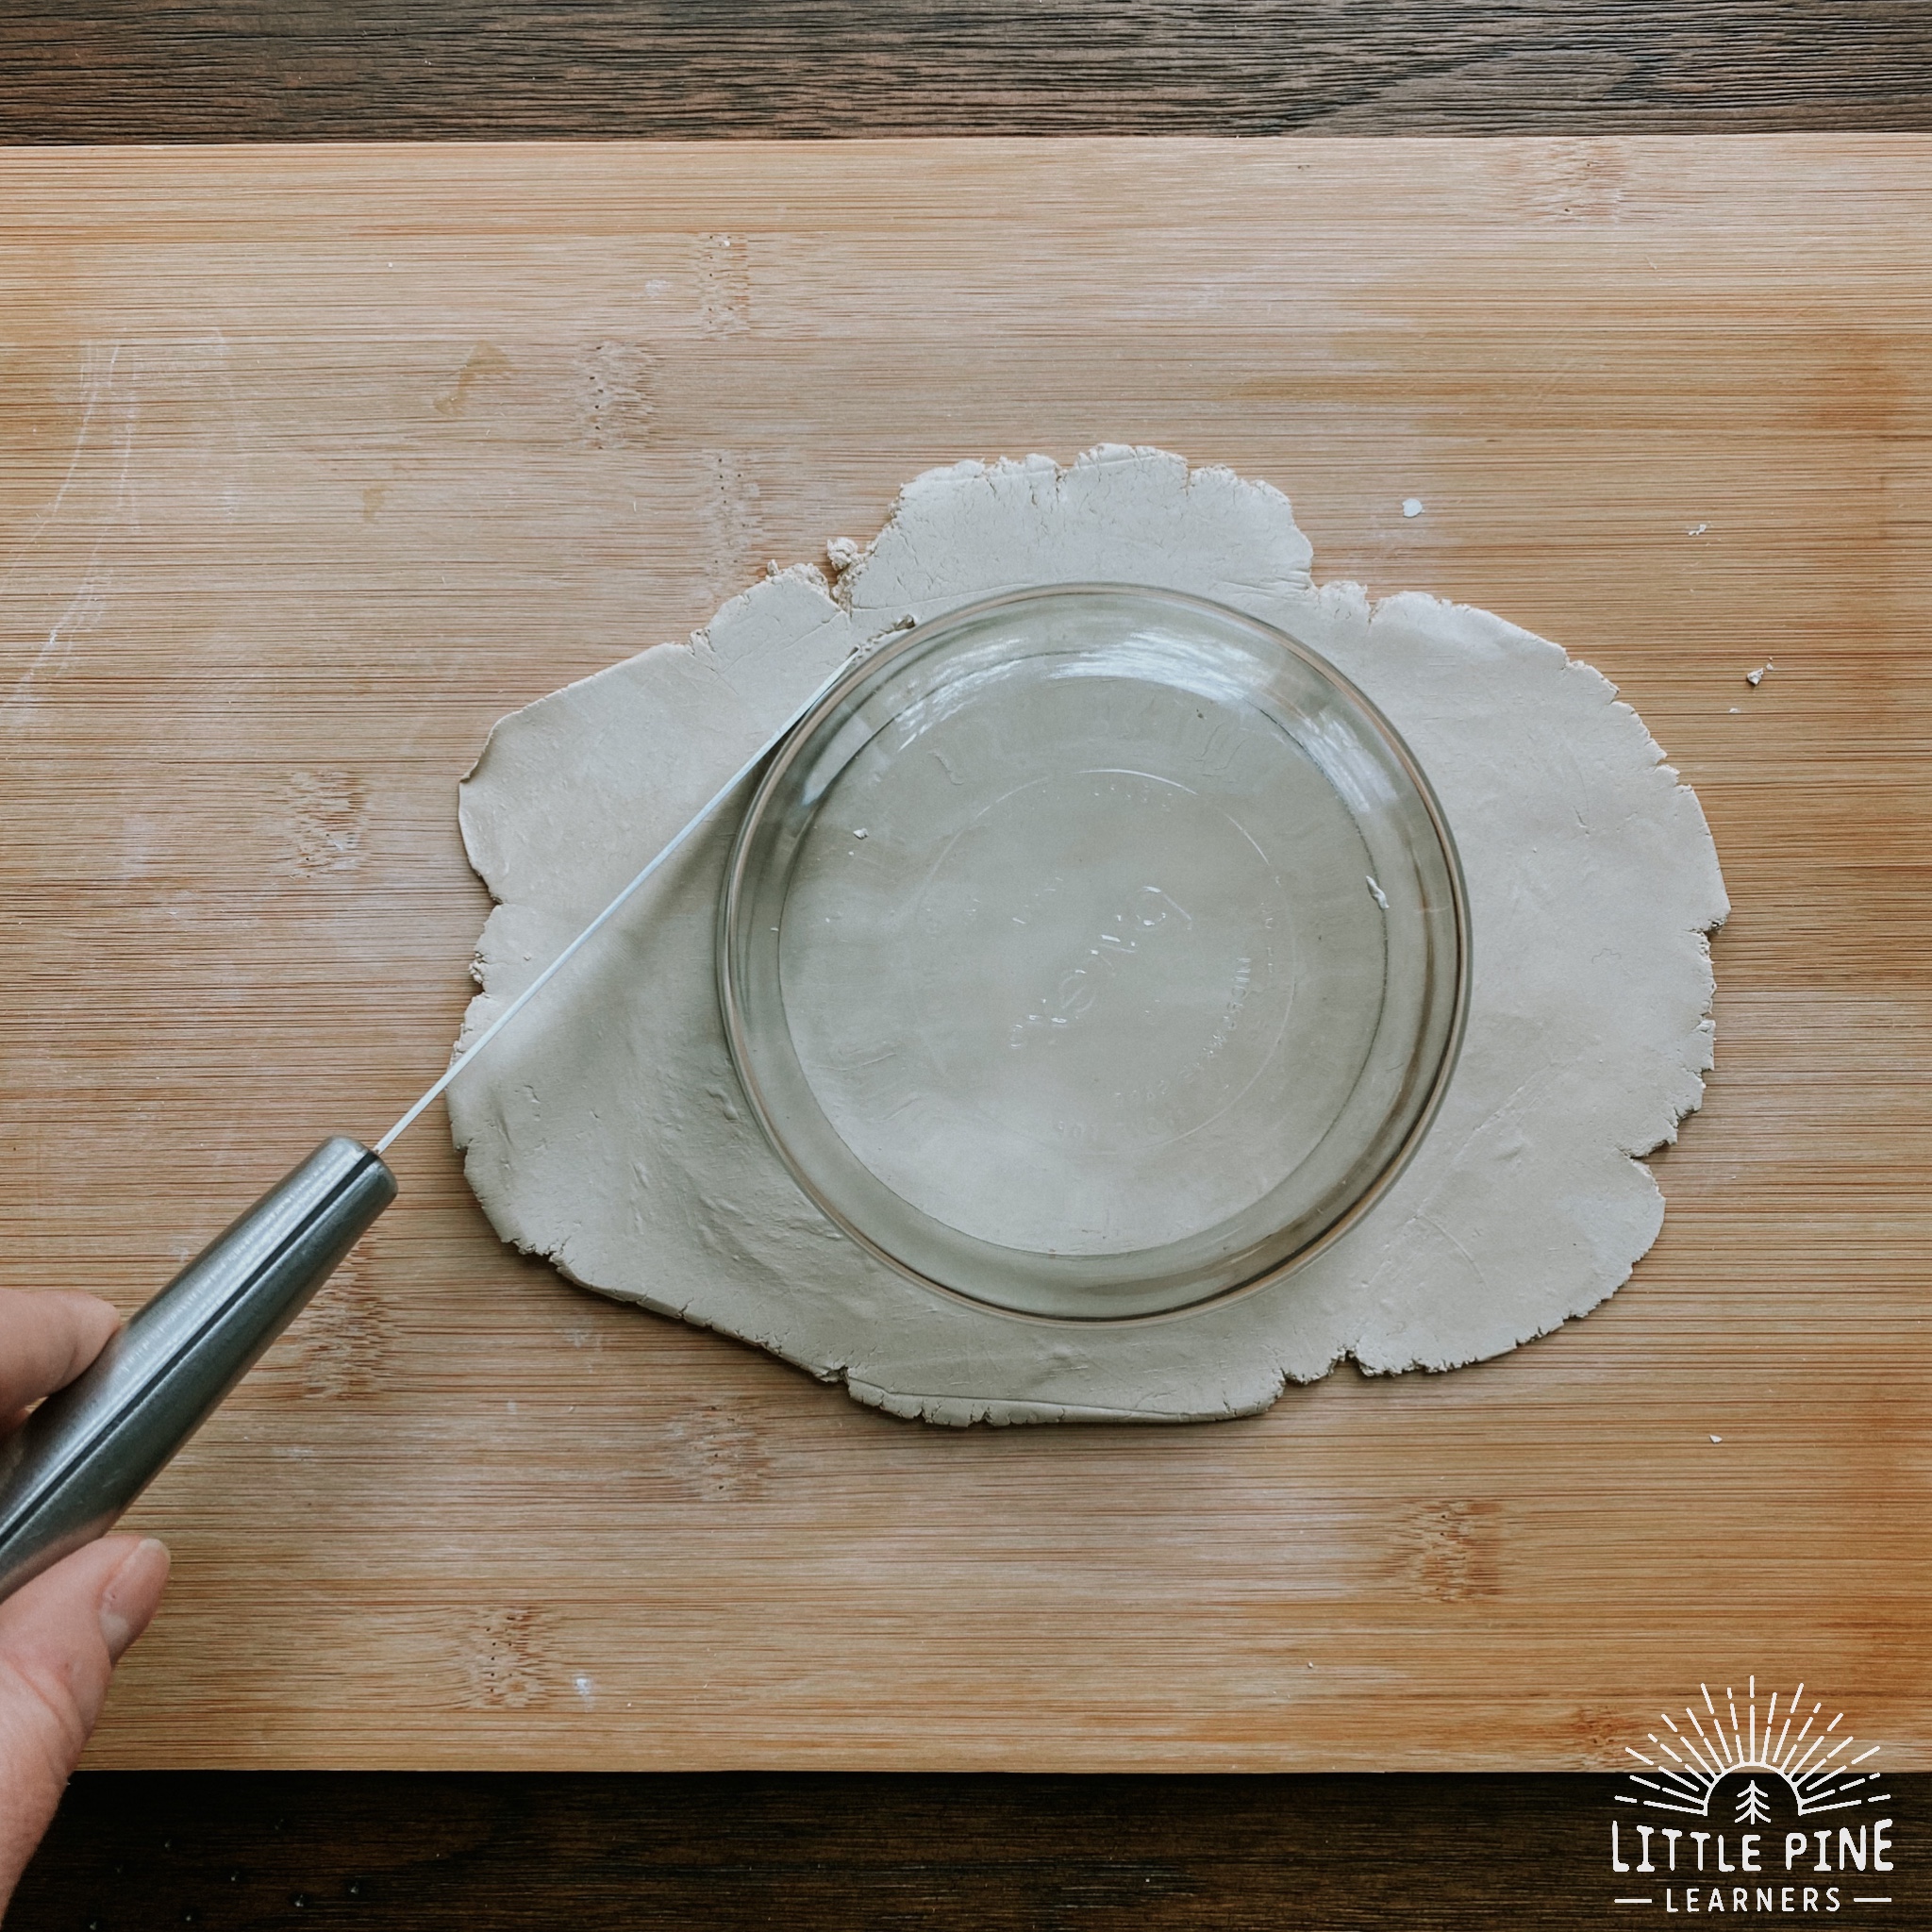
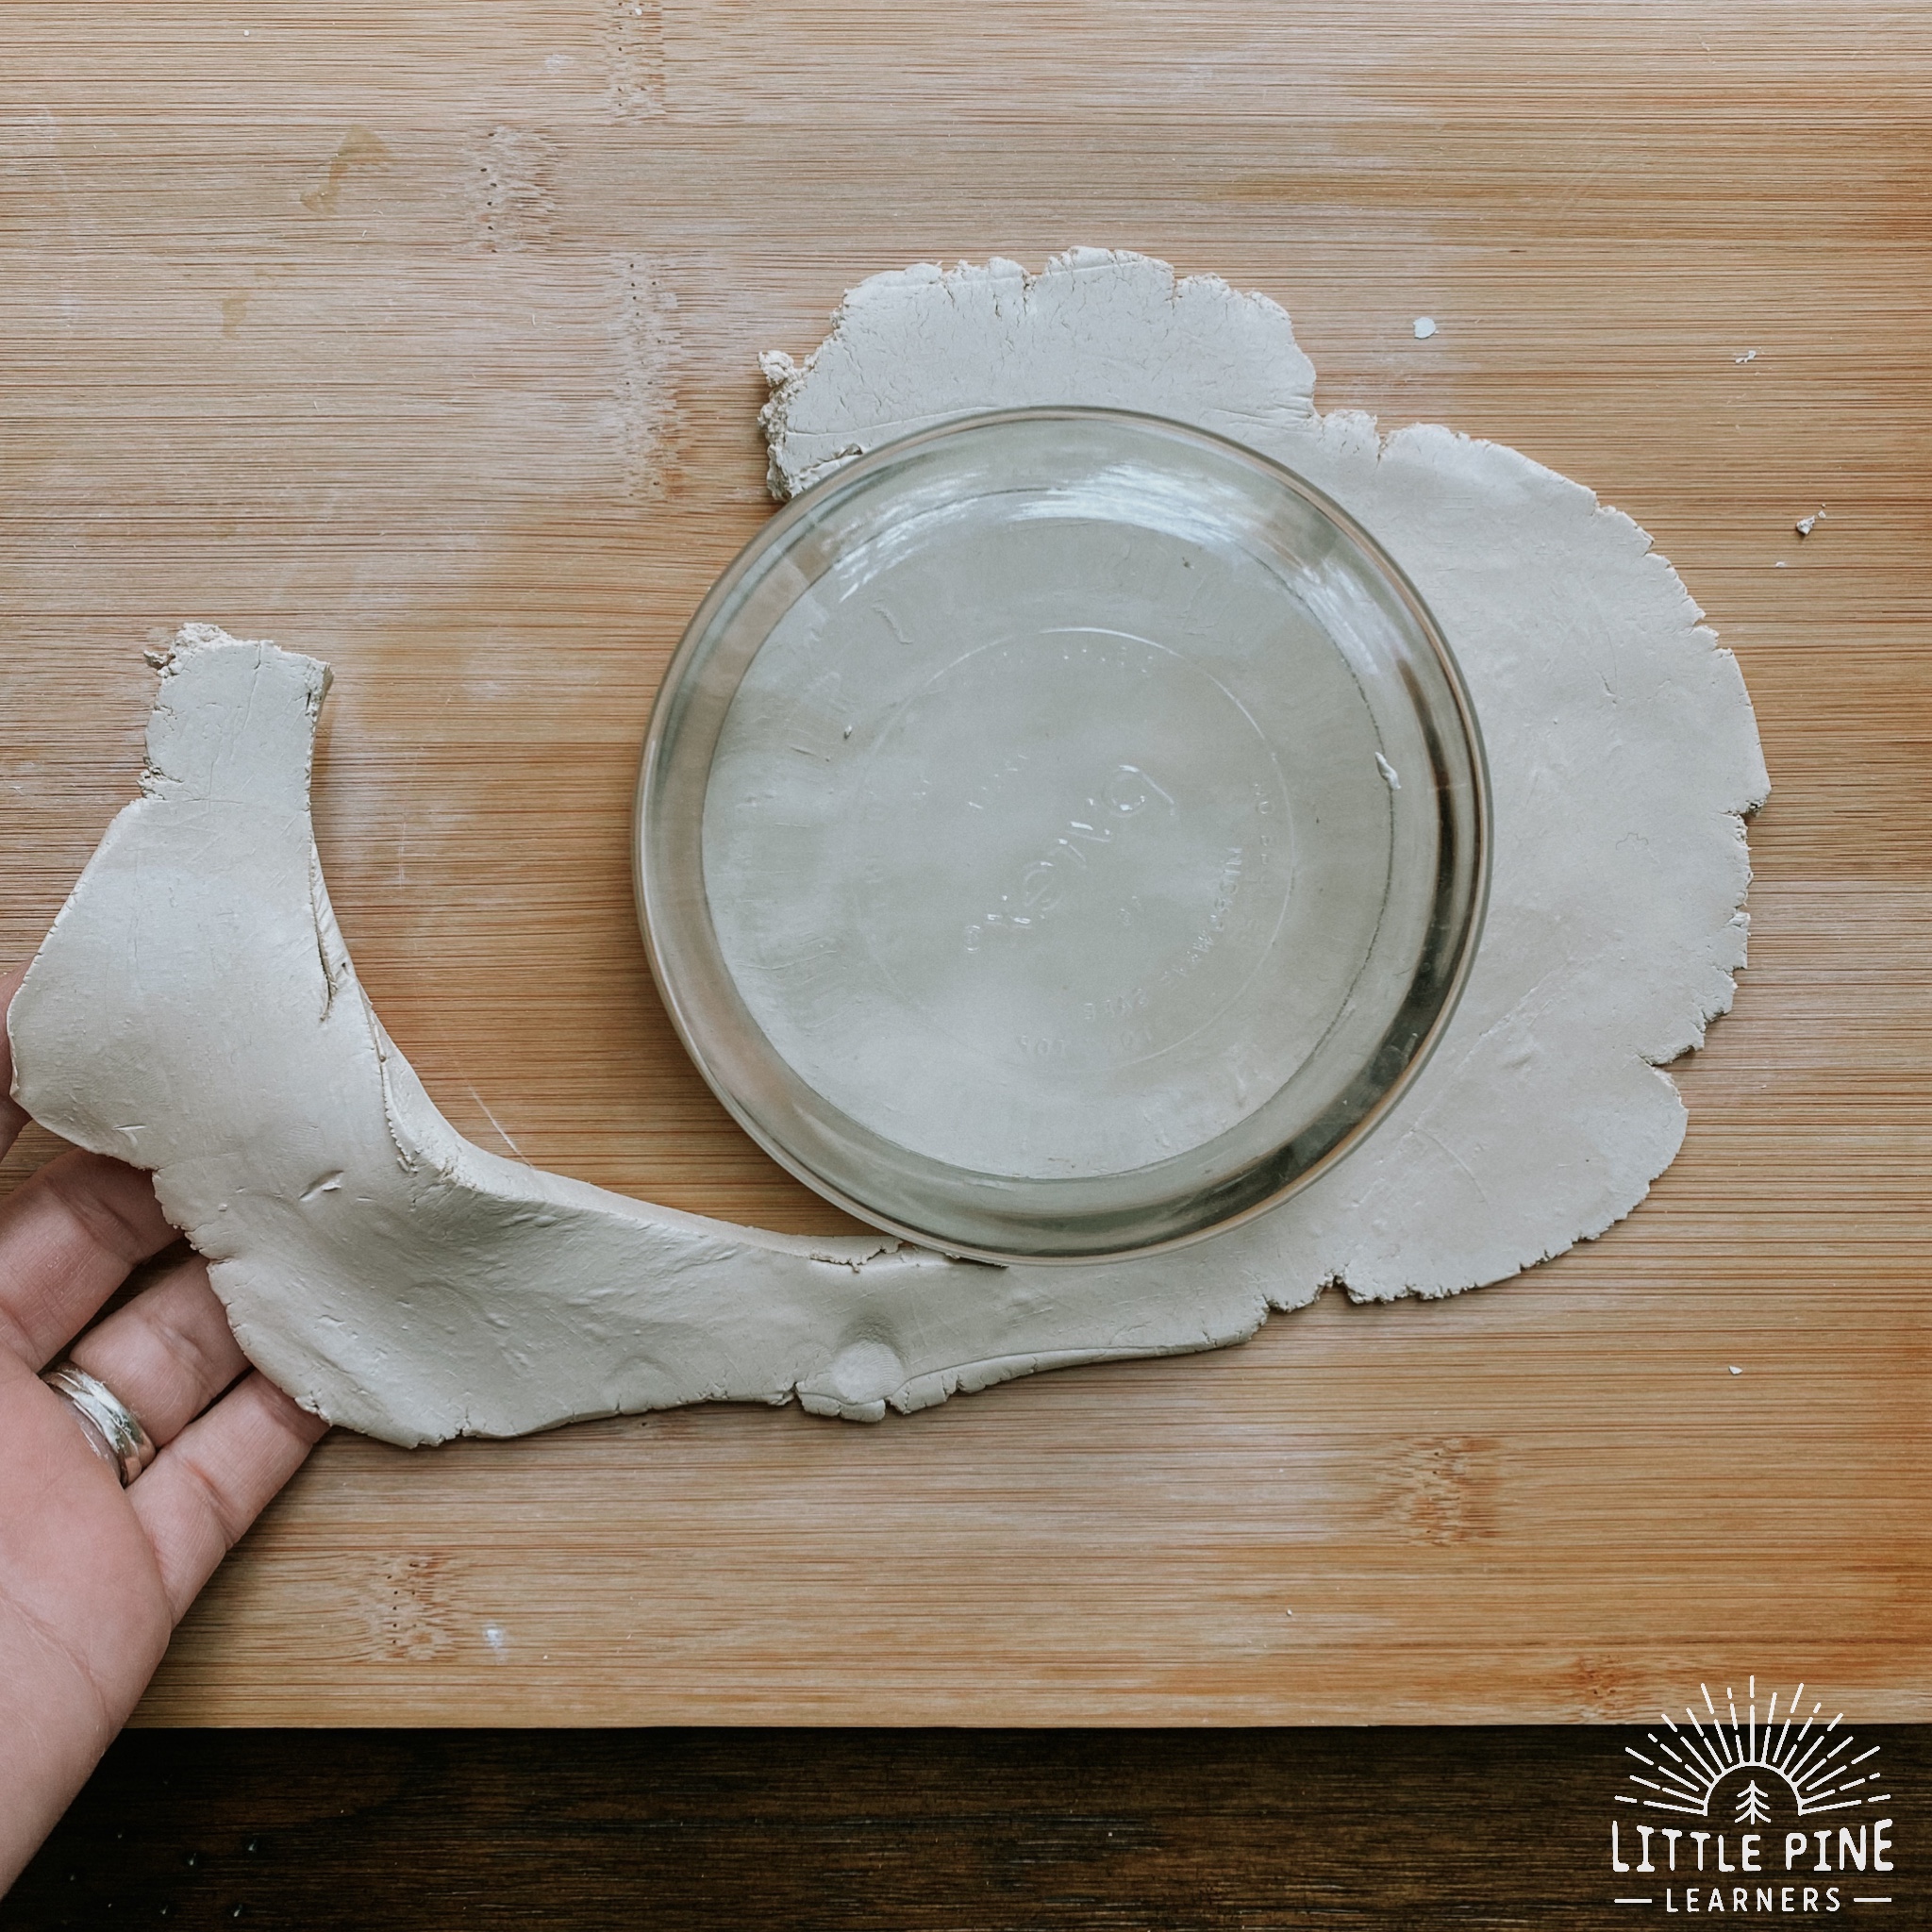
Step 4: Lay clay dish in the bowl.
Use the same bowl as used in step 3. Place the clay in the bowl and let it dry for about 24 hours. Placing the clay piece in a bowl, will help form a slight dip in your dish. After 24 hours, place the clay dish on a drying rack, to dry the underside of clay. The clay will turn slightly tan while drying, but will be a nice shade of white when completely dried.
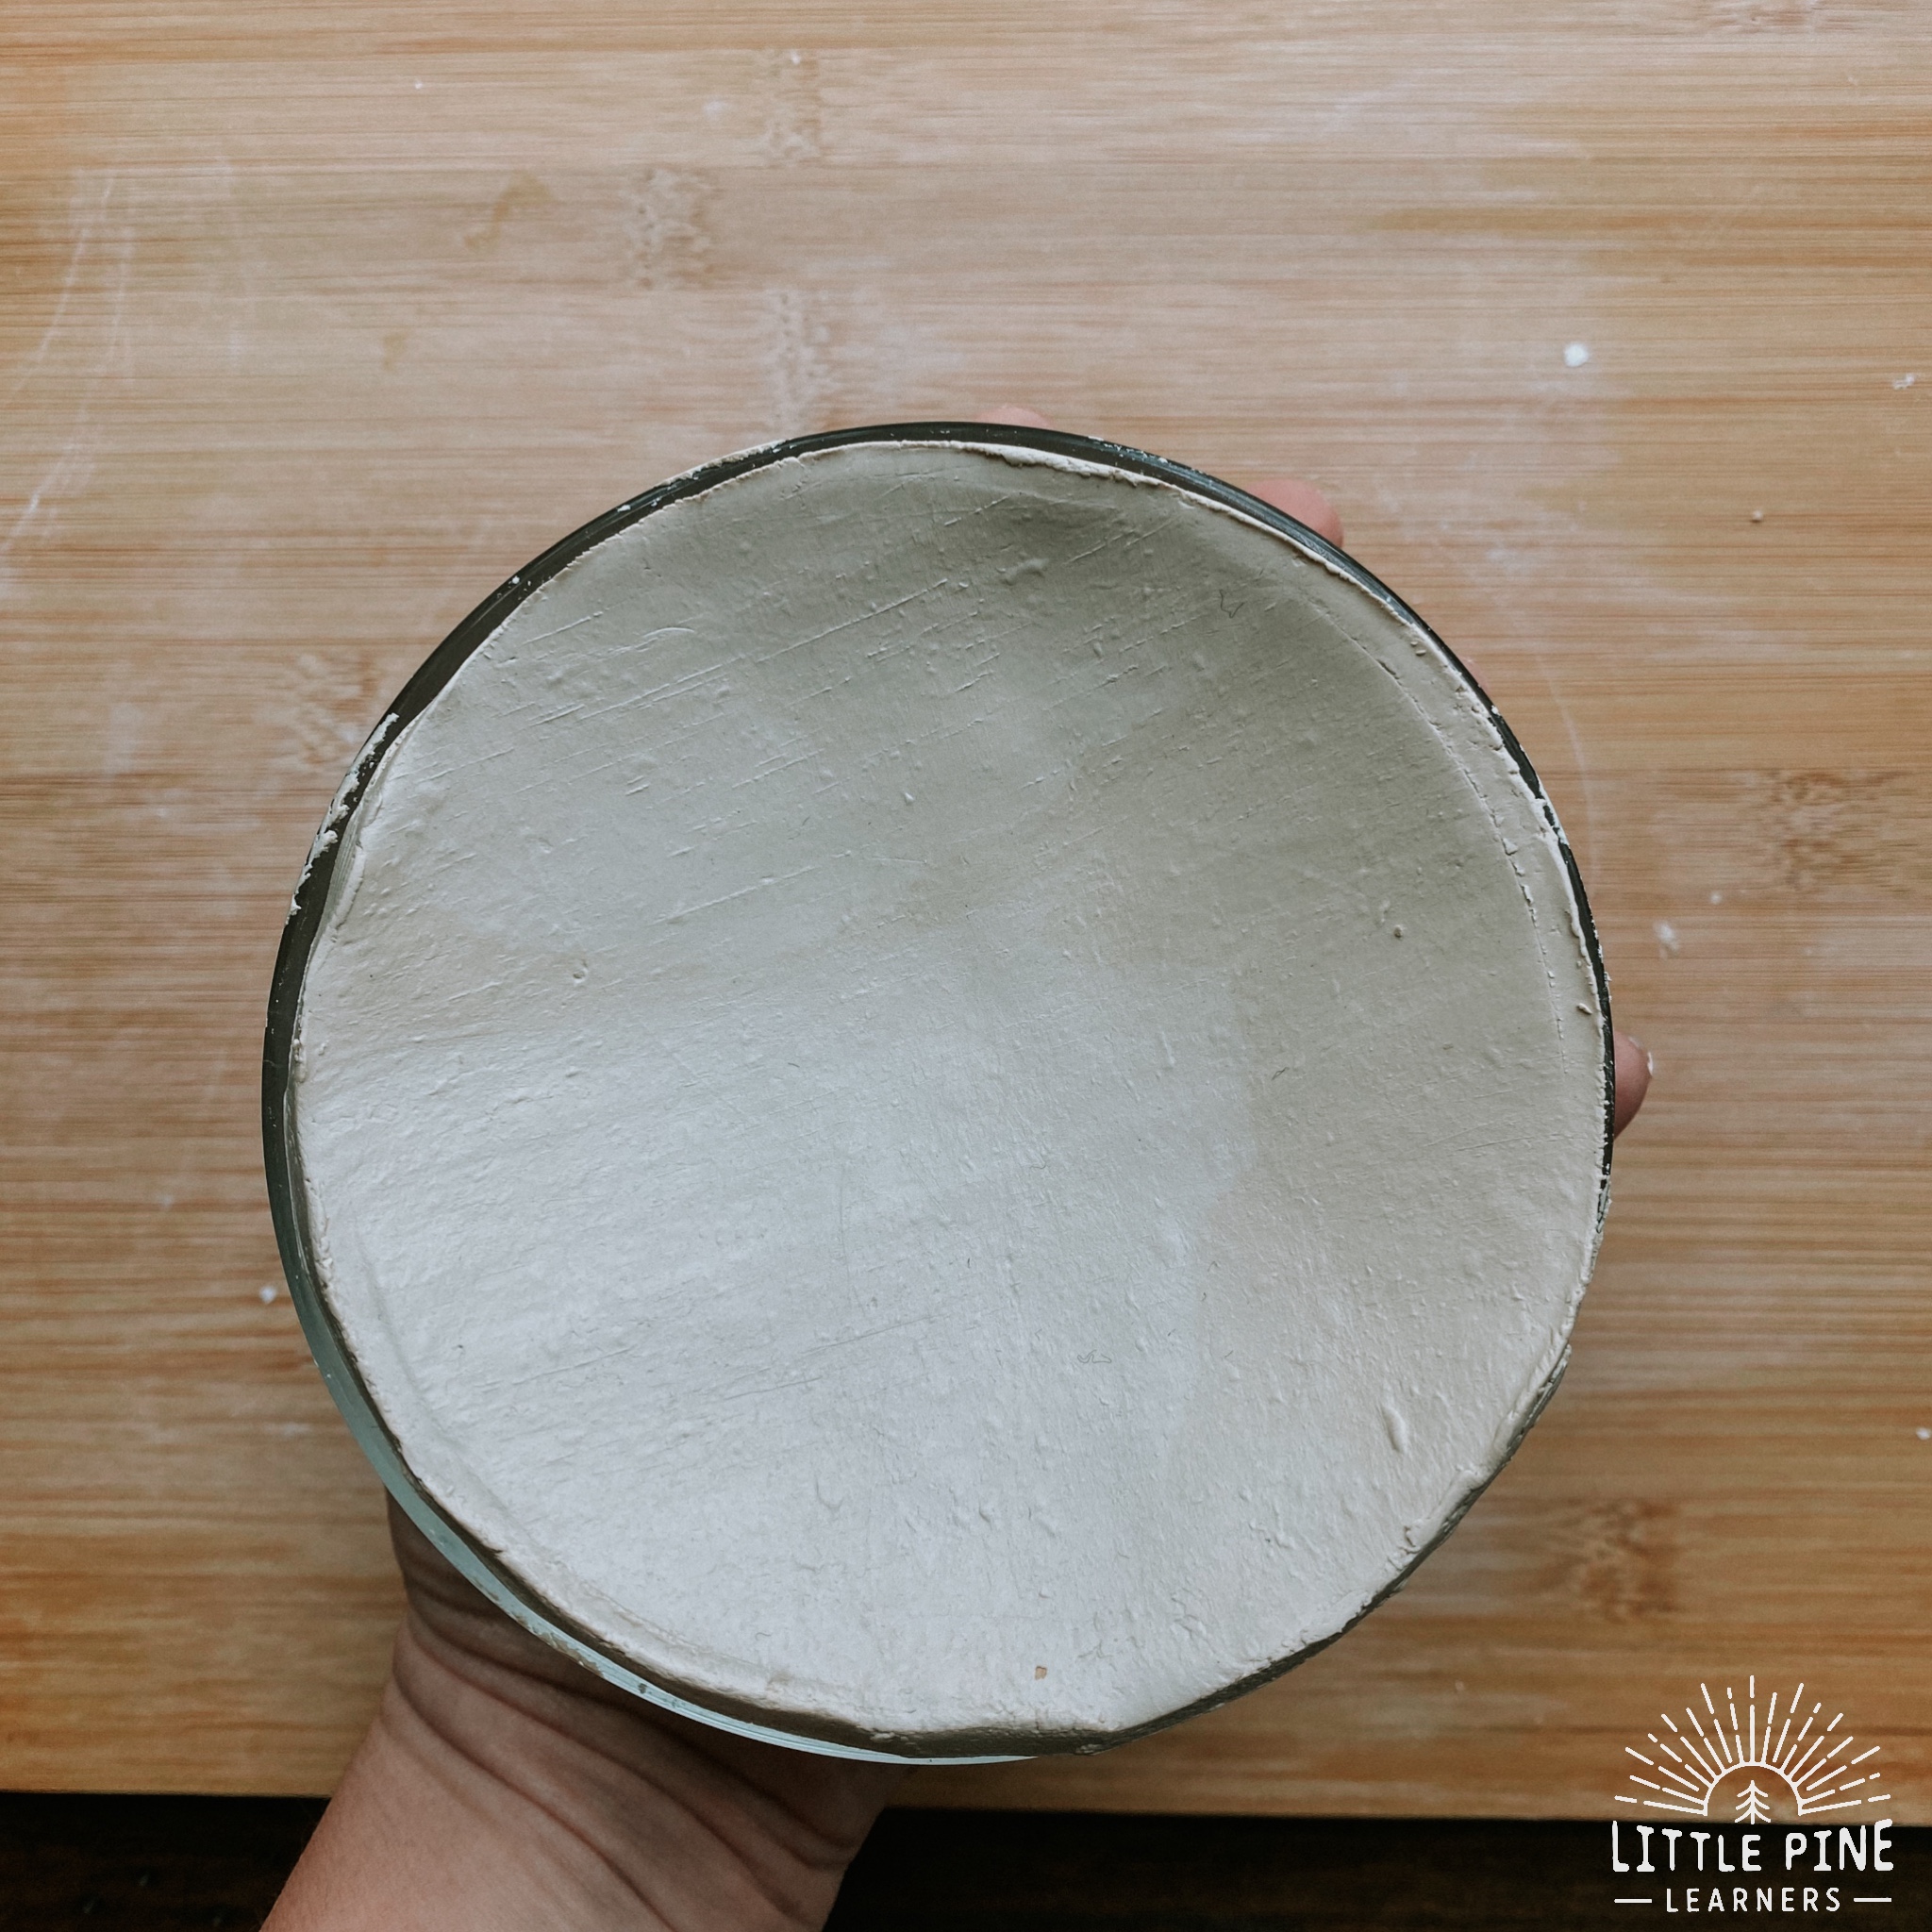
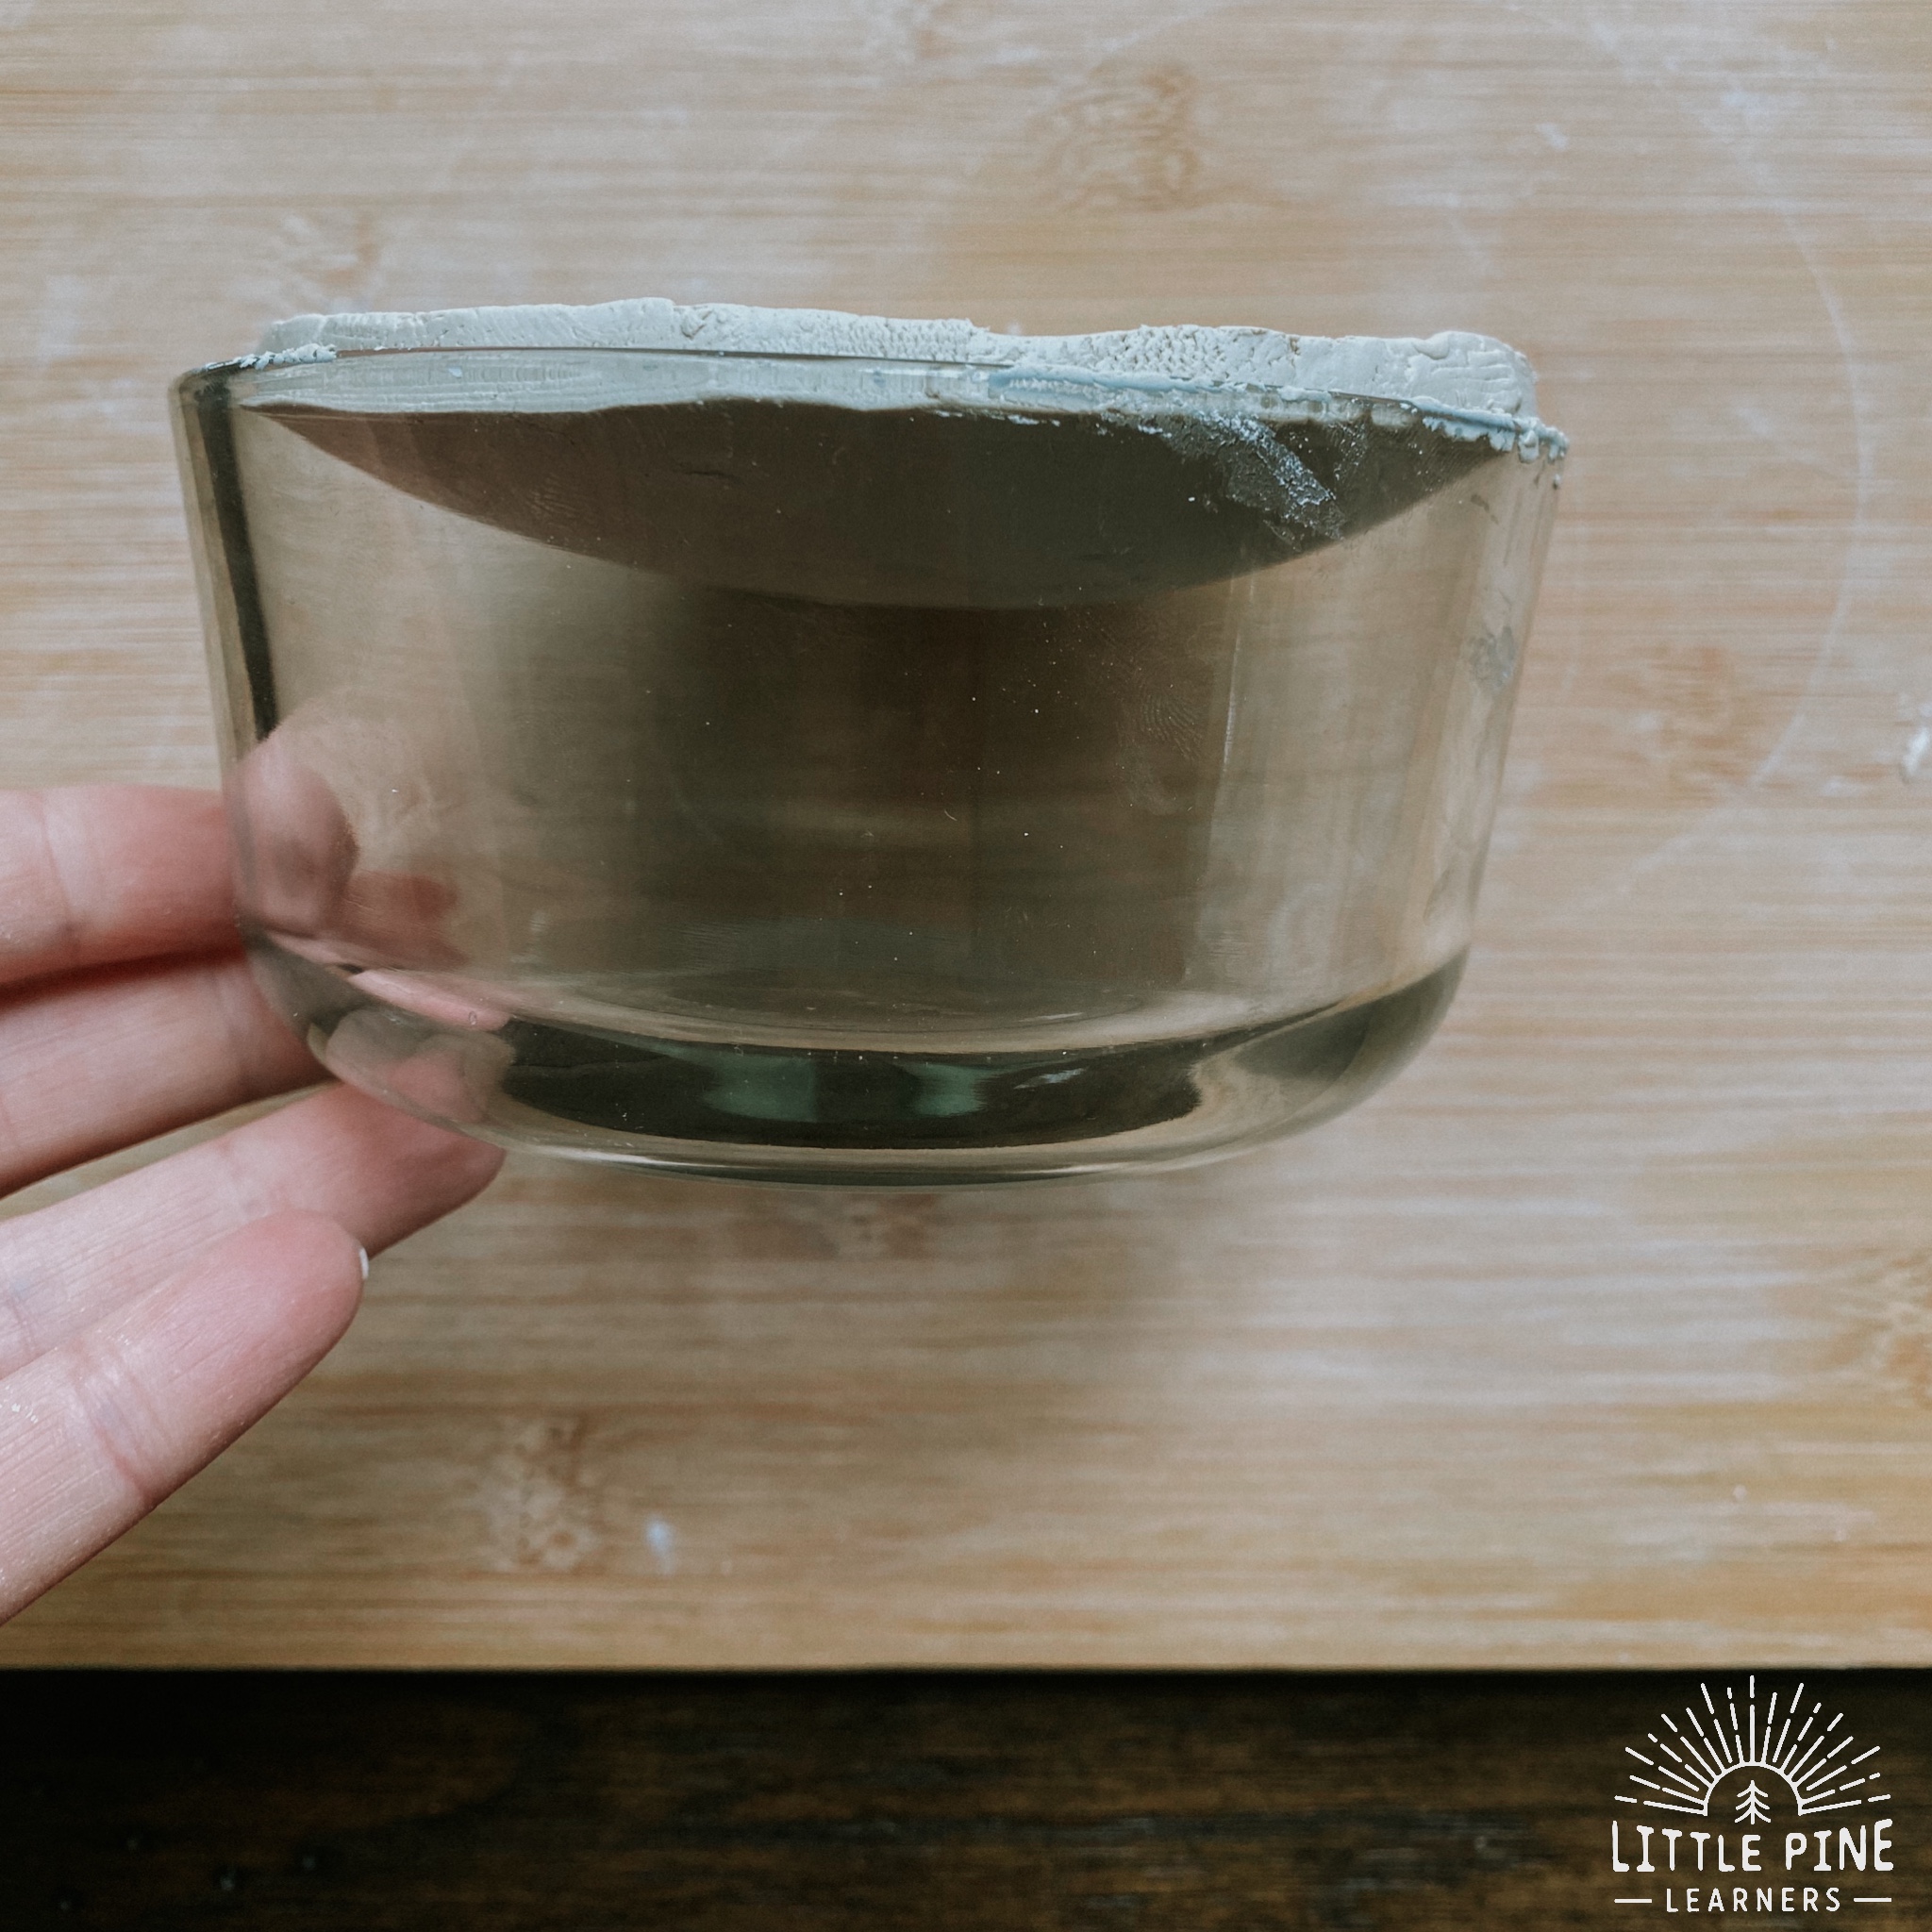
Step 5: Paint
Some people sand the edges to make them perfect at this point, but I skipped that step! I personally like the minor imperfections. Once the dishes are completely dry, use metallic paint to form a fancy rim around the dishes. I think this really elevated the look of the pieces!
Step 6: Stickers
I played around with different sticker designs on the dishes before peeling and sticking. Once I found designs that I liked, I stuck them on the dishes. Carefully place the stickers on the clay dishes, avoiding lines and ripples in the stickers.
Step 8: Seal the clay trinket dish.
Use a THIN layer of matte Mod Podge to seal the dish. Do not use a lot of sealer for this particular craft. These stickers are so thin, that they will pucker up a bit when covered with Mod Podge, but they should flattened out when dried!
I absolutely love how these clay trinket dishes turned out! I tried to pick a favorite, but I just can’t decide. Which one do you like the most?!
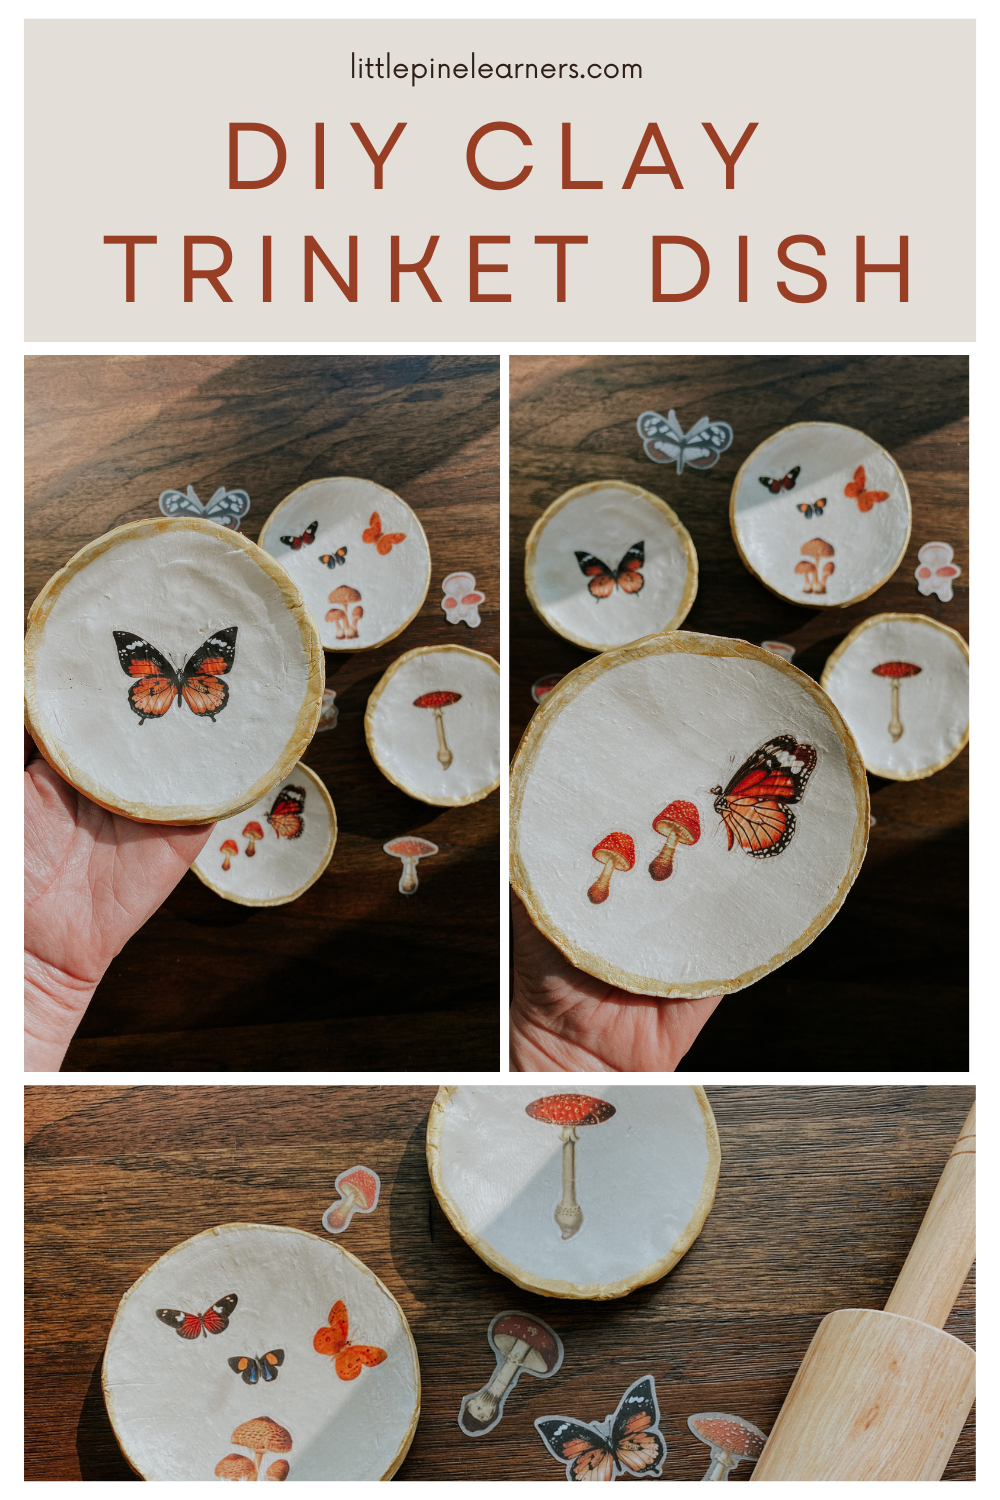
Pin it and save it for later!
I hope you try making a clay trinket dish! I promise, your little nature lovers will love it as much as my boys.
∼Tara
Need more nature craft ideas?! Check out:
Homemade Pencil Case with Nature Prints
DIY Pressed Flower Night Light
