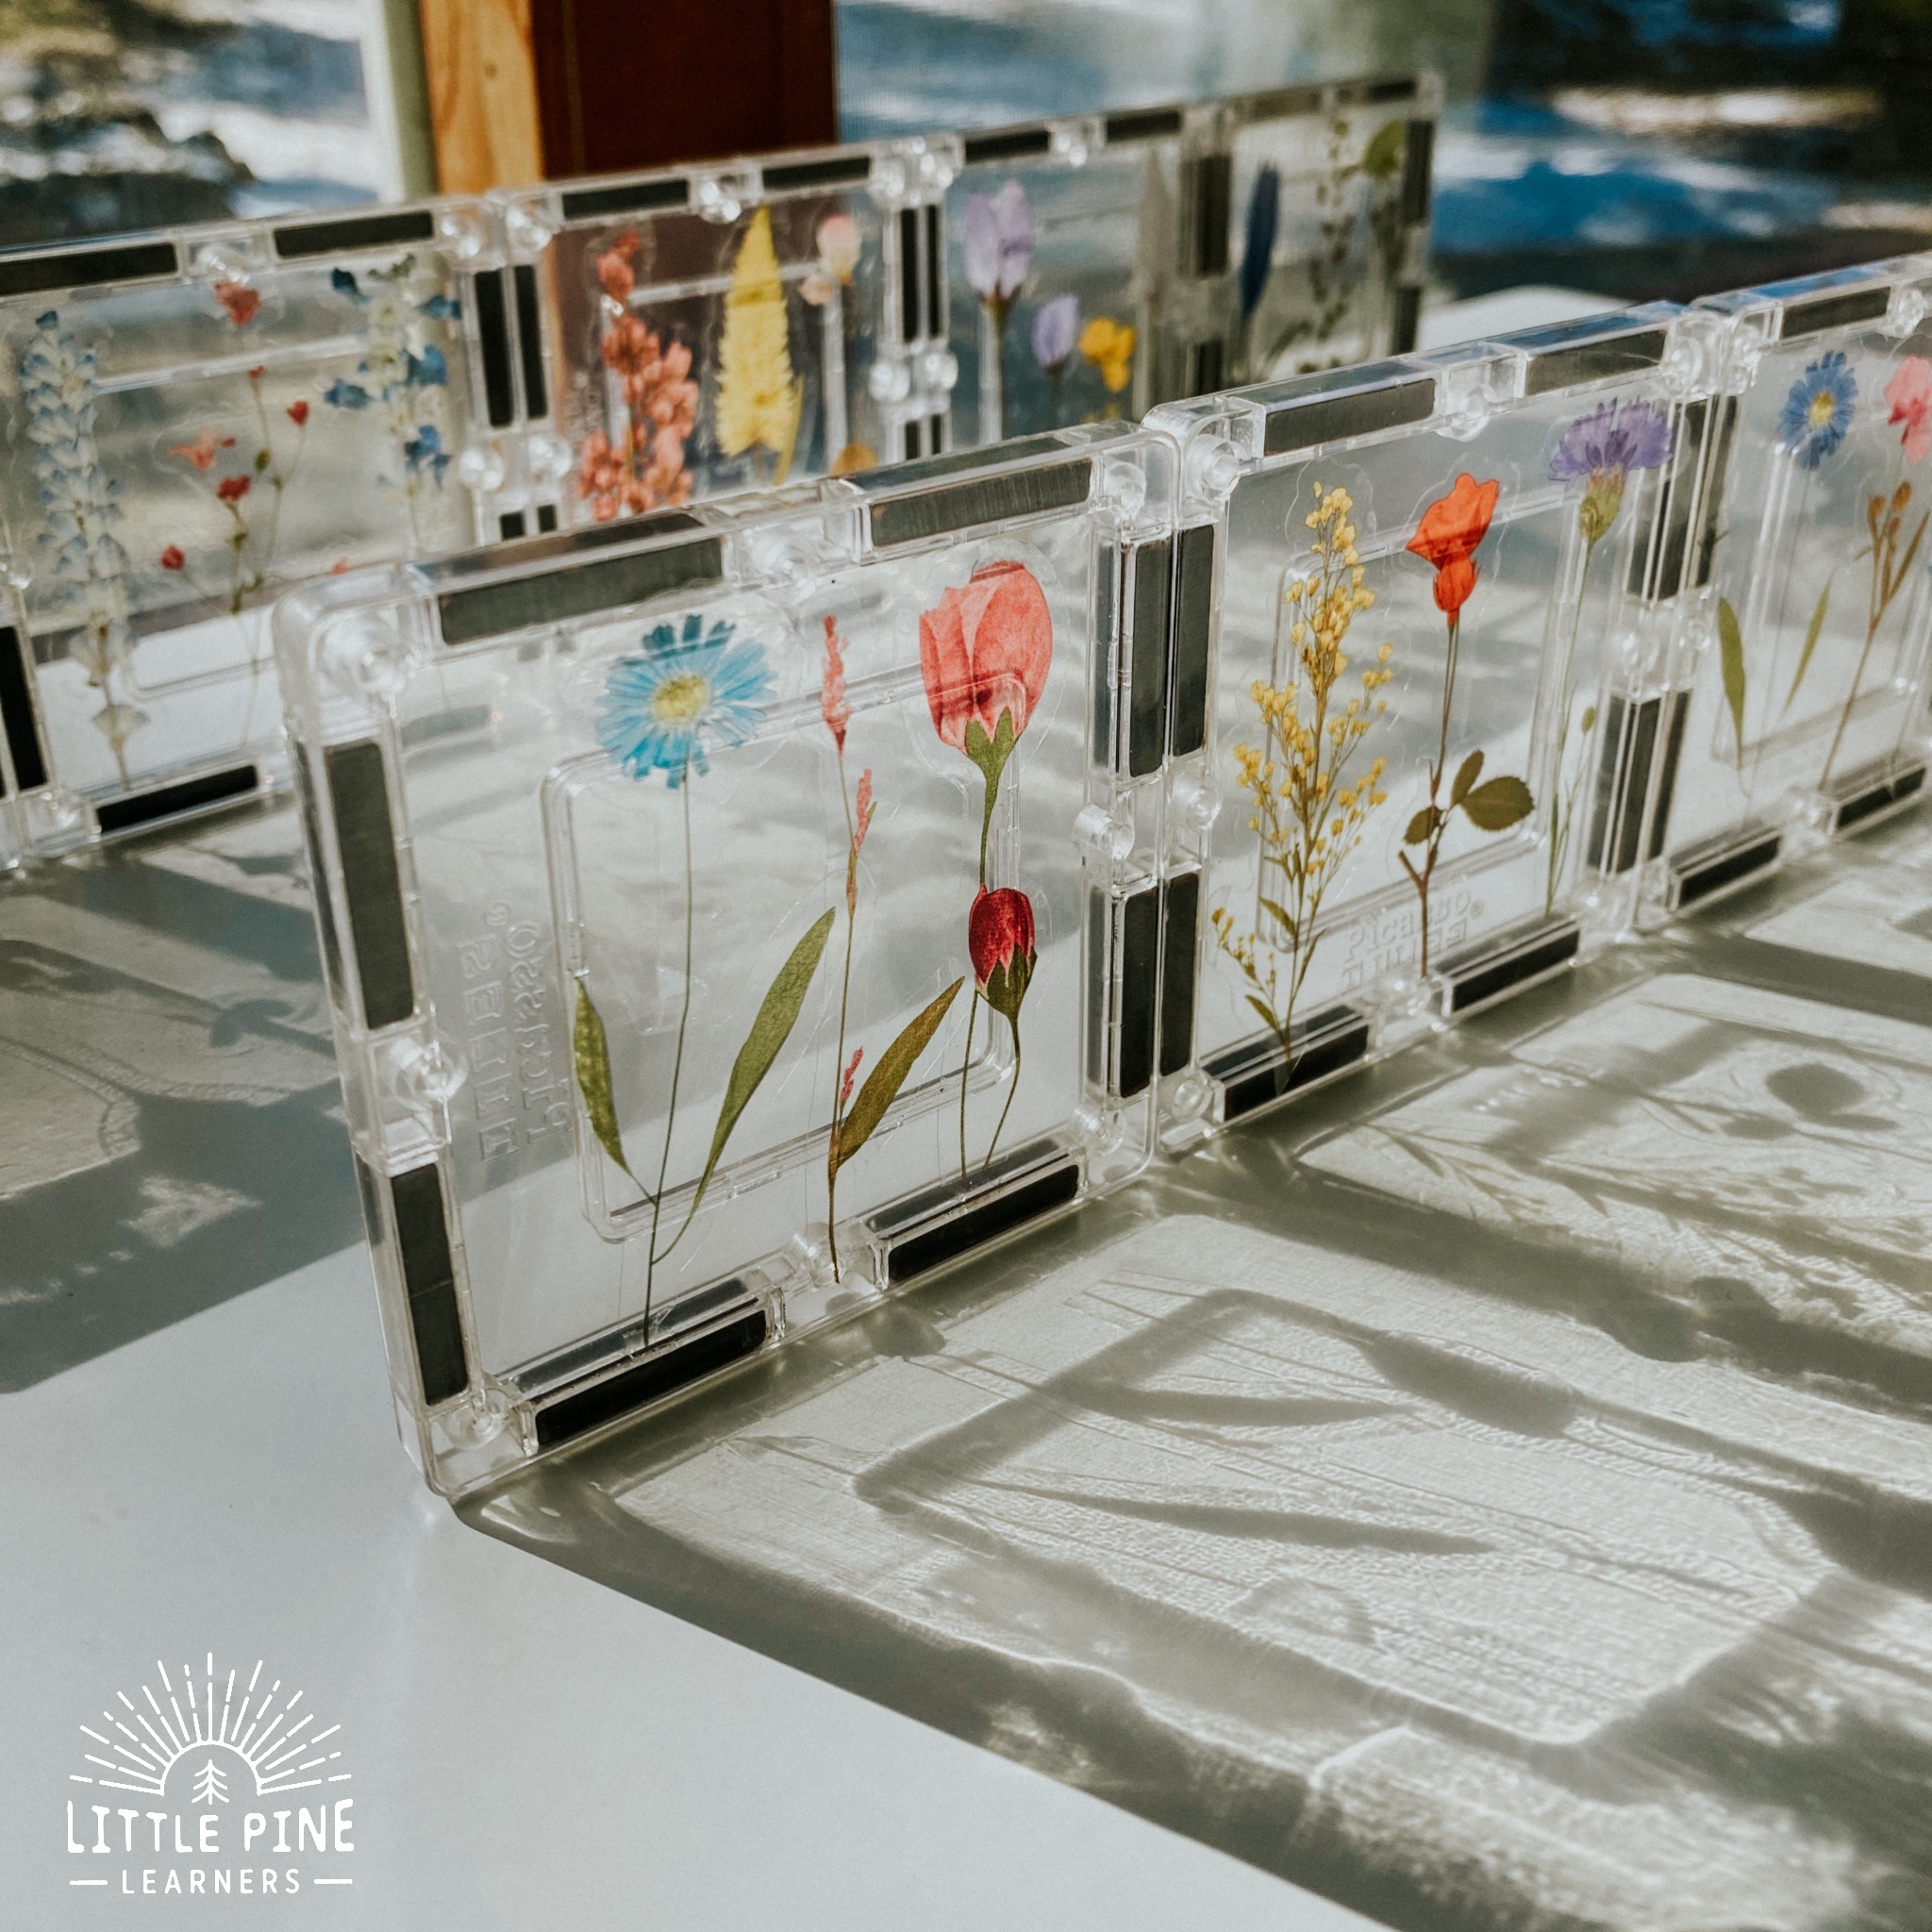
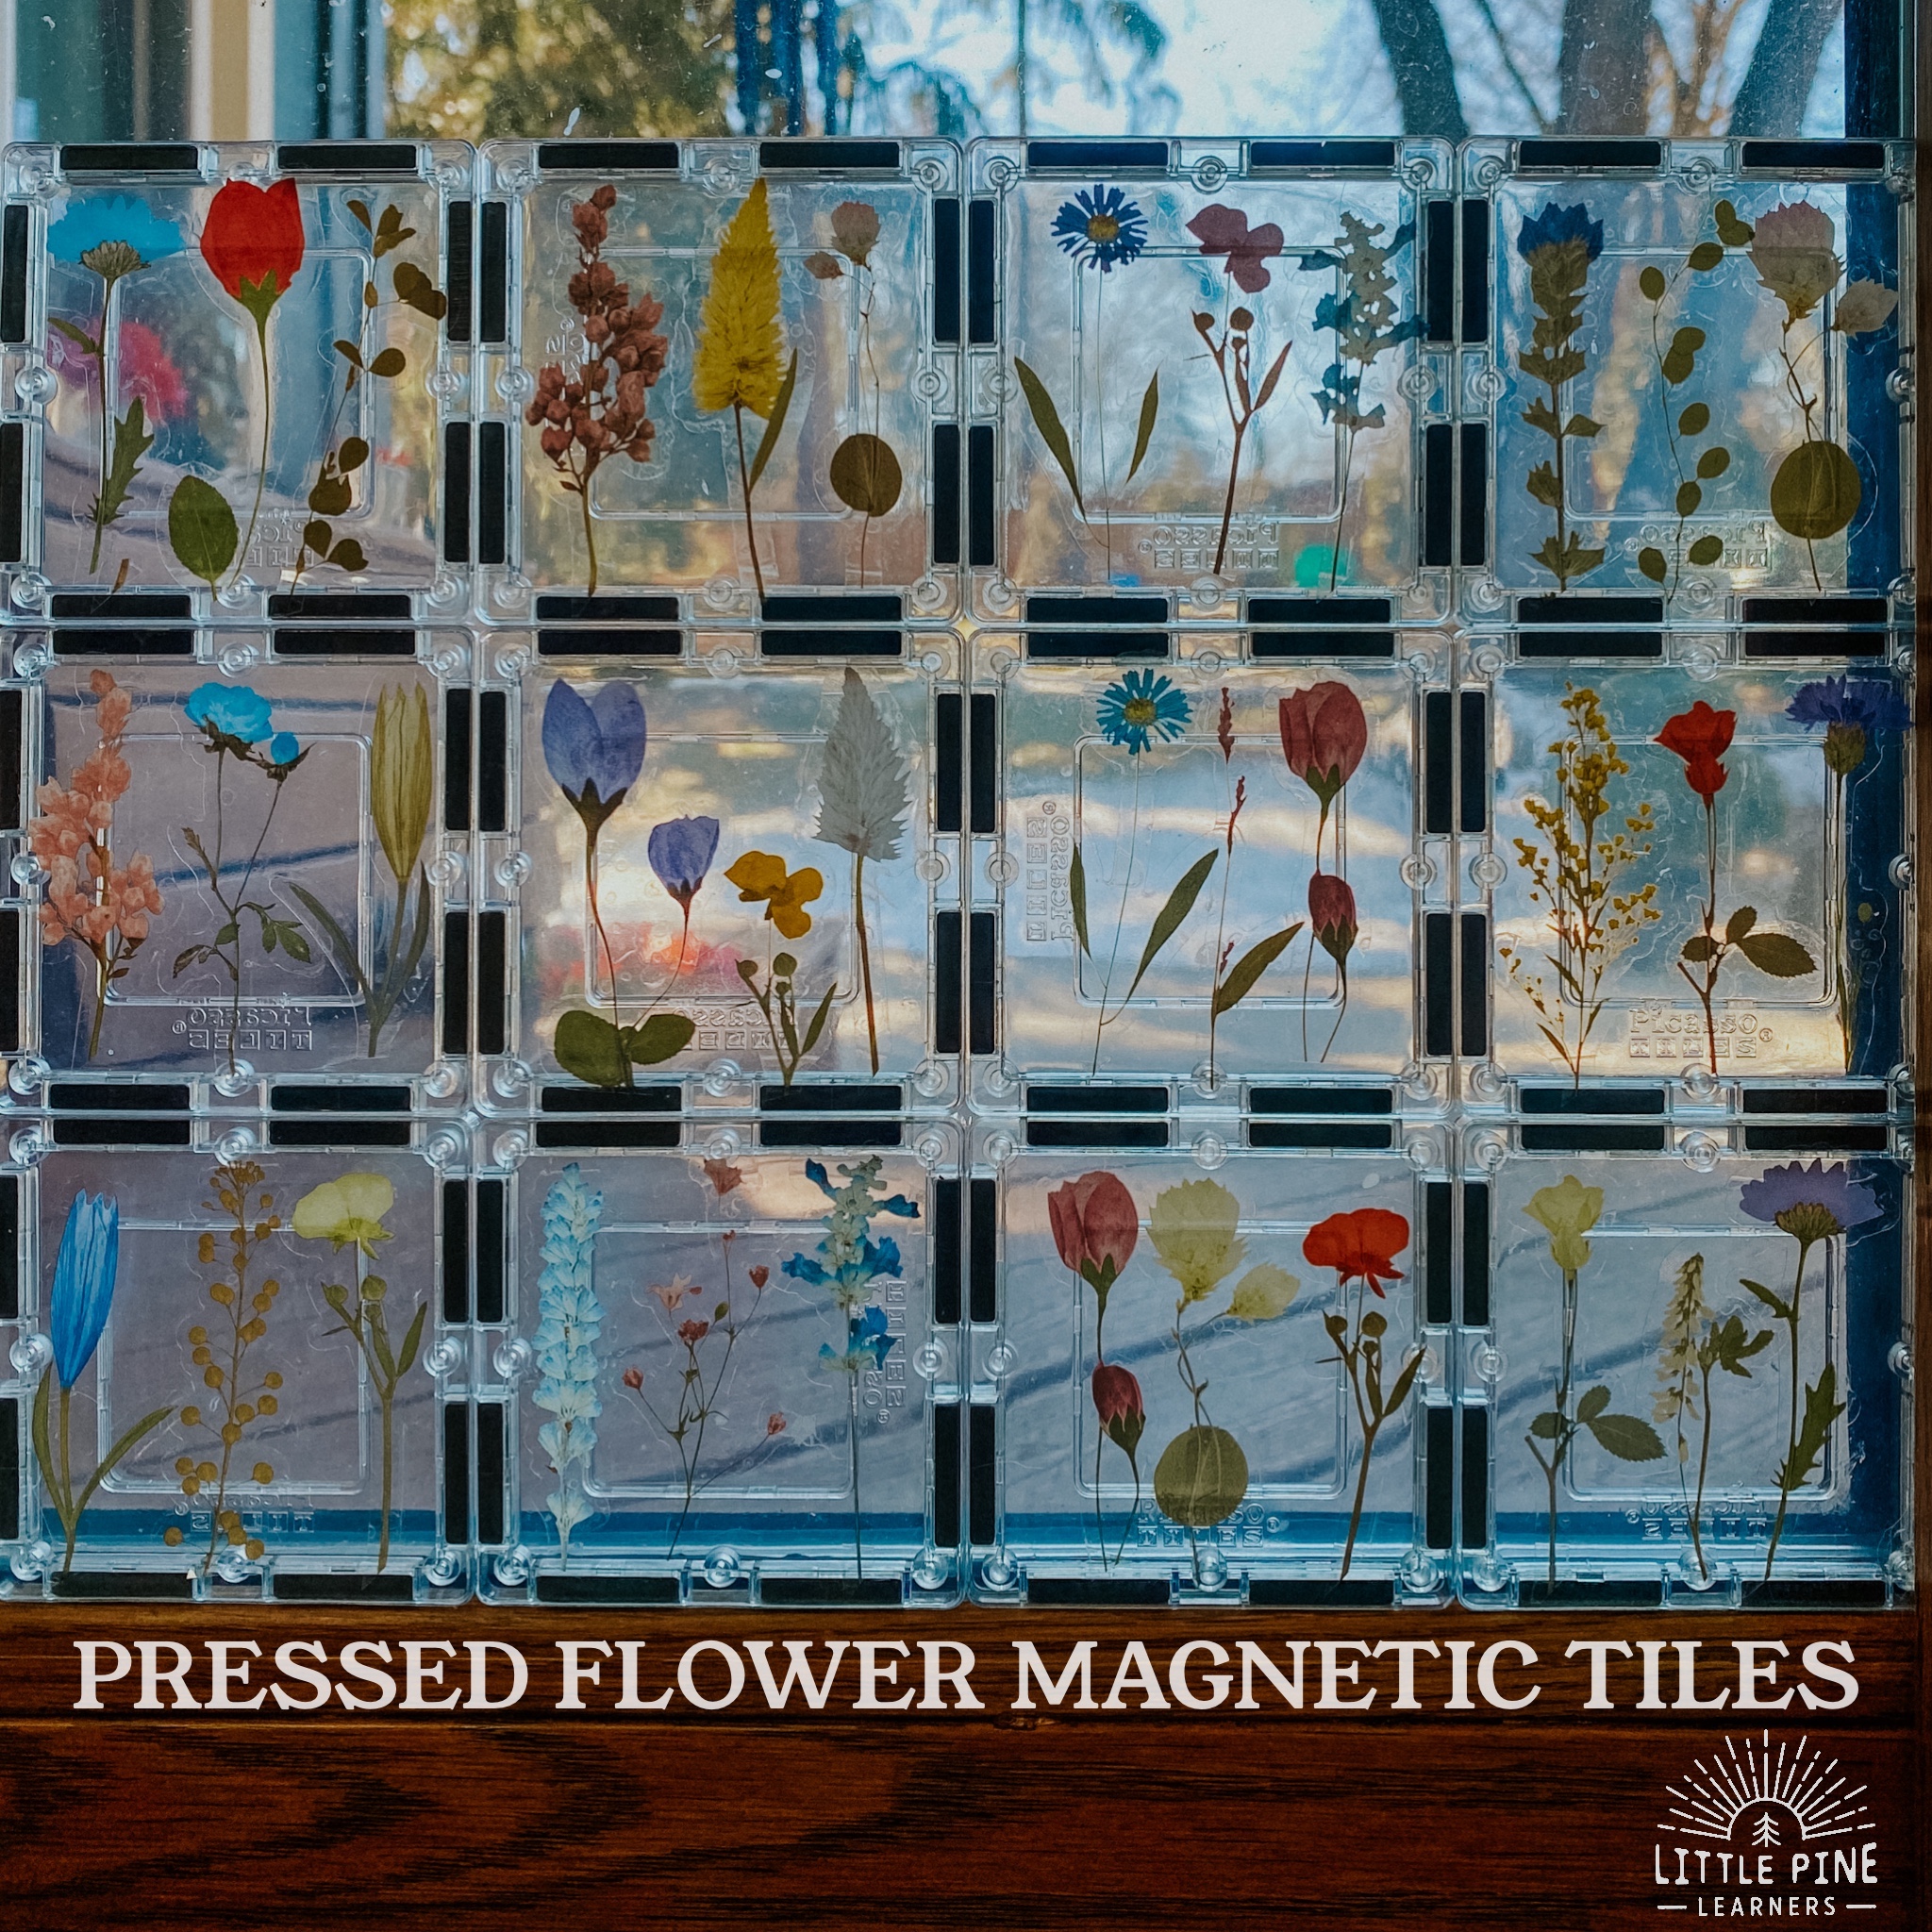
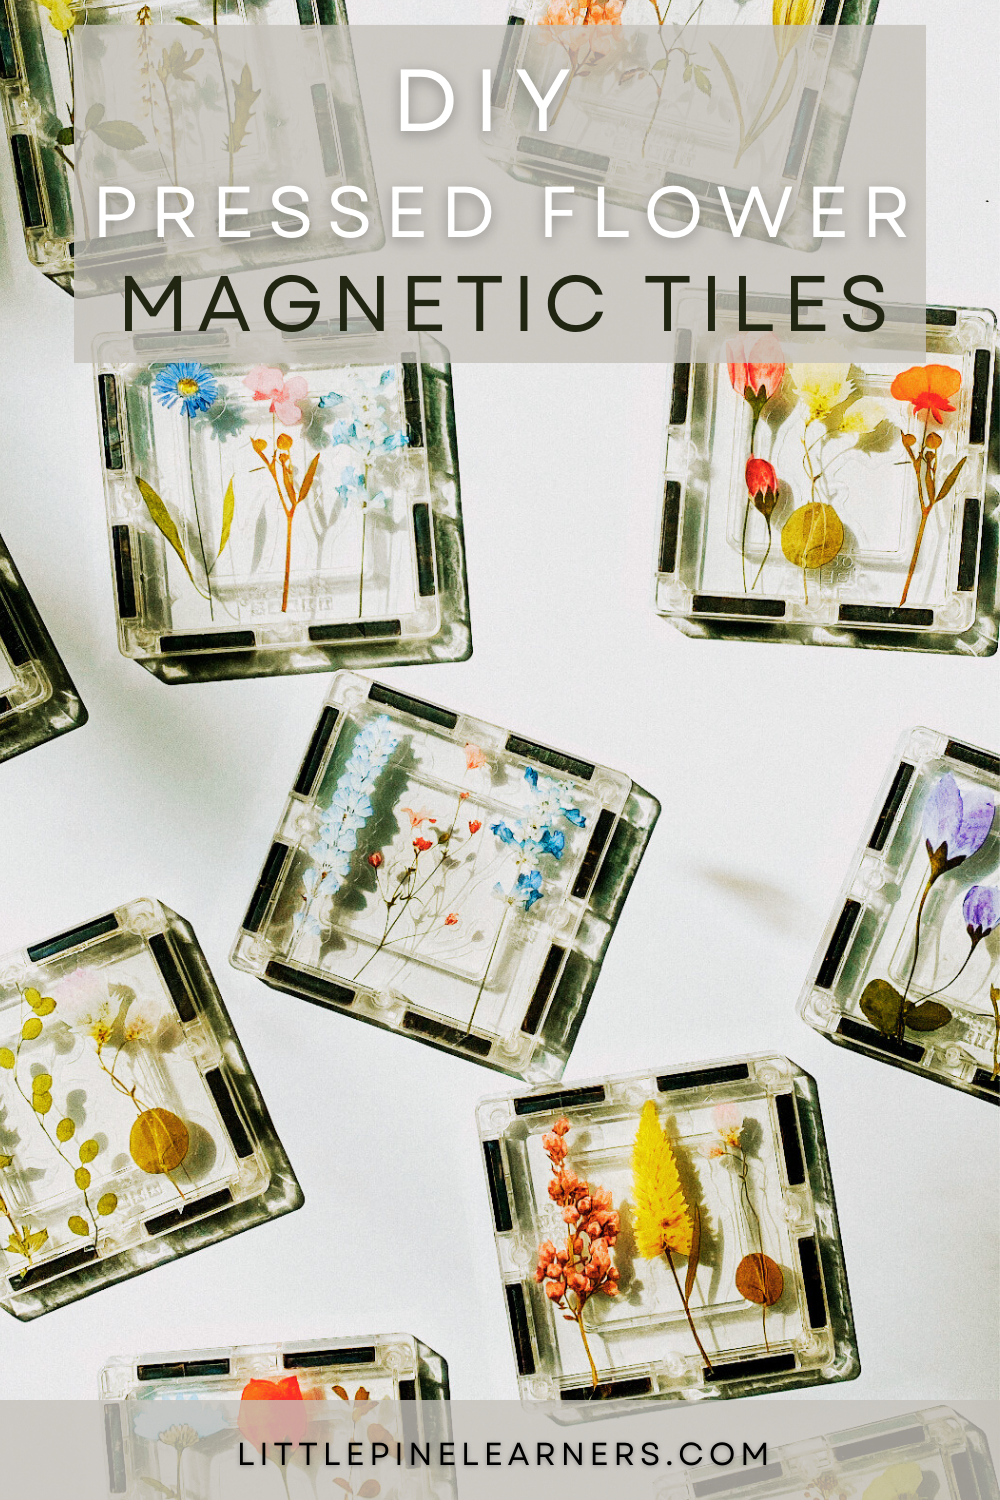
These DIY pressed flower magnetic tiles are so beautiful and really easy to make! They make a great addition to any magnatile collection and will breathe new life into playtime. Magnetic tiles are by far the most loved toy in both my home and classroom! Add them to your toy collection today.
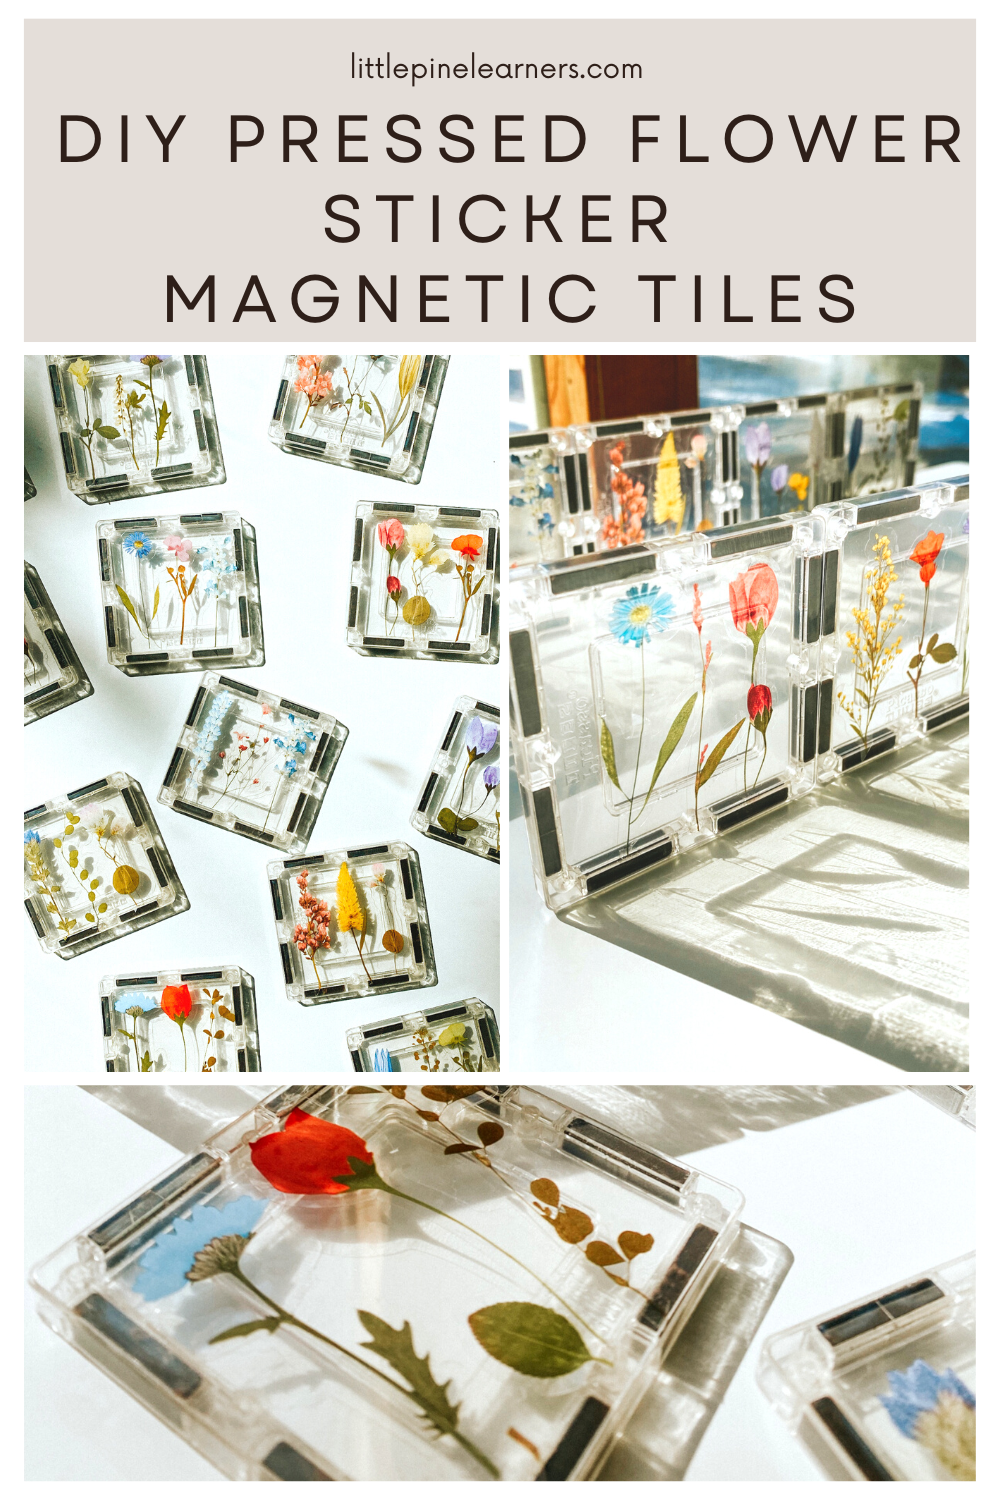
You came to the right place if you are looking for a fun spring or summer flower activity for kids! These make a wonderful and unique birthday, Easter, or holiday gift for kids! Make a bunch, stack them up and tie them together with twine for a special gift that any child would love.
Even though I made these for my preschool students, my 8 and 10 year old boys and were both instantly drawn to them! I’m so excited to share these with my little ones at school and see their magnetic tile wildflower garden creations.
These tiles are incredibly durable and the pressed flower stickers have a strong adhesive. This DIY toy is perfect for little hands!
This post contains Affiliate links for your convenience.
The supply links are provided at the bottom of the post!
Here’s How I Made the Magnetic Tiles:
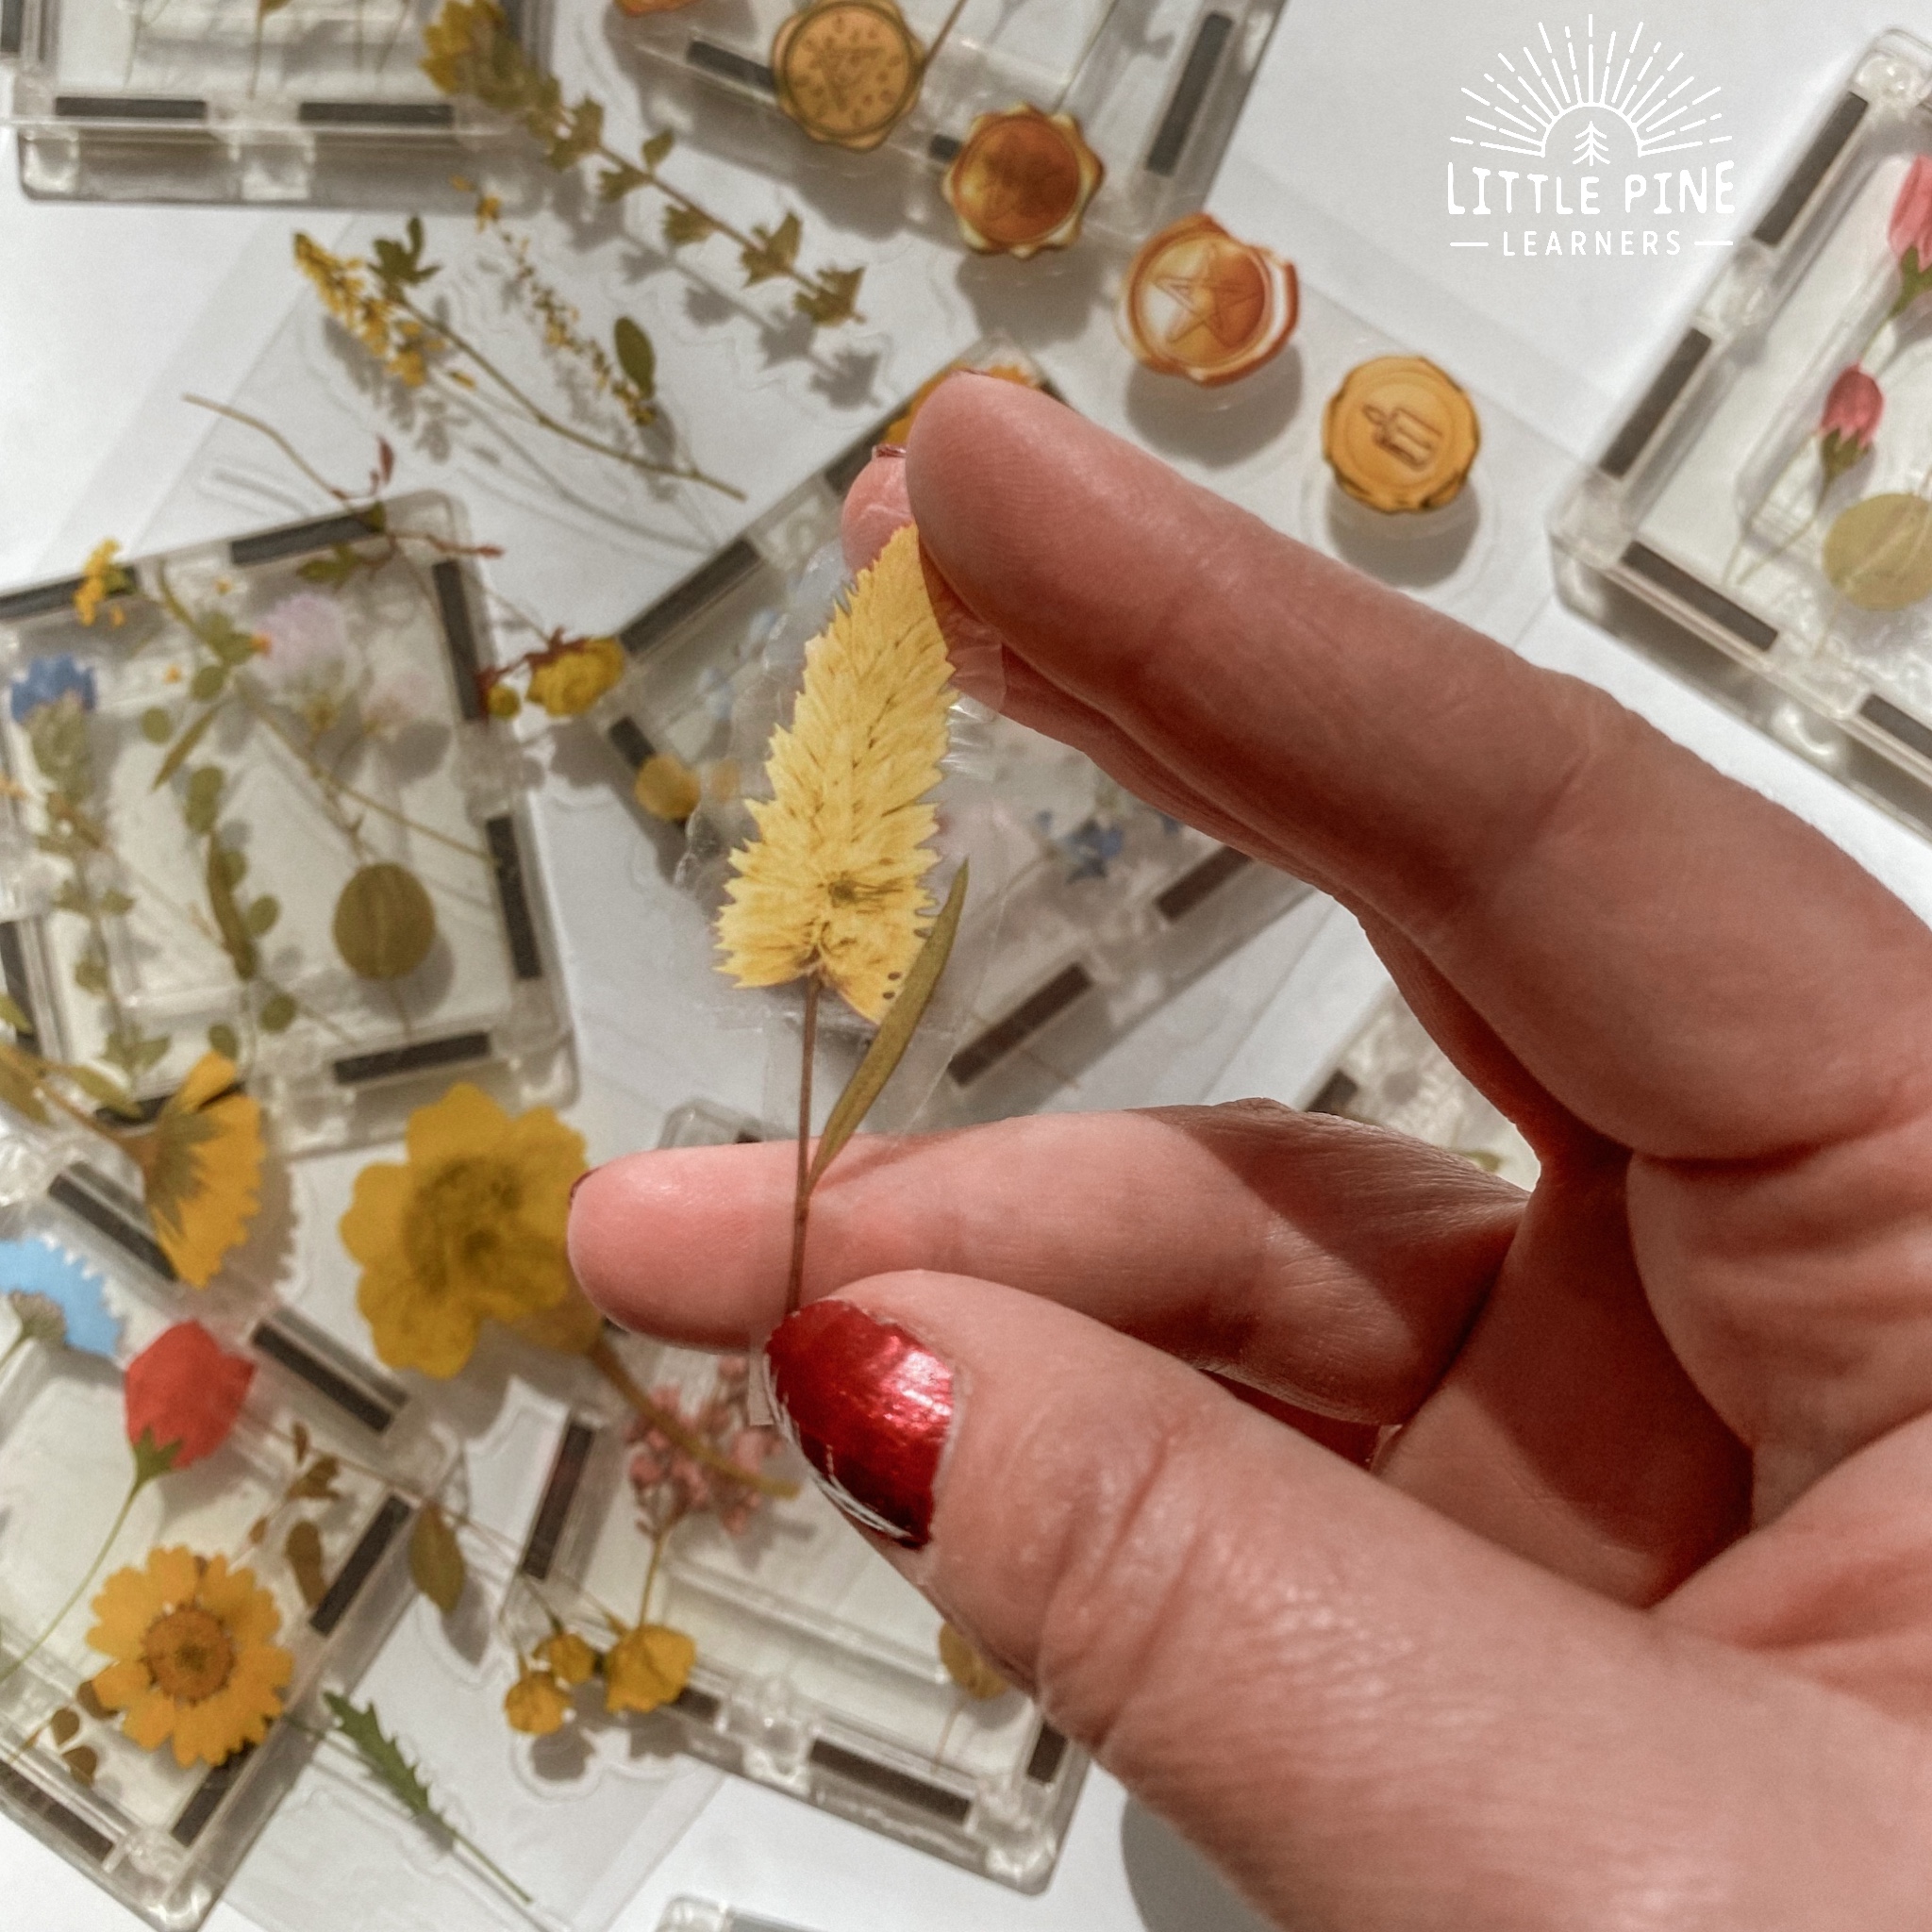
These are so easy to make! Just peel the flowers and stick them on the magnetic tiles. I placed 3 flowers on each tile and found that looked best. I trimmed the sticker stems to make the flowers fit on the inside flat part of the tile. They looked beautiful!
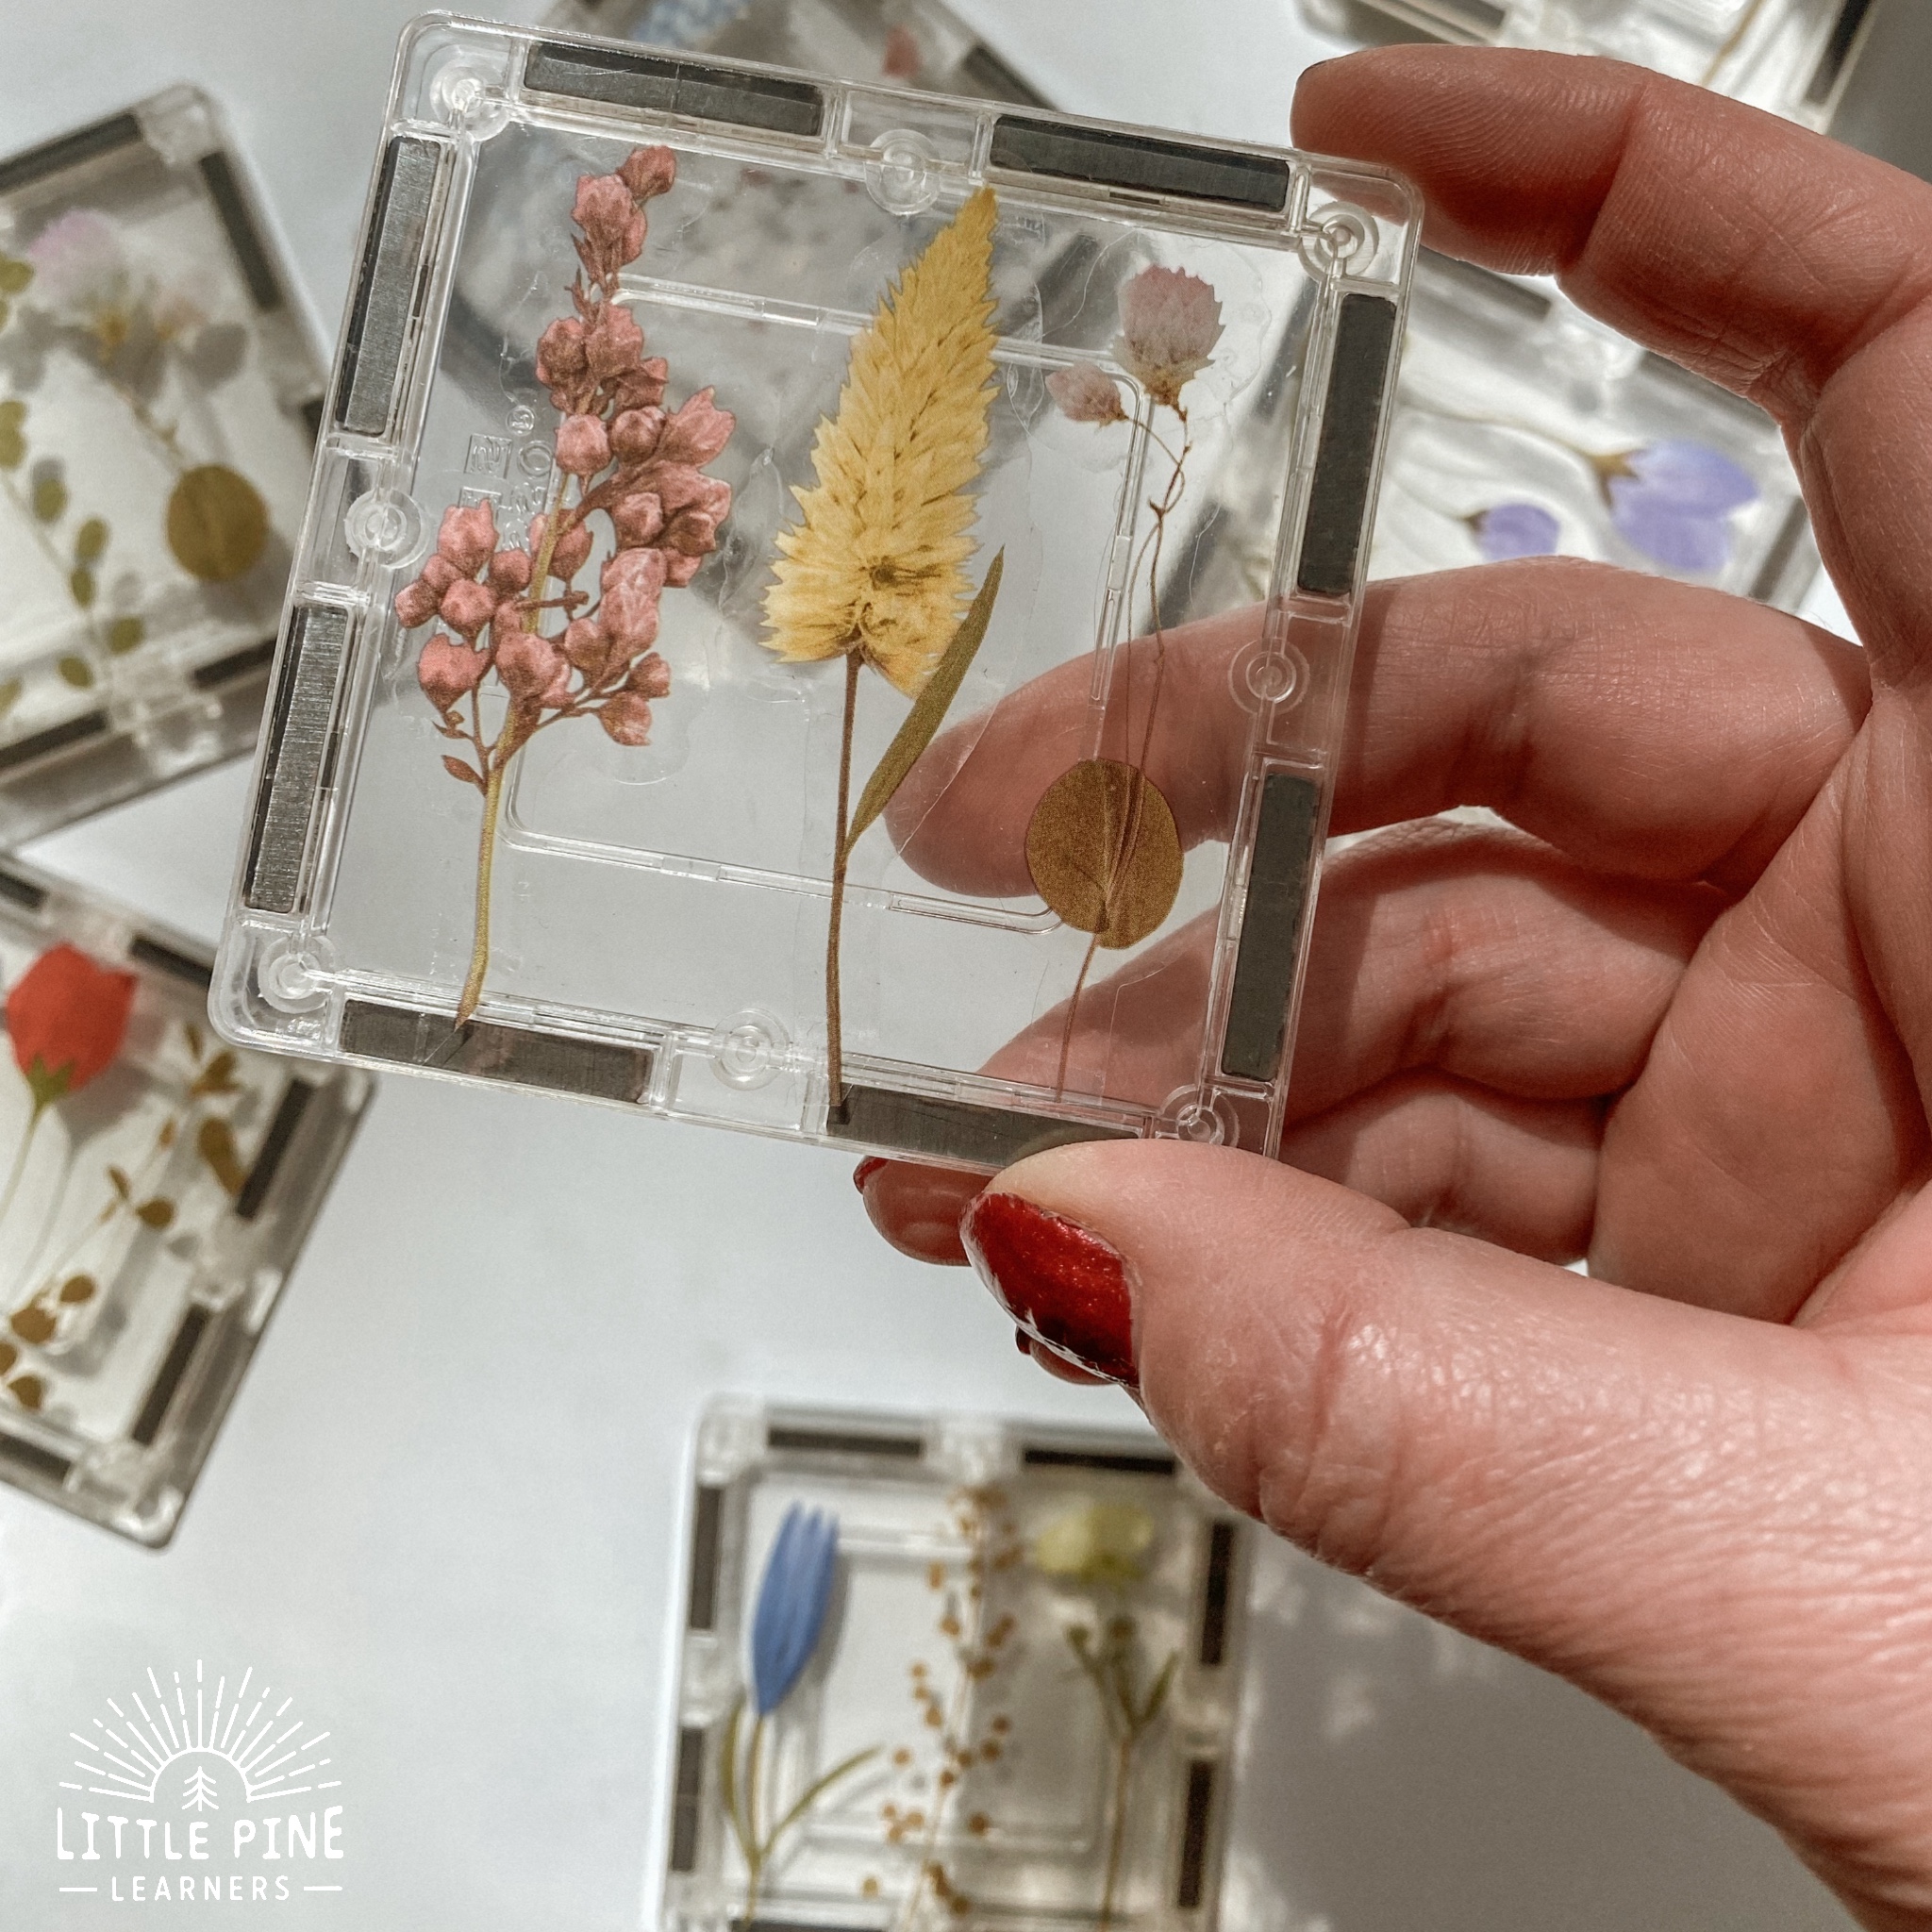
I mixed up the colors and flower types to make the magnetic tiles look like a wildflower garden when stuck together! Try identifying the flowers with your child. It’s a fun challenge and great way to learn nature identification.
They looked so beautiful in the sunlight! This presents a great opportunity to learn about shadows! The flower shadows were gorgeous and fun to look at.
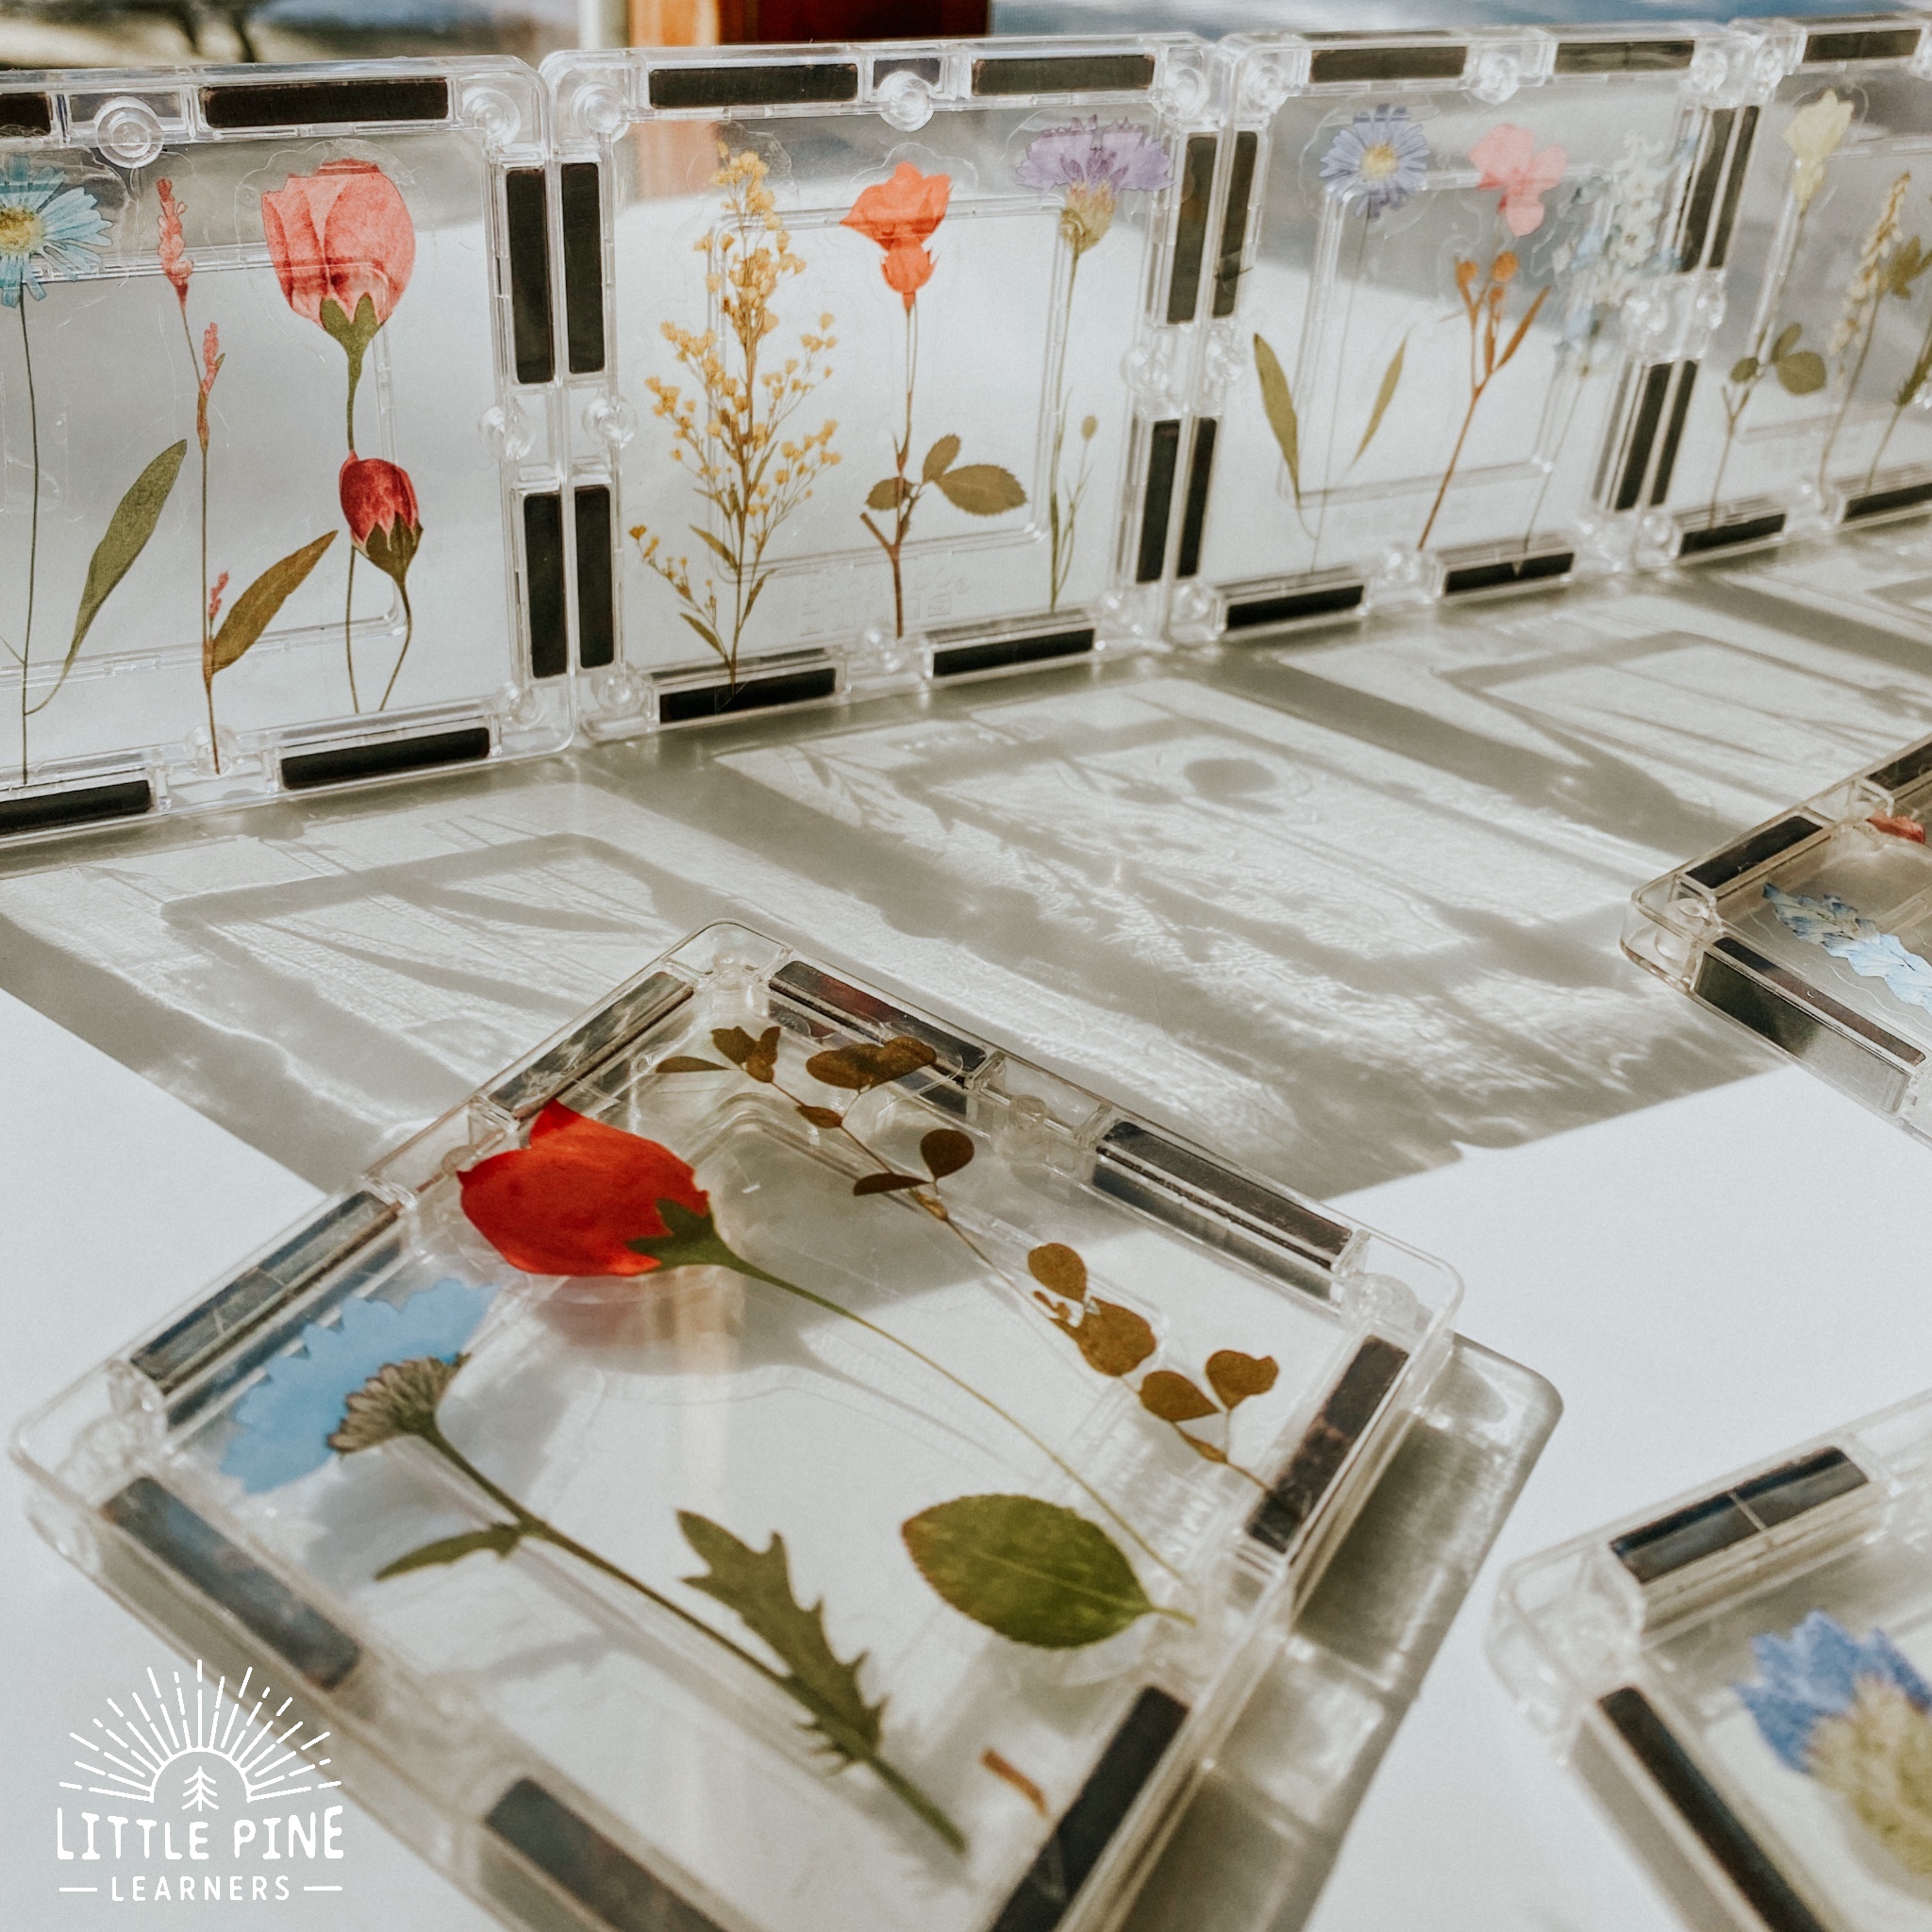
We had fun stacking them on our sliding door. The tiles made a pretty sun catcher! They are also fun to arrange on the refrigerator or any metal surface.
These are also so fun to play with on a light pad! The magnetic tiles are almost like DIY pressed flower specimens. I’ve had this same light pad in my preschool classroom for years and it has proven to be durable and long lasting!
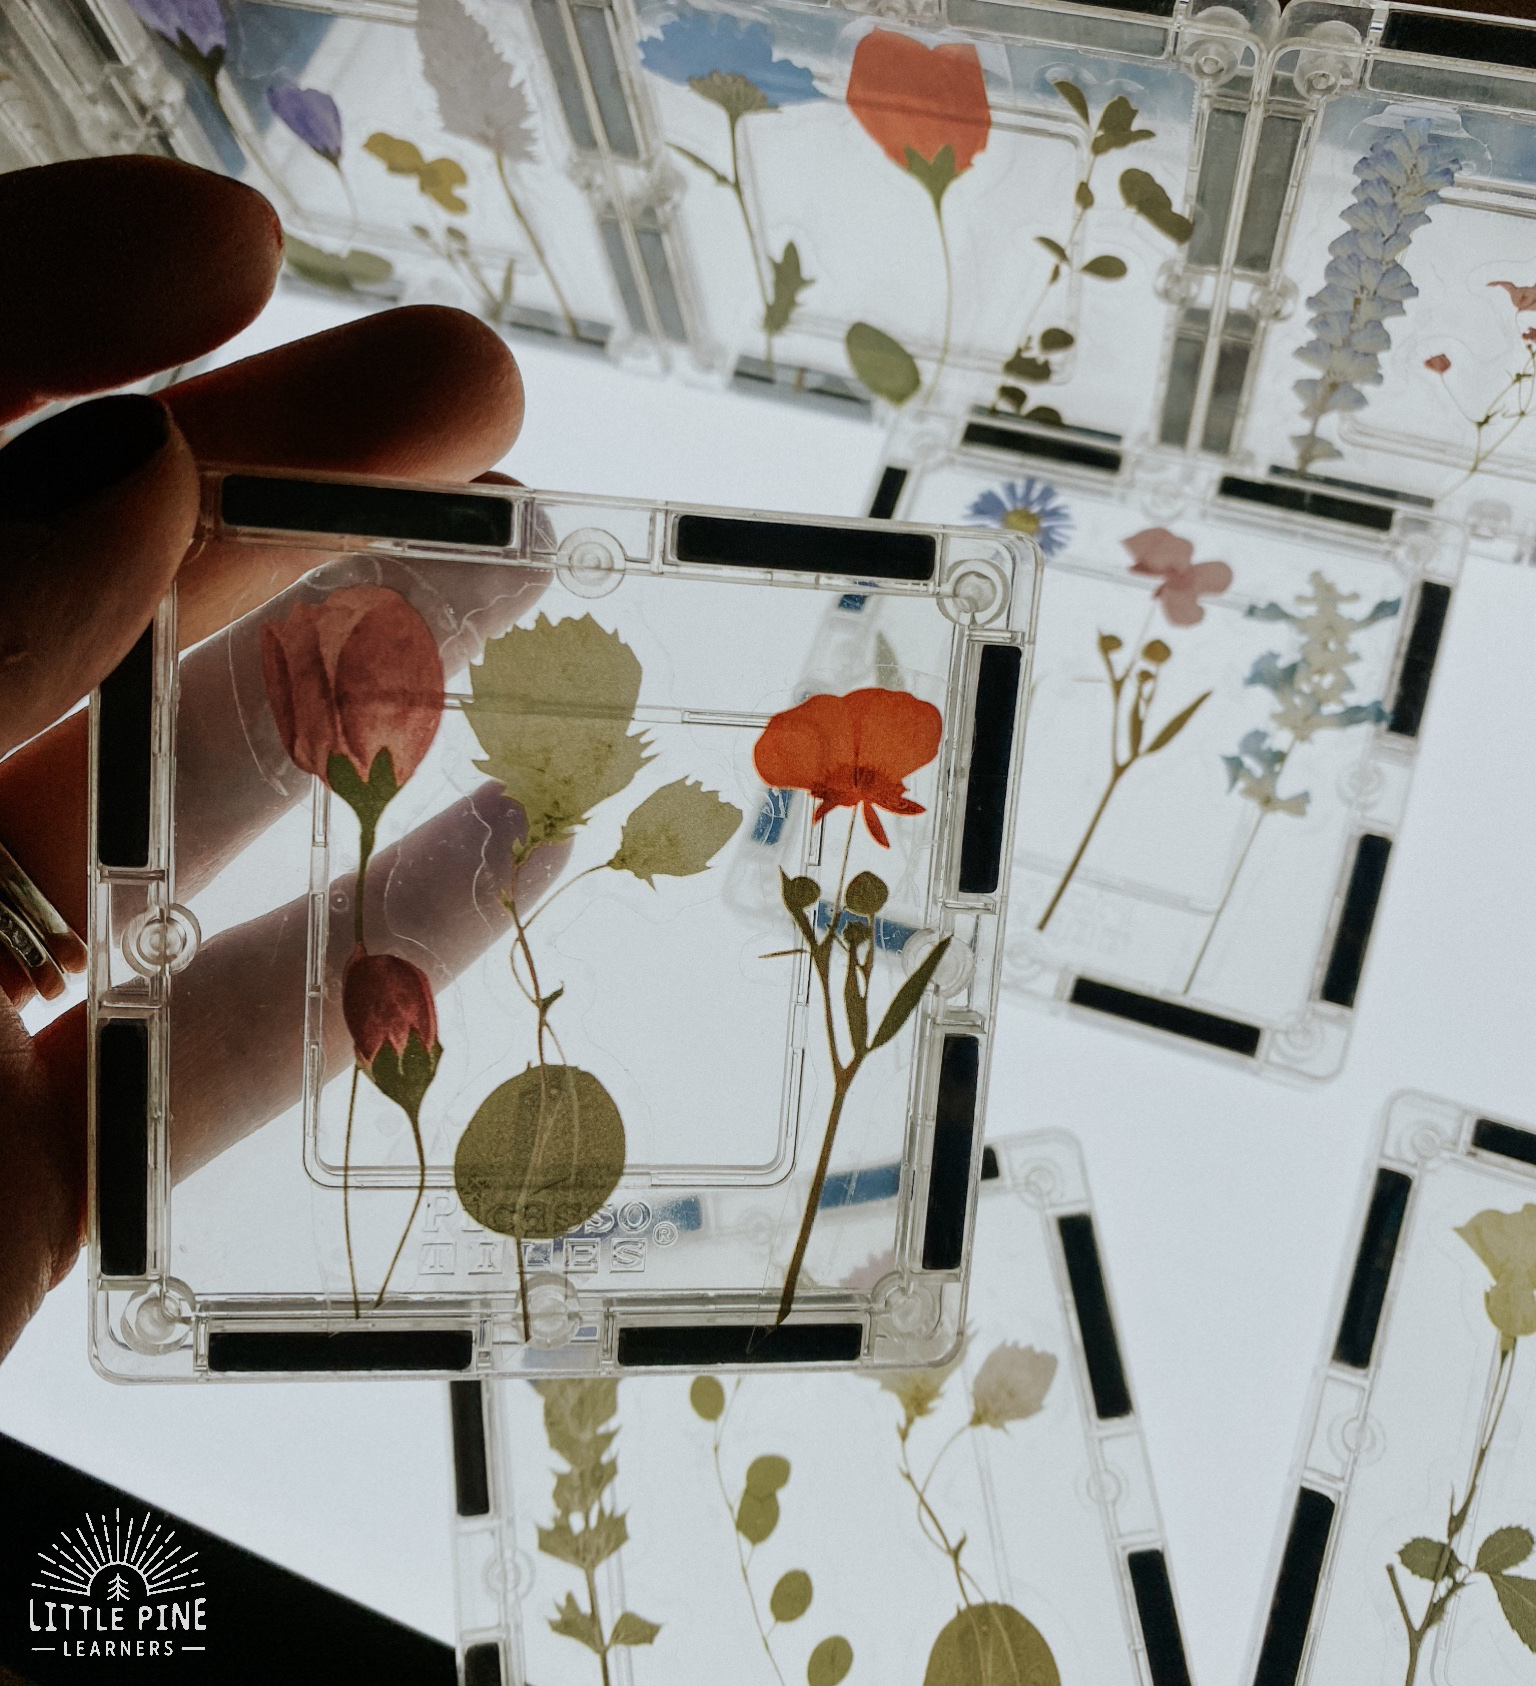
Children will love stacking the tiles on and around the light pad!
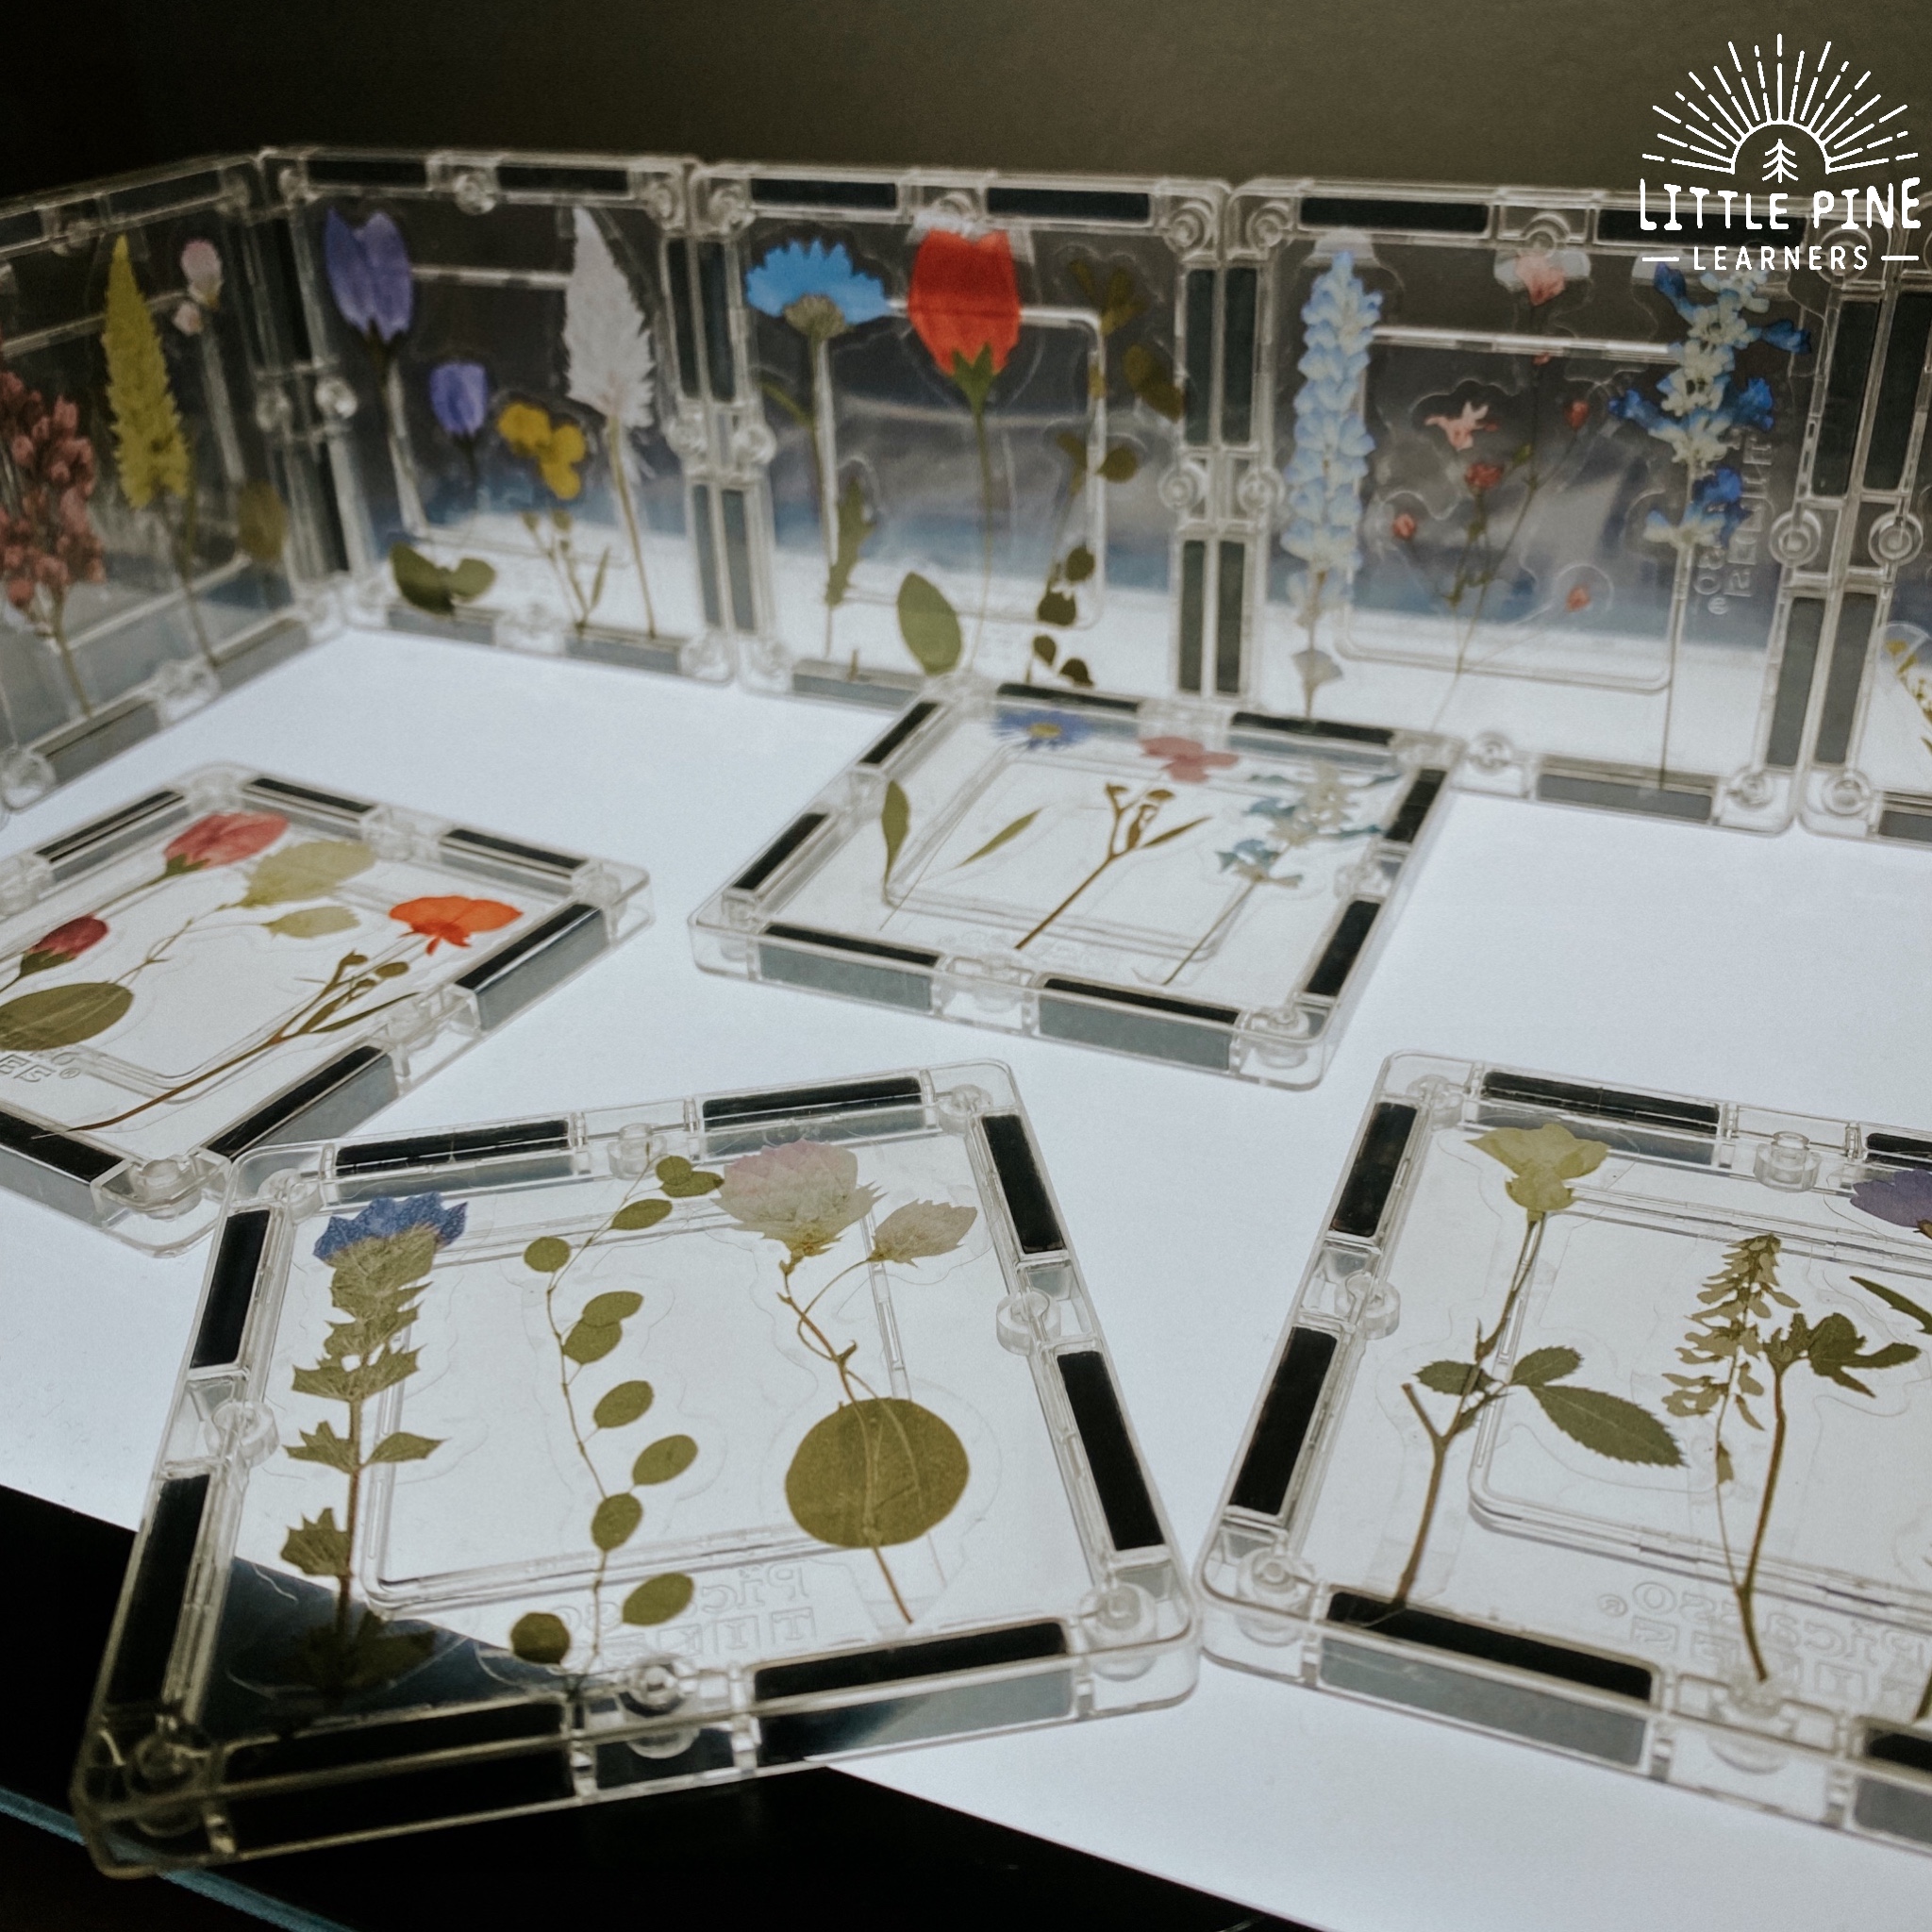
You can mix these in with the rest of your magnetic tiles or create a challenge for your child! Here is challenge idea: Have your child build a house out of your regular magnetic tiles and then create a wildflower garden for the home out of the DIY flower tiles!
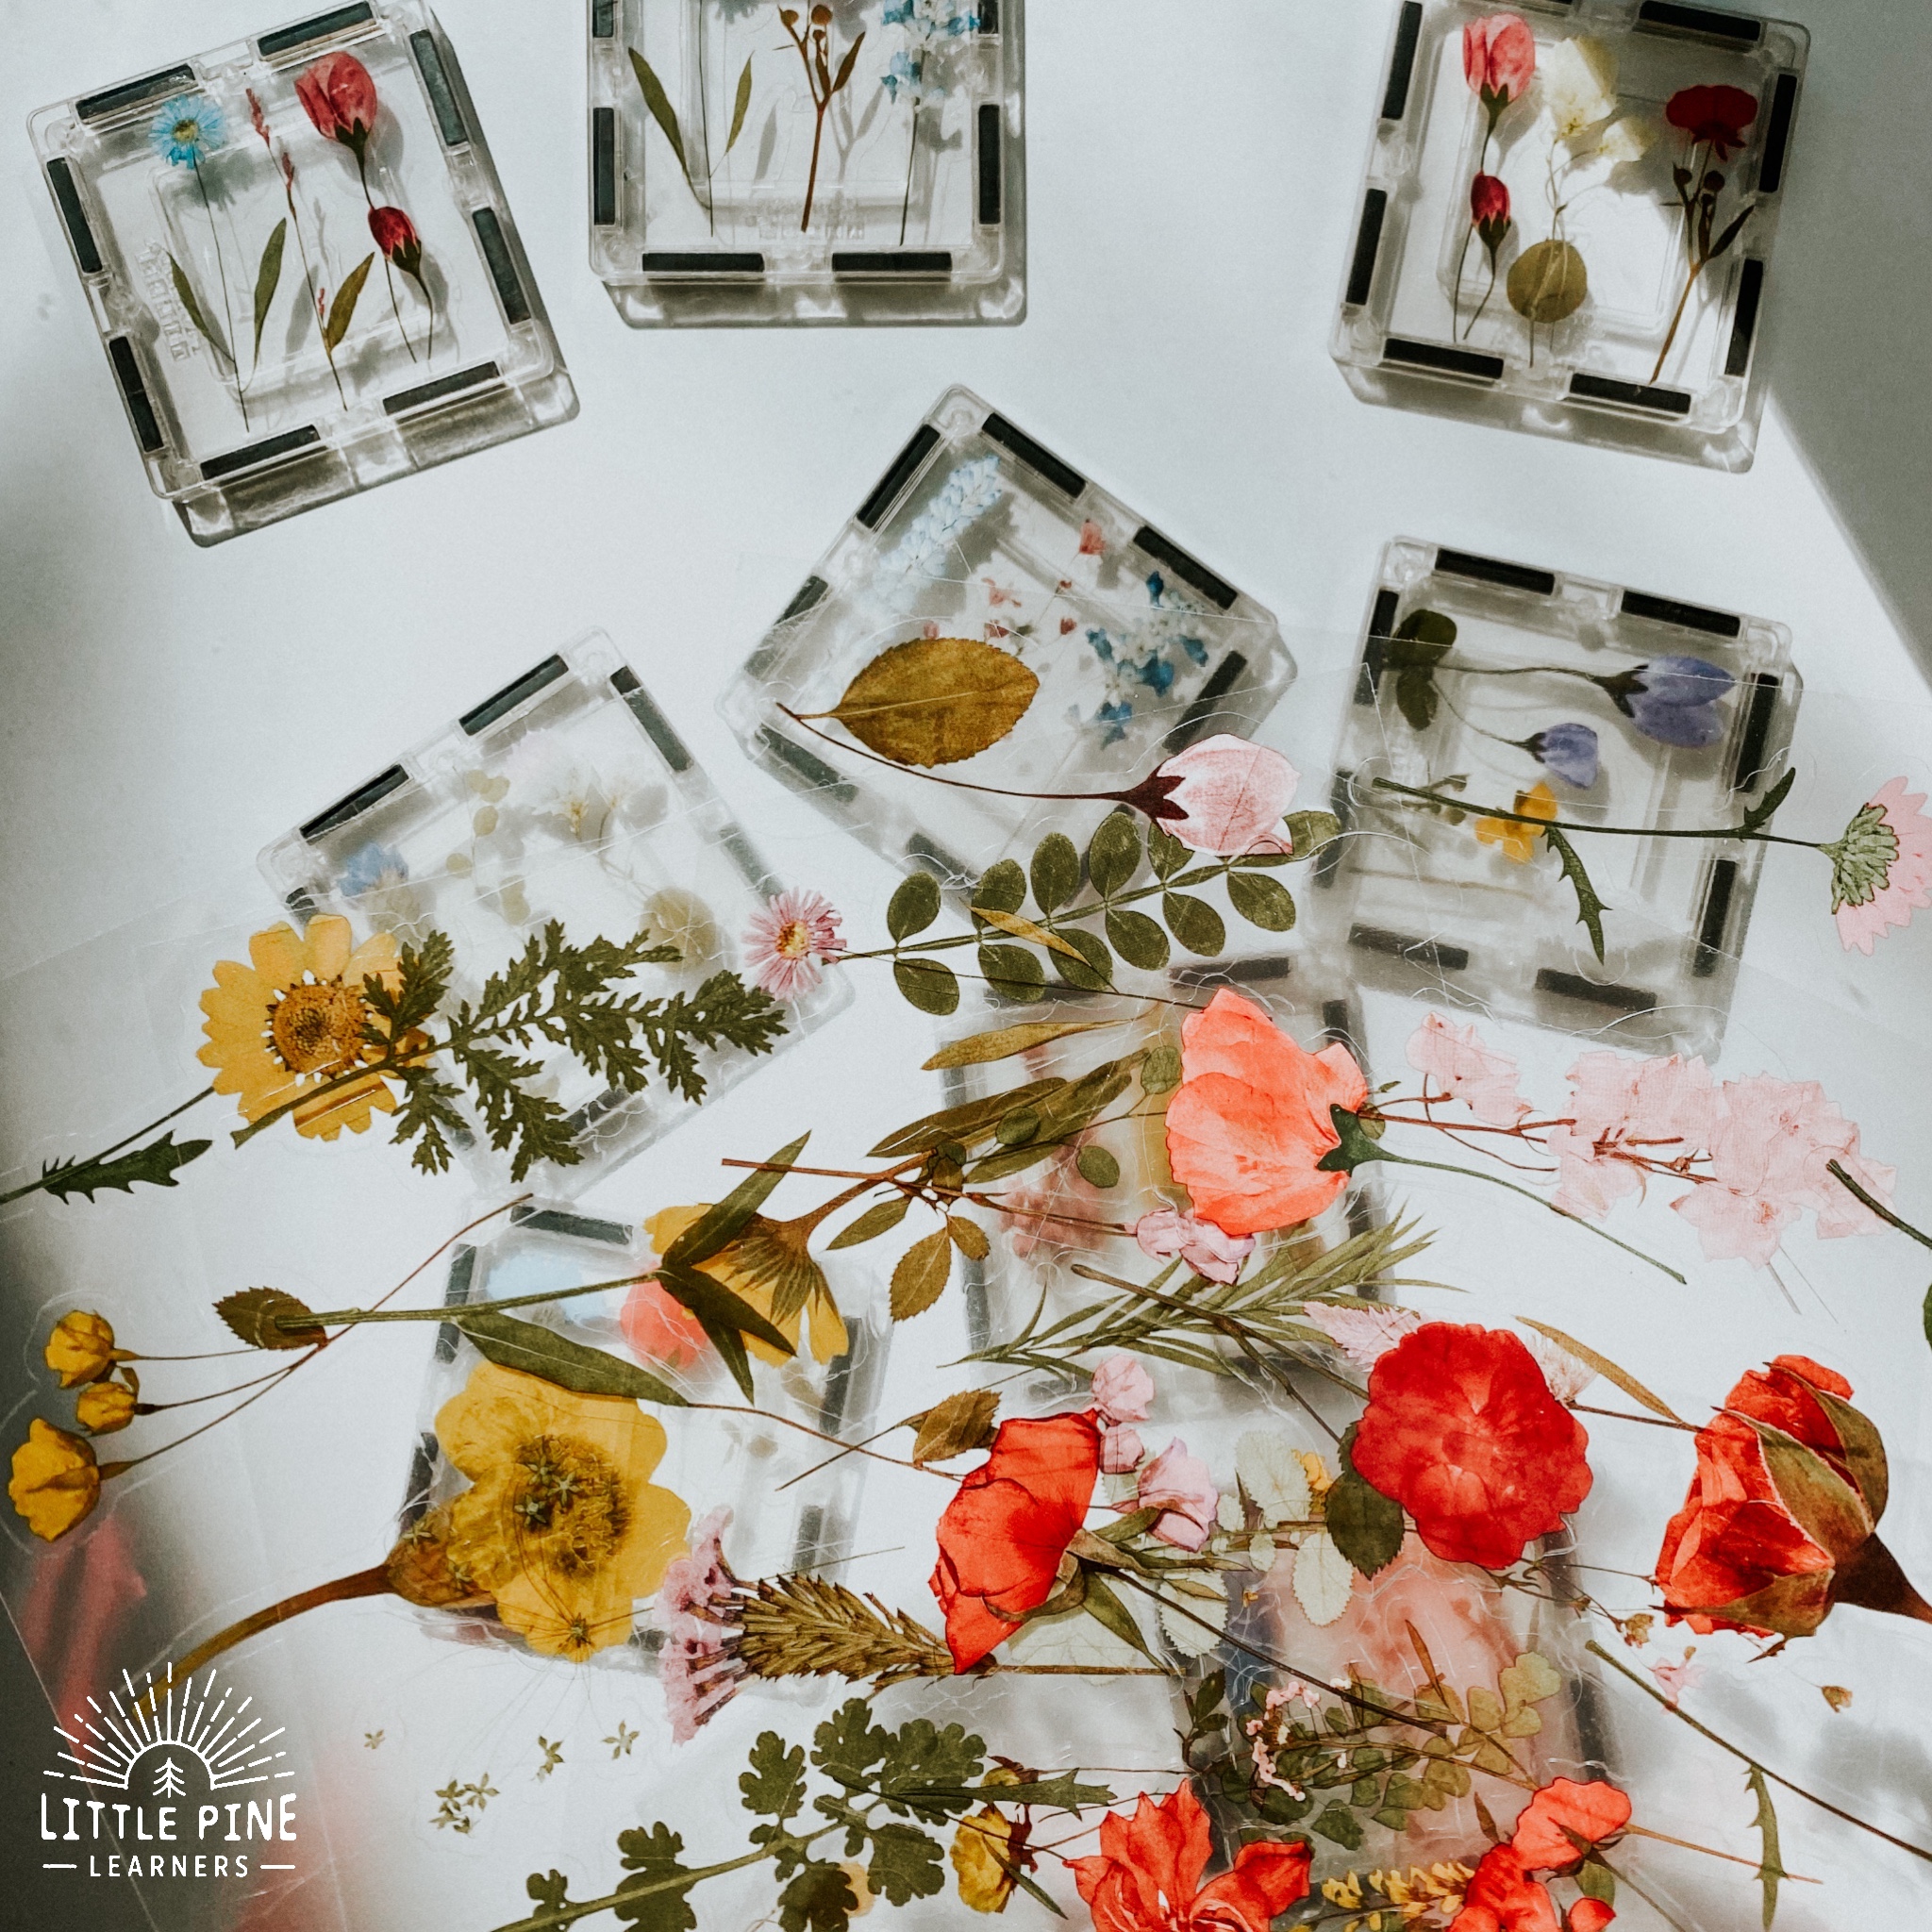
Ready to give it a try!? Here’s what you’ll need..
Supplies for the DIY Pressed Flower Magnetic Tiles:
- Clear Magnetic Tiles– This activity has been such a big hit that the first set of magnetic tiles that I used is sold out on Amazon and their website! This Magna-Tile set comes with 16 tiles and I found its the perfect amount to mix in with our regular colorful set of tiles. Imagsimags also work well! If you have a different brand and would like to use the 2 sets together, please double check to make sure they will work!
- Pressed Flower Stickers– The adhesive on this brand are super strong and great for this activity!
- Light Pad– This is optional, but a fun accessory for any magnetic tile fan!
This post contains Affiliate links for your convenience.
Pin it and save it for later!
I hope you enjoy this fun pressed flower activity as much as I do!
-Tara
Need more simple nature ideas?! Check out:
A Simple and Beautiful Nature Craft to Try Today
Flower Petal Art on Rocks
If you are looking for nature identification activities, then try my scavenger hunt ideas! These fun and interactive scavenger hunts will get your child outdoors and excited to learn about nature.

