Here is a simple DIY stone activity that kids will love! This is a great activity for learning about spider anatomy or makes a great Halloween game. Kids will enjoy searching for the correct stones while learning new nature vocabulary words, strengthening fine motor skills, and comparing different stone sizes and shapes.
A Simple Stone Activity to Try Today was so popular that I thought it would be fun to try a themed puzzle!
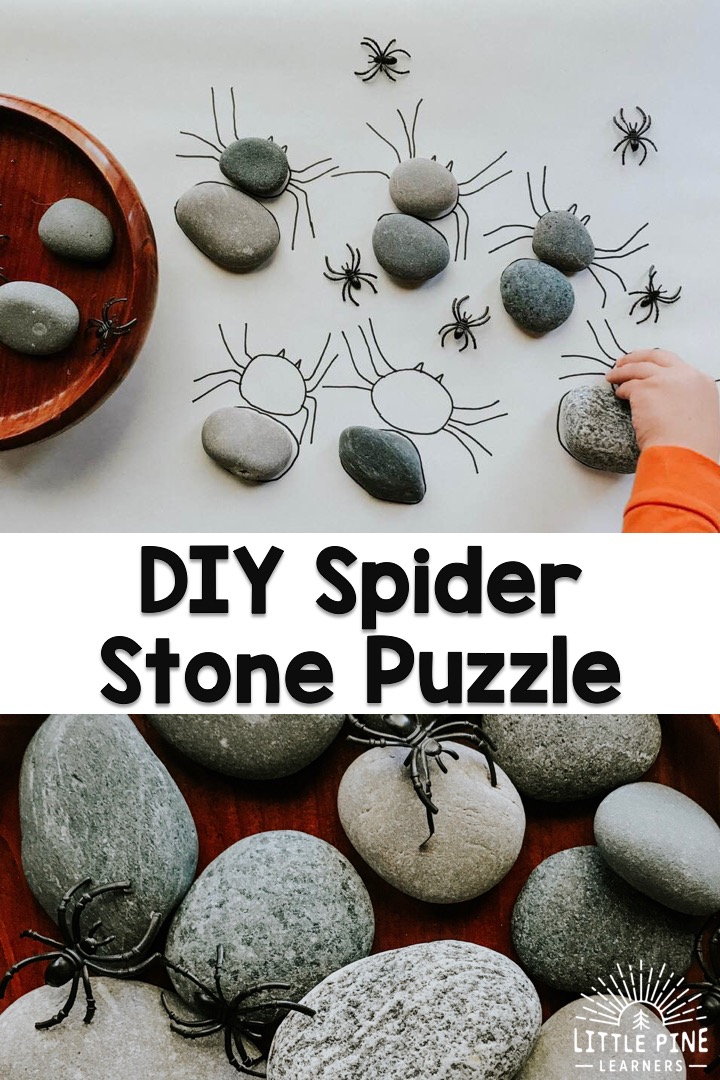
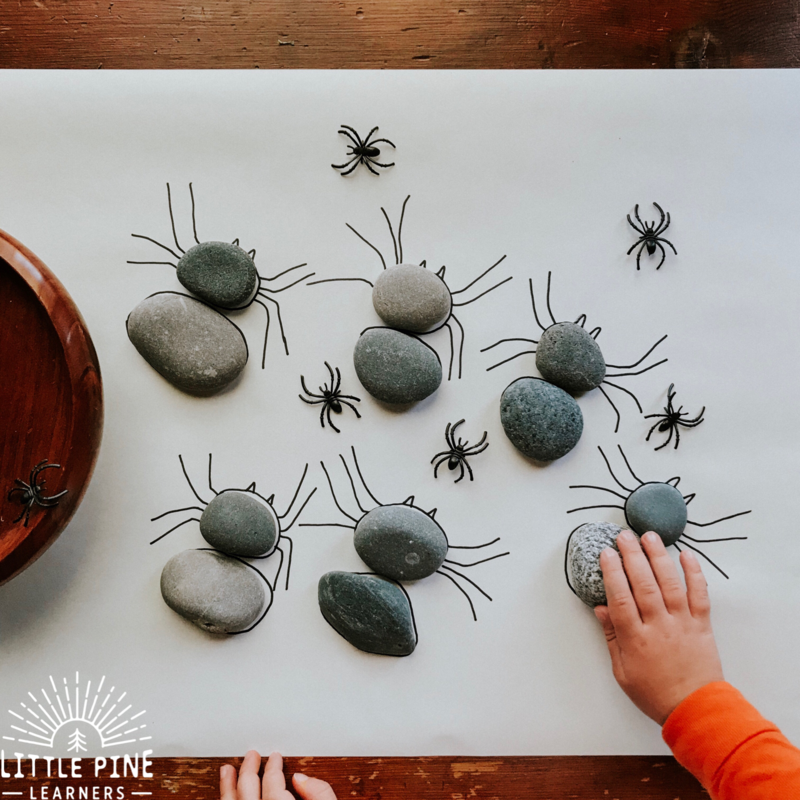
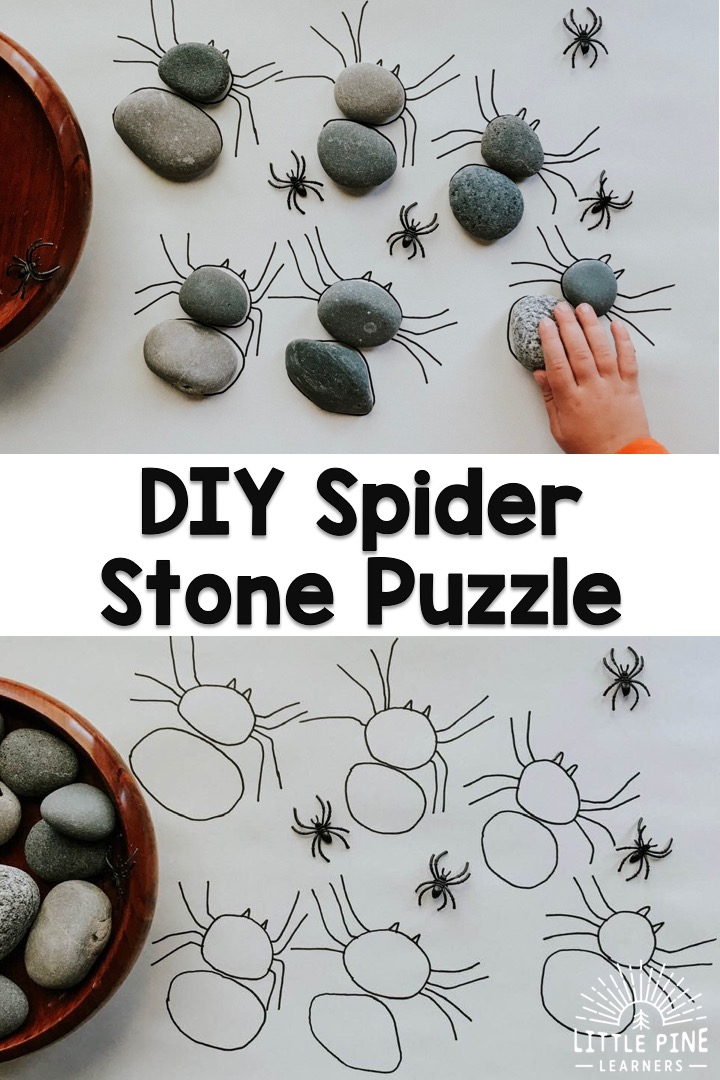
This DIY activity makes a fun spider anatomy game in the classroom or beautiful Halloween party centerpiece on a table. Kids will be drawn to the beautiful stones and love matching them to their shape outline on the paper.
When matching the stone pieces, you can teach where the abdomen and cephalothorax are on the spiders. The smaller (first) rock is the cephalothorax and the larger rock is the abdomen. These might be big words for young kids to learn, but I think it’s never too early to expose them to interesting parts and pieces of nature!
Here’s what you’ll need…
Supplies:
- Paper- We use Melissa and Doug easel paper
- Stones- We collect ours from the lake. If you don’t have a spot in nature to collect stones, I recommend purchasing from the Dollar Store or craft store.
- Marker
This post contains Affiliate links for your convenience.
RELATED: Do you have beautiful fall leaves?! Check out A SIMPLE LEAF ACTIVITY TO TRY TODAY!
Here’s What We Did:
Step 1:
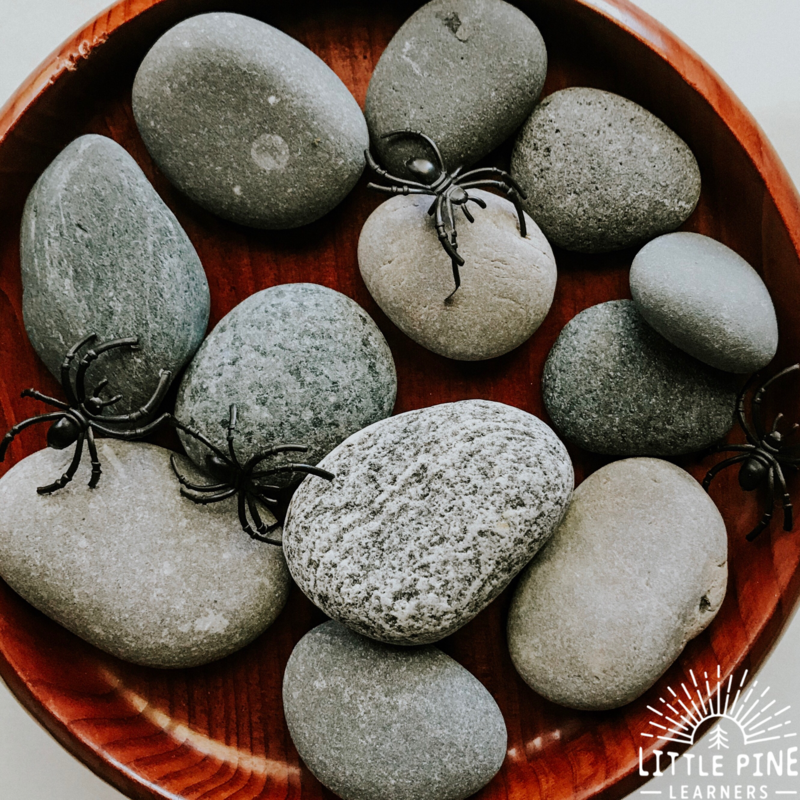
Lay out a large piece of white paper. You can tape it down with painters tape if you would like to keep it secure in one spot. I placed a few small spider figures in the bowl of stones so my boys could get a closer look at the different parts of a spider.
Step 2:
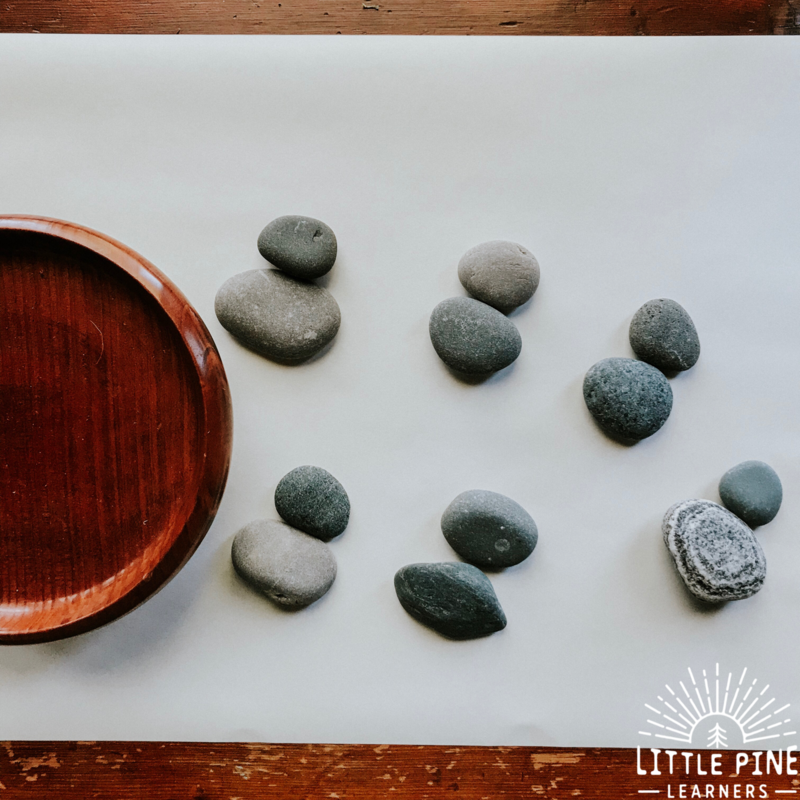
Place the stones on your paper where you want to outline them. Make sure you leave enough room in between spiders to add legs. I had a couple of close calls because I didn’t take this into consideration!
If you want to make the puzzle easier, you can draw the eyes on the cephalothorax (smaller) stone. This will not only give children a clue as to which outline to match the stone with, but also help them figure out which side of the stone should be facing up.
Step 3:
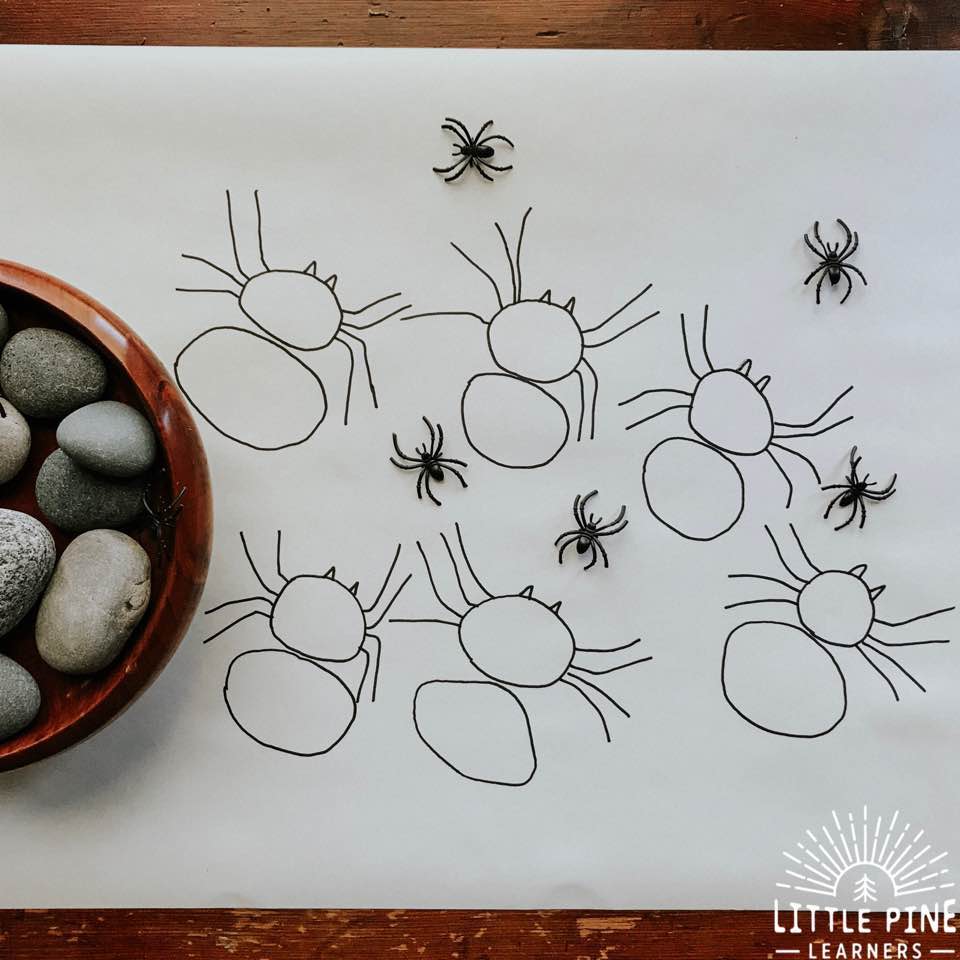
Outline the stones, place them back in the bowl, and draw fangs and eight legs on each cephalothorax. It’s kind of fun to say once you get the hang of it! At this point, you can add a few more spider figures on the paper if you would like.
Step 4:
The first time around I introduced the stone puzzle to my boys, but since they have already done a few nature puzzles with me, I let them get started right away. Leo was working fast and furious so it was difficult to get a picture of him in action!
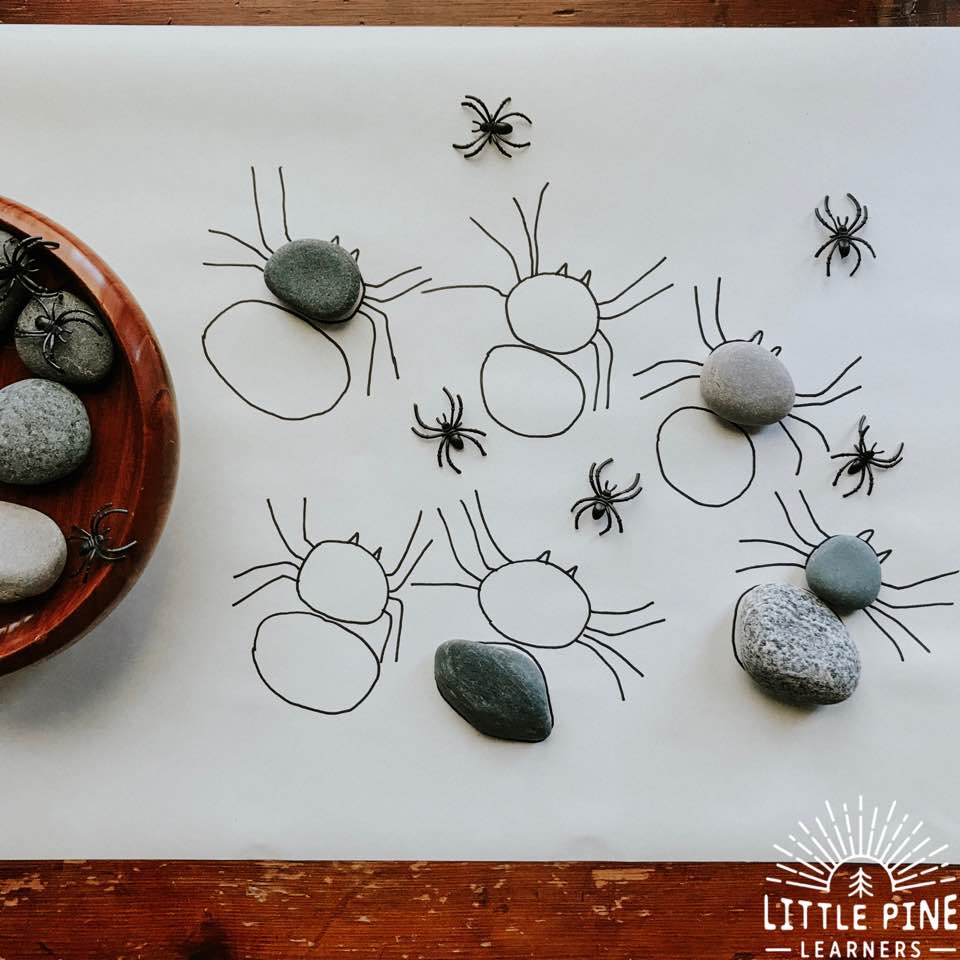
He’s now a pro at turning the stones around inside the outline and flipping them from one side to the other to get the best fit. I want to share again, that it’s ok if your child doesn’t get this 100% correct. Some of the stones might be very similar is size and can be difficult to match. This is about the process and having fun!
If you’re helping a struggling child, use guiding prompts like:
“What does it look like if you flip the stone?”
“Can you turn it another way in the outline?”
“I wonder what it would look like if you tried it in that outline?”
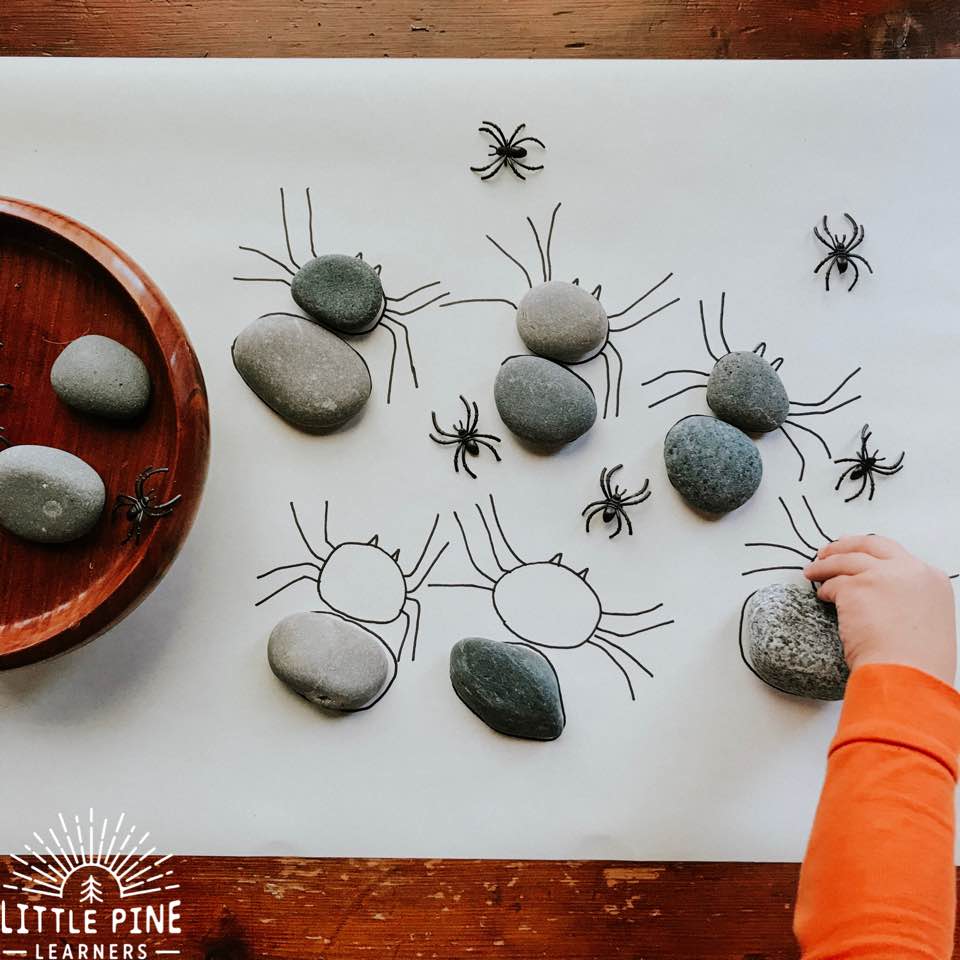
About 10 minutes later, we were finished. I’ll keep this nature invitation out for the next week or so and my boys will play with it whenever they feel like it!
Please pin this activity if you love it!
I hope you give this simple activity a try! I promise, your little nature lovers will love it as much as my boys.
∼Tara
