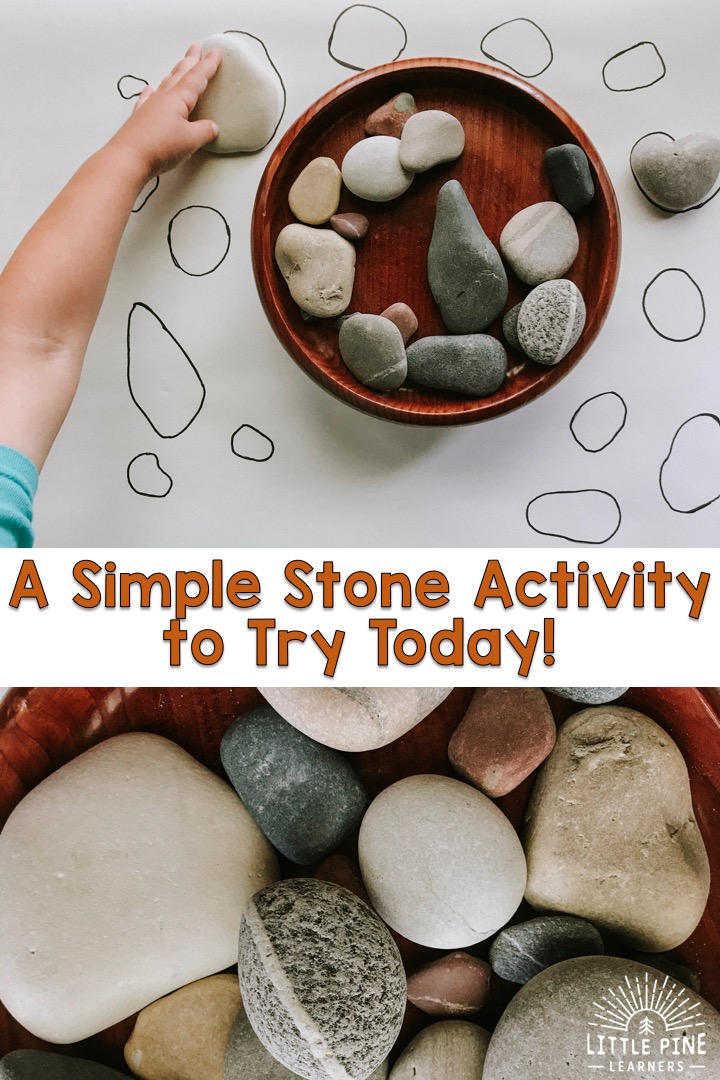
Are looking for a fun, low-prep, and inexpensive DIY puzzle to try with those beautiful stones you’ve been collecting? Try this simple stone matching game for kids today! This game will give your child the opportunity to practice using new vocabulary words, compare different sizes and shapes, strengthen fine motor skills, and appreciate nature in a new way!
*If you love this activity, check out 10+ Simple and Beautiful Stone Activities for Kids!*
We love heading to the lake as a family. It’s one of those outings that doesn’t require begging or special car treats;)
My boys could literally spend hours throwing stones into the lake or combing the shore, looking for a special stone. These little rock hounds would stuff their pockets if we’d let them, but we try to keep it at a two rock rule.
Over the years we’ve acquired quite a collection. One day I was looking at them and thinking how unique and beautiful each stone is and I had a lightbulb moment! I decided to create a DIY puzzle for my youngest. His challenge would be to match the stones to their unique outline. I knew he’d be excited for the activity!
Supplies:
- Paper- We use Melissa and Doug easel paper
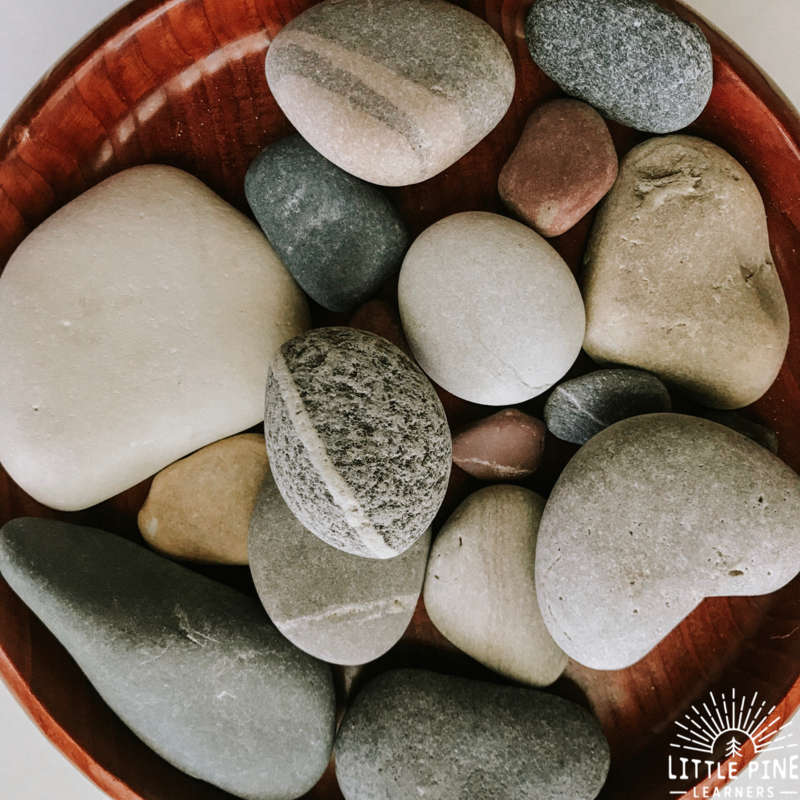
- Stones- We collect ours from the lake. If you don’t have a spot in nature to collect stones, I recommend purchasing from the Dollar Store or craft store. OR try a different piece of nature! You can do this activity with leaves, sticks, seashells, or anything else that you can outline.
- Marker
This post contains Affiliate links for your convenience.
RELATED: Looking for another simple and beautiful nature activity?! Check out PINE NEEDLE SWEEP FINE MOTOR ACTIVITY!
Here’s How we Made the DIY puzzle:
Step 1:
I channeled my inner Days With Grey and got out my large roll of white paper. You could also reuse a piece of cardboard if you have any laying around the house. I put our beautiful stones in the middle of the paper as the focal point.
Step 2:
I outlined the stones. I chose a wide variety of sizes and shapes to make it easier to find the match. First I outlined each stone with pen. This doesn’t need to be perfect, but I would probably use a pencil next time for obvious reasons. It can be a little difficult to trace around stones and it would have been nice to be able to erase a couple haywire lines.
Here’s a tip: If you are working with children that get frustrated easily, you might want to consider marking the side of the stone that faces down to make the activity a little easier and this also helps children self correct. My son liked the challenge and was a persistent problem solver, but I could see some children getting frustrated if they don’t know which way the stone should face. Just an idea!
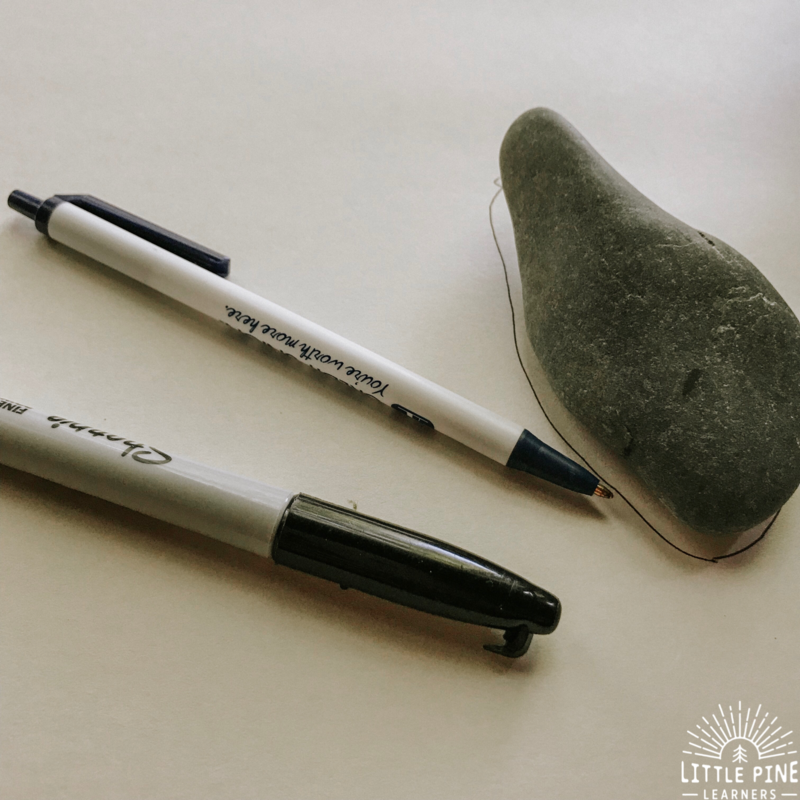
Then I went over the pen line with a Sharpie.
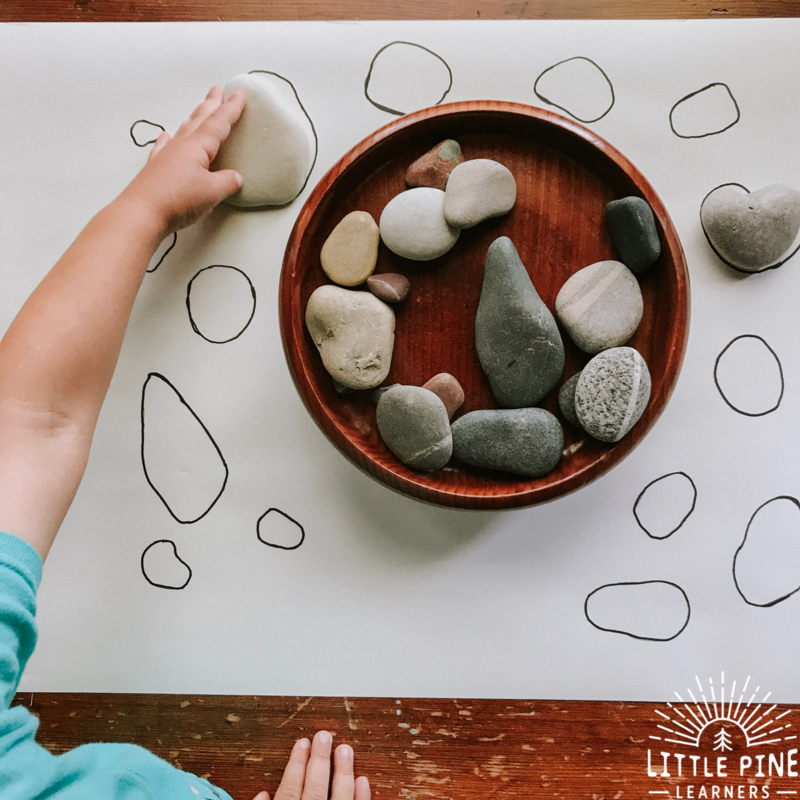
Here’s a tip: take a photo of the stones in the outlines so you can refer back to it if you need to later in the activity. My 4-year-old wanted to KNOW that he was correct so it was nice that I had this photo to show him!
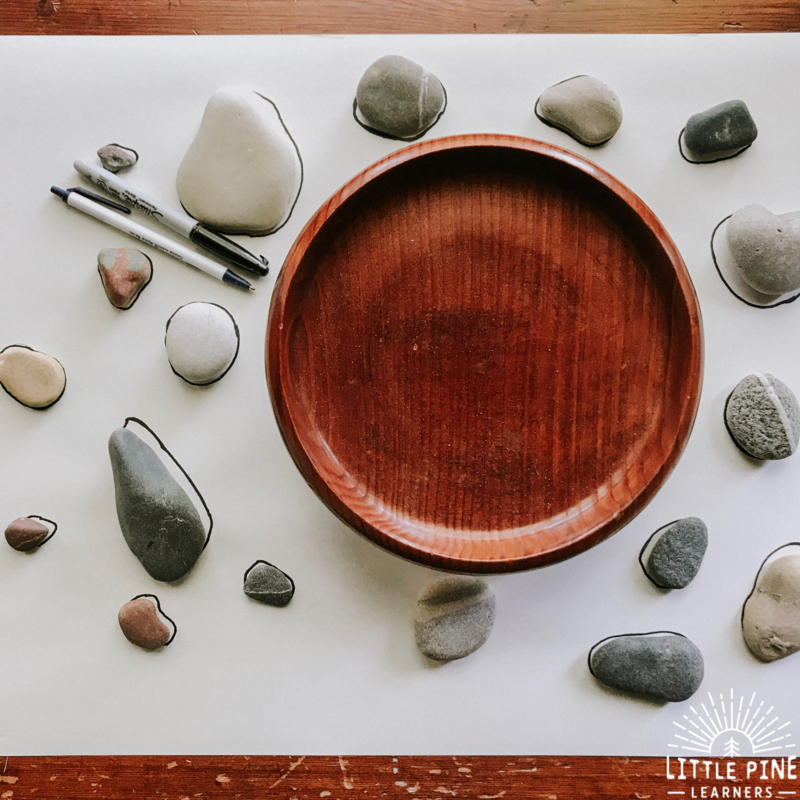
Step 3:
You can skip this step and let your child experiment with the materials without instructions, but I chose to model the process first. I wanted to show him how to use descriptive words to talk his way through the activity. First I picked up the stones one by one and talked about how they felt and looked. I used words like round, curvy, straight, flat and skinny to describe them.
He quickly joined in and did a great job talking about the different shapes and sizes! There were a couple questionable stones and to be honest I wasn’t quite sure which outline they fit in to. That wasn’t a big deal because this activity isn’t about assessing knowledge or getting a 100%. This DIY puzzle is all about the process and learning how to look at the unique attributes of nature! Enjoy and have fun:)
Please pin this activity if you love it!
I hope you give this simple DIY puzzle a try! I promise, your little nature lovers will love it as much as my boys.
∼Tara
