Encourage reading at home with this gorgeous DIY dried and pressed flower bookmark! Children will love the process of pressing pieces of nature and the finished craft is stunning. No worries if you don’t have pieces of nature to press, I share a great alternative below!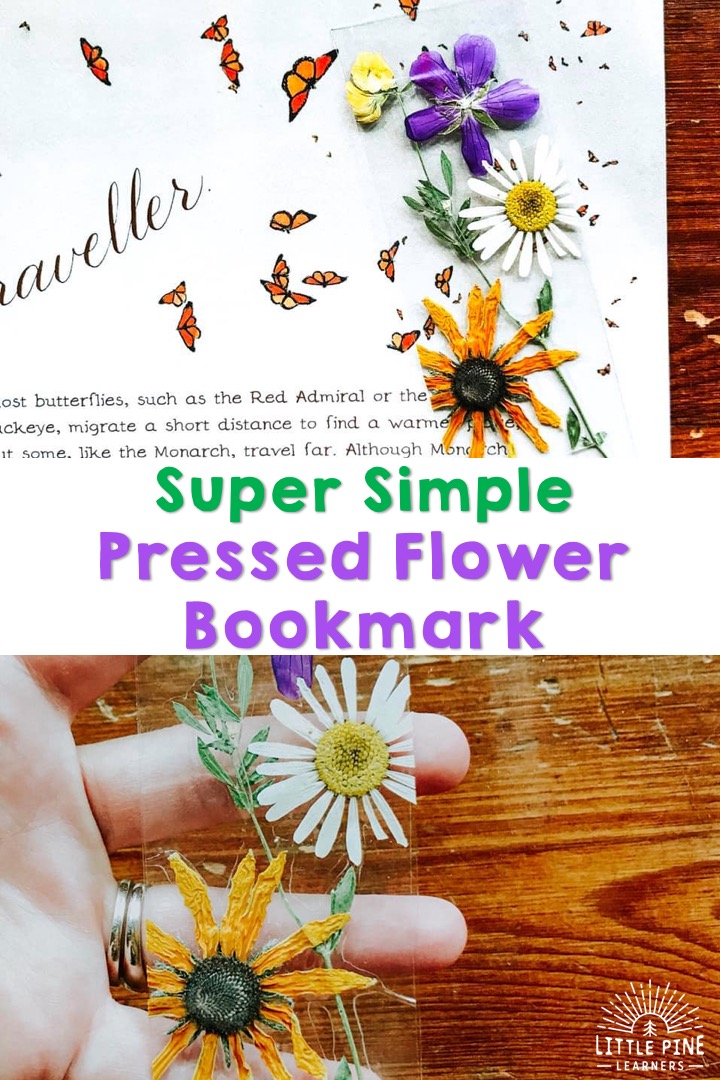
This pressed flower bookmark is so easy and beautiful! You can either press flowers in a book or try a super quick method in the microwave! This was the first time that I tried the microwave to press flowers and I was surprised at how well it worked.
Ready to make a few?! Here’s what you’ll need..
Supplies:
- Scissors
- Piece of plastic- We reused a piece of a plastic lid
- Packing tape
- Pressed pieces of nature. Just grab them from your garden! If you are in the middle of winter and don’t have pieces of nature to press, you can order already pressed flowers and leaves right here!
To press flowers in the microwave:
- Paper
- Paper towel
- Plates to flatten the flowers
This post contains Affiliate links for your convenience.
Related: Check out Nature Sun Catchers Made With Recycled Items
How to Dry Flowers in the Microwave:
Lay a piece of regular printer paper on top of a sheet of paper towel.
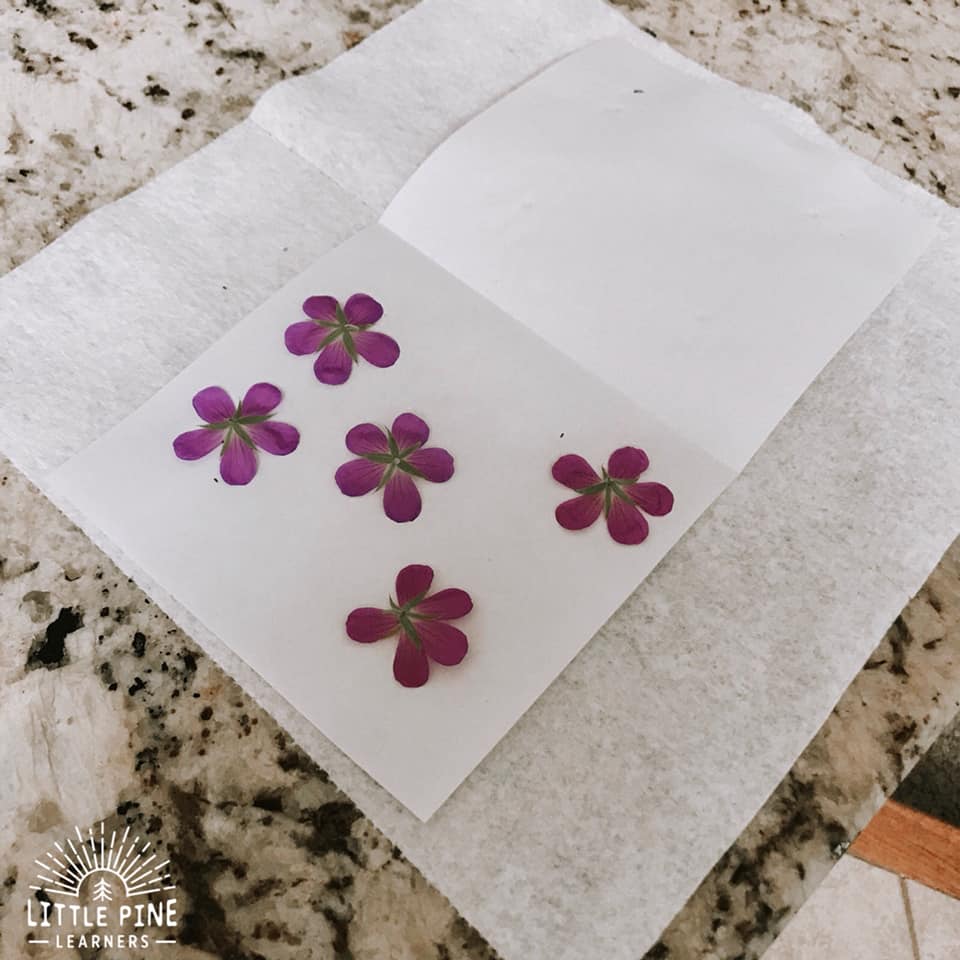
Next, arrange your flowers face down on the printer paper. Different flowers will take varying amounts of time in the microwave, so try to keep similar flowers together.
Step 2:
Fold the printer paper and paper towel in half to make a “sandwich”.
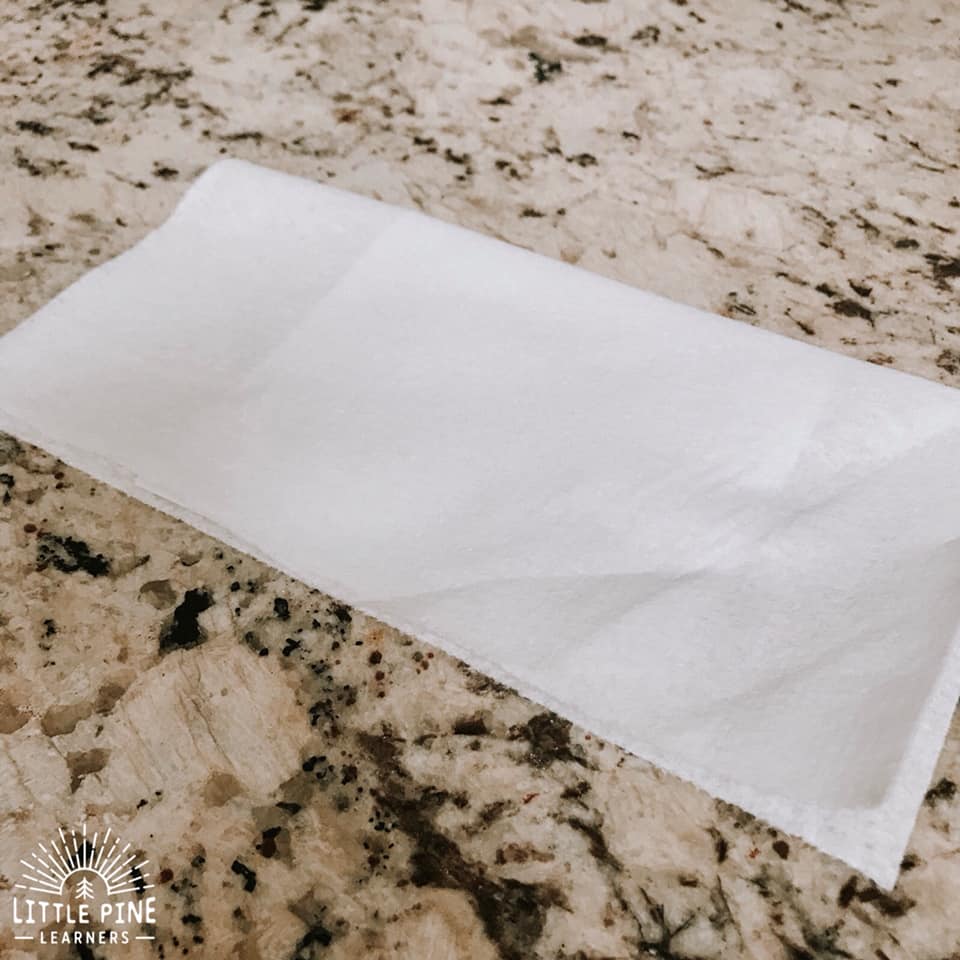
Place the flower sandwich into your microwave. I stacked 3 flat plates on top to press the flowers during warming. Then I set the microwave timer for 20 seconds because these petals were very thin and couldn’t take long chunks of time in the microwave. After that, I peeled back the paper to check on the petals to make sure they weren’t sticking to the paper and then kept doing 20 second bursts for about 3 minutes.
You will need to test out a few flowers to see how they react in your microwave. You can also play around with your settings and many people suggest keeping your microwave settings low while pressing flowers. As long as you stick to 10-30 second microwave bursts, you should be fine!
How to Make the Pressed Flower Bookmark:
Cut out a rectangular piece of plastic. I headed to our recycling bin and grabbed a lid from a carrot container.
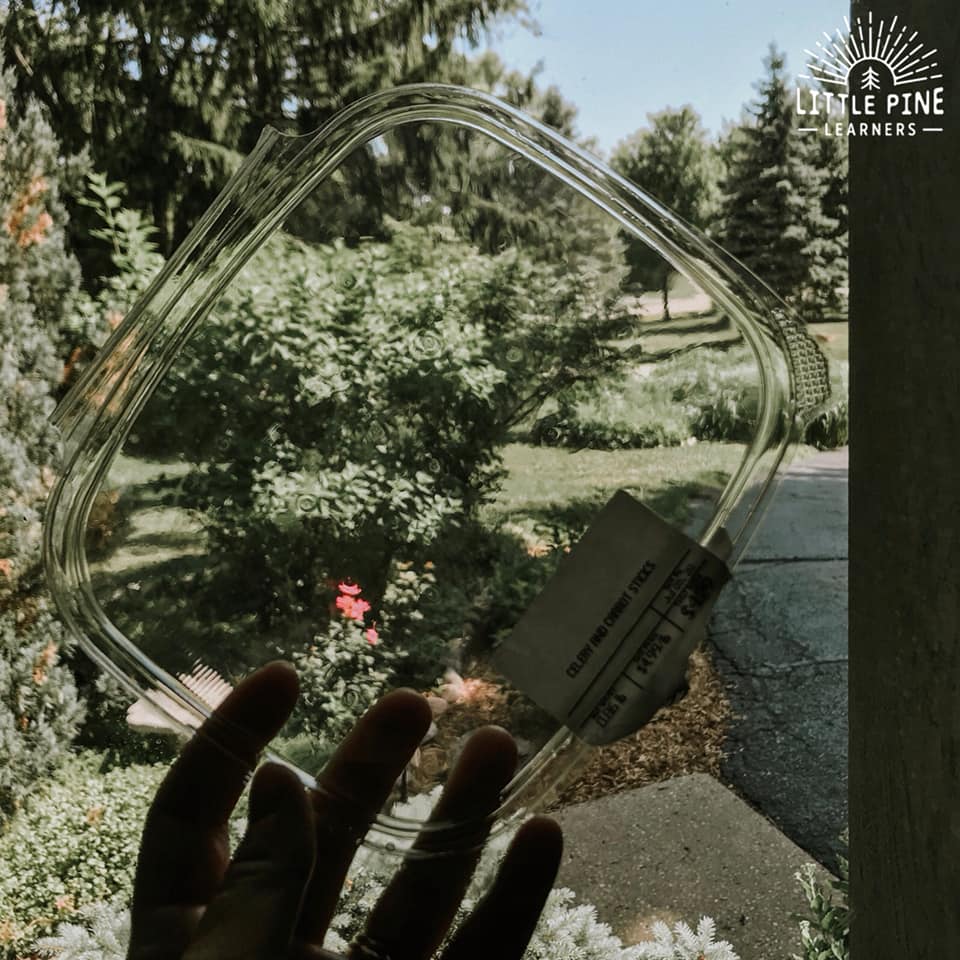
I made my bookmark with a little help from a ruler and sharpie.
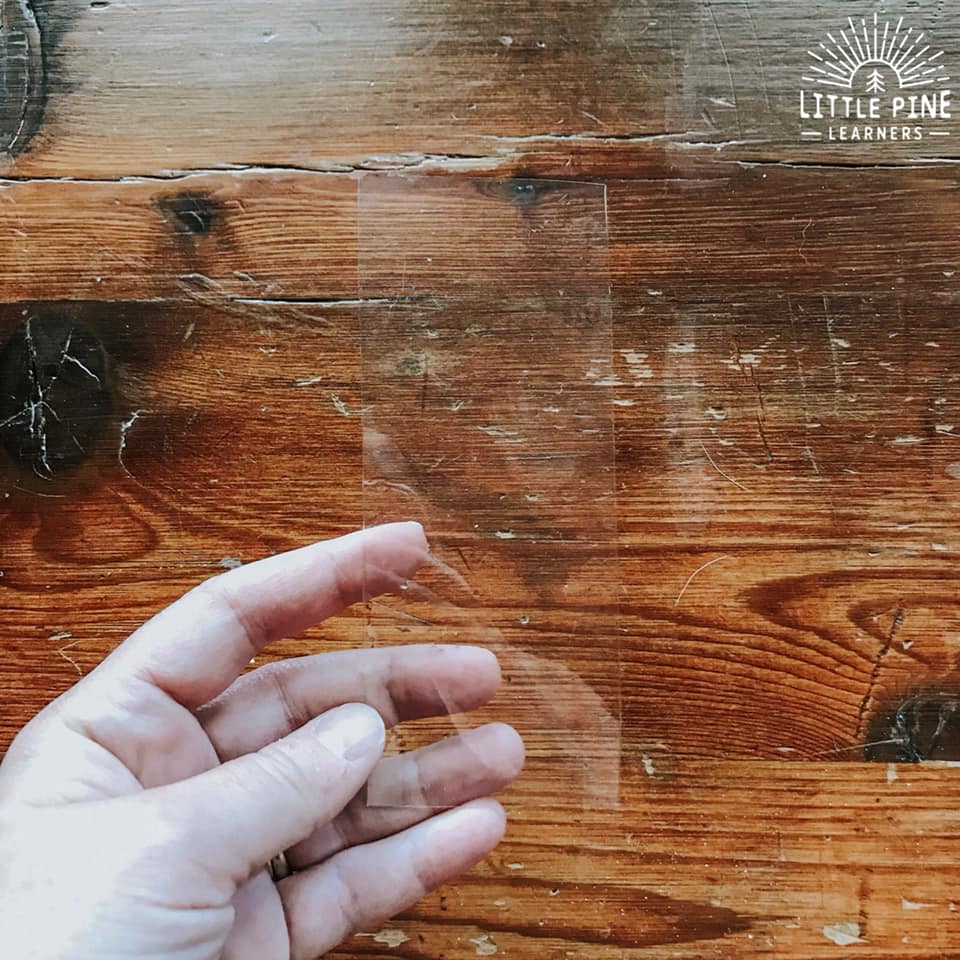
Step 2:
Arrange your dried flowers on your bookmark. I remembered that we had other flowers pressing in a book, so I quickly grabbed them and my boys helped me arrange them.
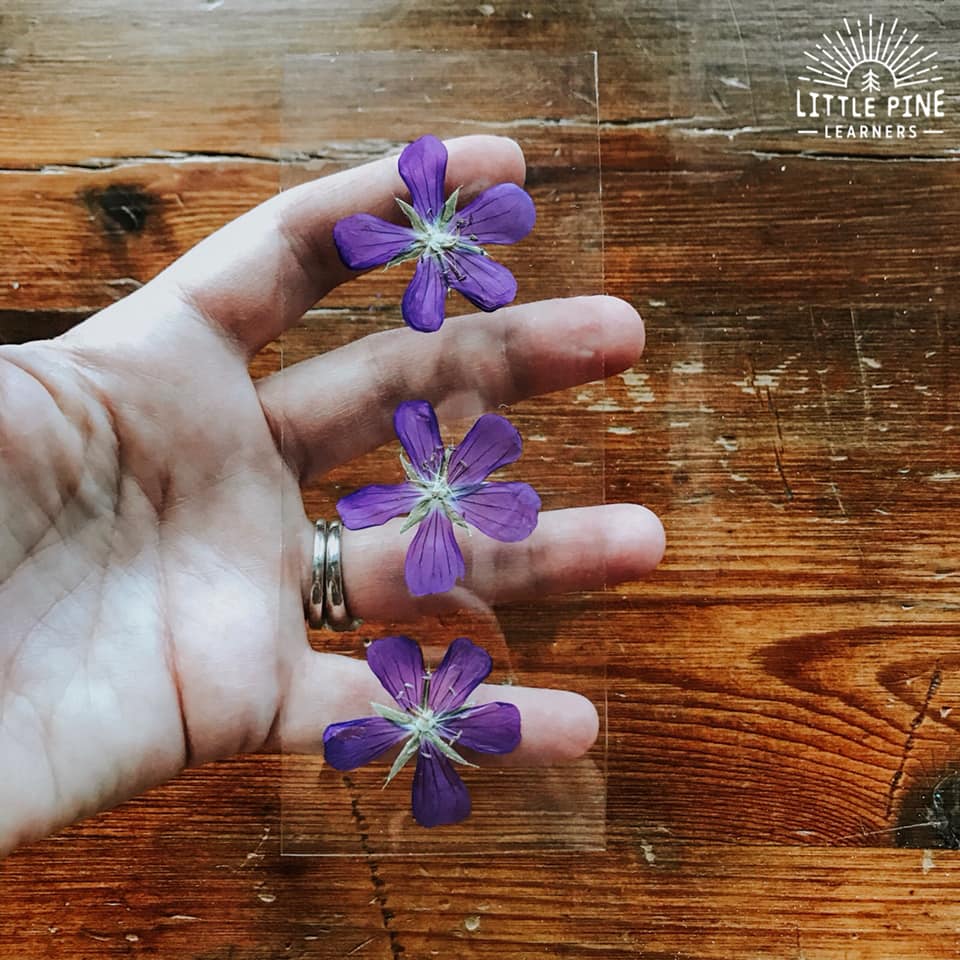
Step 3:
Place a piece of packing tape over your creation and press down any little air bubbles that pop up around the flowers. The piece of packing tape was a little more narrow than the plastic, so I trimmed away the excess flowers and plastic pieces to clean up the edges.
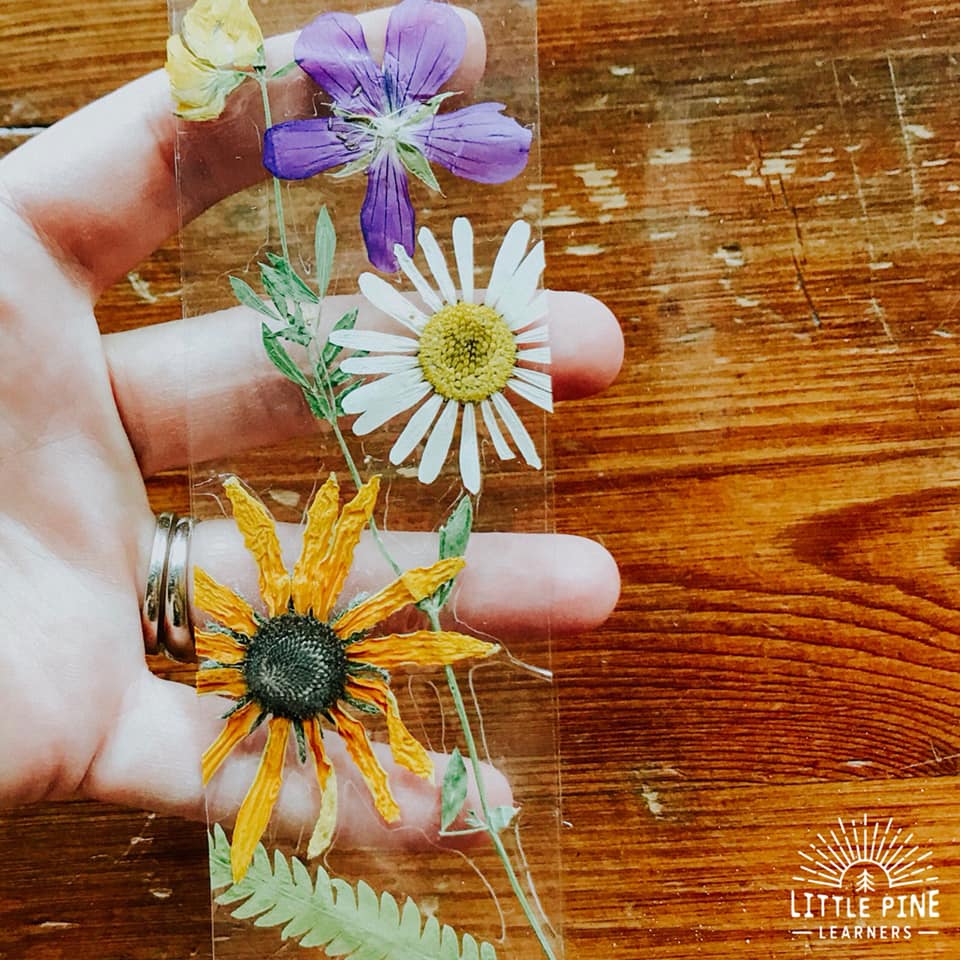
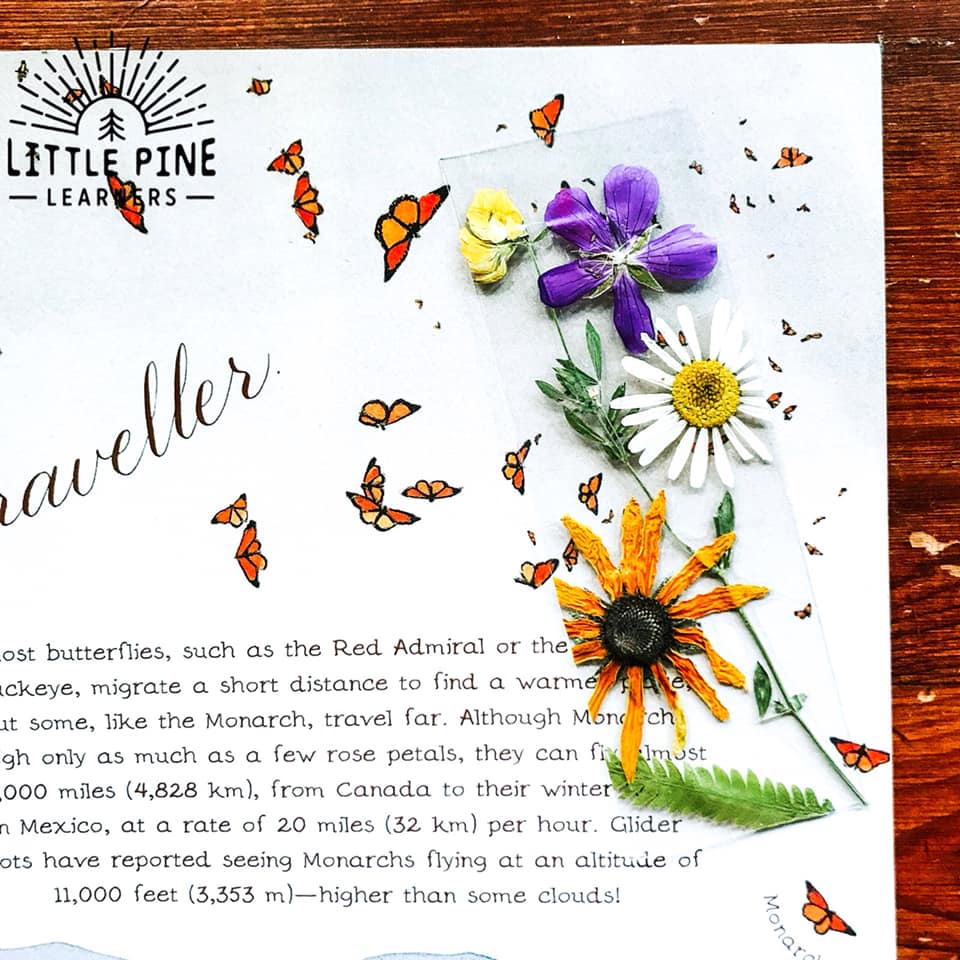
You can keep your pressed flower bookmark as is, or you can add a washi tape border!
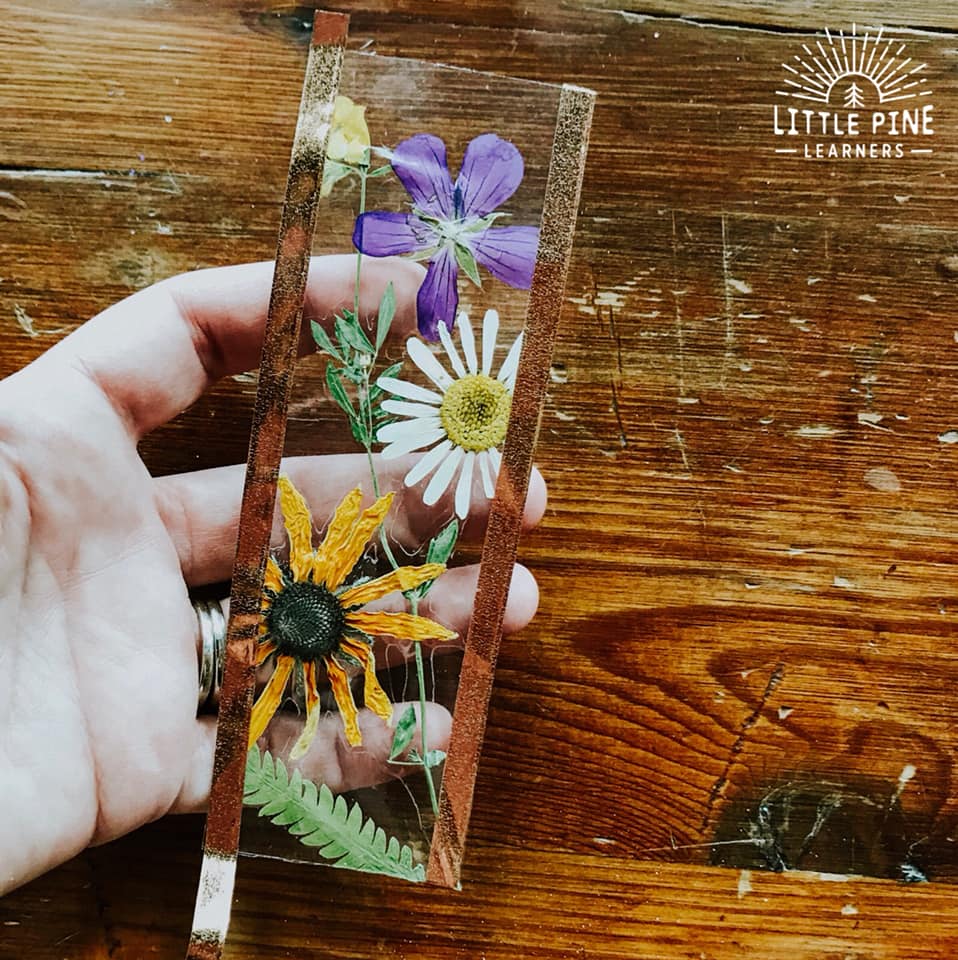
Here is the pressed flower bookmark with the border….
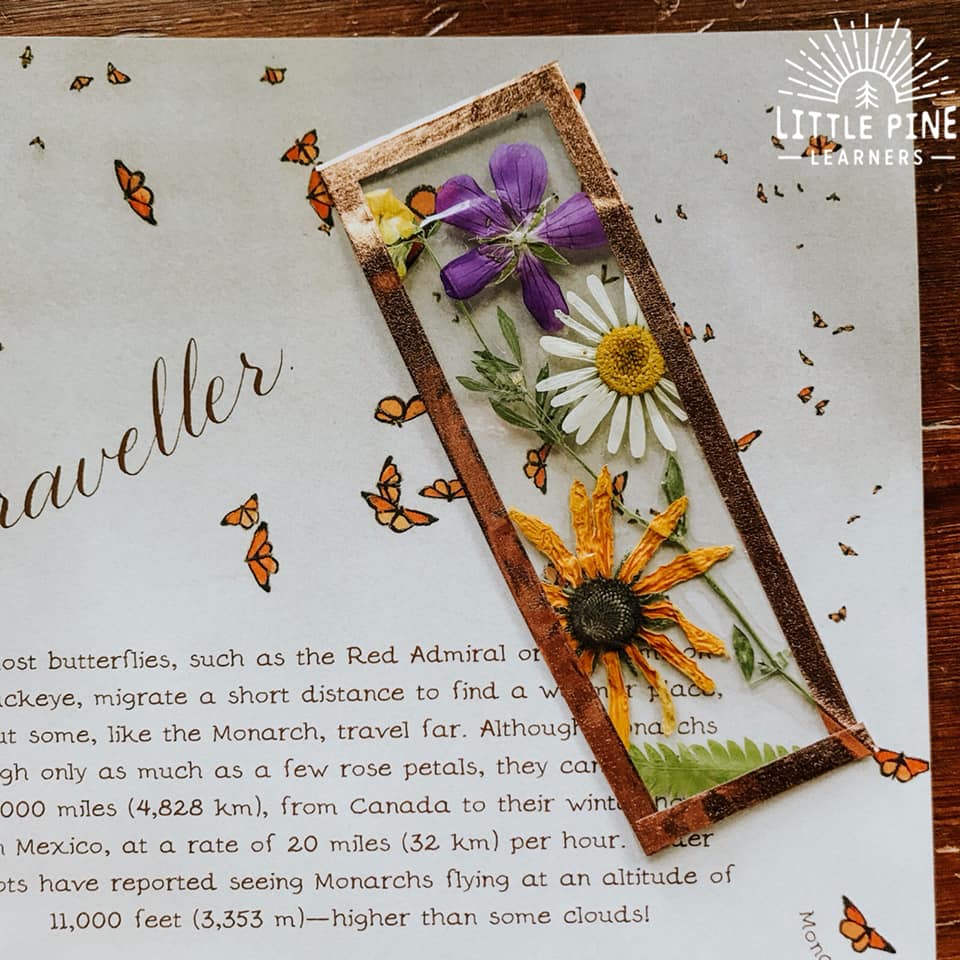
And here it is without…..
Which way do you prefer?! I can’t decide!
Check out a close up of the beautiful detail in the dried flowers. I just love this pressed flower bookmark so much!! Try making one for yourself, your children, students, or a handmade gift!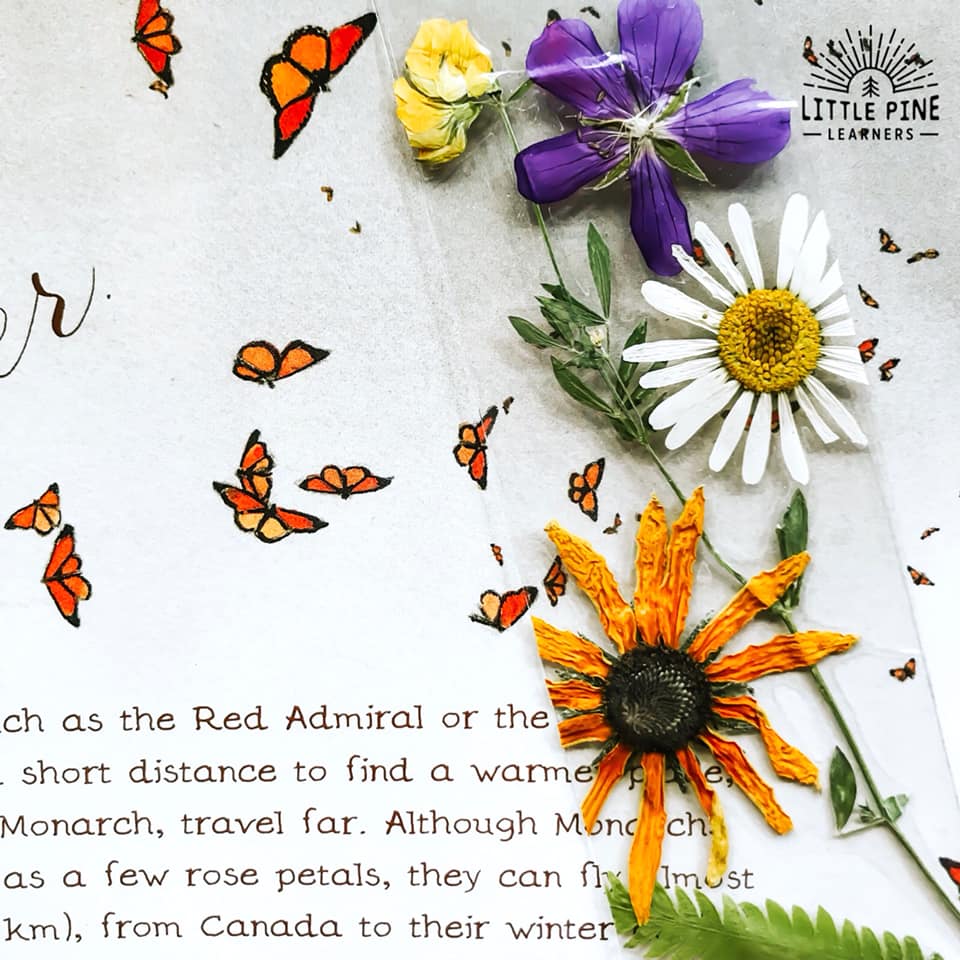
Pin it and save it for later!

I hope you give this pressed flower bookmark a try! I promise, your little nature lovers will love it as much as my boys.
∼Tara


