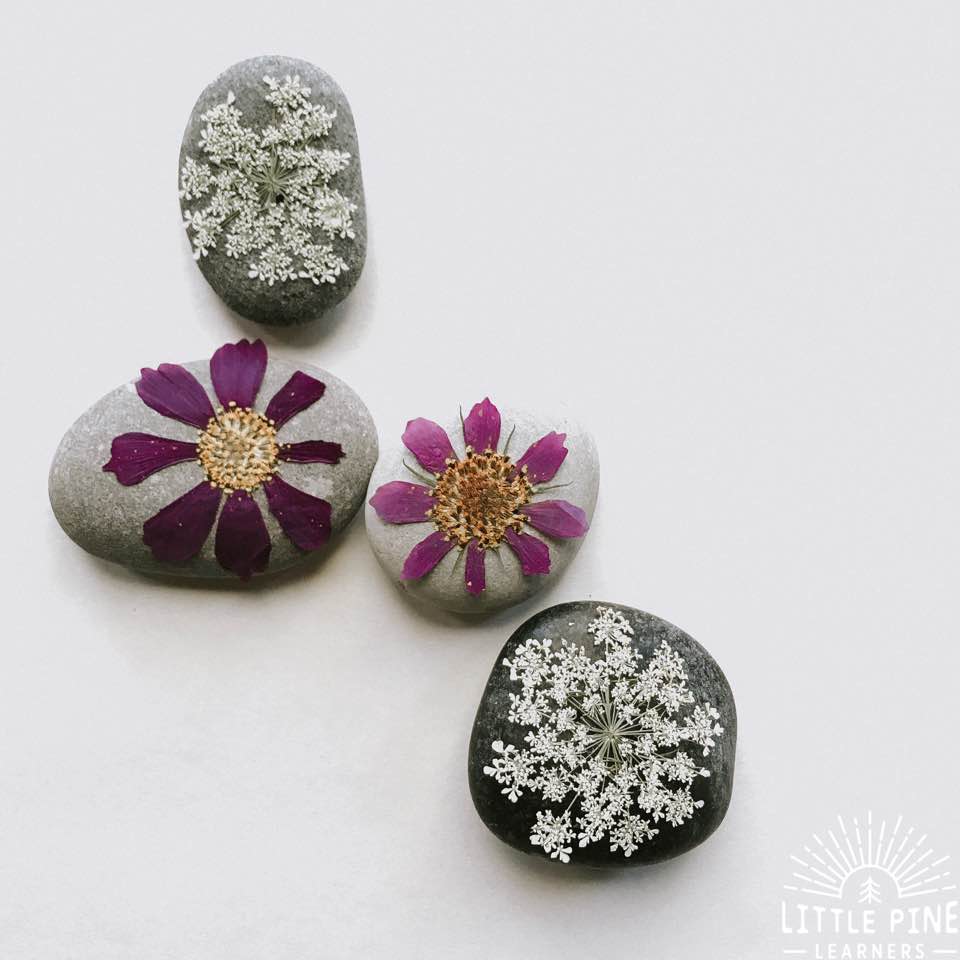
Kids are rough and flowers are delicate. It can be difficult to include those beautiful pieces of nature in kids activities if you want to keep them in one piece! What if I told you there is a way to add flowers to your kids nature activities and there’s a solid chance (I’m a realist) you can enjoy them over and over again, for months if not years?! Yes, even in the dead of winter you can add vibrant and beautiful flowers to engaging activities that your kids will love. Read on to see an easy way to preserve flowers!
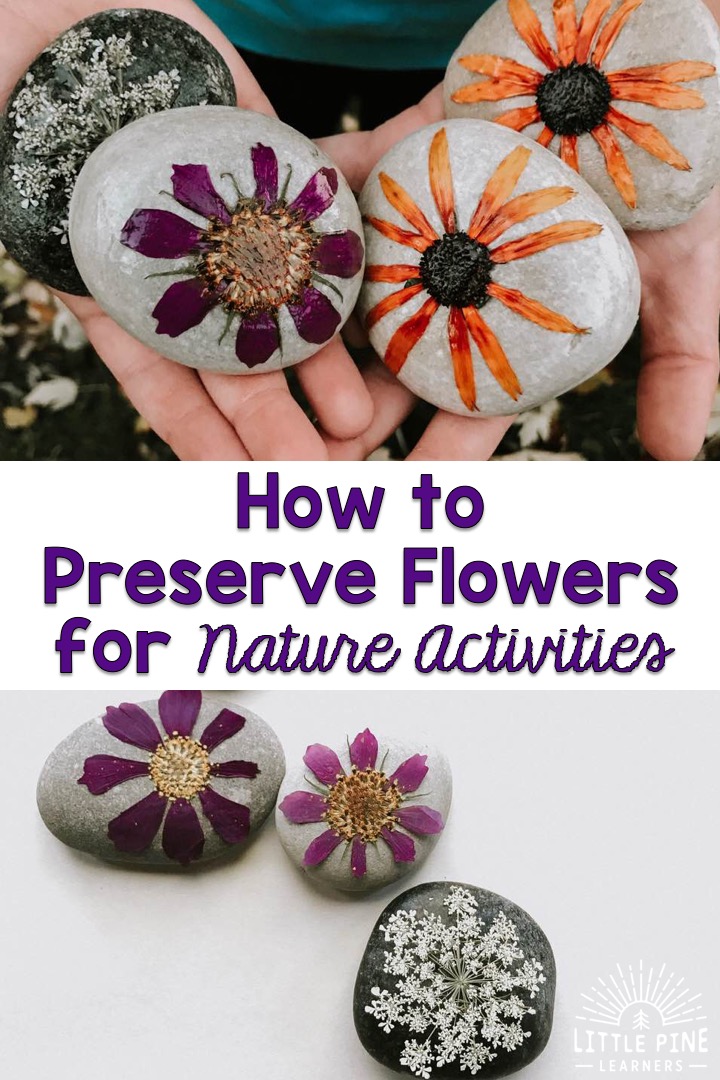
We have a lot of beautiful pieces of nature that we incorporate into our learning activities. Flowers don’t seem to last very long because they’re fragile and tear so easily. I always miss those bright colors in our activities so I thought this method of preserving flowers would be perfect for our style of learning and playing.
Supplies:
- Flowers- Try bouquet flowers if they are currently out of season. You can also purchase already pressed flowers here. You can find many different options so look around on Amazon to see the different pressed flower “arrangements”
- Stones- We grabbed a few from our nature collection. You can also find stones in craft stores, landscape shops, or The Dollar Store.
- Mod Podge– We use gloss, but I’m interested in trying the matte finish!
- Wax Paper
This post contains Affiliate links for your convenience.
RELATED: Check out another way to use Mod Podge with stones here: Four Ways to Use Stones in the Classroom
Here’s How To Preserve Flowers:
Step 1:
Press flowers.
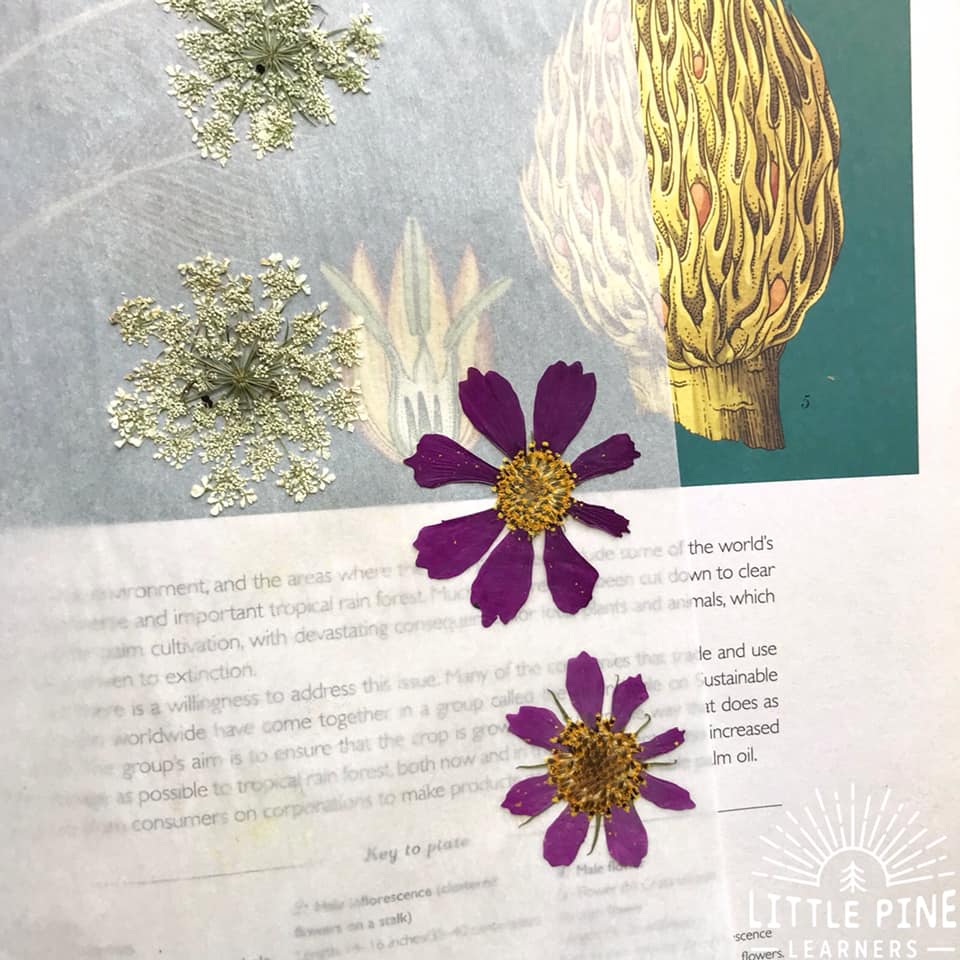
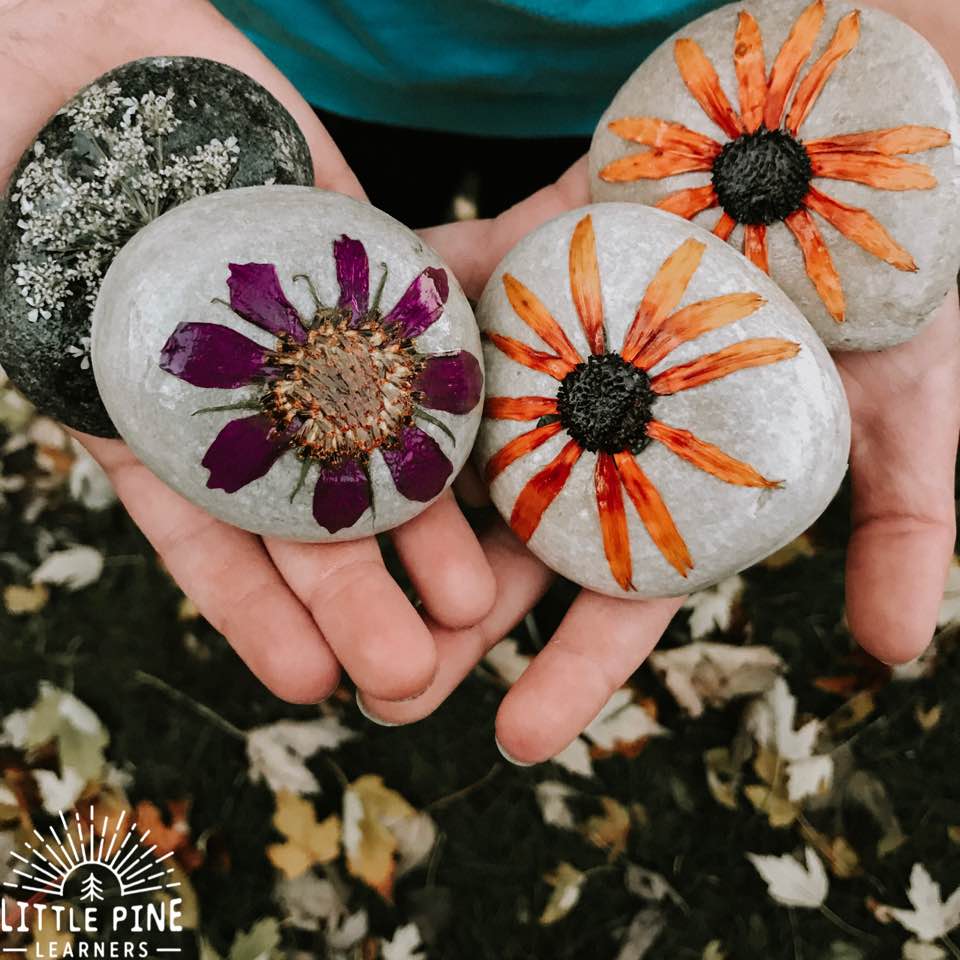
Not all flowers are easy to press and dry. I look for flowers with naturally flat blooms such as violets, daisies, and other single-petal flowers. I had this idea later in the flower season, so I couldn’t be very picky. The Black-Eyed Susans and Queen Anne’s Lace worked perfectly. I wish I would have removed the stamen from the purple Mexican Aster because the pollen stained part of the flower. Lesson learned! Ideally you want to pick flowers in the morning after the dew has evaporated. You’ll want to harvest them when they are just before their peak.
You can always buy a bouquet of flowers if you don’t currently have any growing outdoors. Just look for flowers with a single layer of petals and have fun experimenting with different types of flowers!
Once you pick or buy your flowers, place them between 2 pieces of wax paper in a book and close the book. Place a couple more heavy books on top and check back in a week or two.
Step 2:
Arrange your flowers on the stones. Each flower and stone has it’s own unique shape, so I like to find the perfect match before bringing out the Mod Podge.
Step 3:
Seal the flowers on the stones with Mod Podge. Start by taking the flower off the stone and applying a generous amount of Mod Podge on the stone.
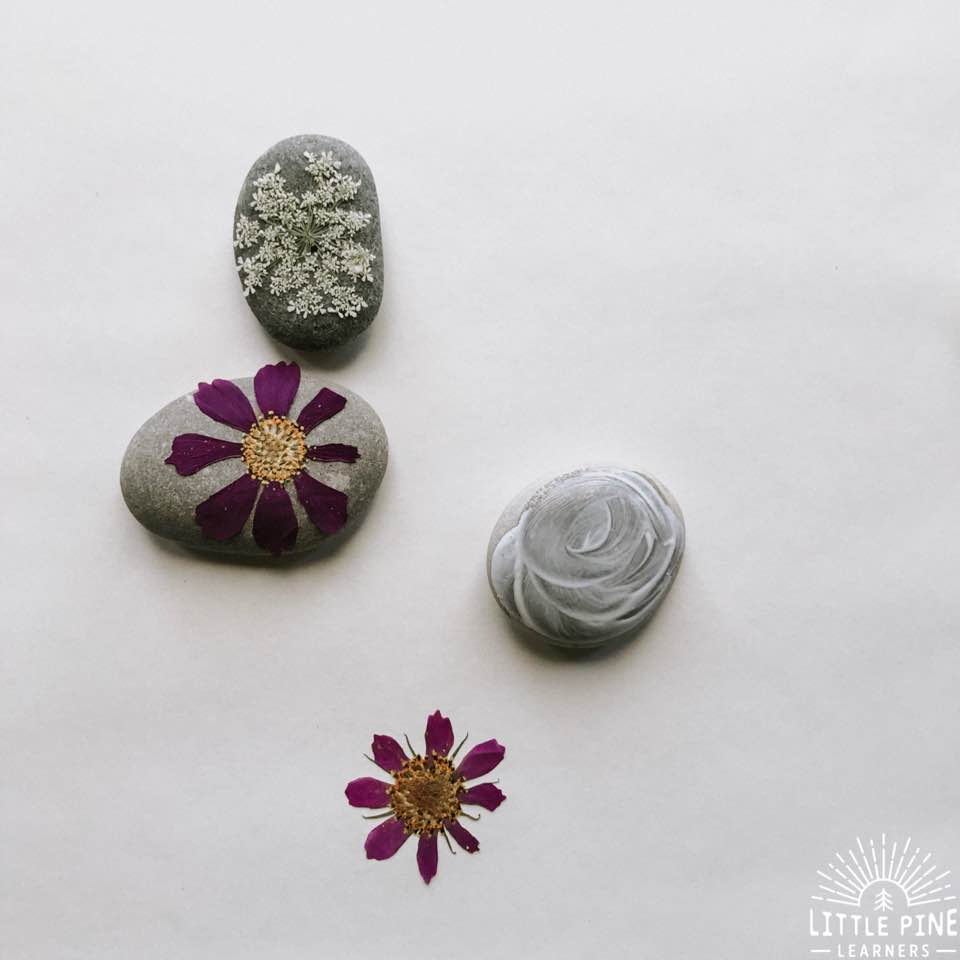
Then put the flower back on the stone and apply another generous layer of Mod Podge on the flower. Since I put so much sealer on the flower, this will take about an hour to dry.
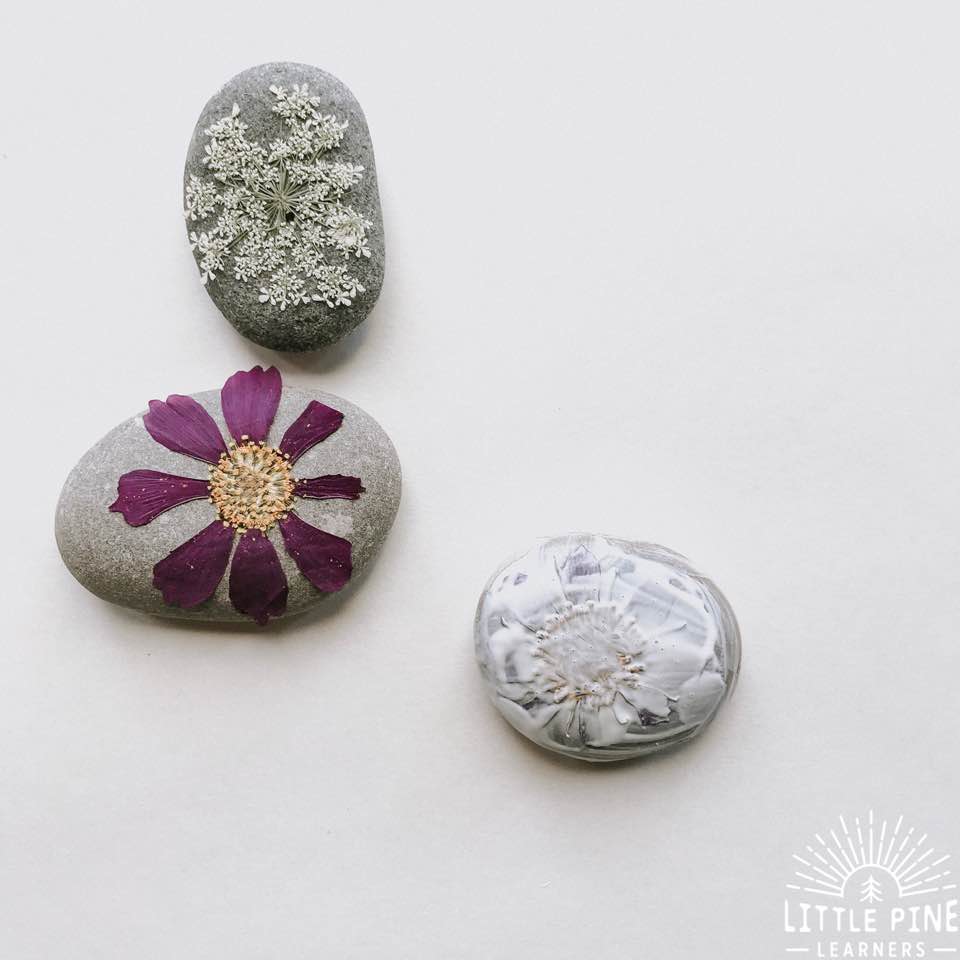
And there you have it! You will never need to look up how to preserve flowers again! This is such a fun method!
They are the perfect manipulatives to add to your favorite nature learning activities. You can learn all about patterns, colors, counting, and size/shape with these beautiful learning tools. More on those ideas soon!
You can also set these out as gorgeous decorations! Kids will love picking them up to play with as a loose part. Start making your beautiful flower stones ASAP so you can join in on the fun.
Until then, check out 10+ Simple and Beautiful Stone Activities!
Pin it and save it for later!

I hope you give this simple method for preserving flowers a try! I promise, your little nature lovers will love it as much as my boys.
∼Tara
