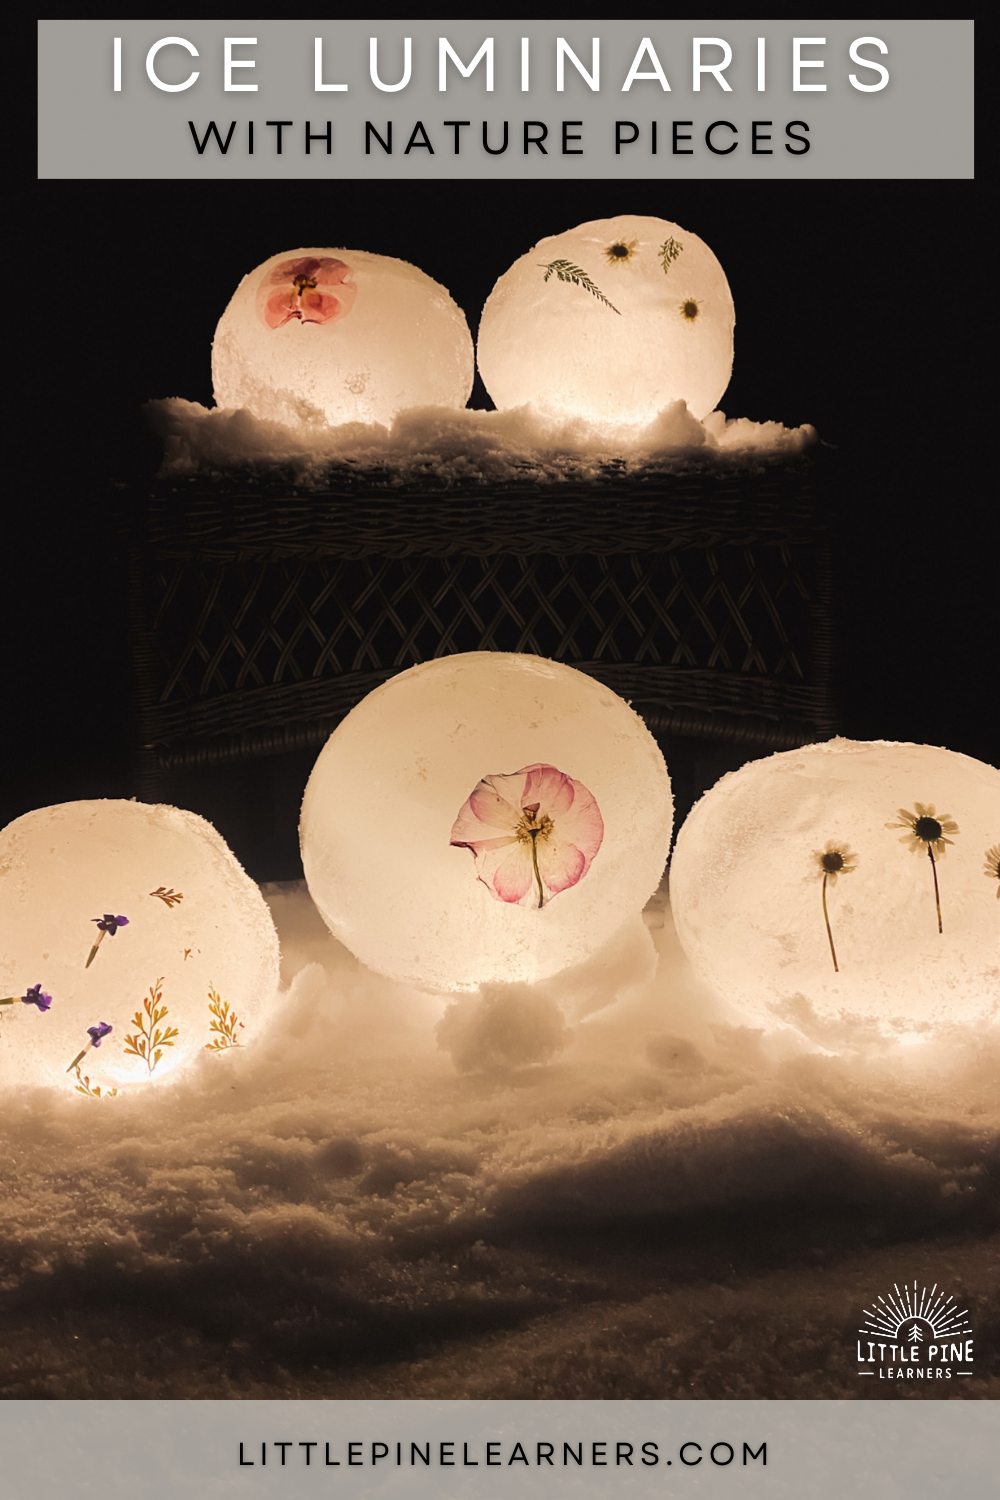
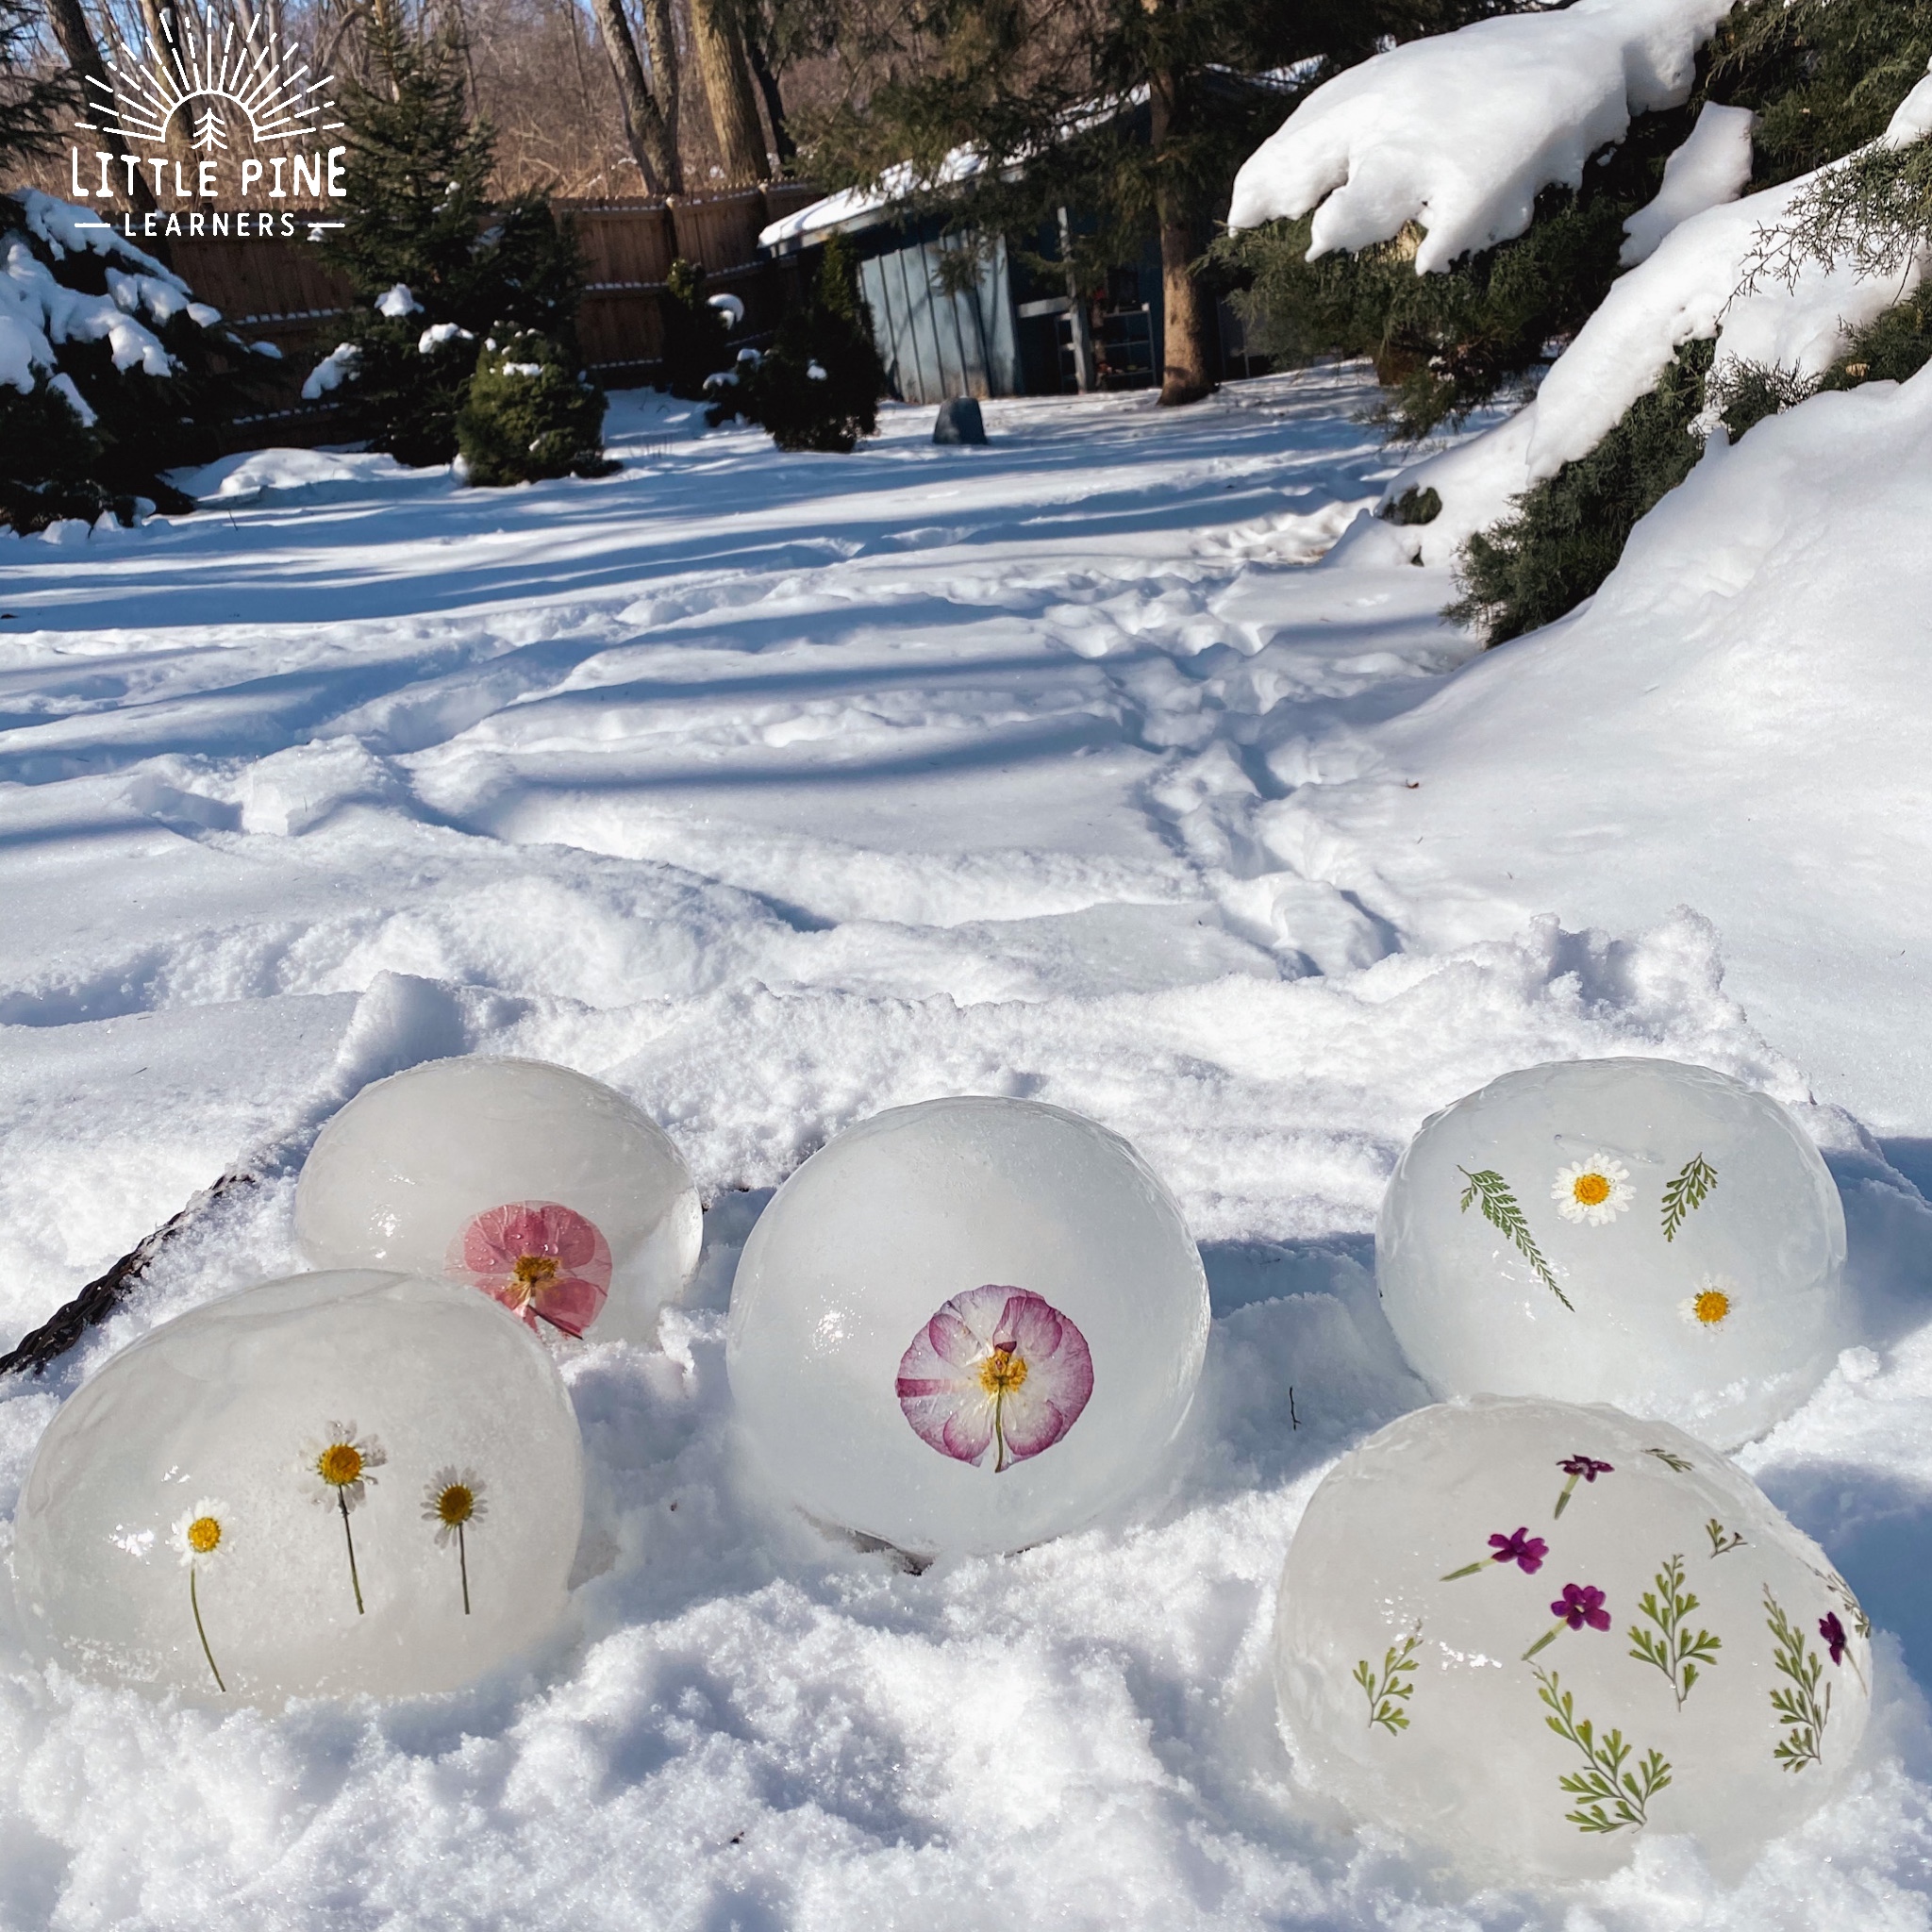
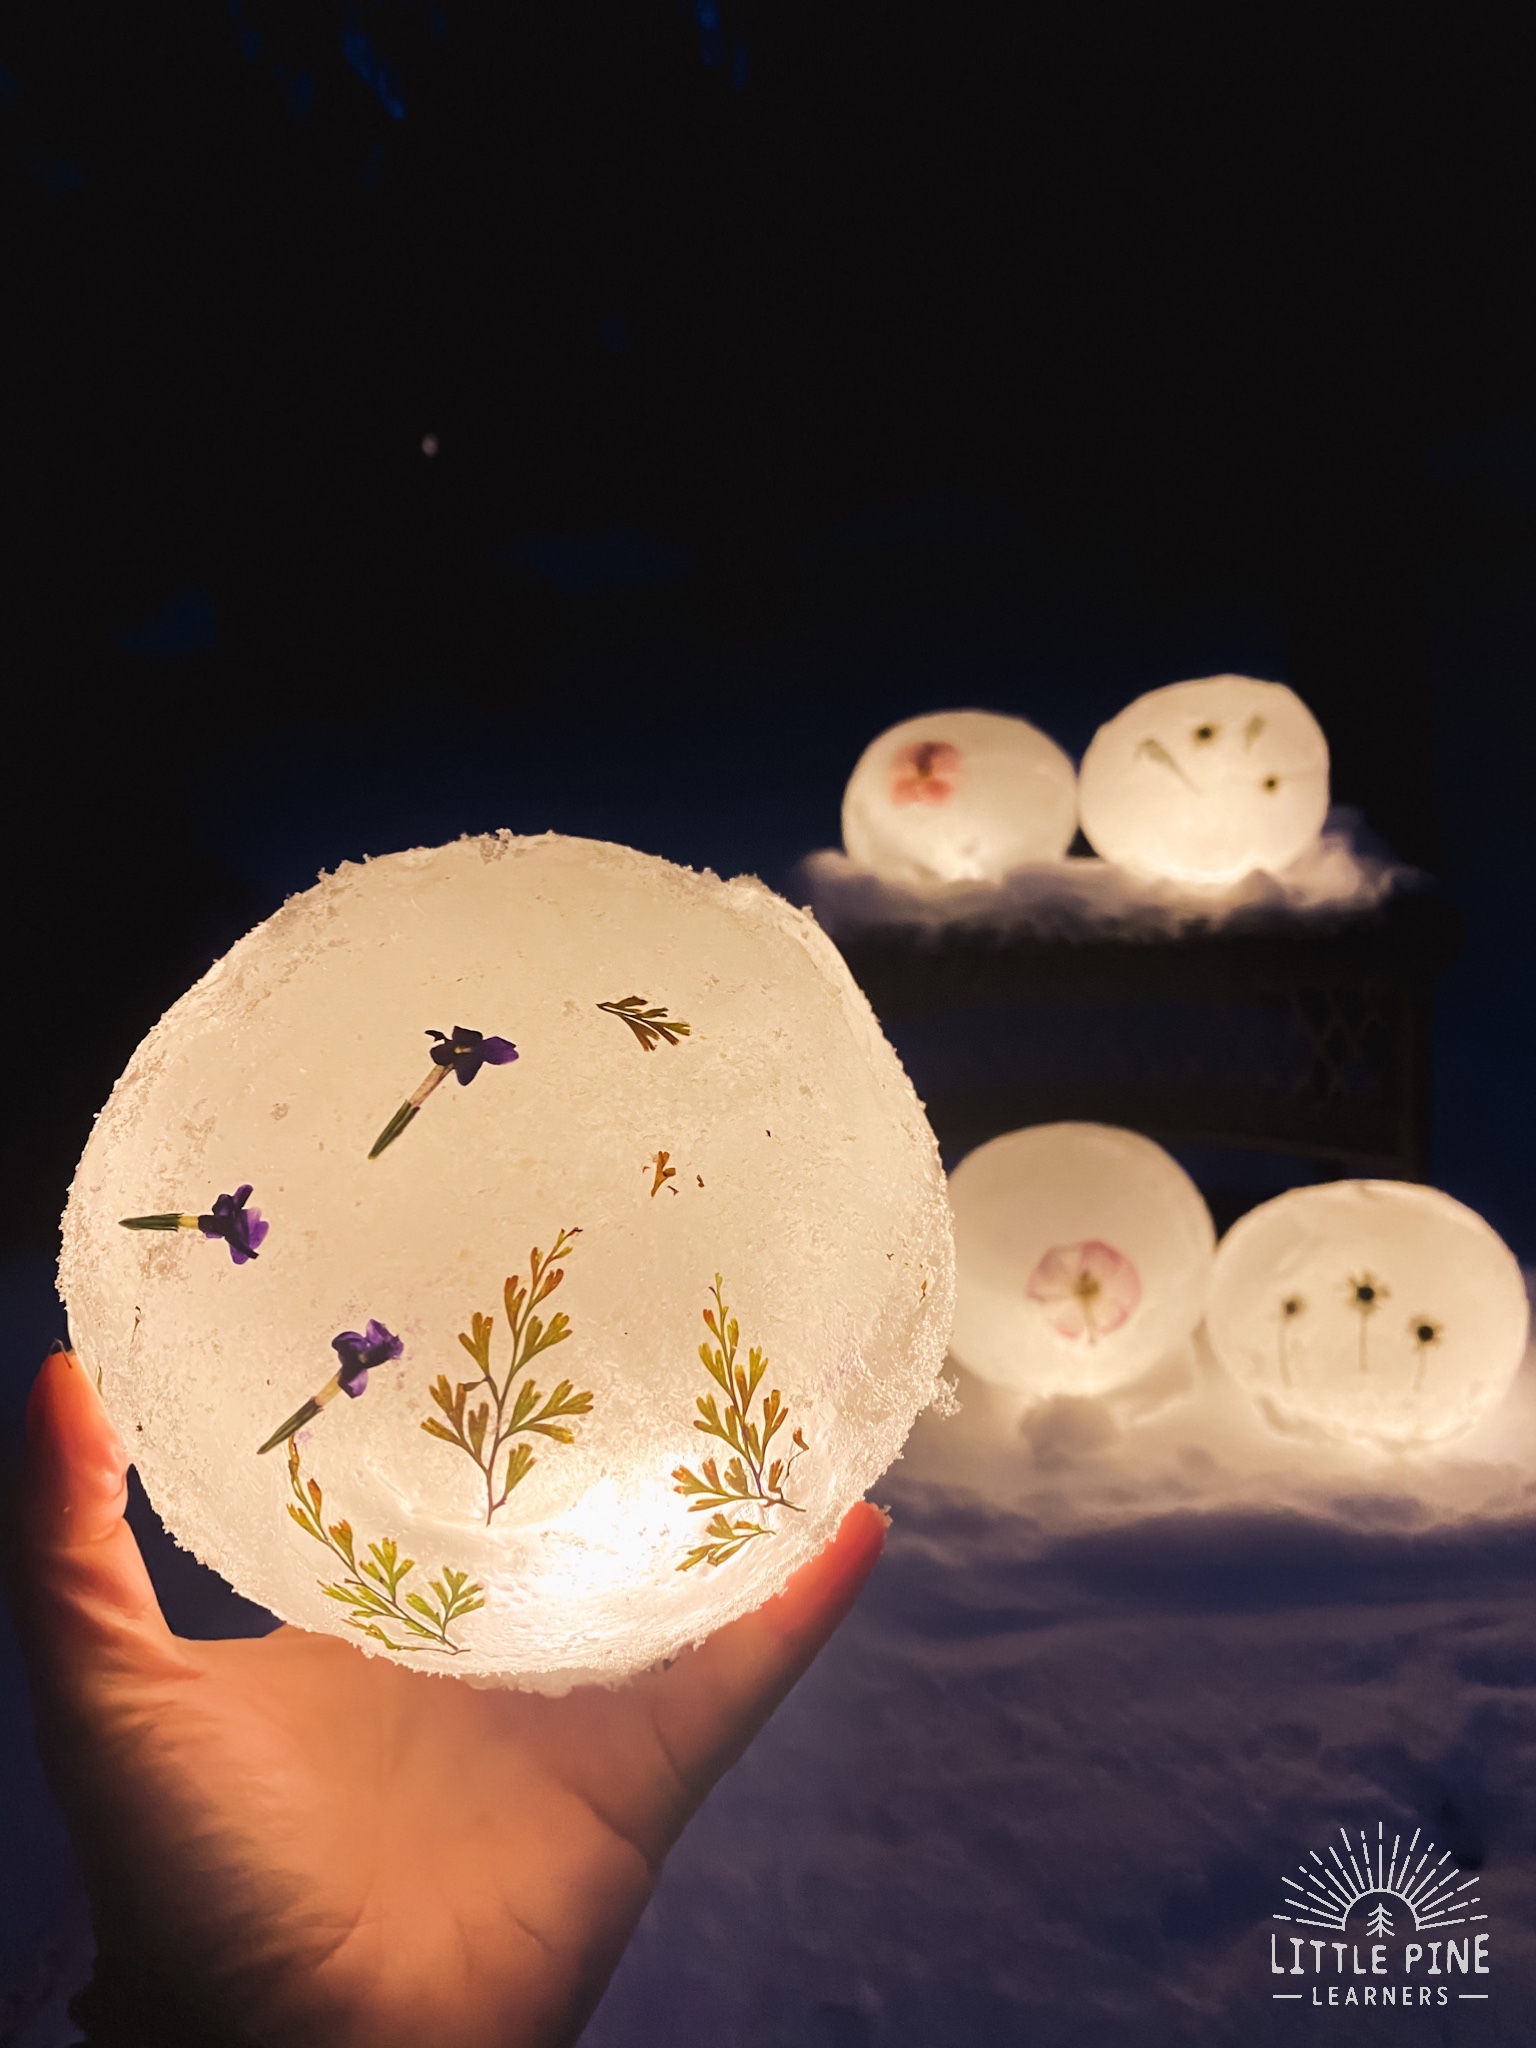
Want to learn how to appreciate cold weather? Make ice luminaries! They are so easy to make and look stunning sitting on the snow. The pressed pieces of flowers and leaves add a sweet touch and these luminaries are beautiful during the day and night!
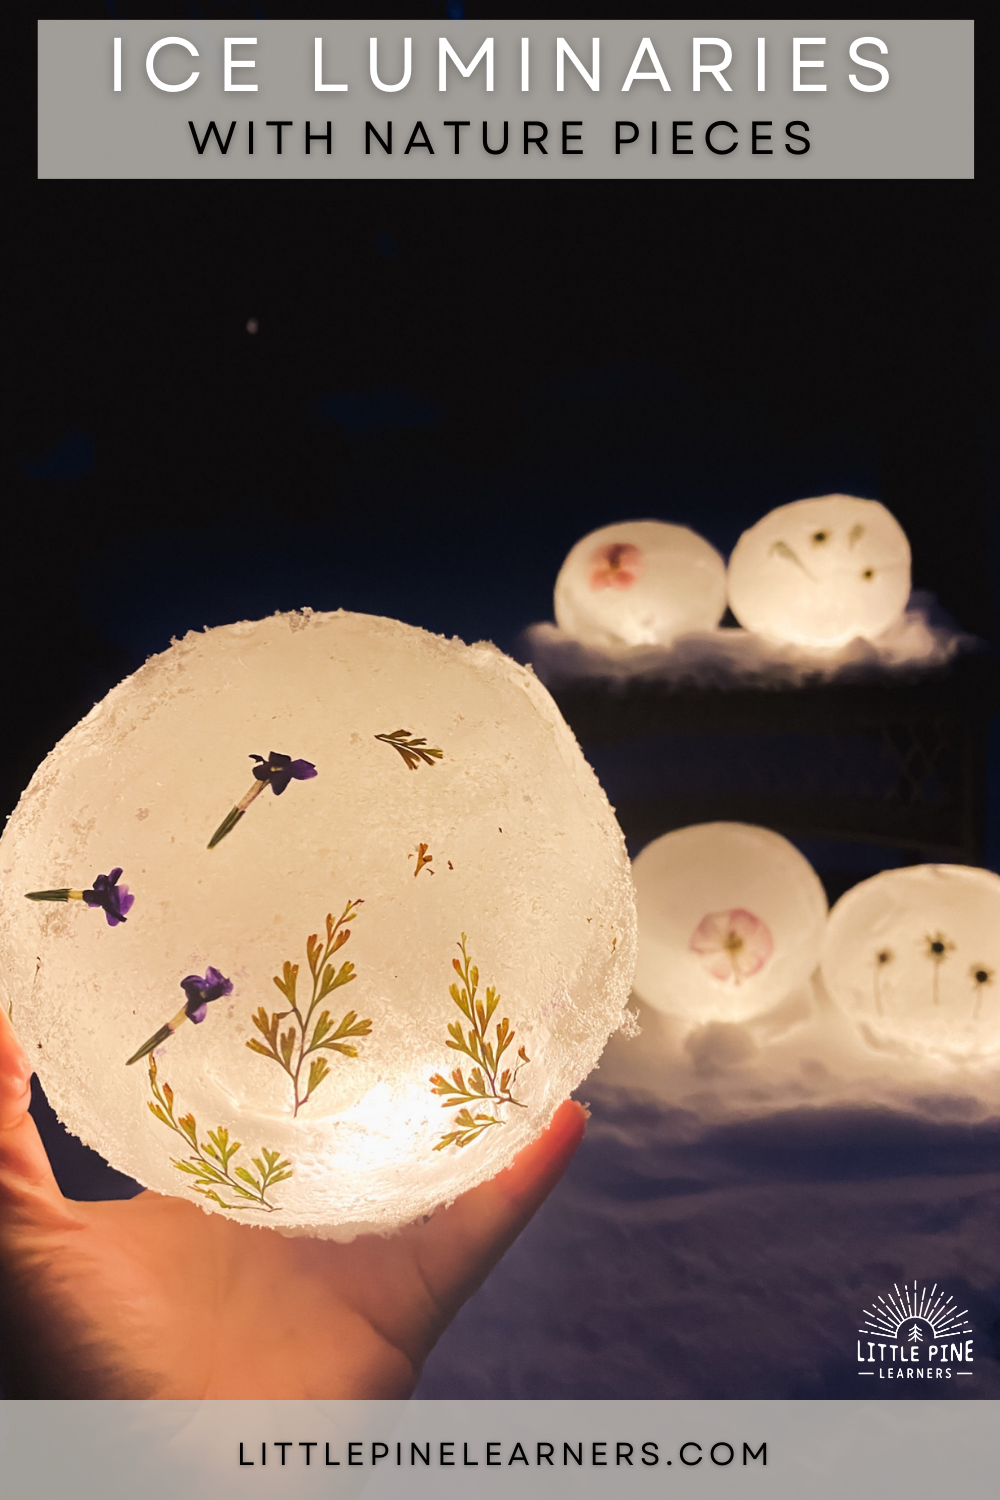
Ice luminaries, also known as ice lanterns, are a fun winter project for both kids and adults! They look beautiful grouped together or try lining your walkway to your front door! Such a beautiful way to welcome people to your home during those cold winter months.
Ready to make a few ice luminaries?! Here’s what you’ll need–
Supplies:
- Balloons- Try latex balloons if you want to avoid plastic
- Water
- Waterproof tea light candles
- Pressed pieces of nature- There are a couple of things to keep in mind for this project. The luminaries are curved, so the pieces of pressed nature should be pretty thin and flexible/flimsy. They also should not be dyed or they will bleed onto the ice. The large pressed poppy flowers are from this shop and the wildflower mix are from this shop! We removed the stems from the poppy flowers and chose the thinner pieces from the wildflower mix. I love supporting these beautiful pressed flower businesses from Etsy, but these flowers took over a week to arrive at my house. If you need pressed flowers quickly, then I suggest going with Amazon. I’ve used many pressed flowers from Amazon for my crafts and am happy to recommend them as well. For this particular craft, I love this set and this set.
This post contains Affiliate links for your convenience.
Related: Check out How to Make Ice Lanterns (Using cans!)
Here’s How We Made these Beautiful Ice Luminaries:
Step 1:
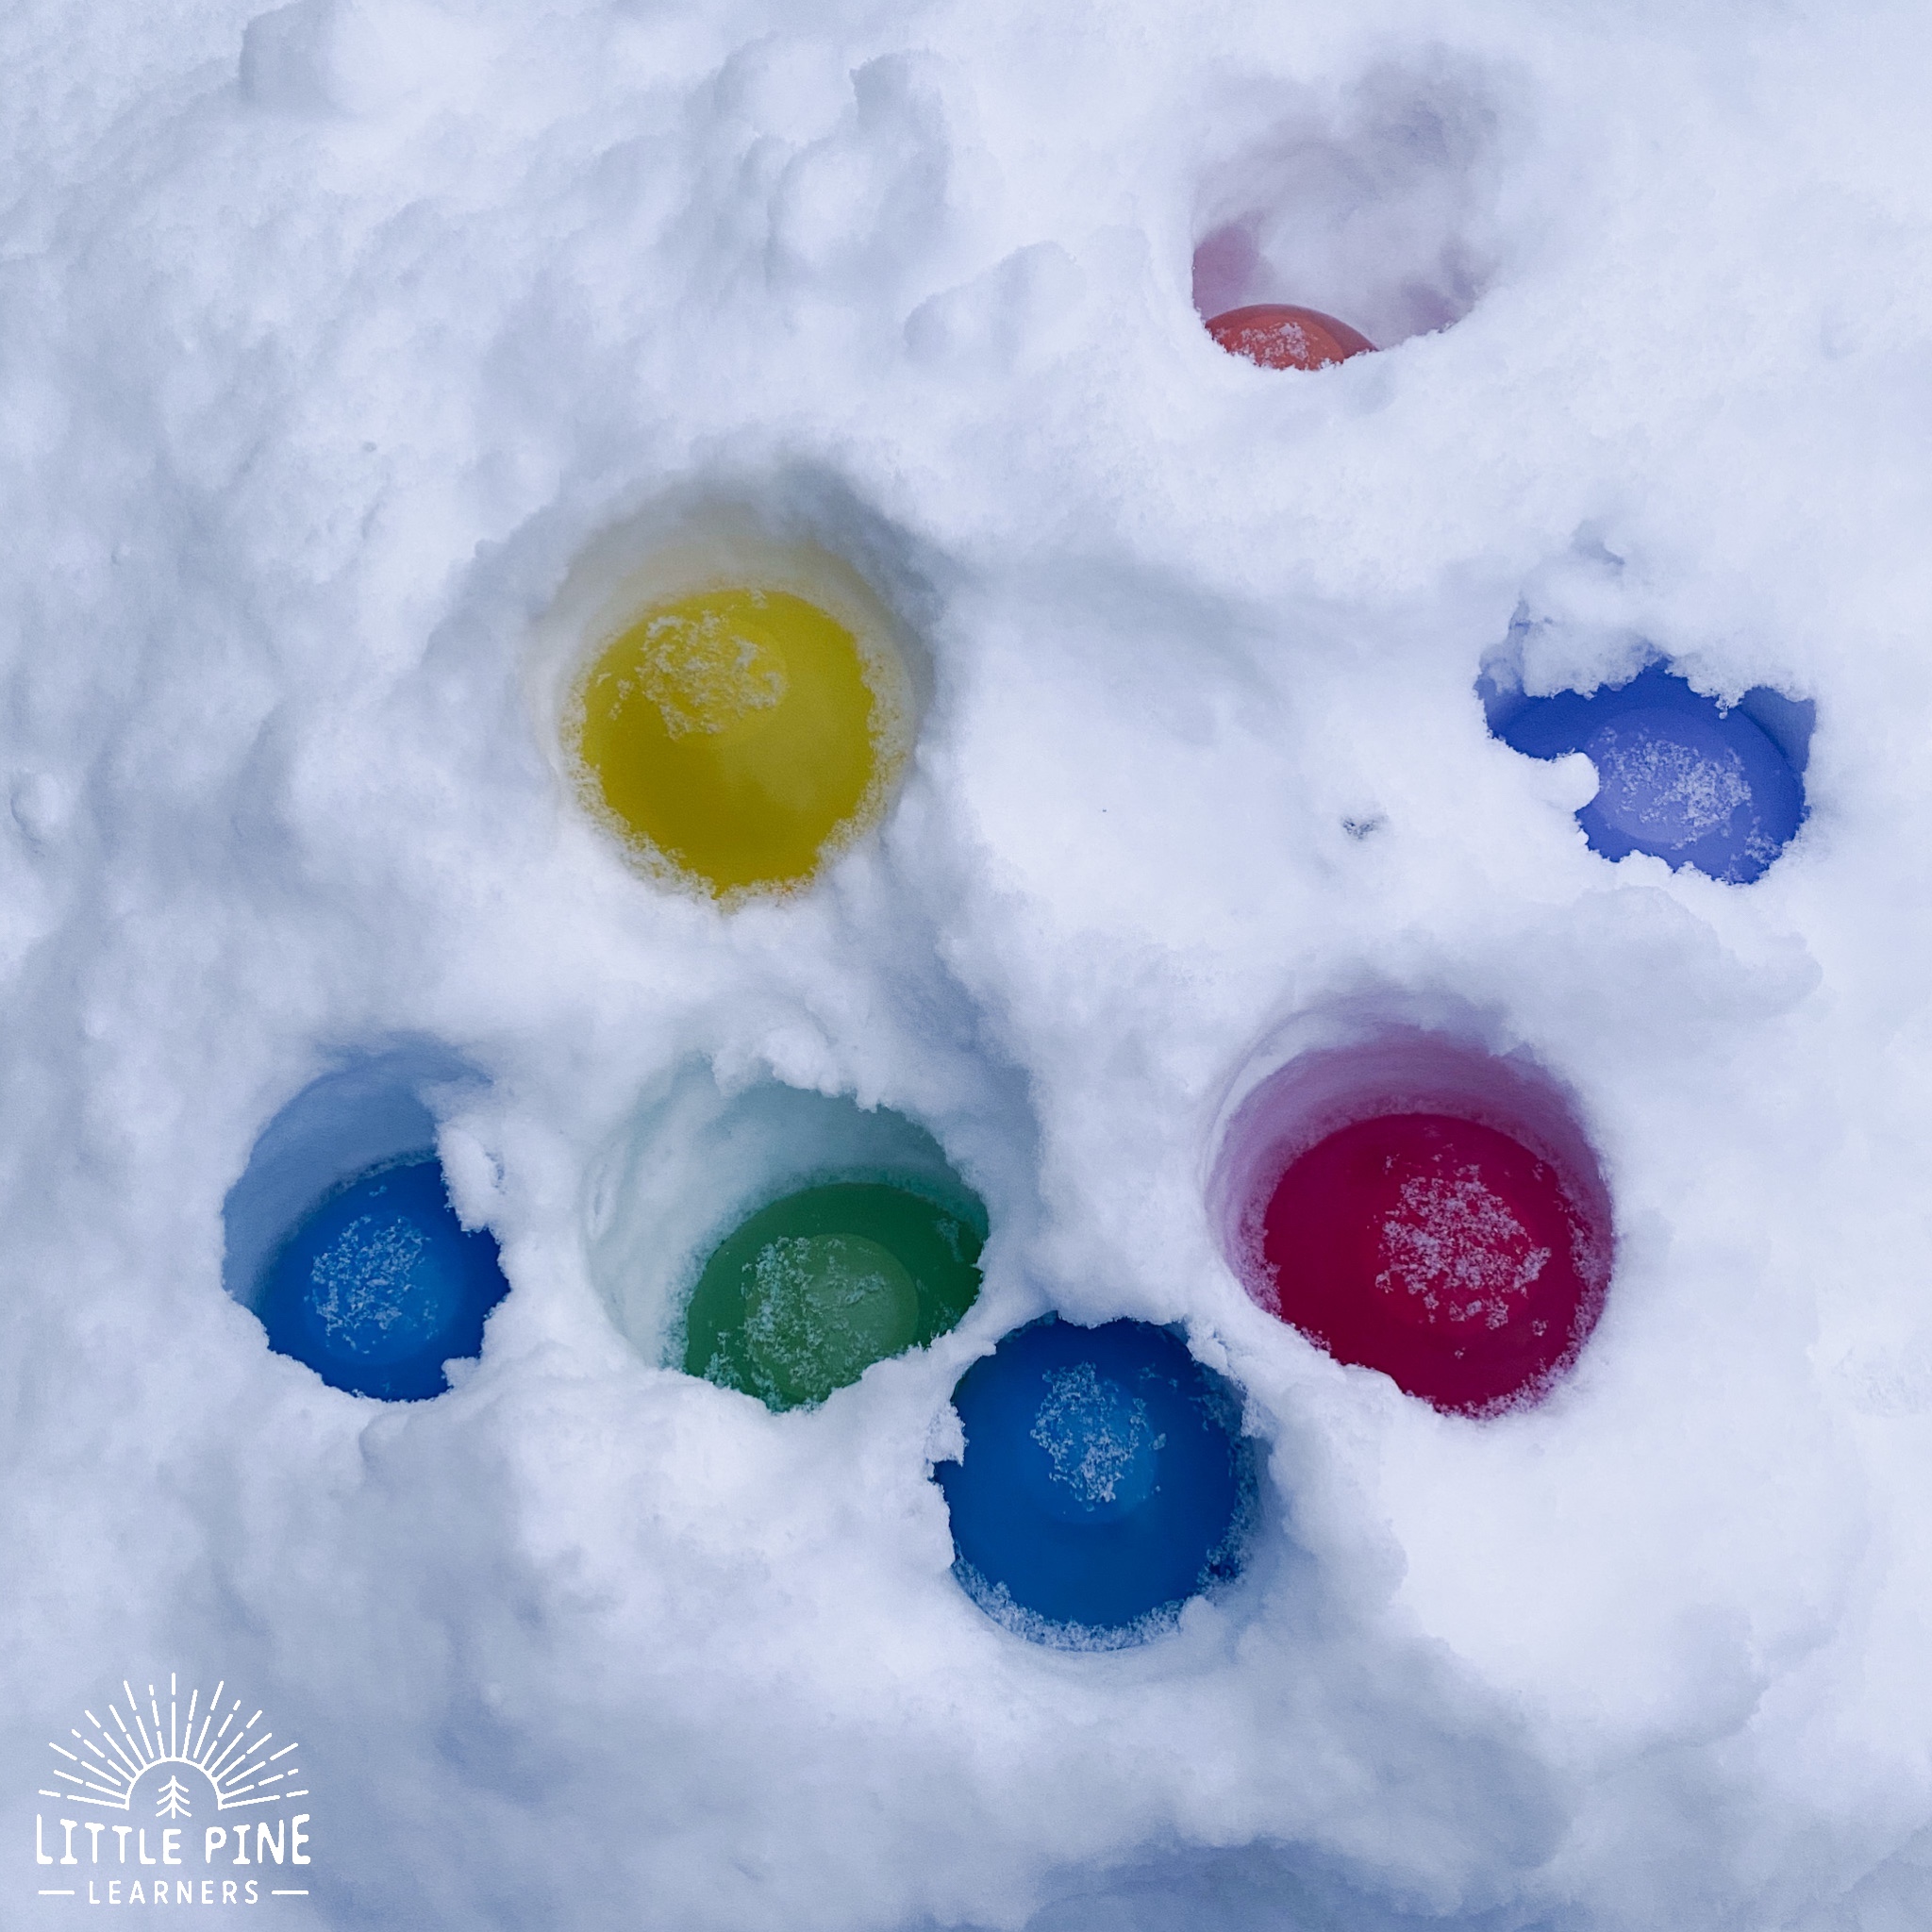
Fill up the balloons at a sink to your desired size. Then put them outside to freeze! We stuck them in the snow. If you do the same thing, make sure you rotate them around as they freeze. You can also stick them in the freezer. I found sitting them in a small bowl helps them keep their shape in the freezer.
Step 2:
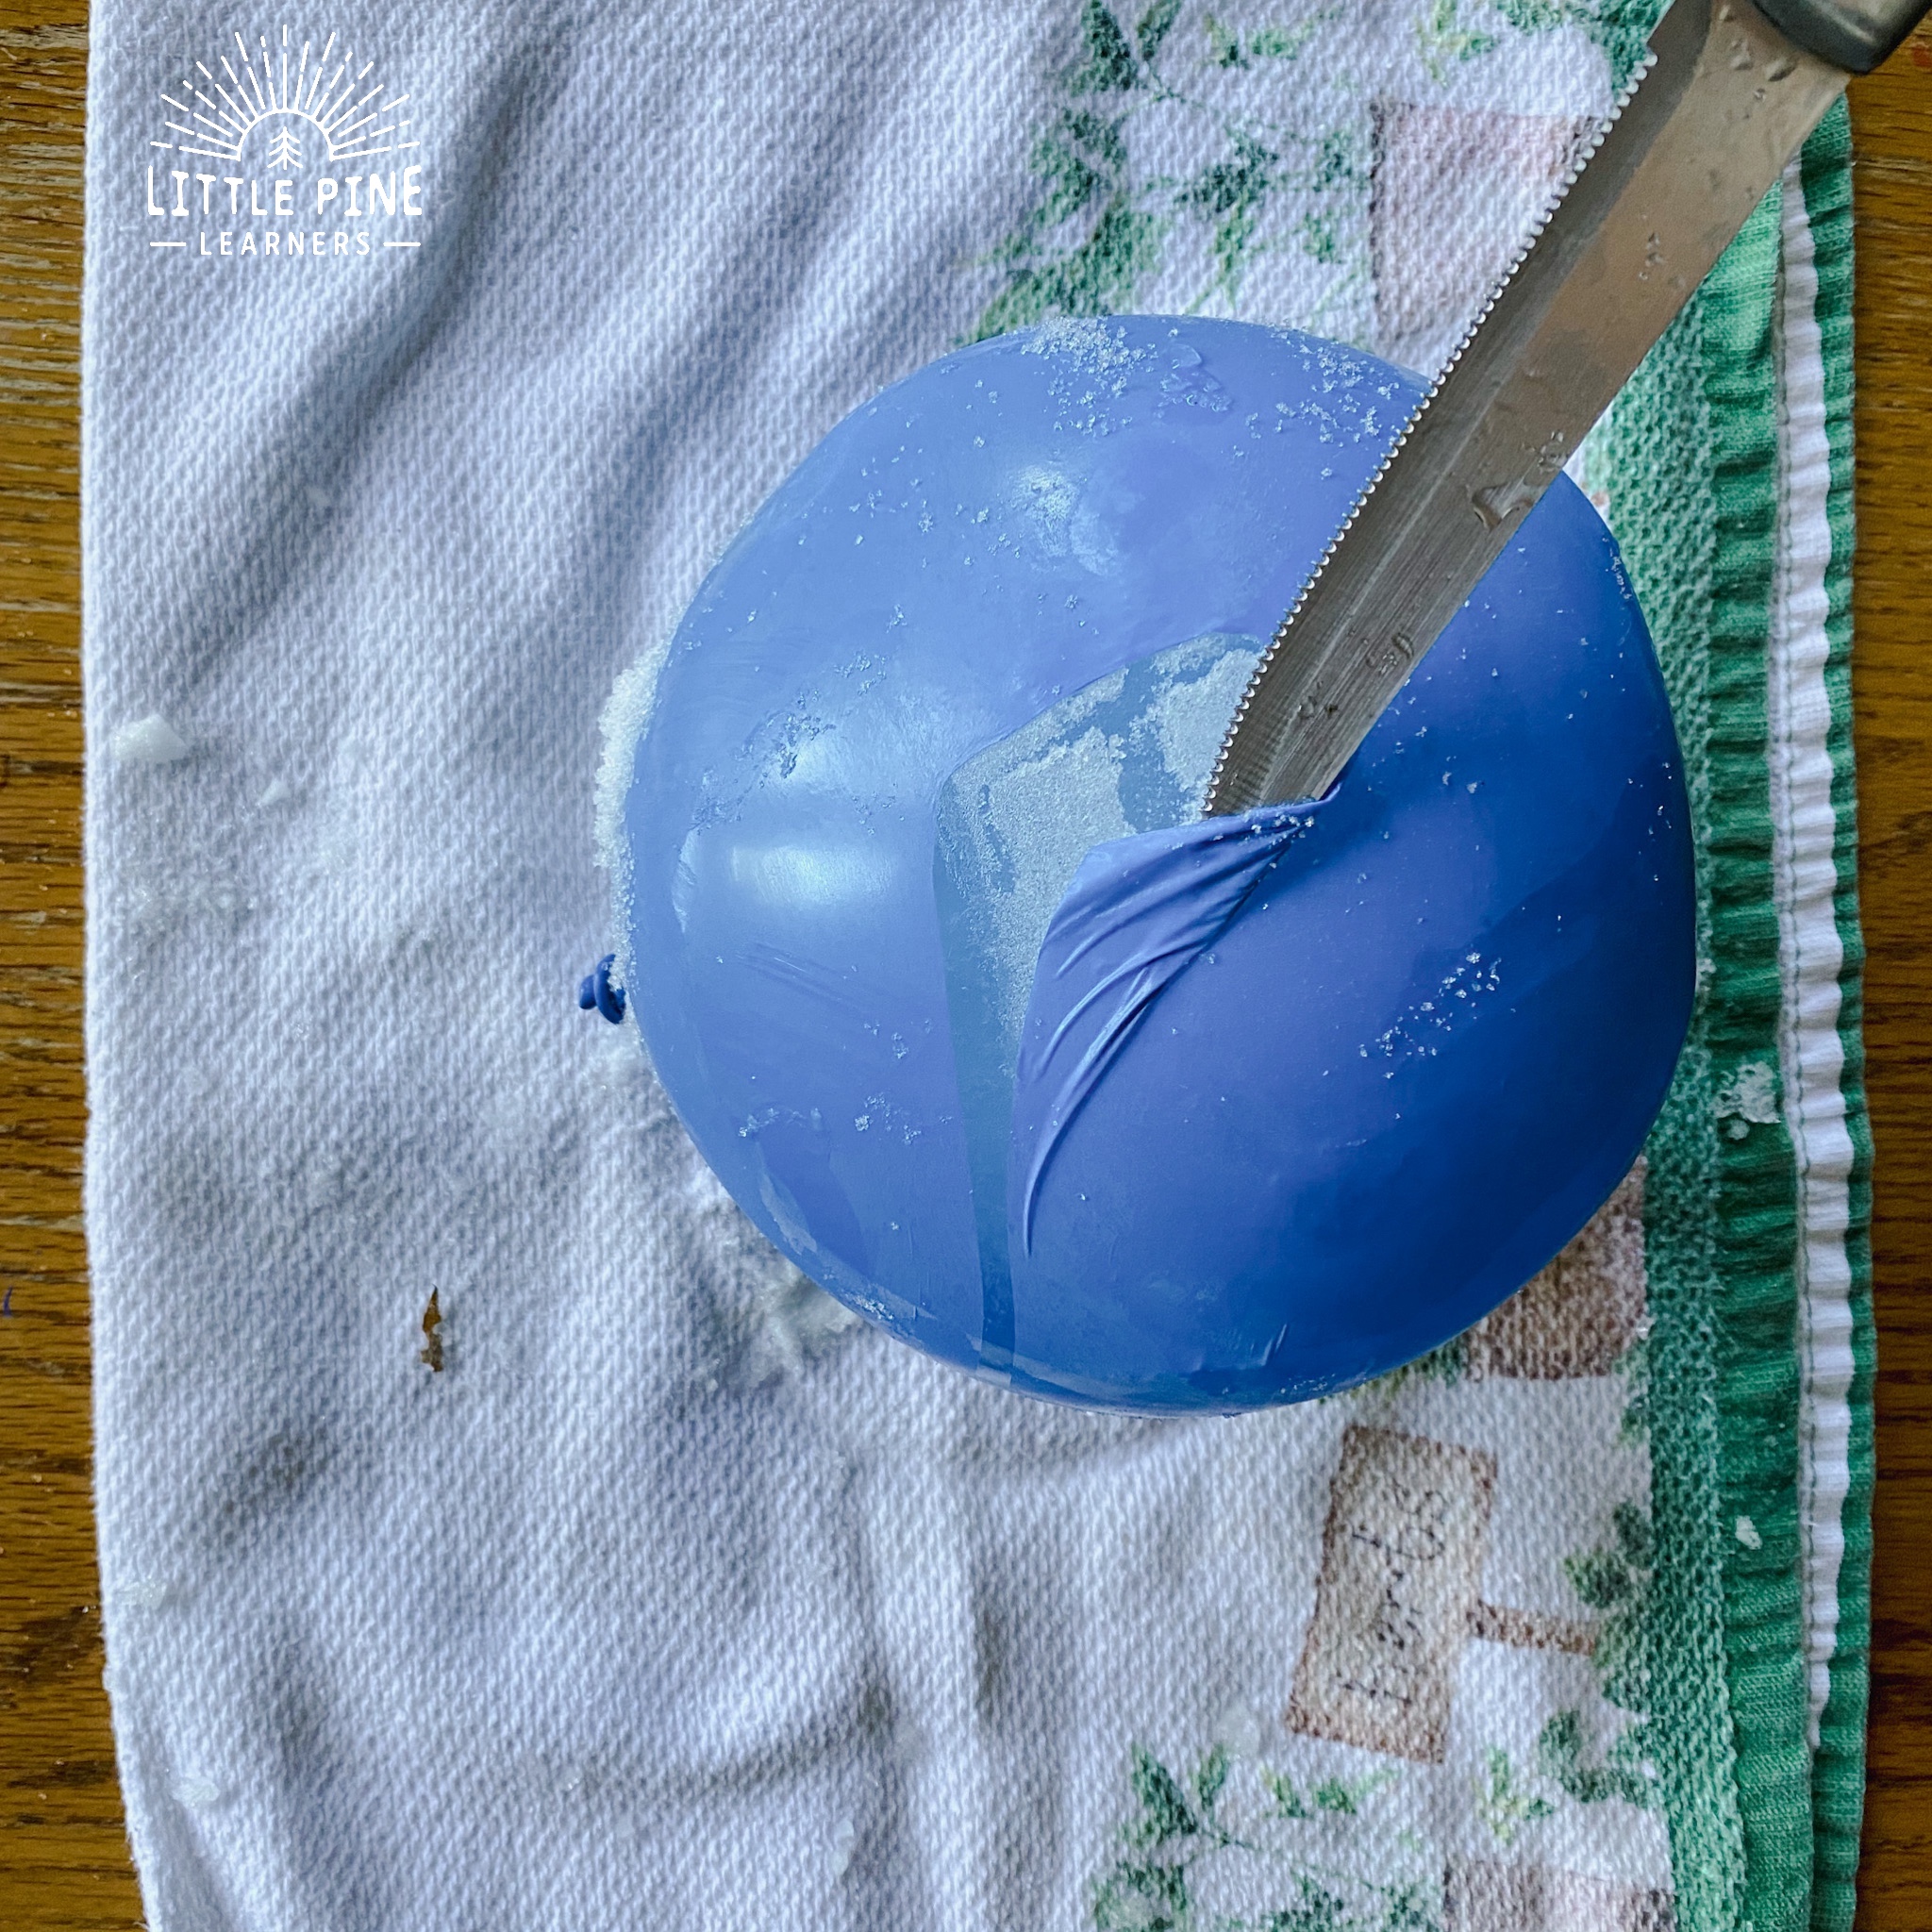
Once your luminaries are frozen, peel off the balloon. I used a knife to start the process.
Some people let the outside shell of the lantern freeze then peel off the balloon, but I personally like them frozen solid. They are much more sturdy and look very magical!
Step 3:
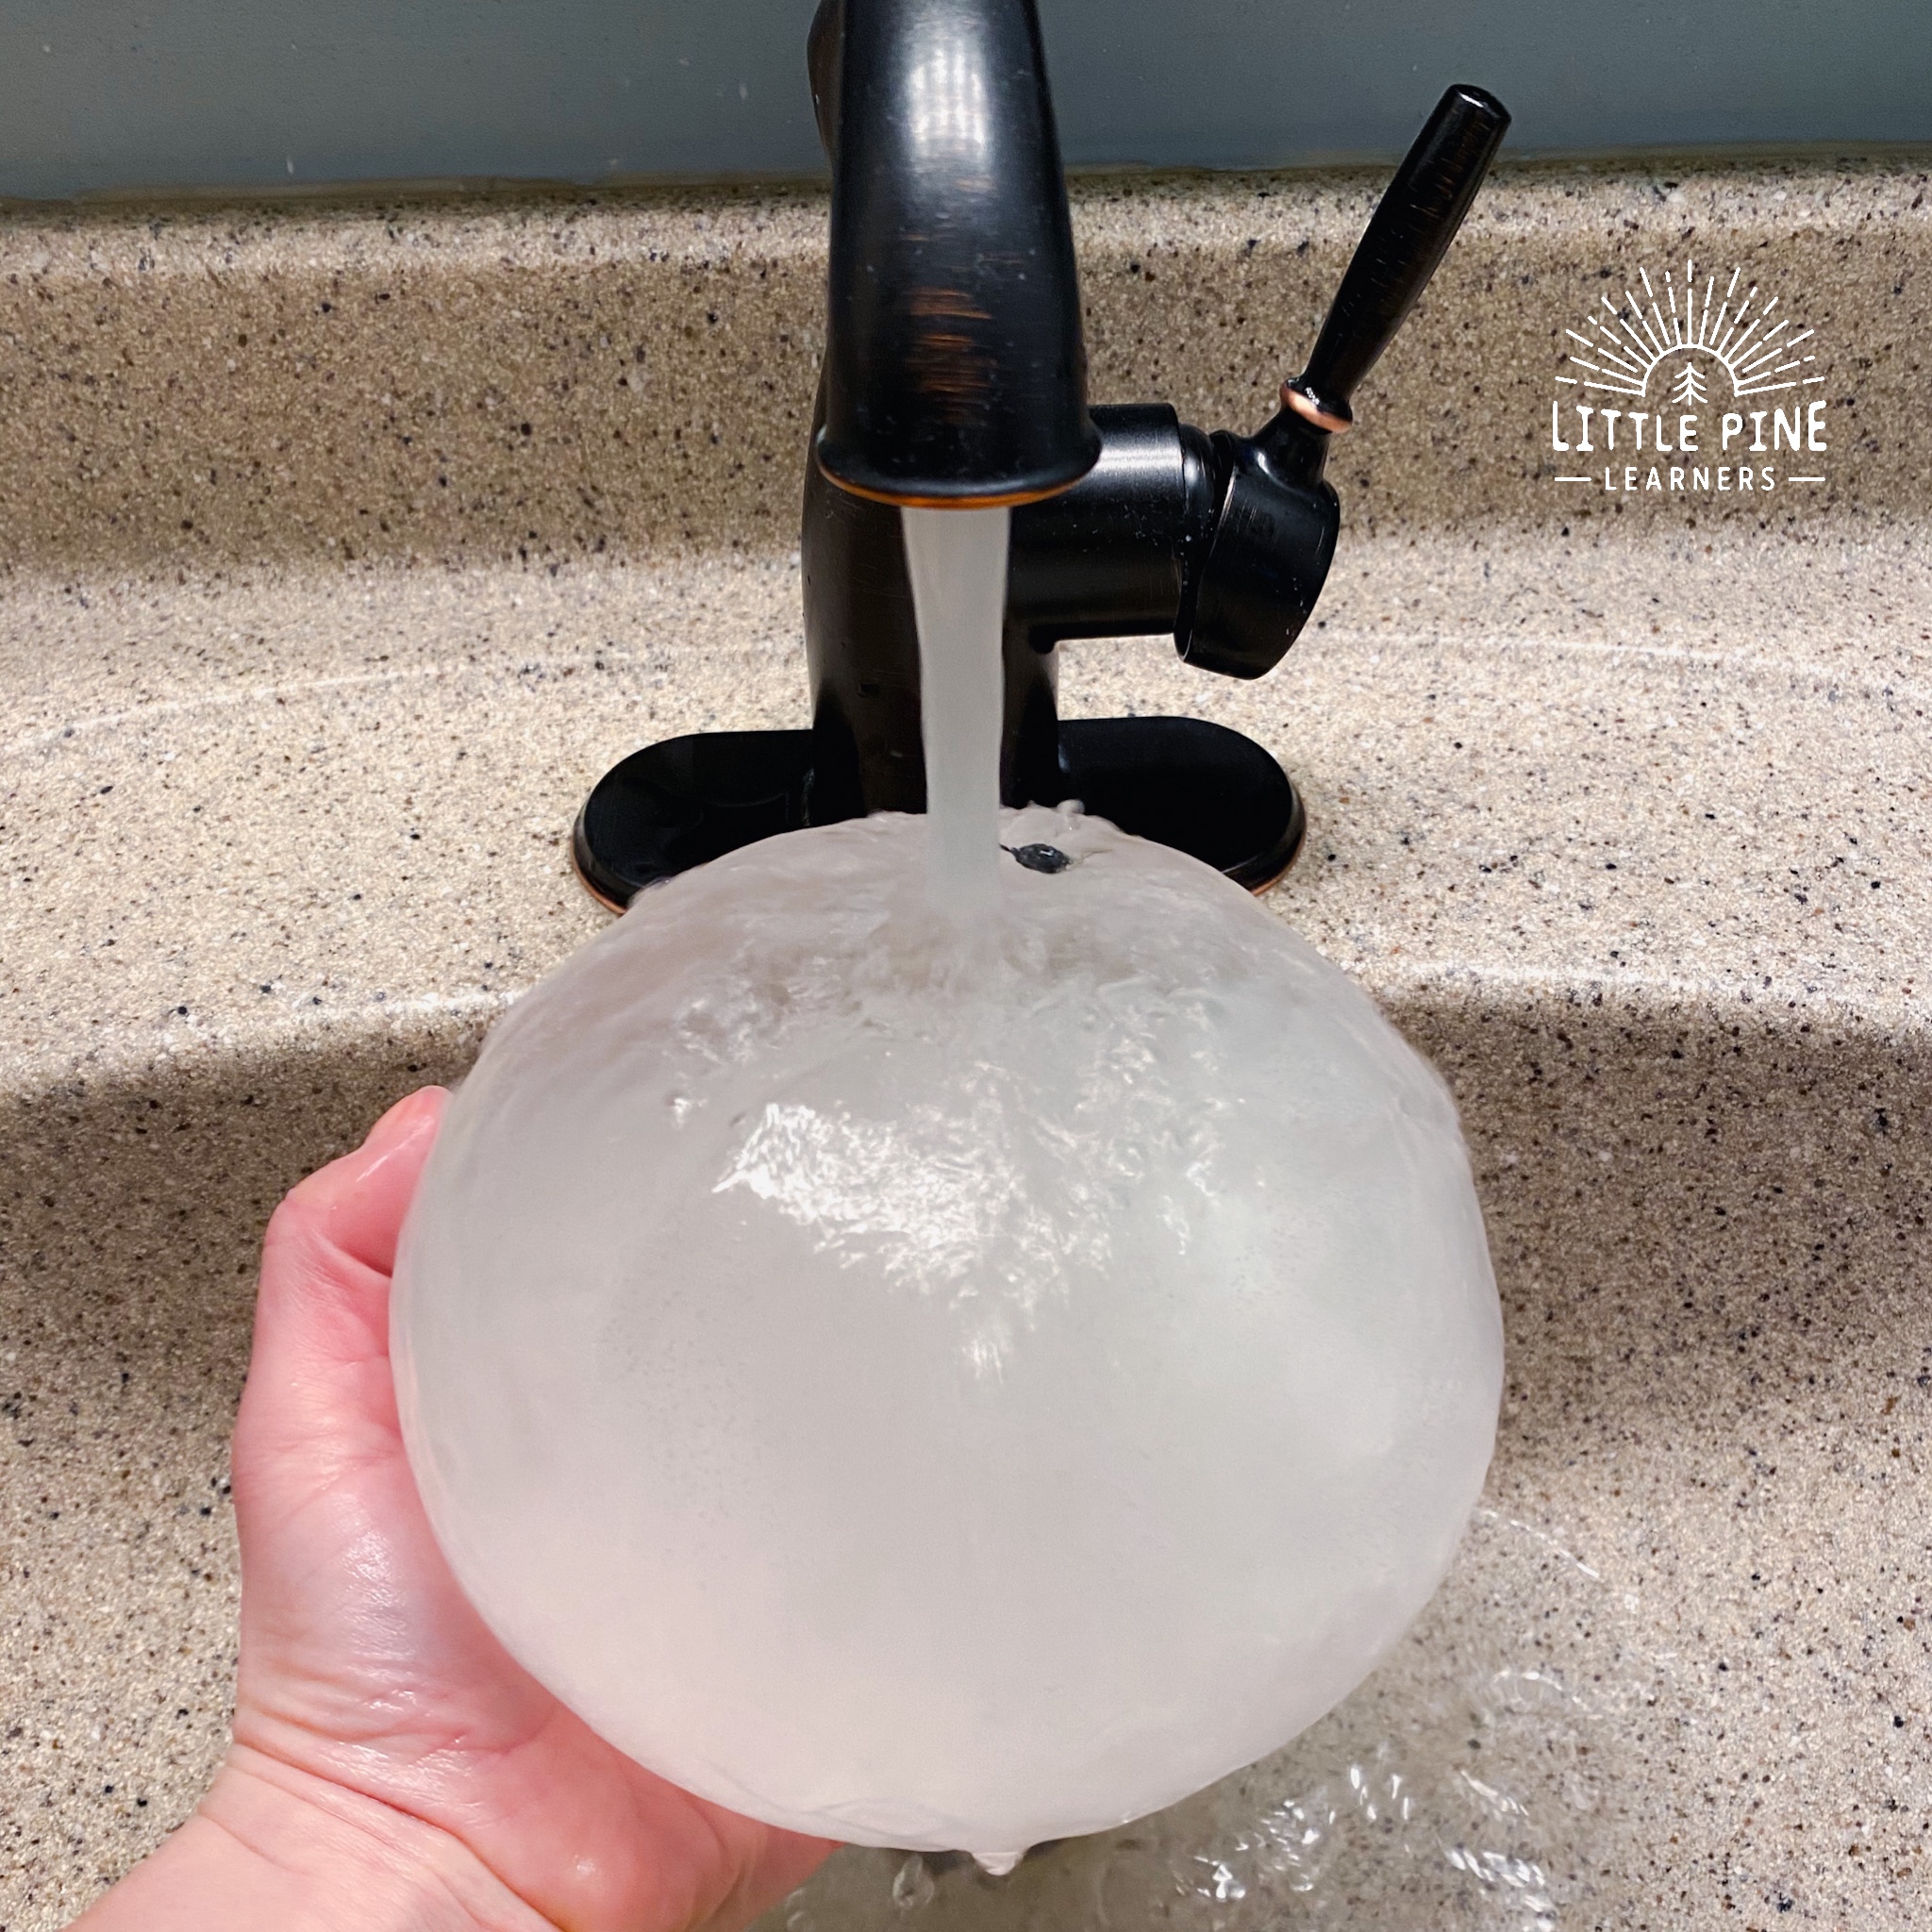
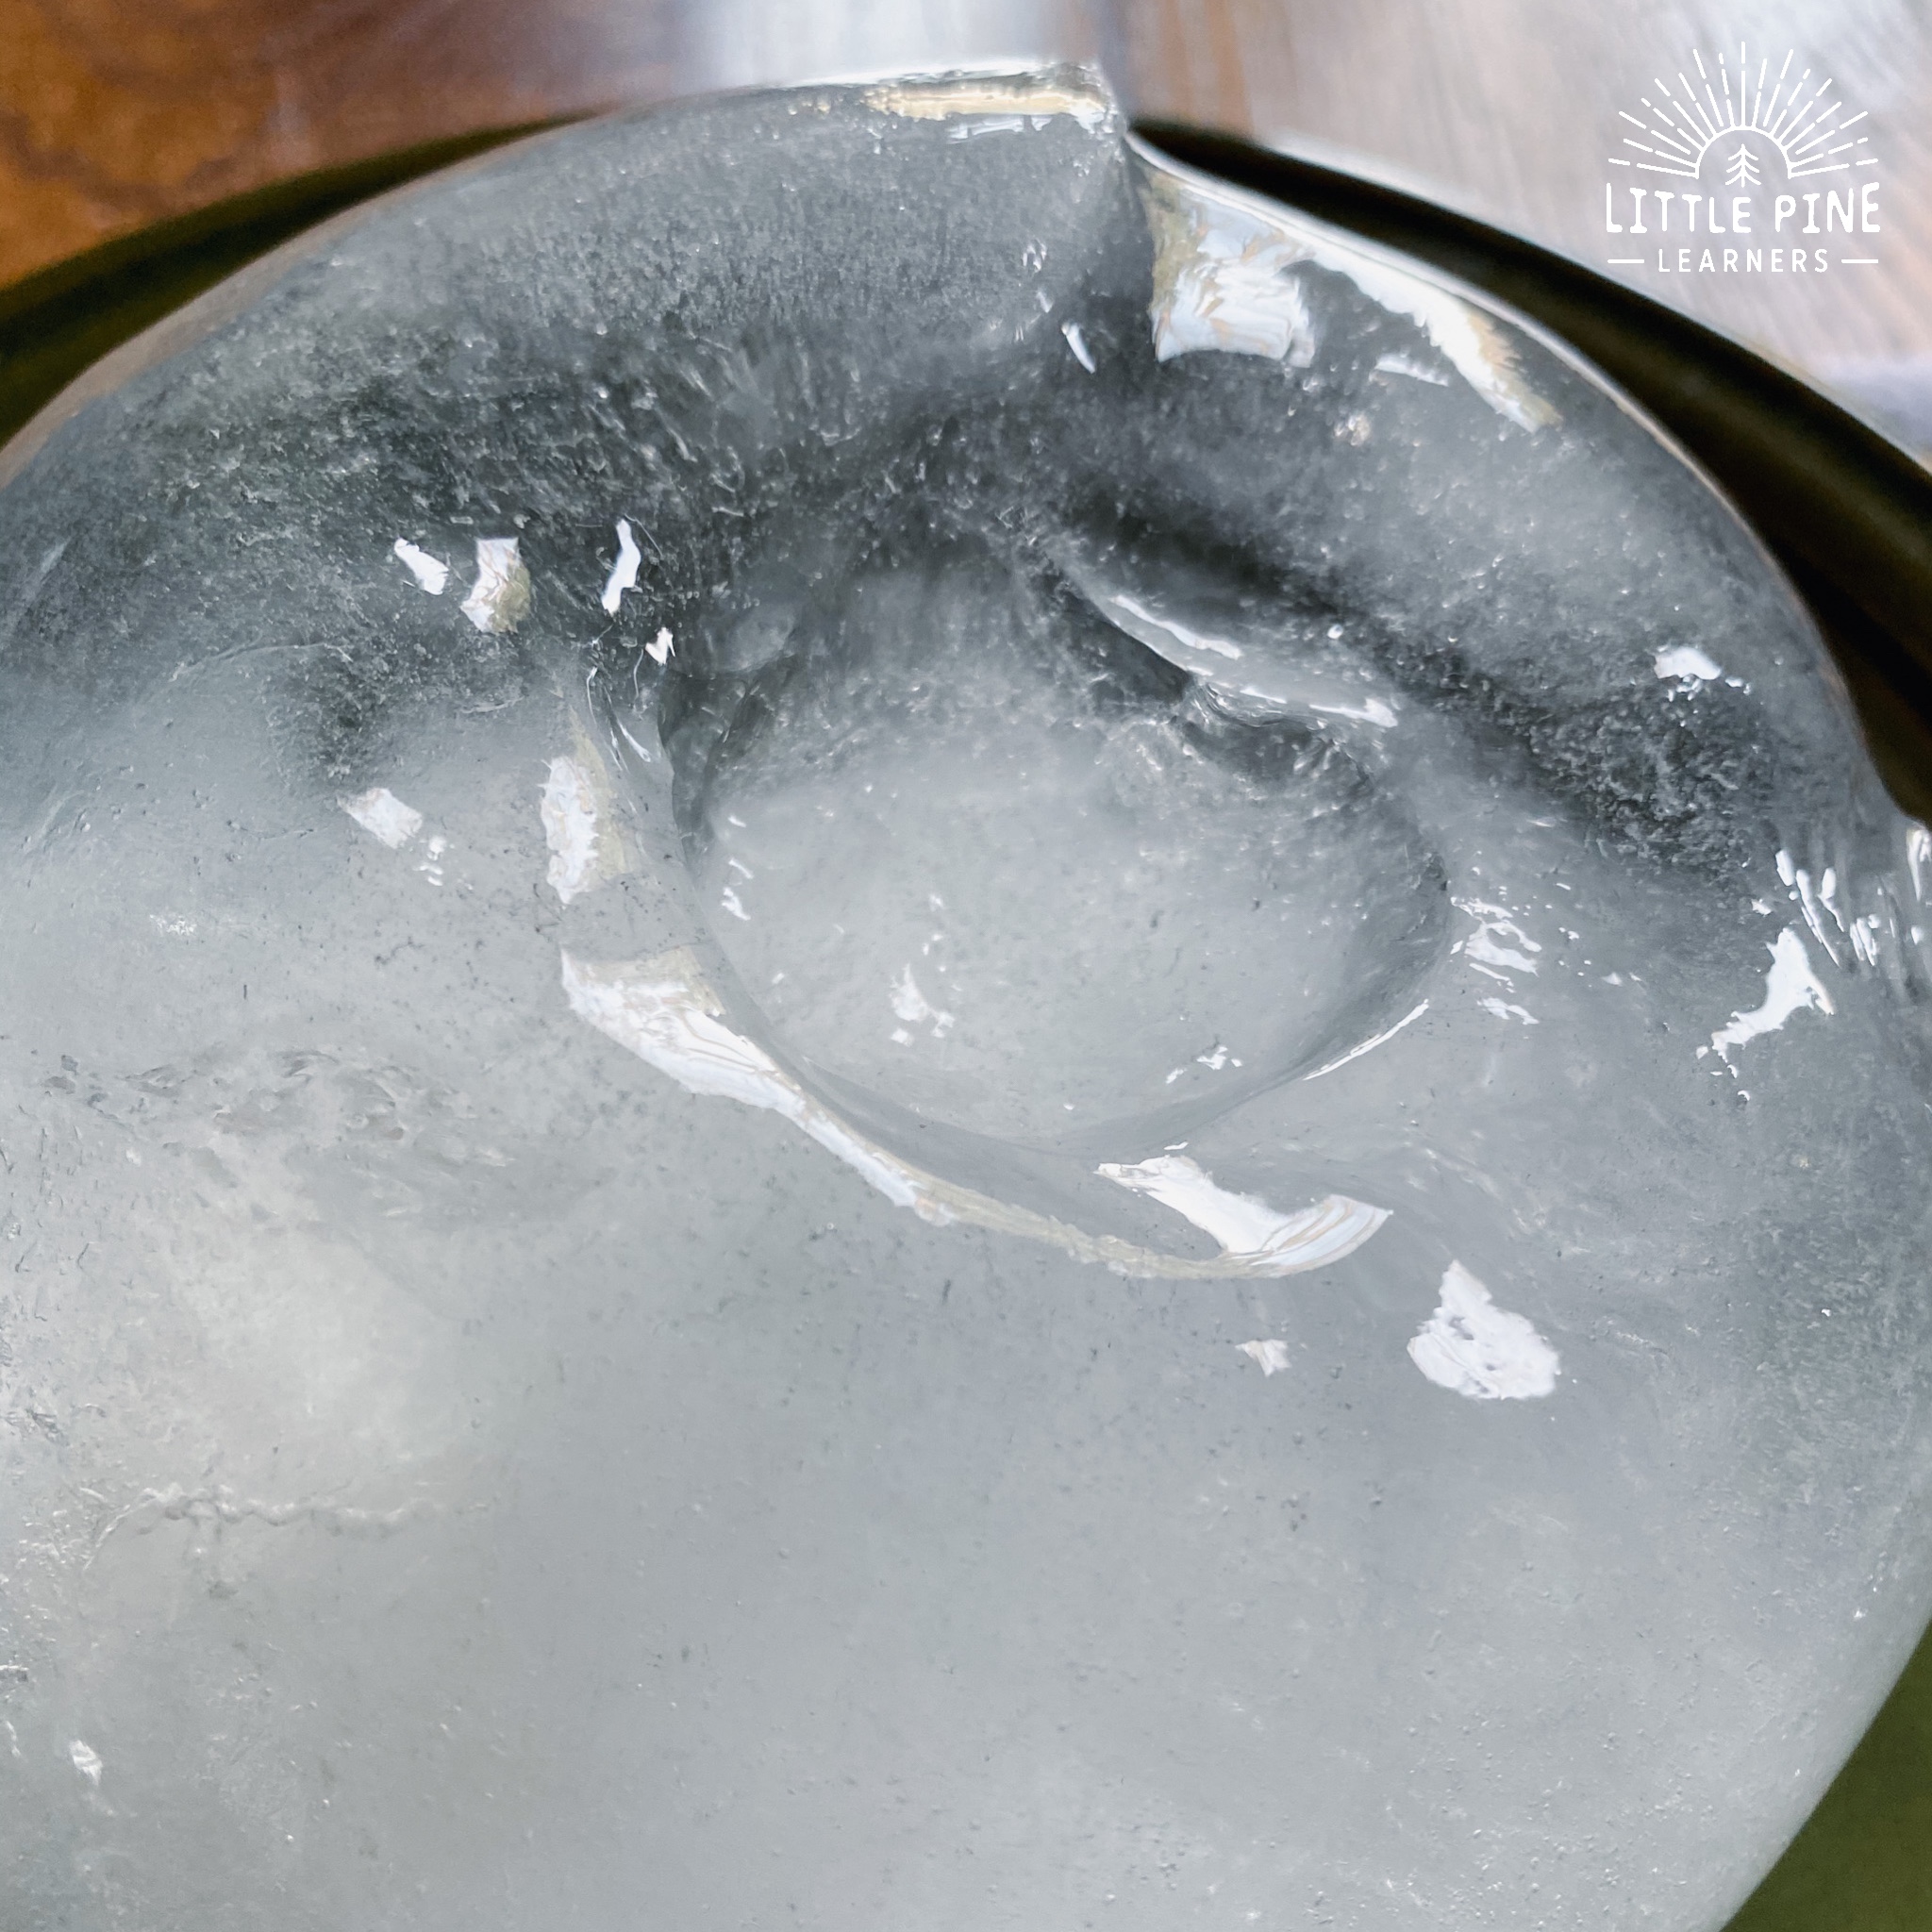
I like to make a little dent for the candle by running warm water on ice luminary.
Step 4:
After running warm water on your luminary, it will be slick and shiny. You can try to put your pieces of nature on the luminary now. The flowers and leaves should adhere to the luminary pretty easily. Then, they will freeze when you take them outside. But you might find that the luminary is too wet and might tear your fragile pieces of nature. If that’s the case then head outside!
We tried the indoor and outdoor methods and both worked well! When working outside, I found that a spray bottle of water and snow helped freeze and stick the pieces of nature to the ice luminaries. Just spray some water on the pieces of nature and the cold air will help it freeze the pieces of nature to the luminaries. The snow was helpful for the thicker pieces of nature. That was really like a natural glue!
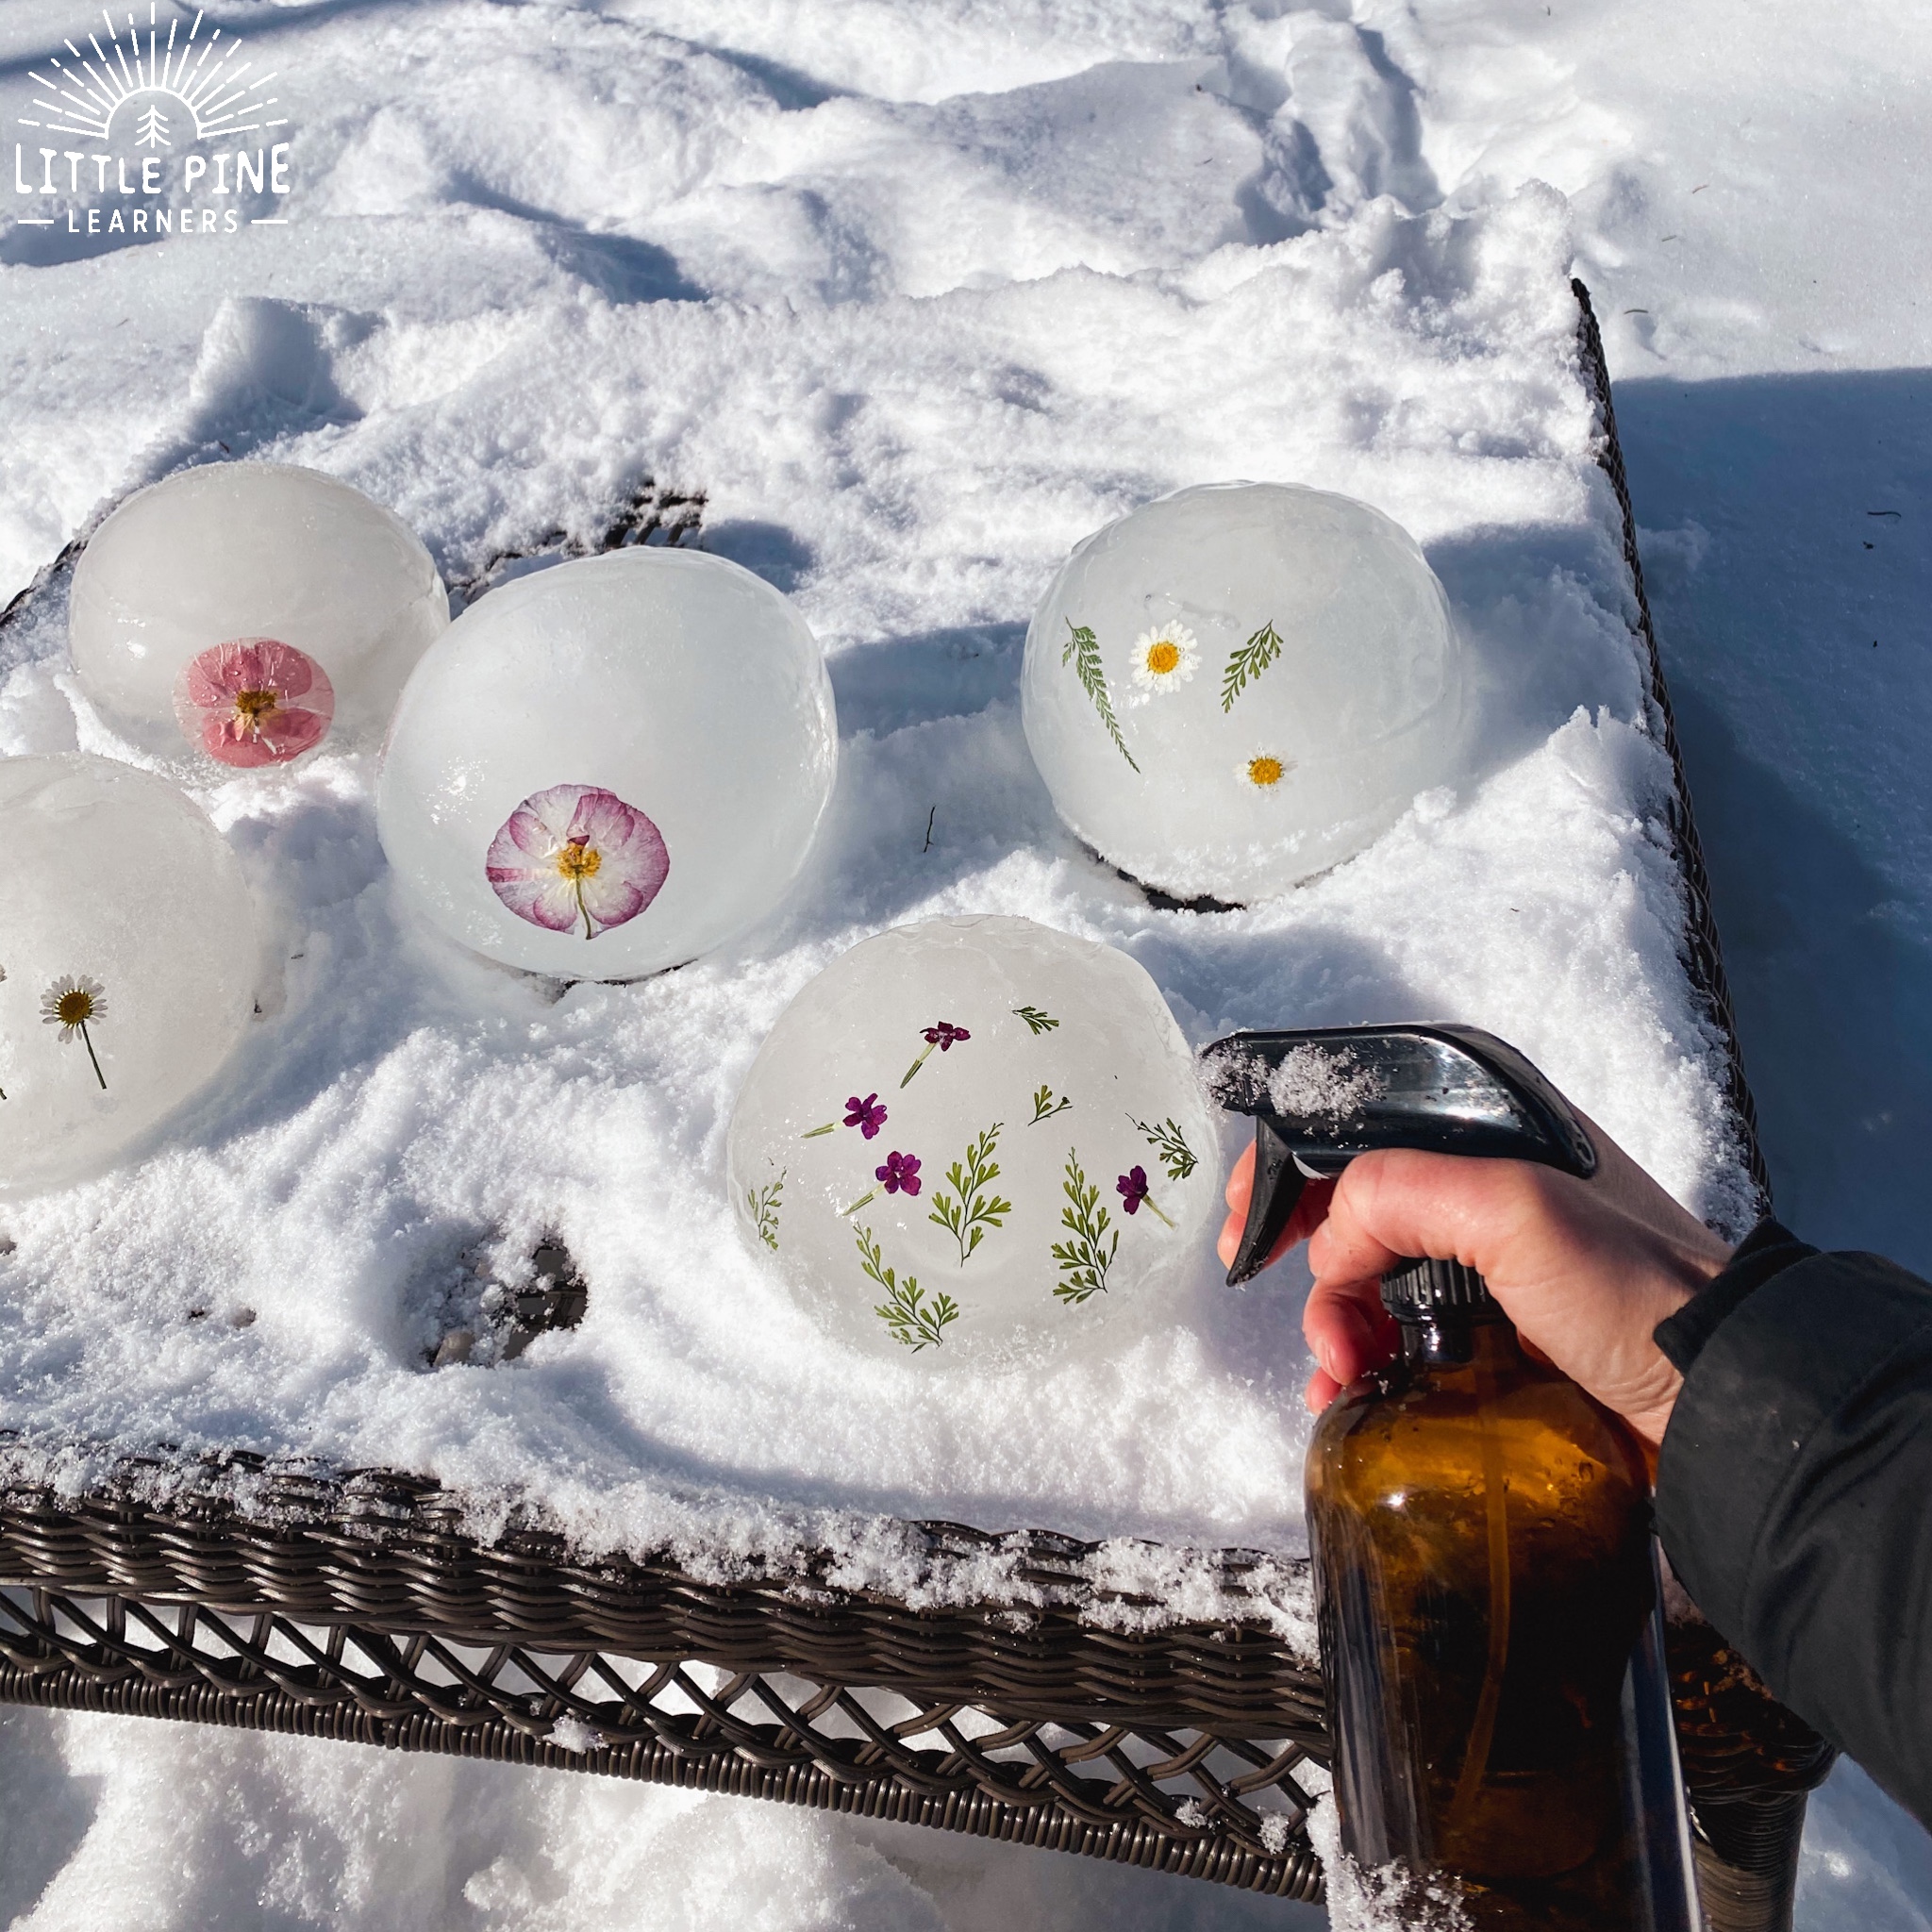
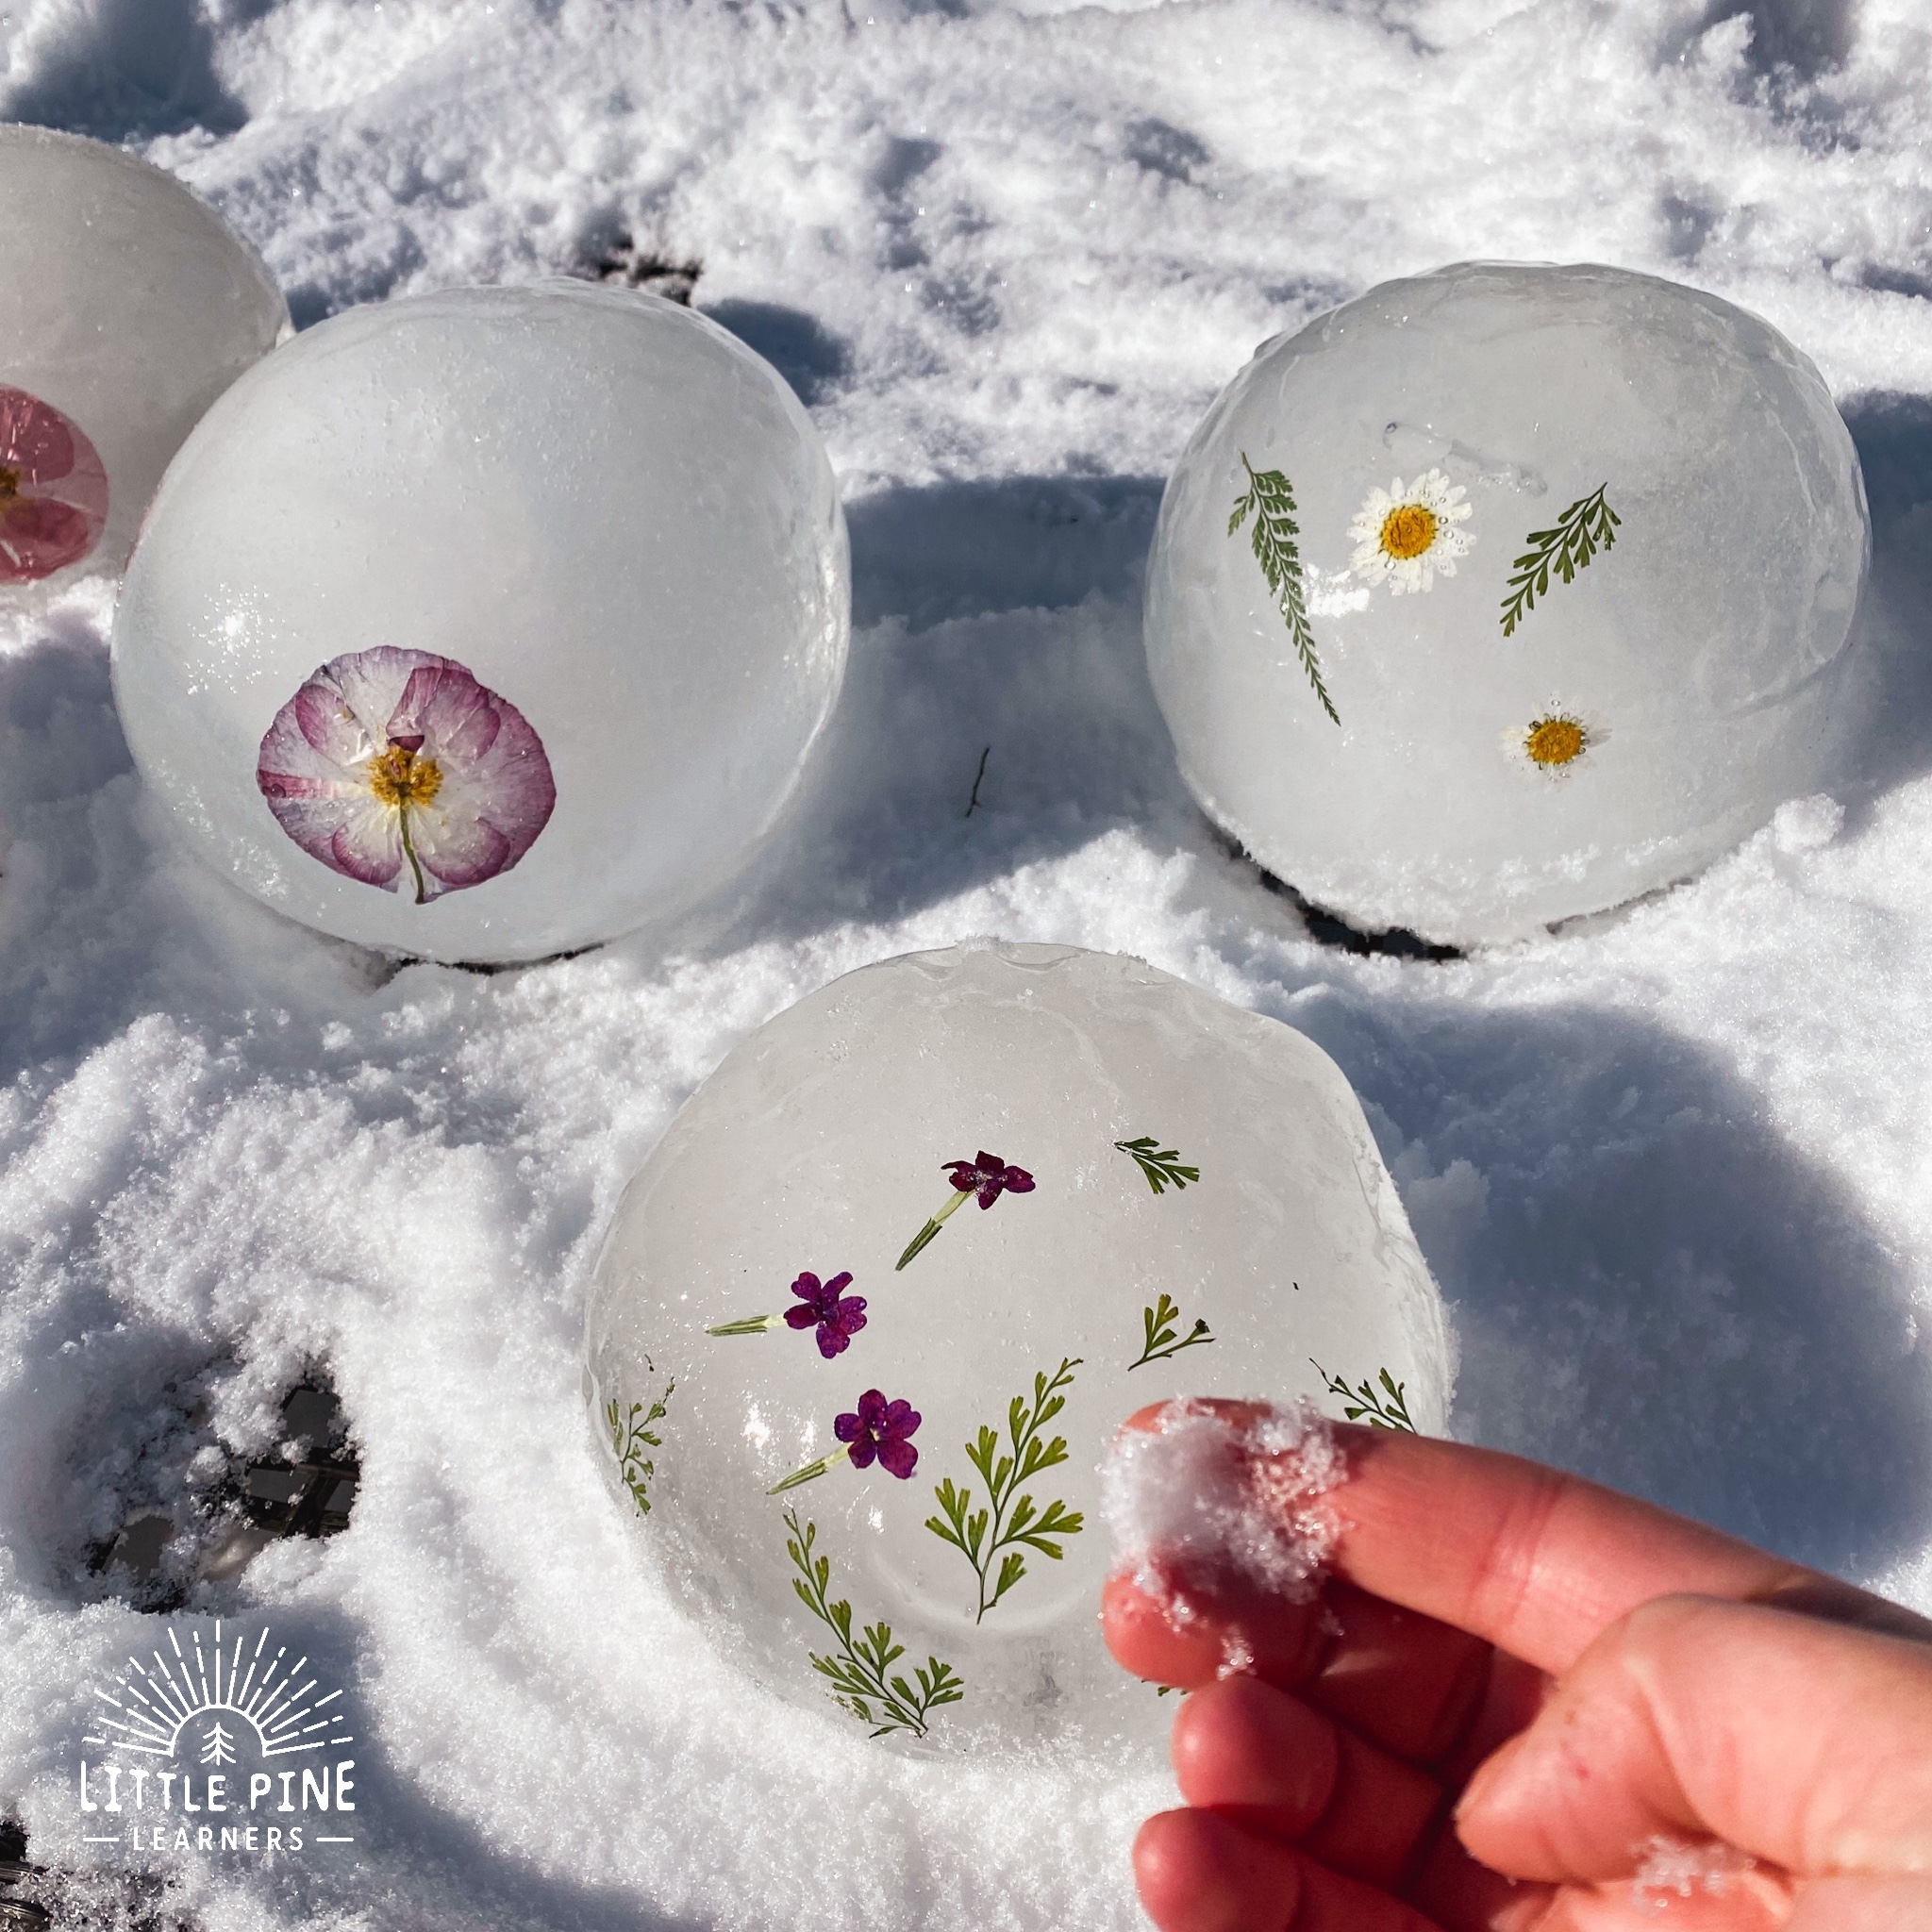
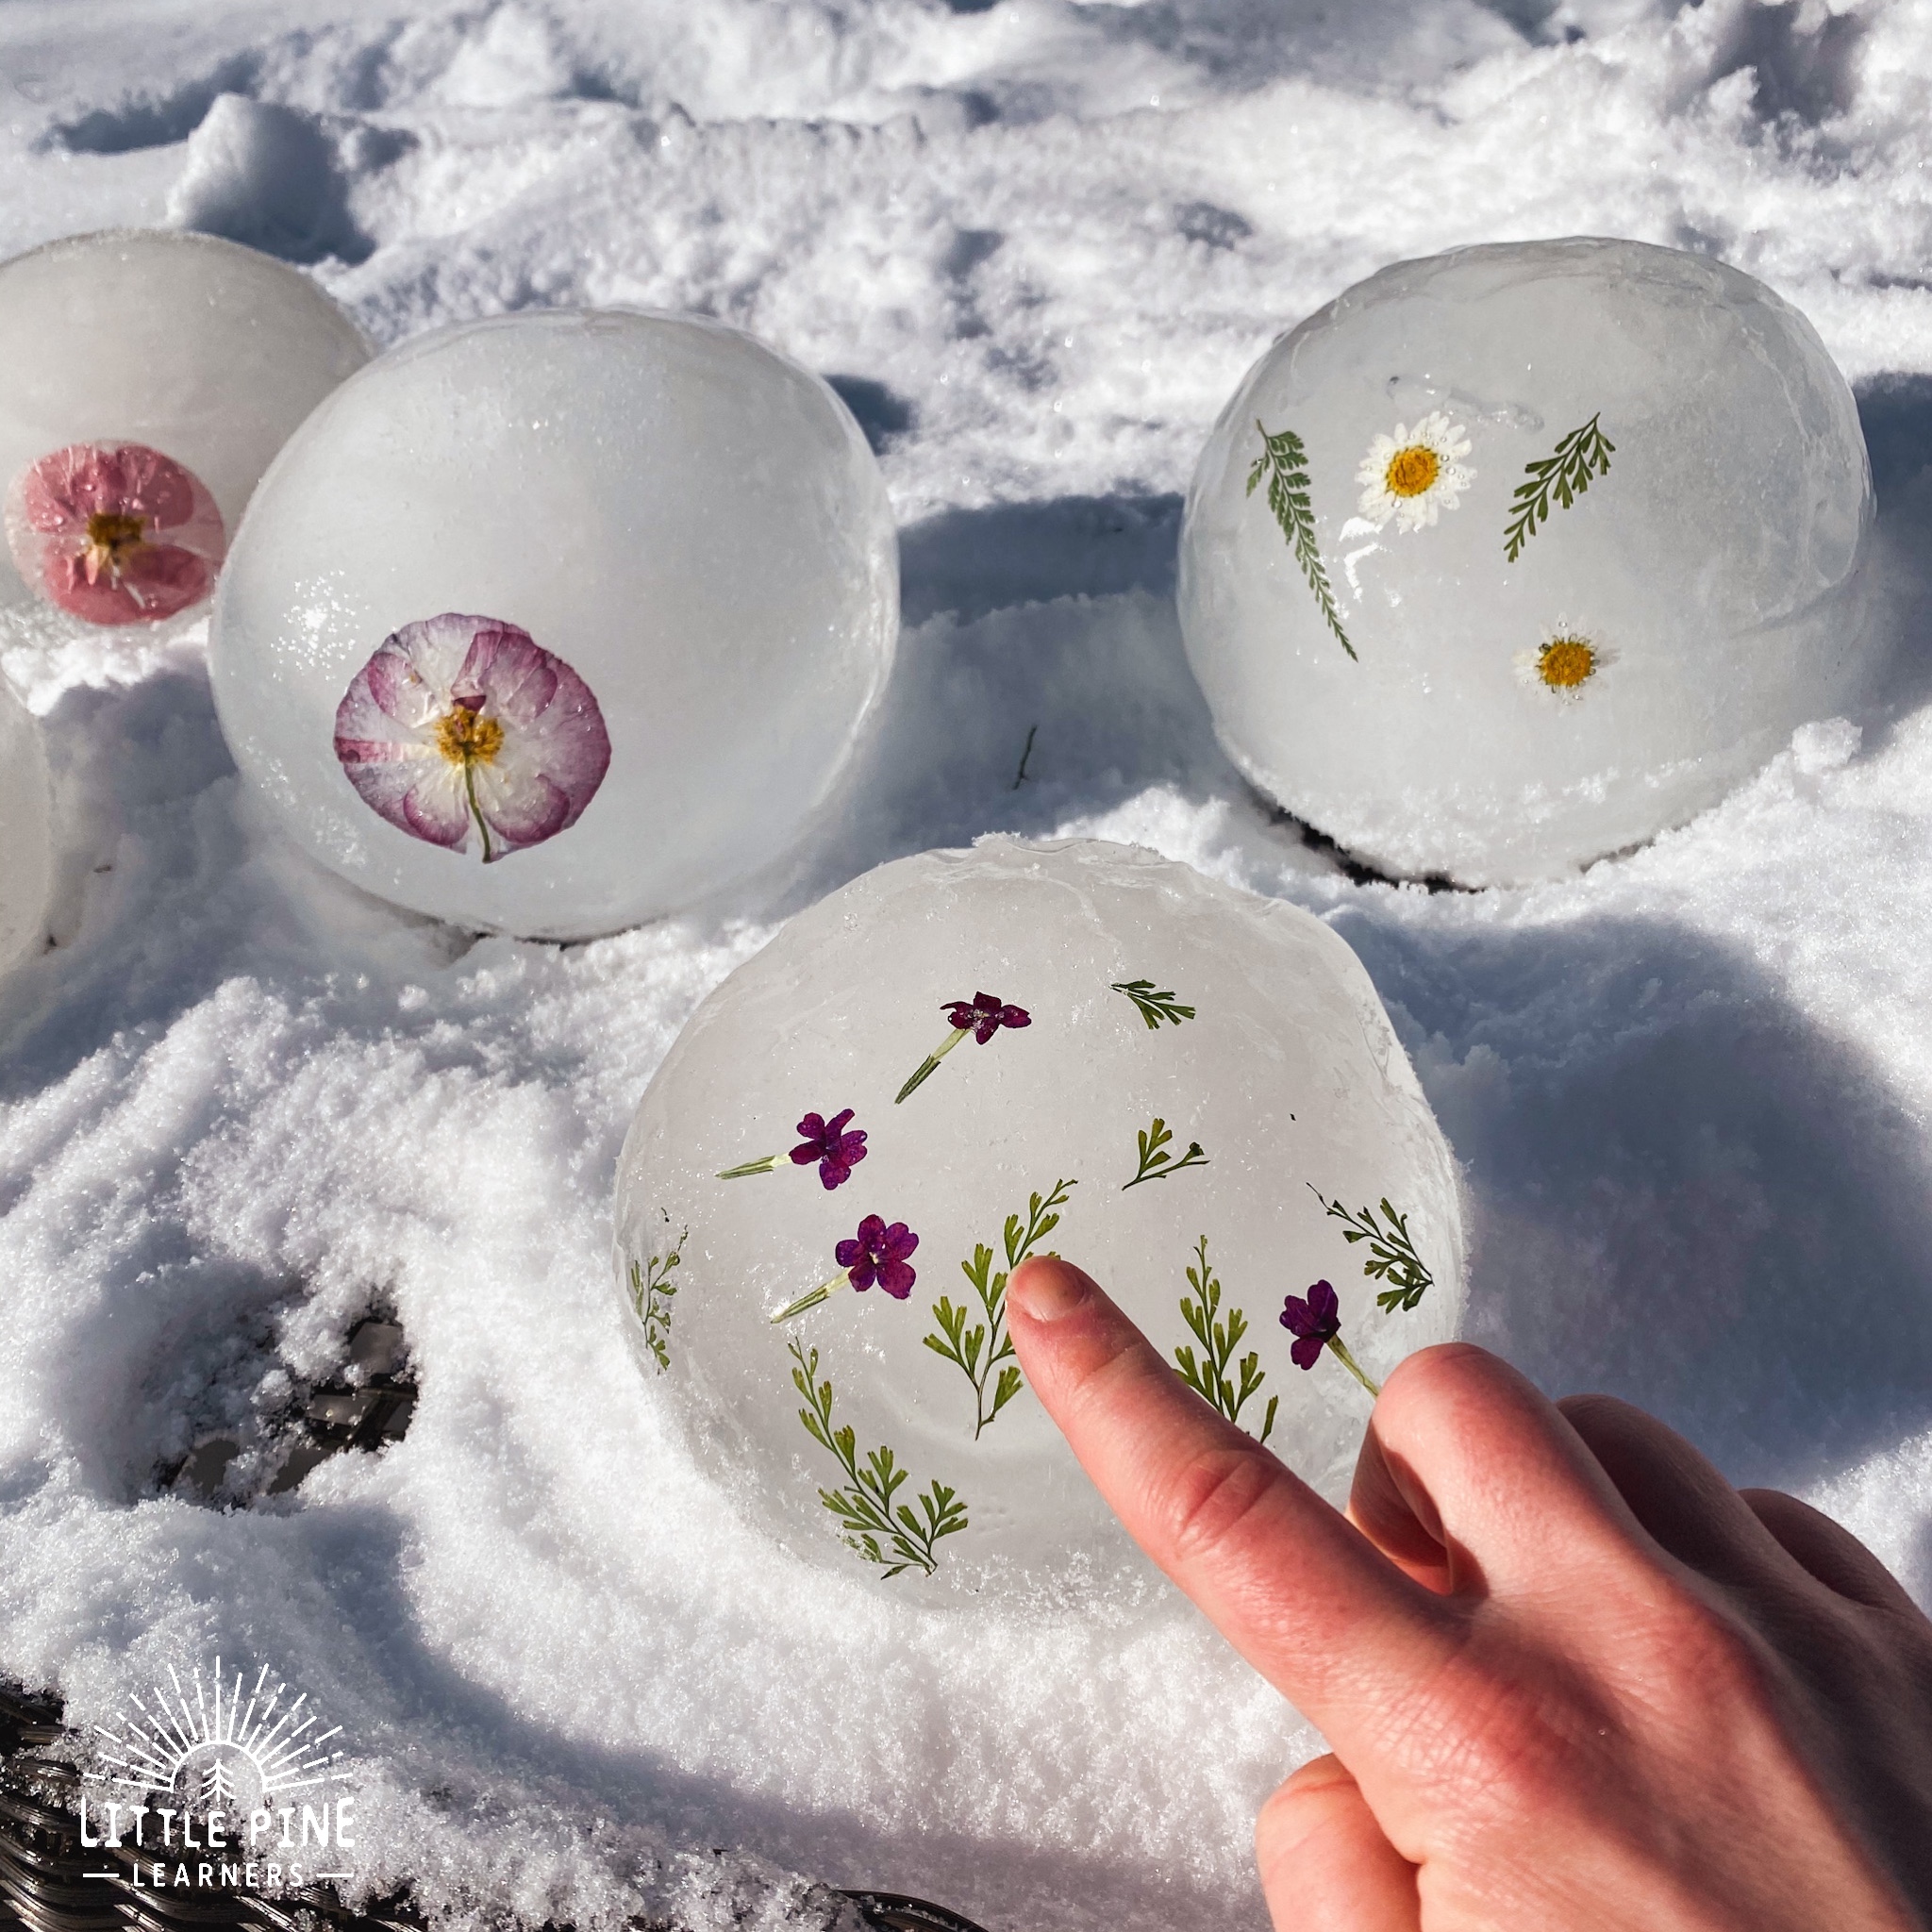
One thing that I love about this activity, is that the ice luminaries look beautiful during the day and at night! They are really pretty to look at when the sun is shinning on them!
Place waterproof battery operated candles under the luminaries at night and they are so incredibly magical and beautiful! We watched them change from evening to night. Our candles are waterproof and came with a remote control! We placed the luminaries very close to our window, so I could turn them off an on from inside!
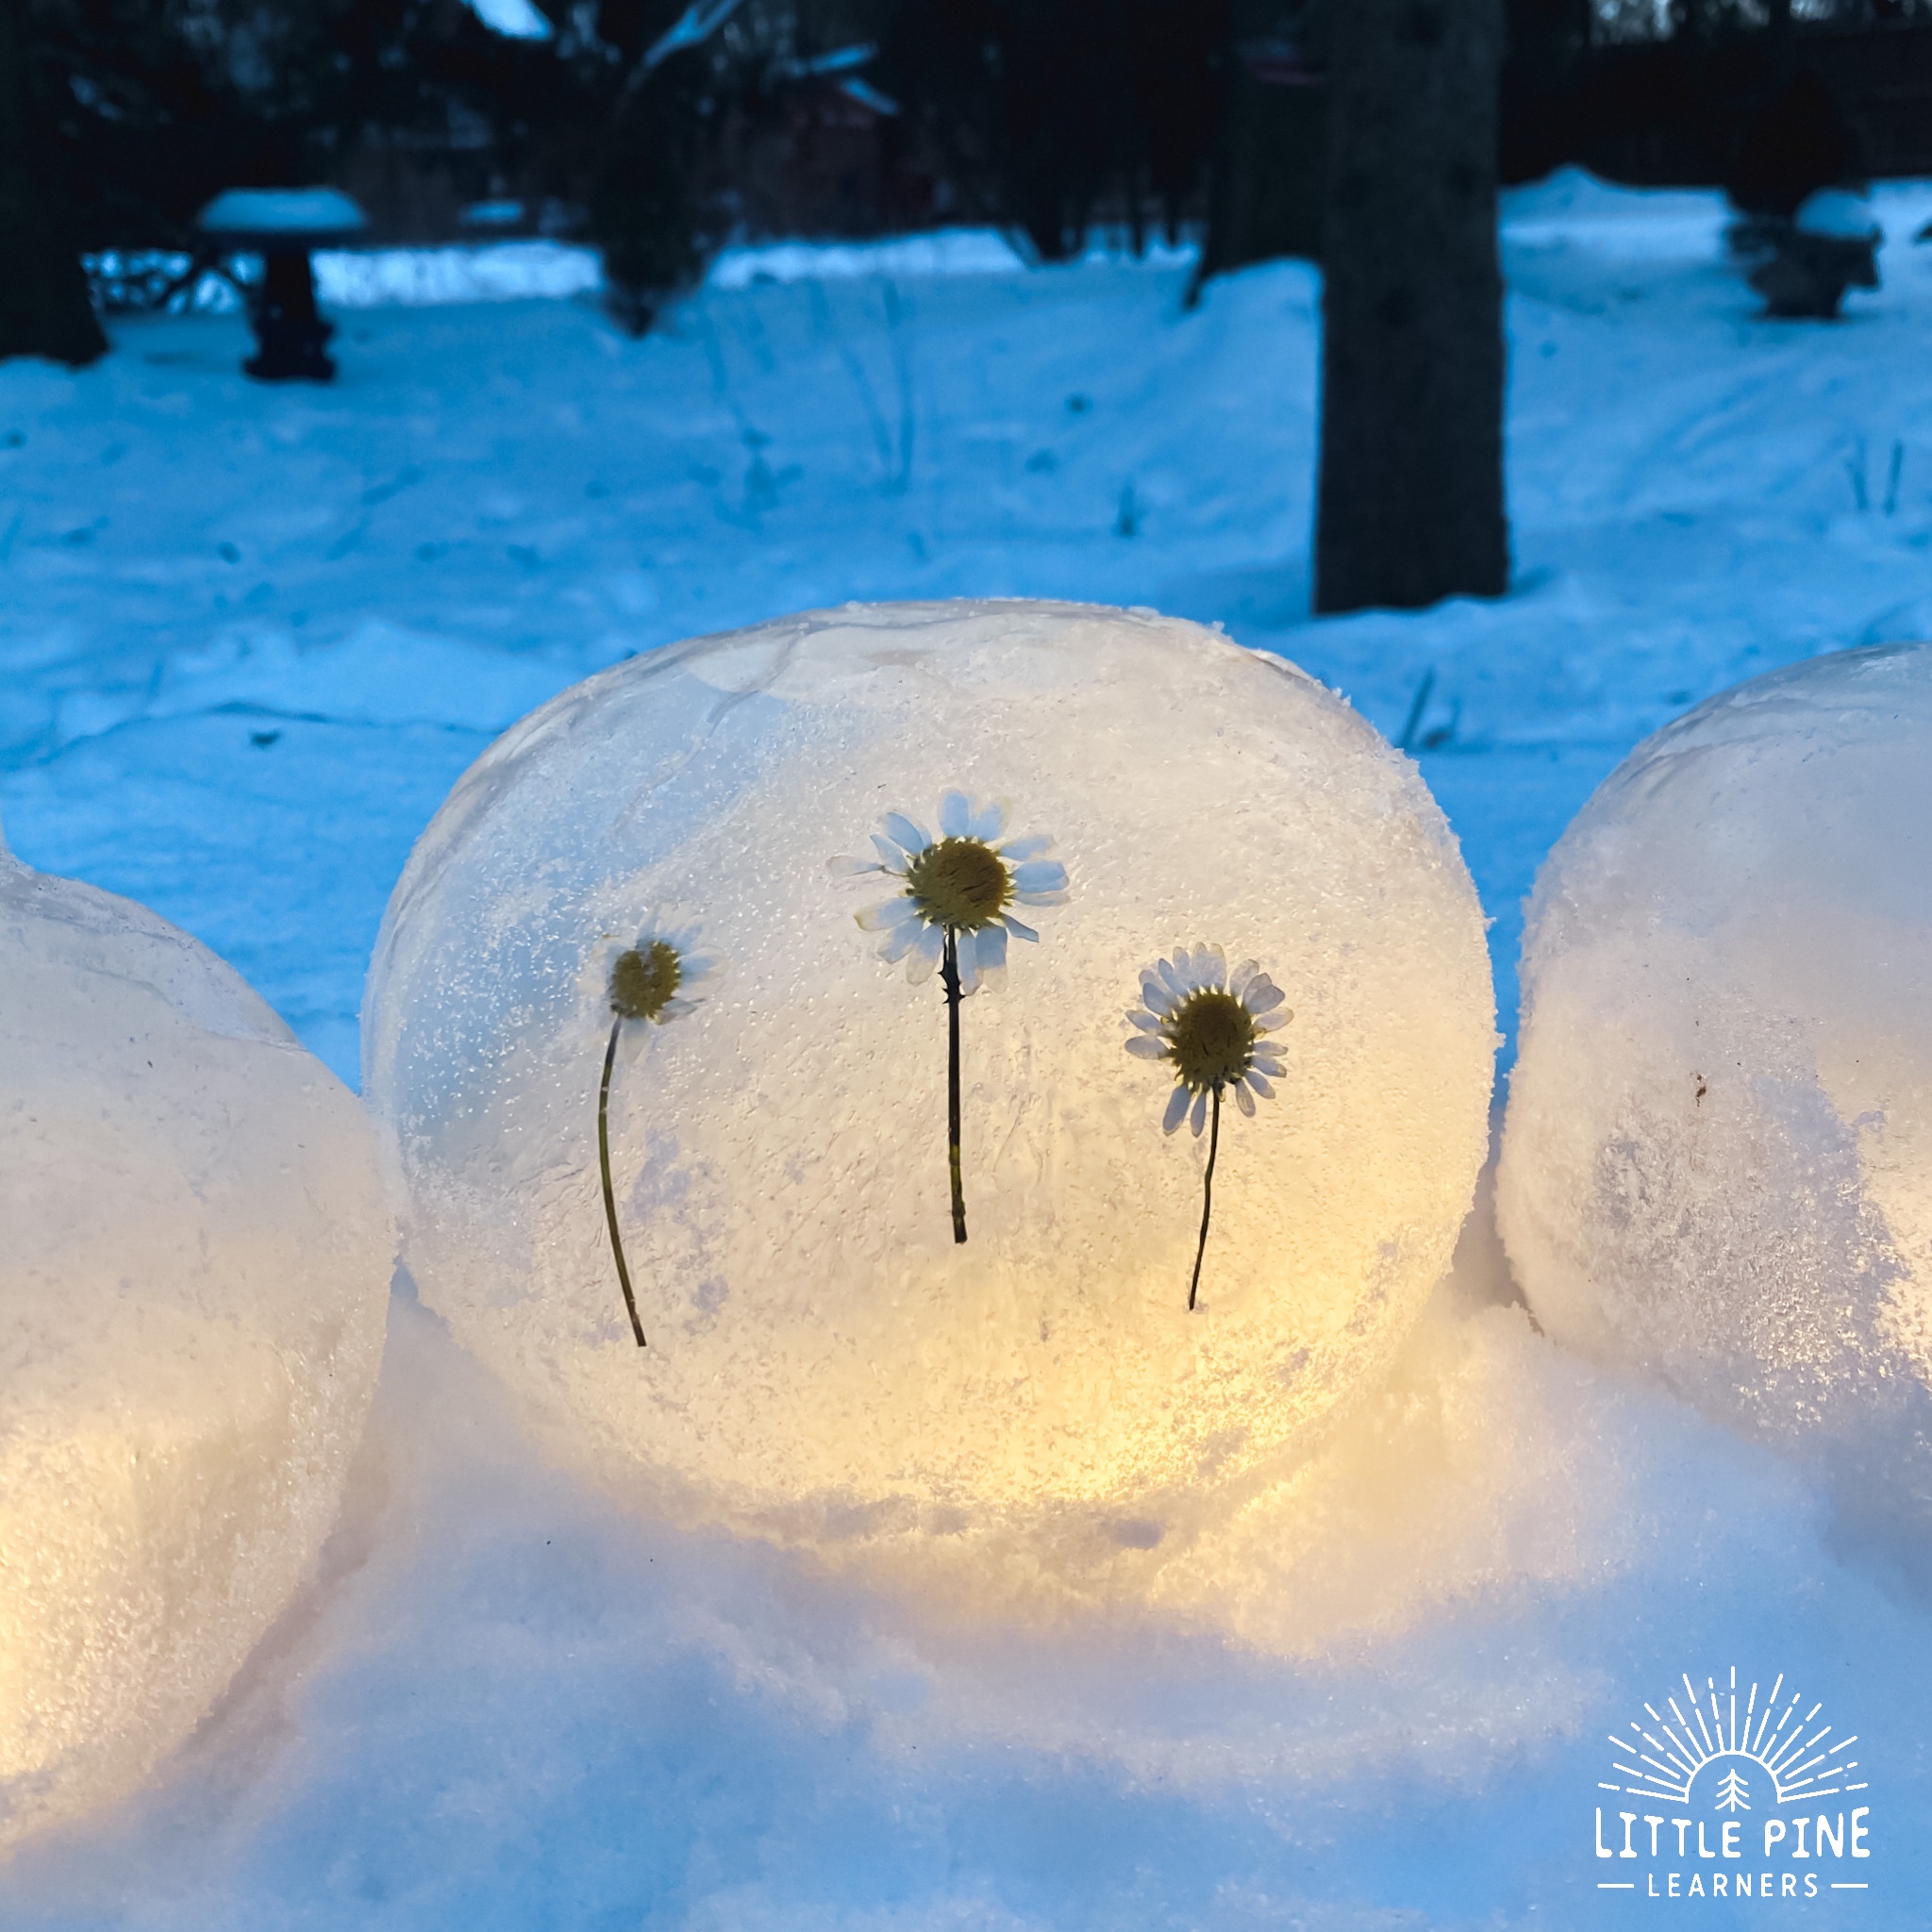
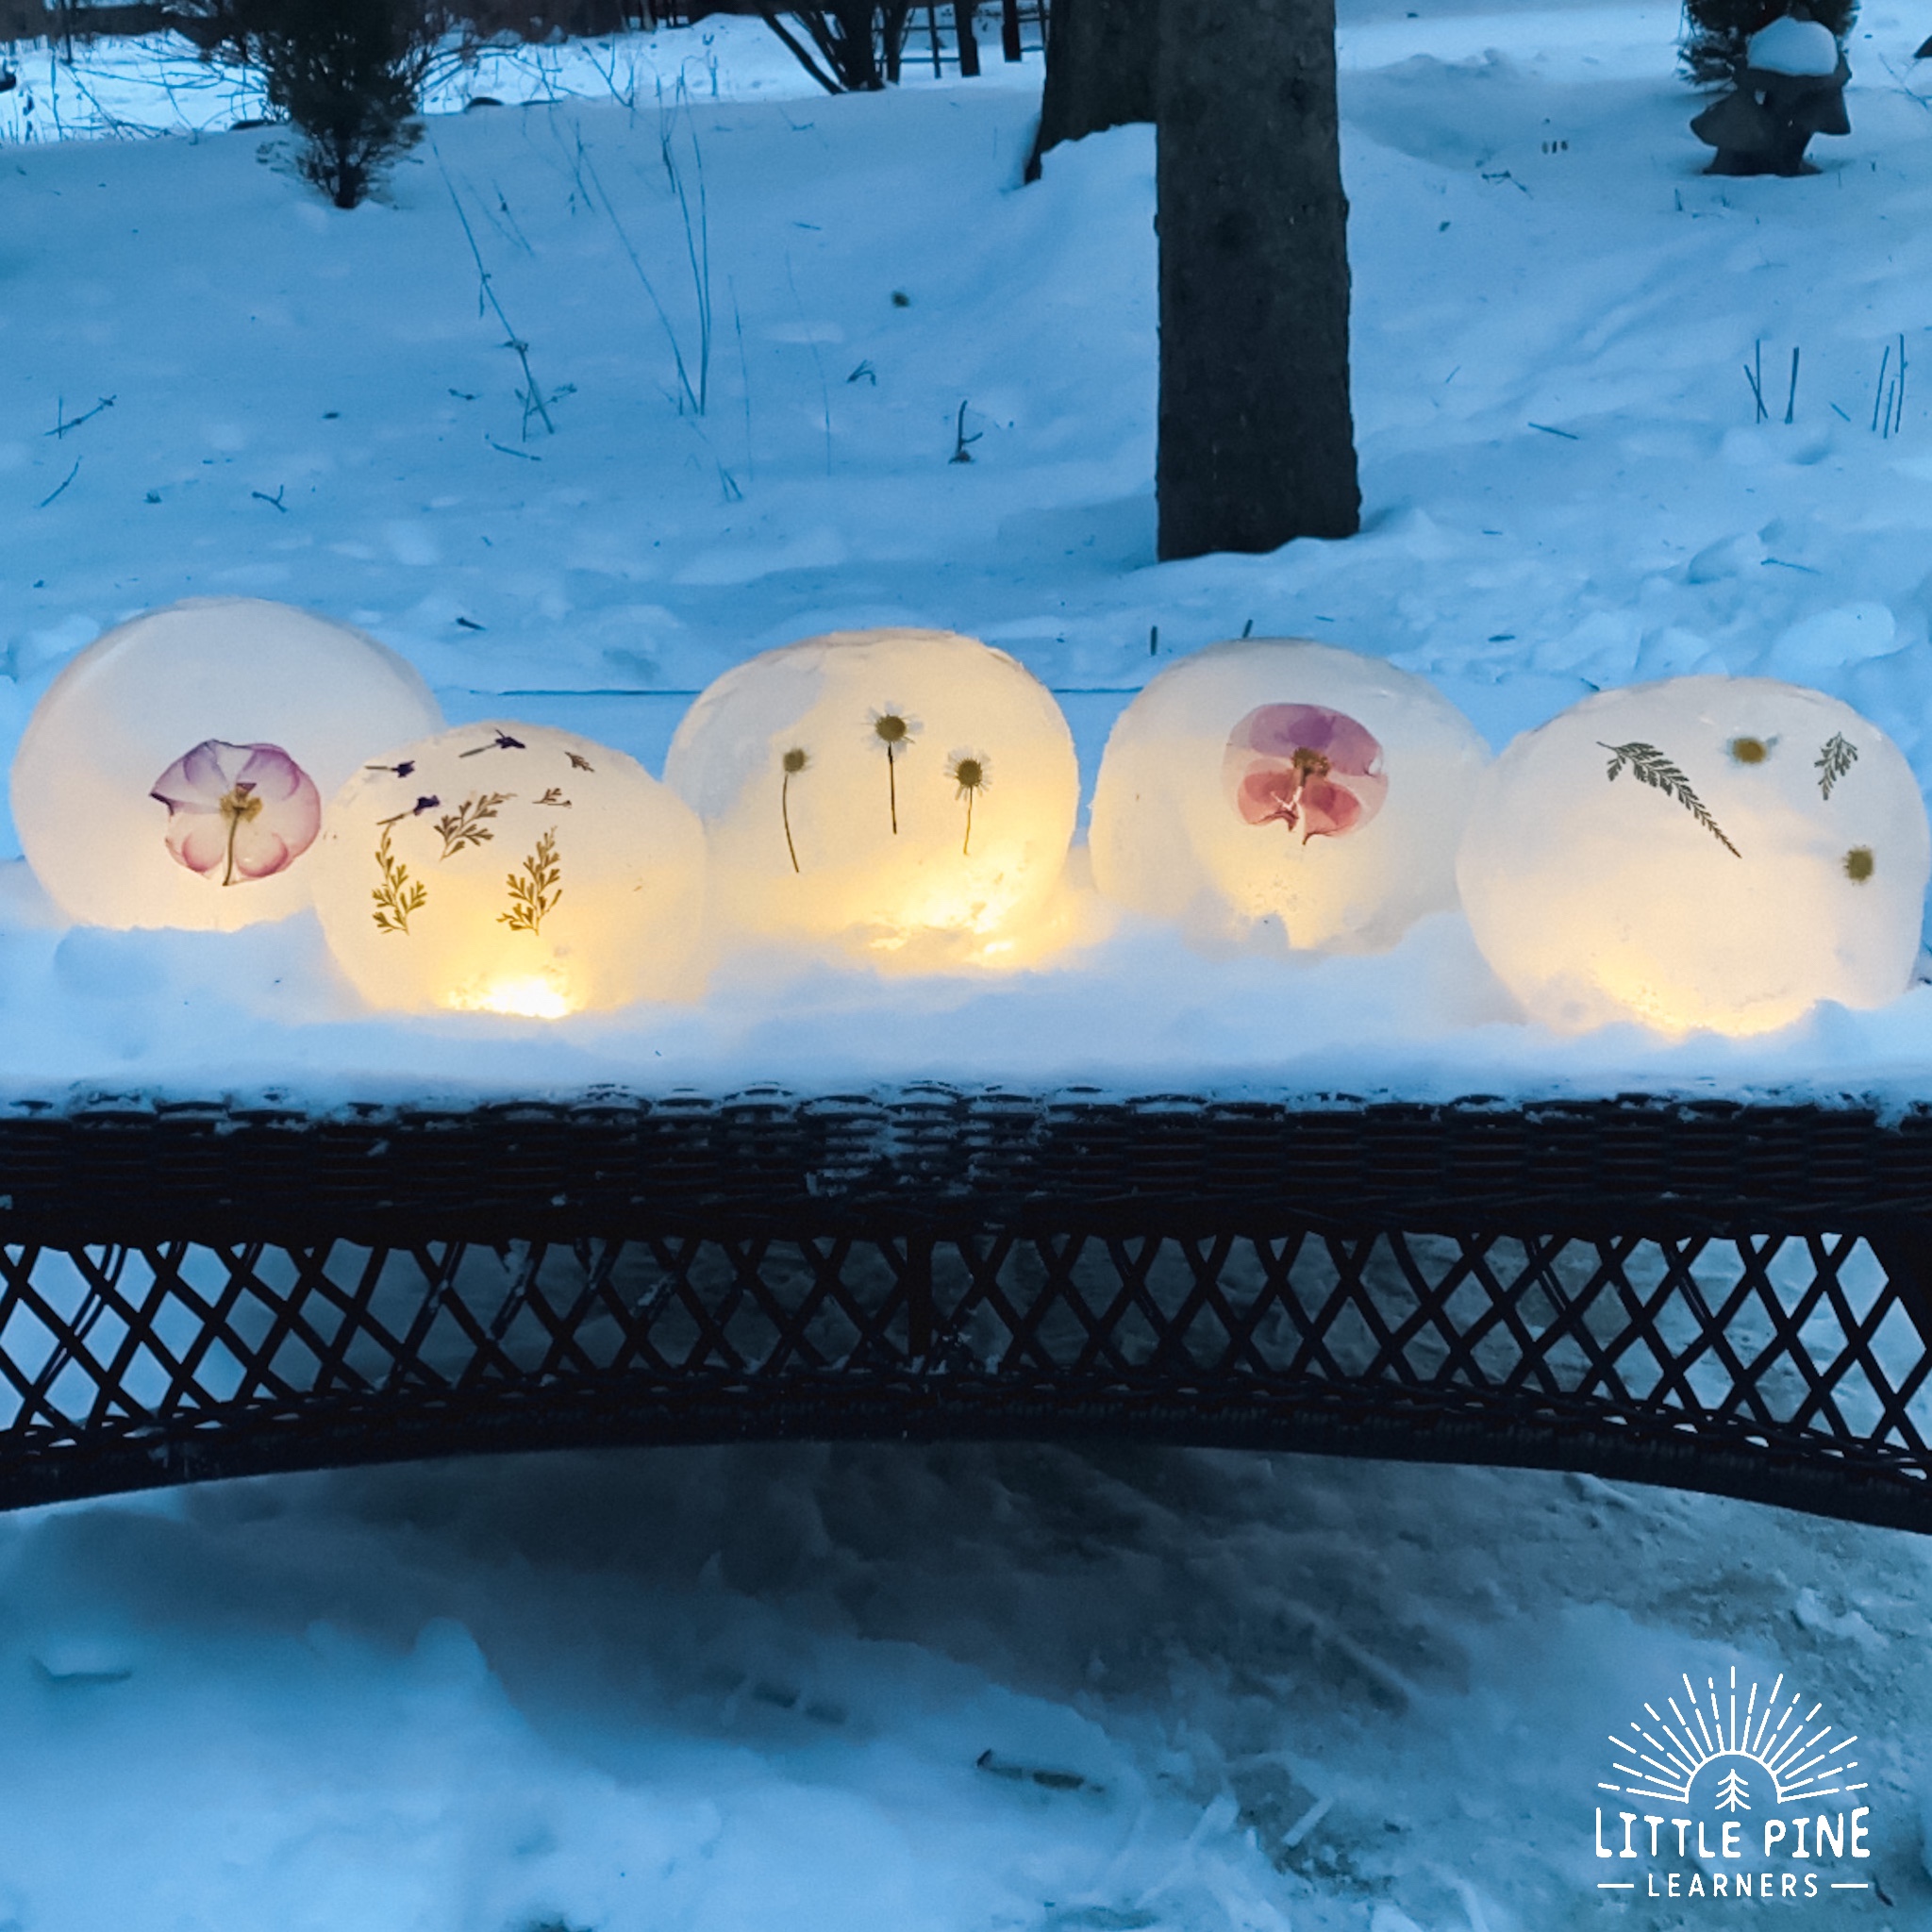
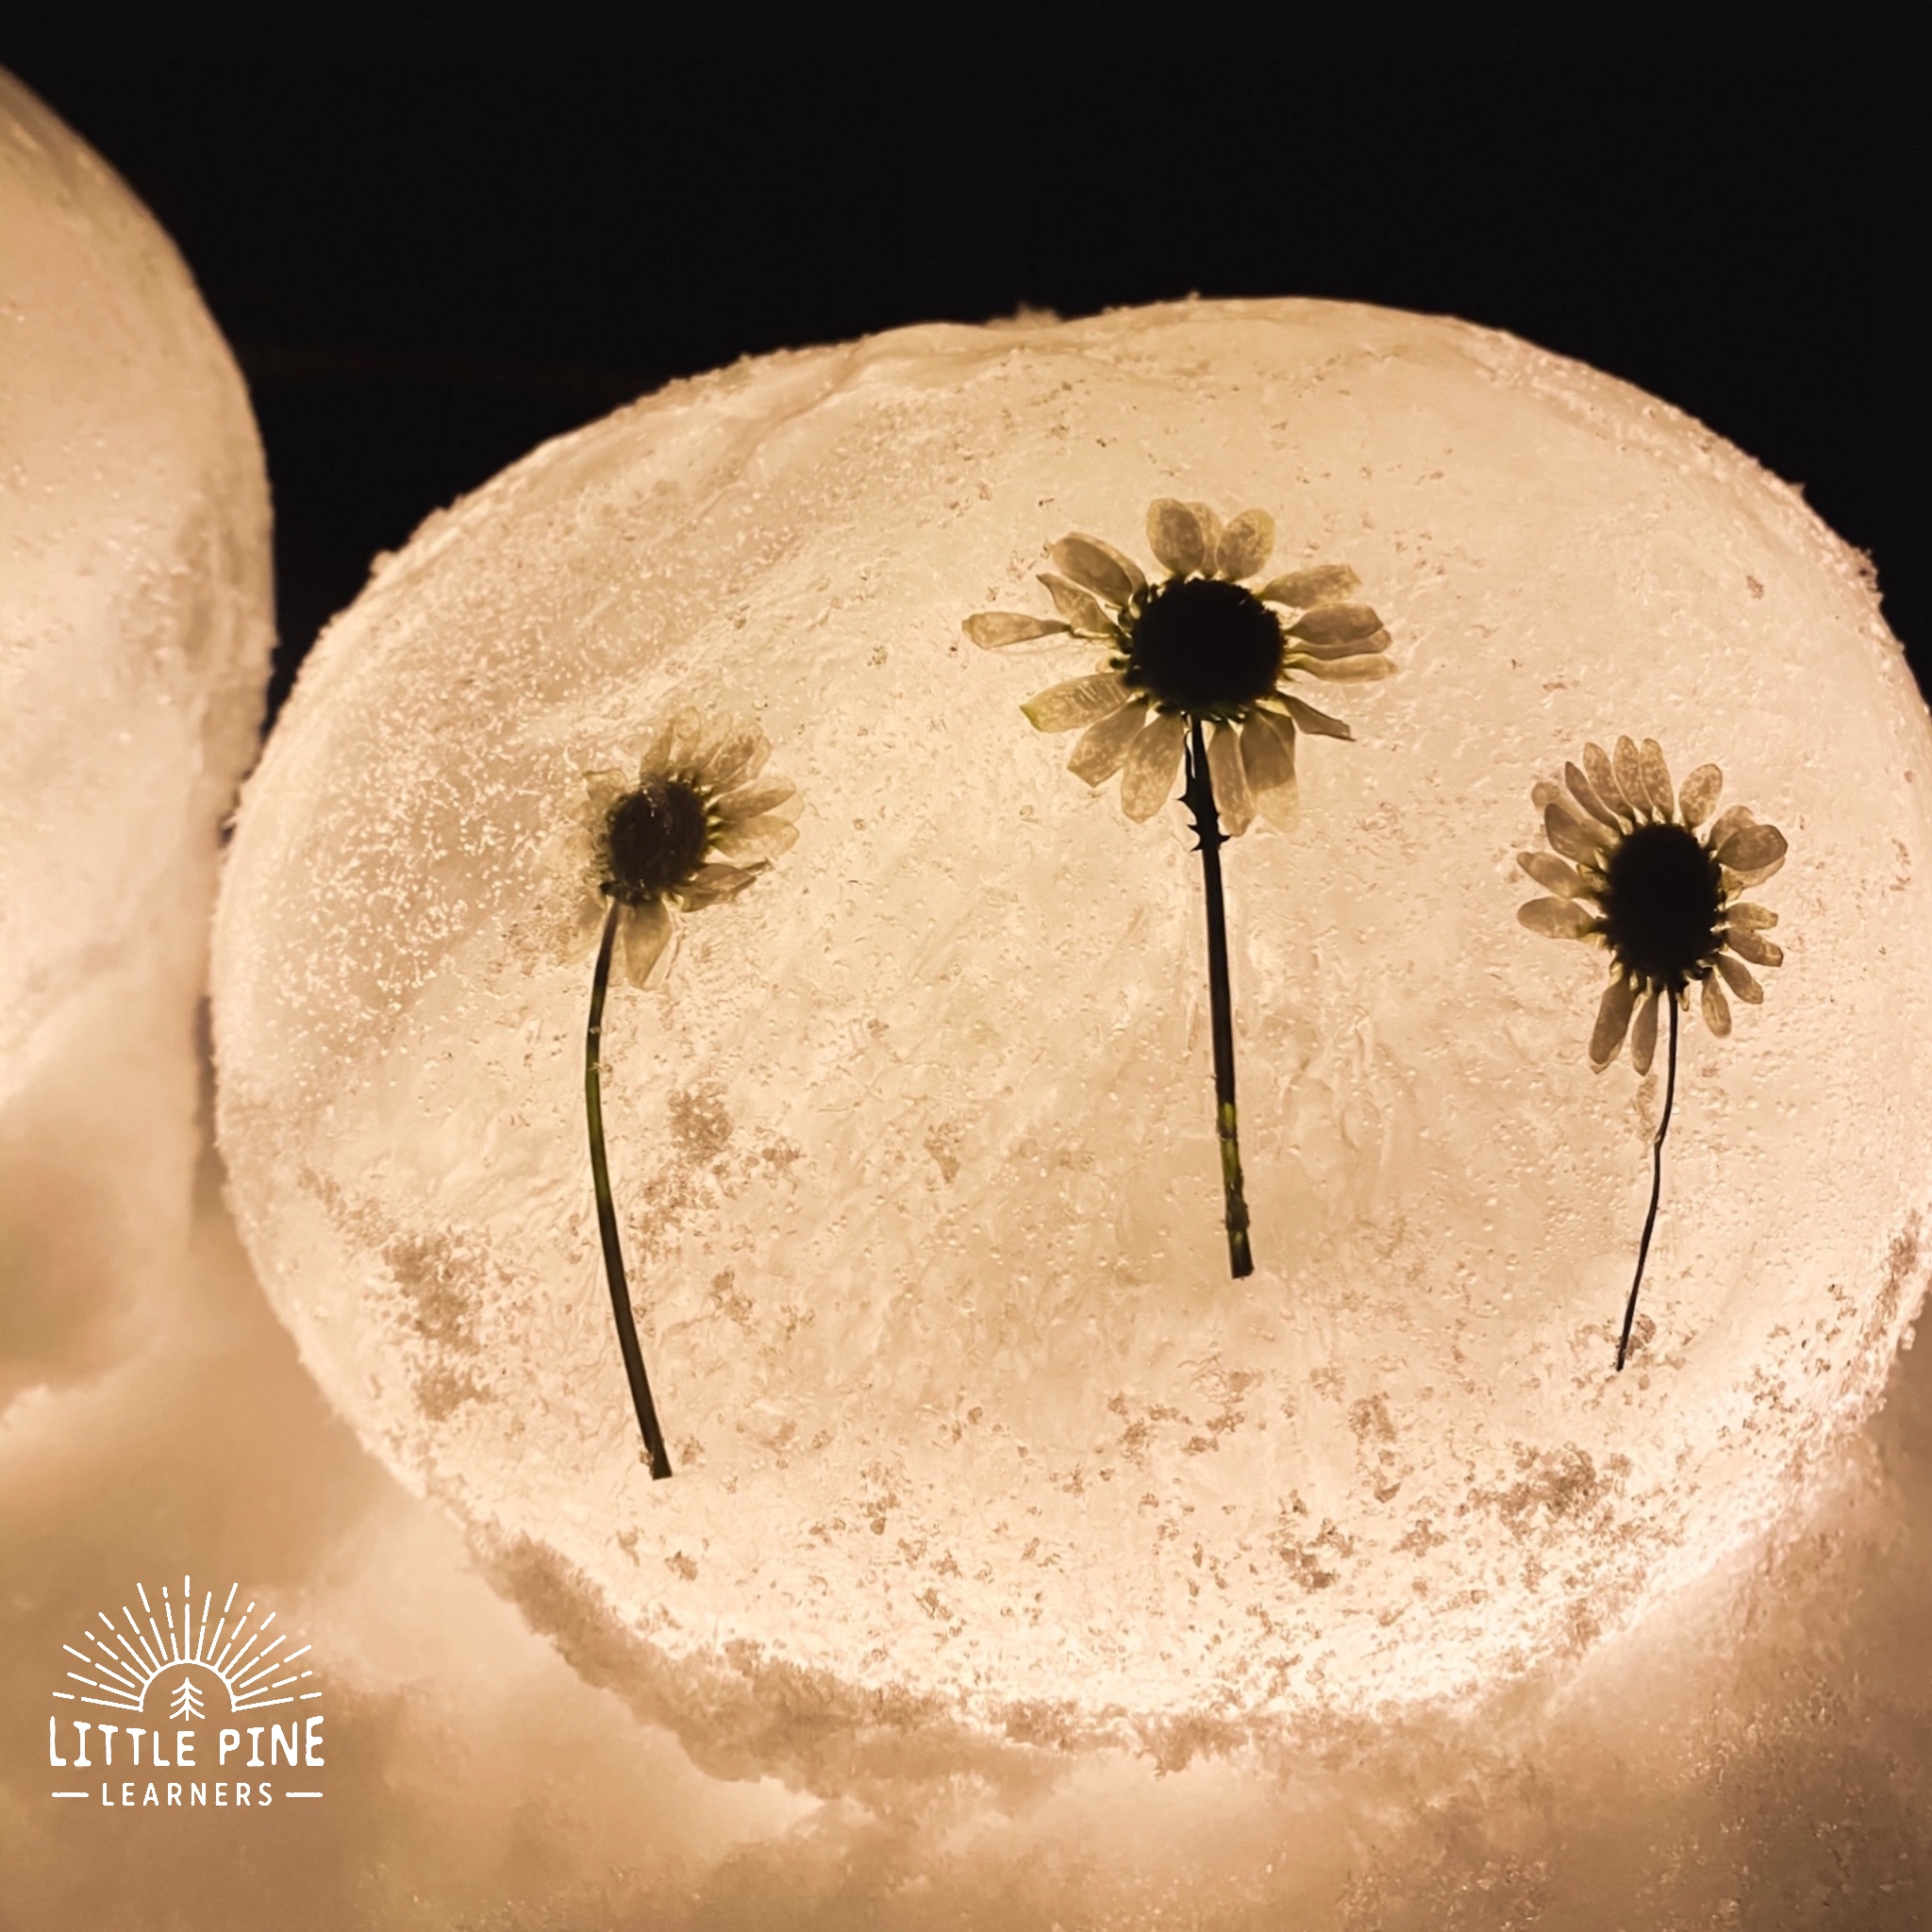
At night, they look like floating orbs! And the reflection against the snow was beautiful.
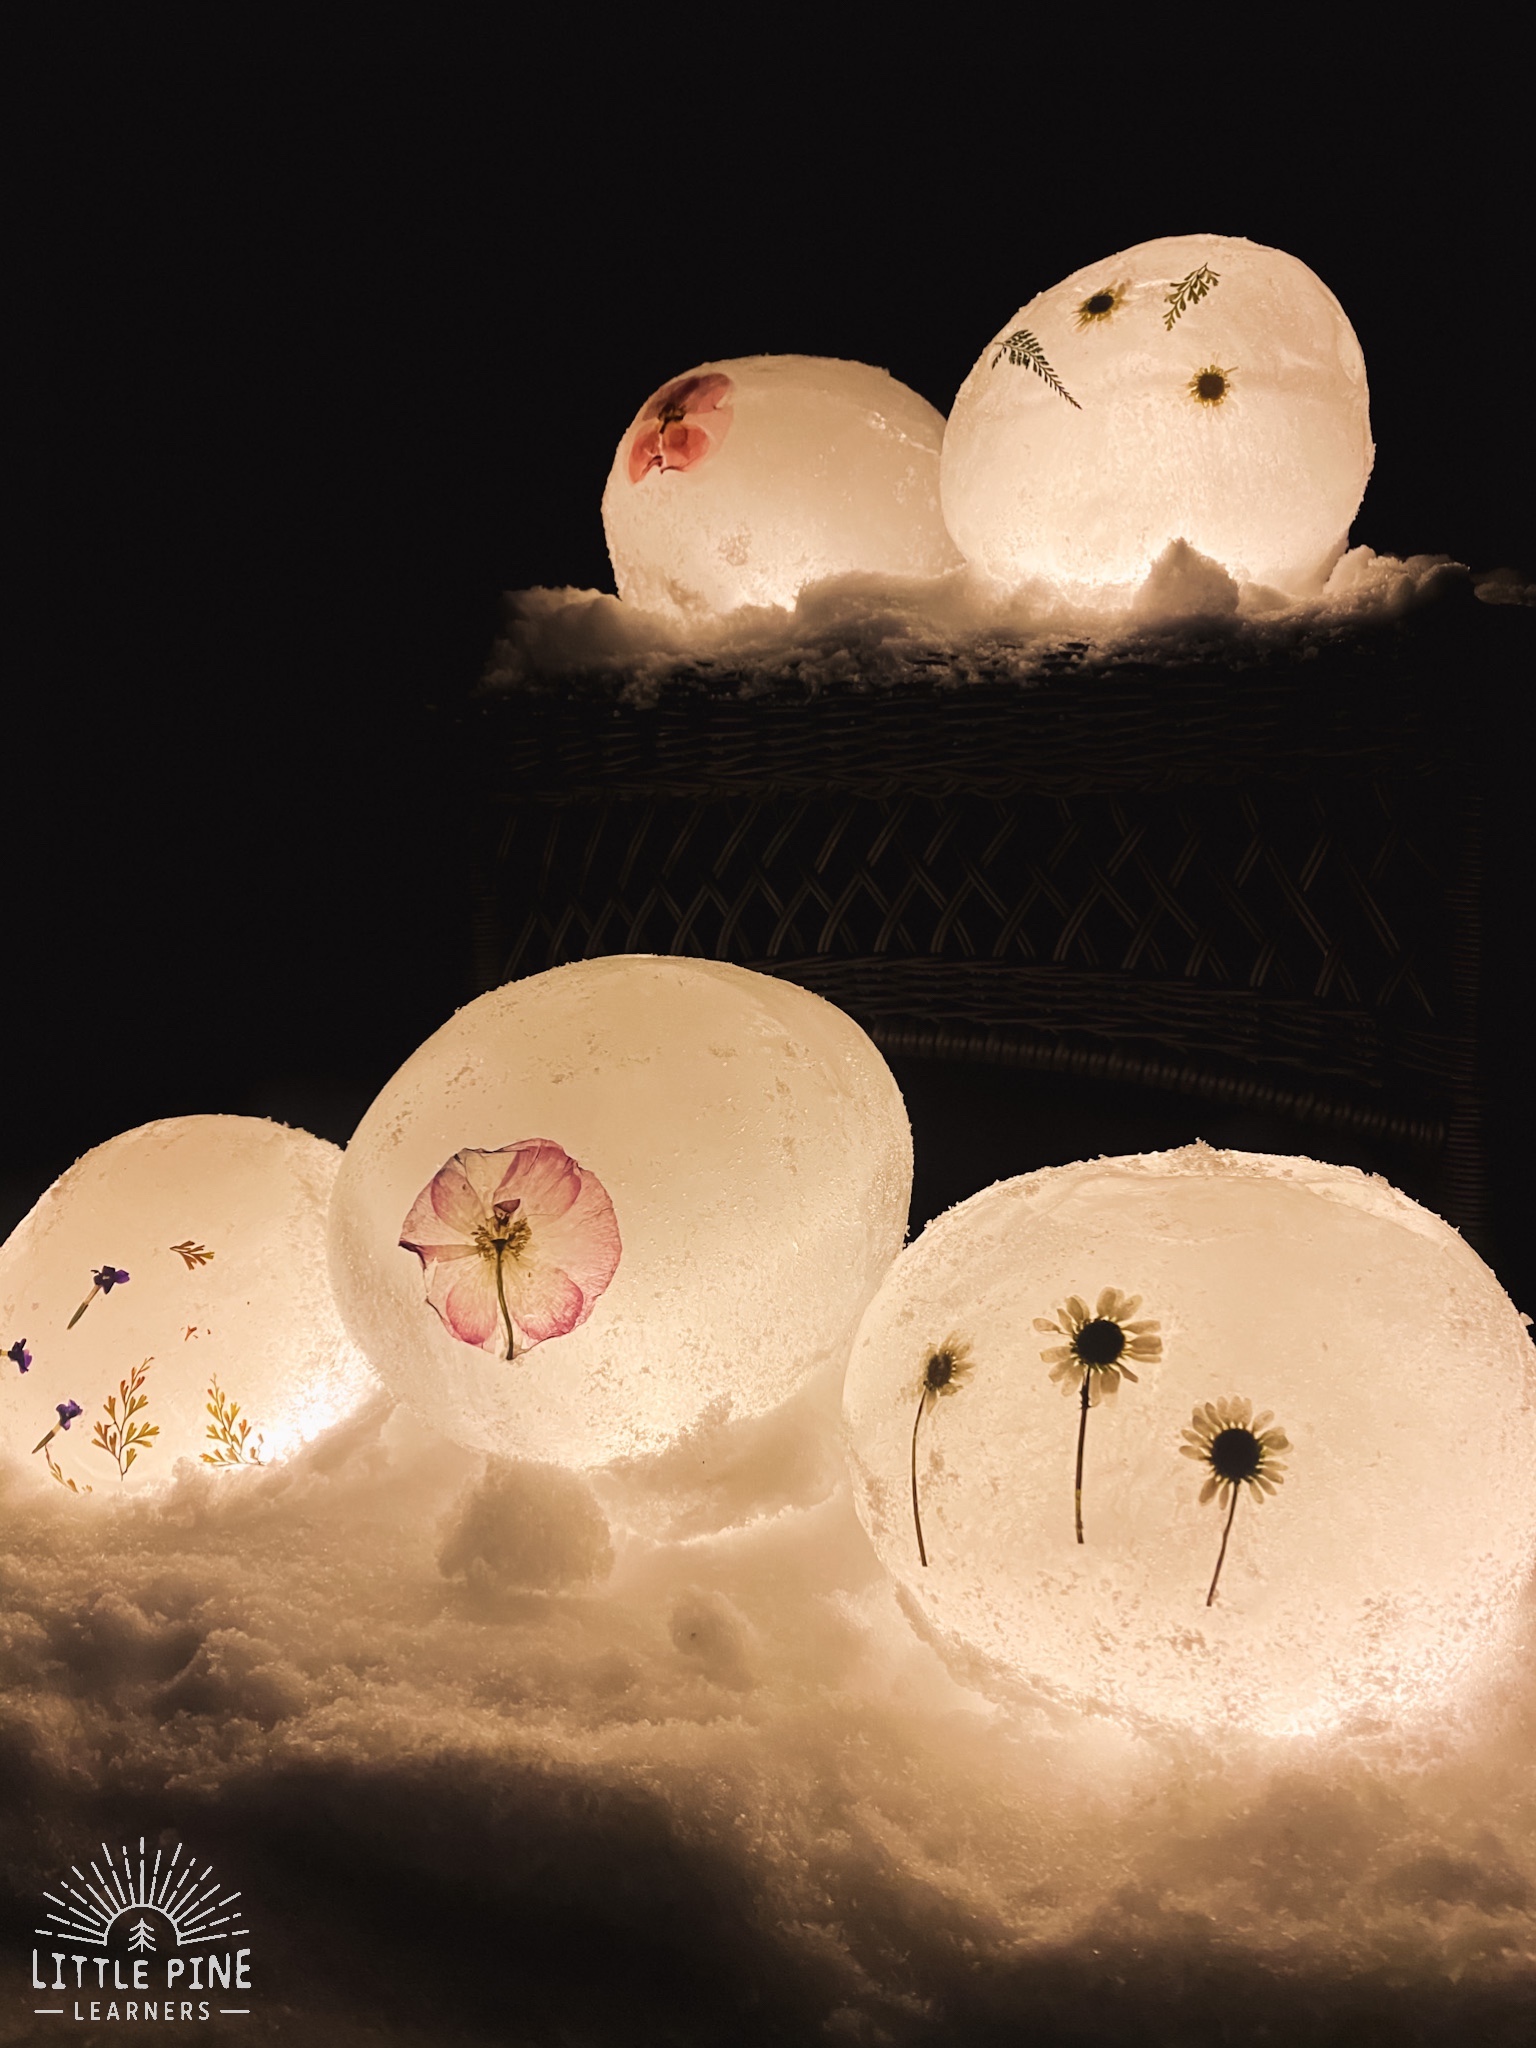
The pressed flowers and leaves look so pretty and it’s a cool way to see the details in the pieces of nature! If you give this a try, please tag me @littlepinelearners on Instagram! I can’t wait to see your creations 😍
Pin it and save it for later!
I hope you try making these ice luminaries! I promise, your little nature lovers will love it as much as my boys.
∼Tara
