This is the most beautiful Halloween costume accessory! This DIY witch hat is a real showstoppers and will add a unique touch to your halloween costume! You just need leaves and few other supplies to make these beautiful hats.
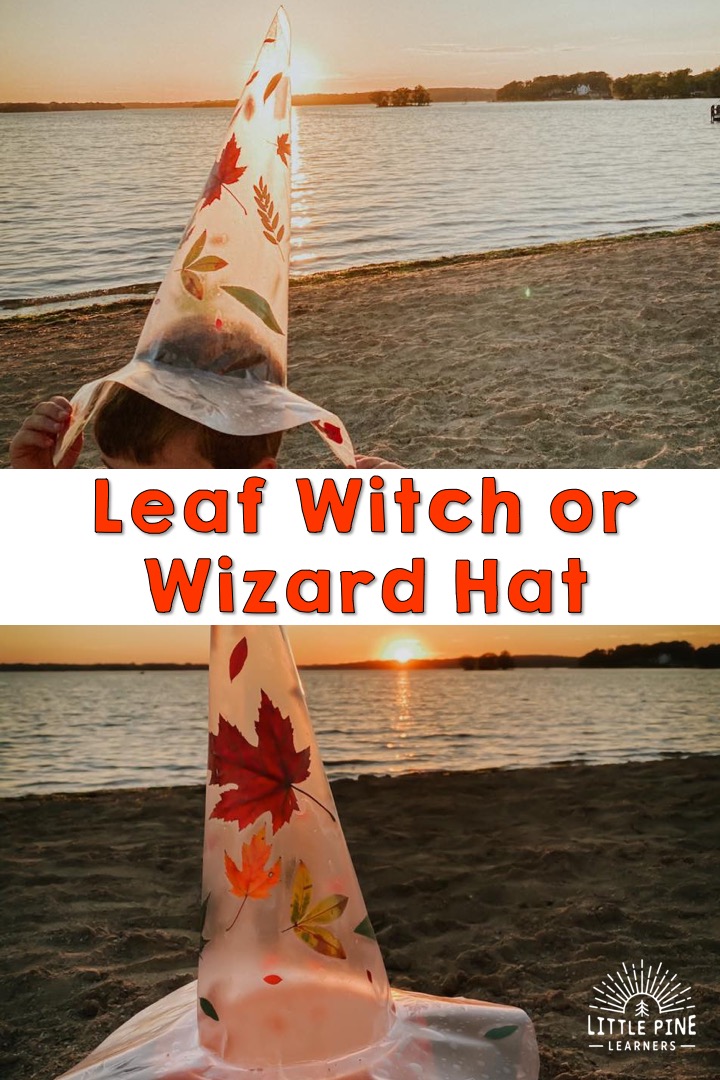
This DIY witch hat (or wizard hat) is inspired by our stunning flower crown that we made this past summer. This hat is just as beautiful and it’s the perfect variation of the crown!
There are a lot of steps listed below, but don’t get overwhelmed. I also want to mention that there is some room for error in these steps. I certainly didn’t execute them perfectly, but the hat turned out awesome! Just take it one step at a time and soon you will have a beautiful hat for your Halloween celebration or outdoor fall adventures.

Ready to make a leaf hat?! Here’s what you’ll need..
Supplies:
- Clear contact paper
- Scissors
- Compass
- Pencil
- Scissors
- String
- Tape and or stapler
- Leaves from your yard! I pressed our leaves for a few hours to flatten them out a bit. If you are don’t have any pieces of nature to press, you can order pressed flowers and leaves right here
This post contains Affiliate links for your convenience.
How to Make the DIY Witch Hat or Wizard Hat:
Step 1:
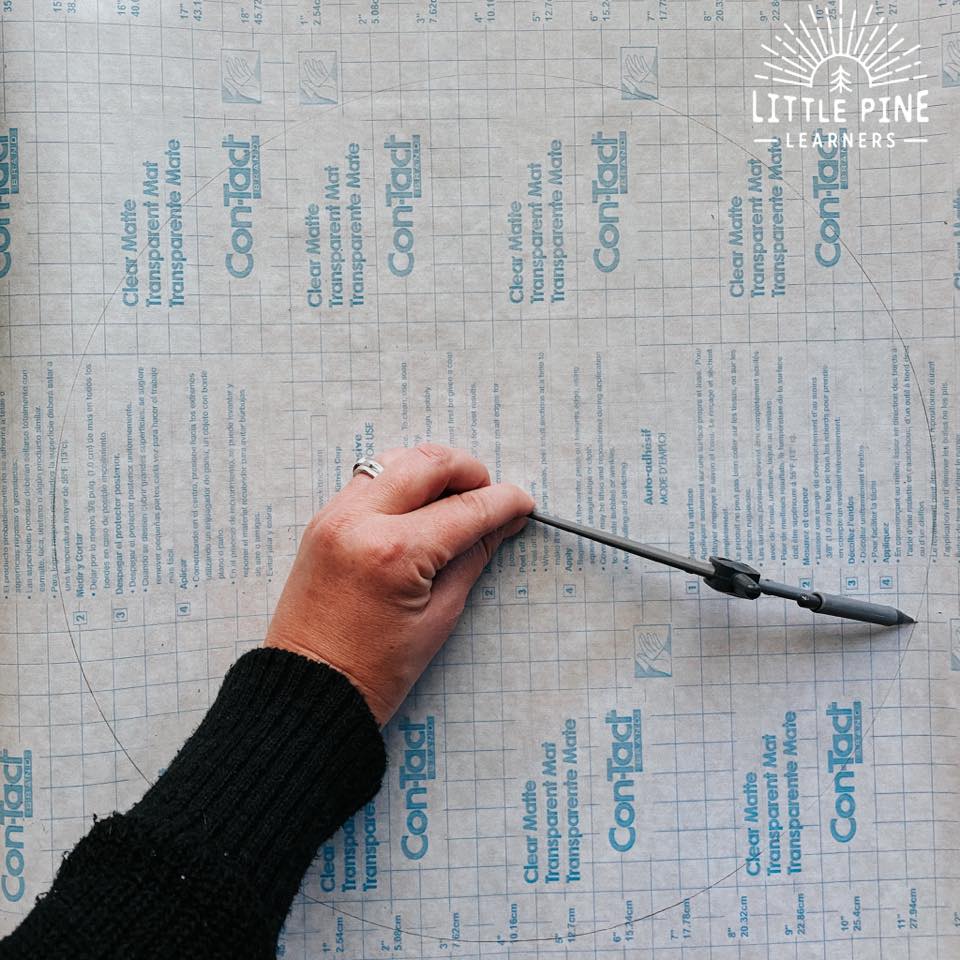
Start by making your cone. Connect a string to a pencil and hold the string at the bottom corner of the contact paper. Pull the string tight and draw a curve from one side of the contact paper to the other side. This cone shape will be the height of your hat, so plan accordingly. If you make it too tall, you can always trim it later.
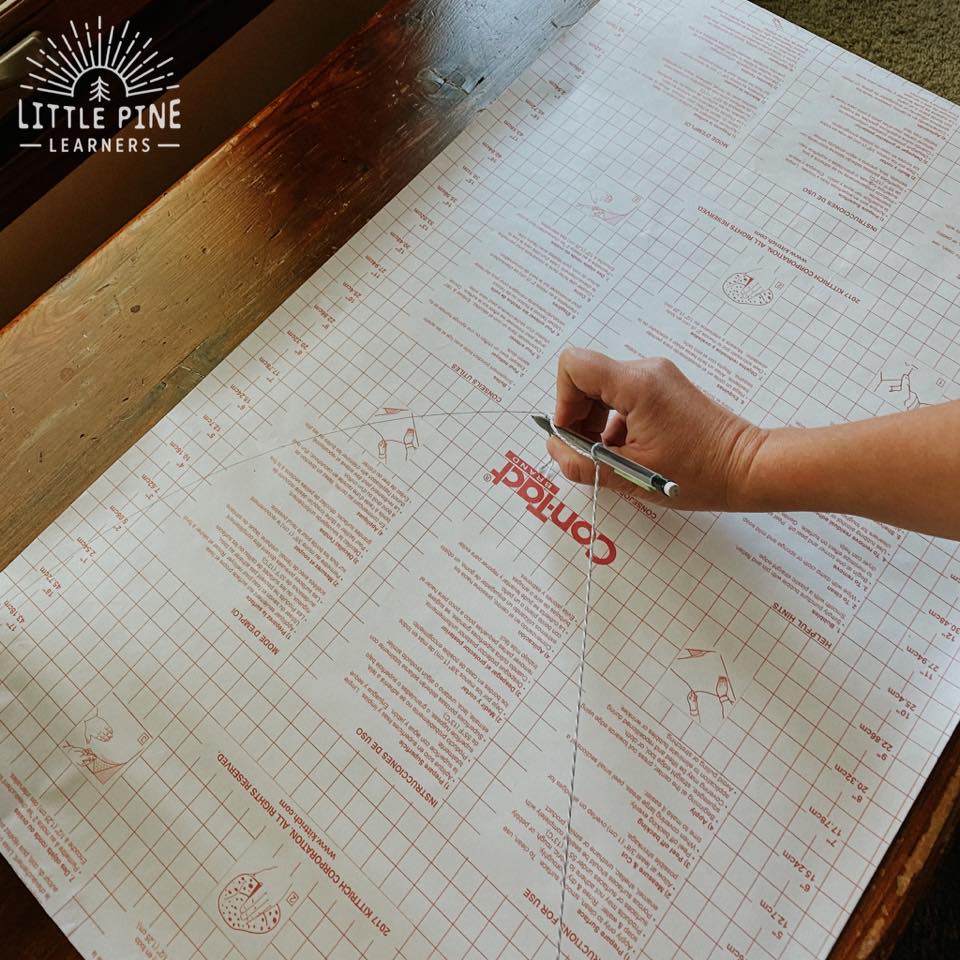
Here is another shot of this step. Also, cut out your cone piece when finished making your curve.

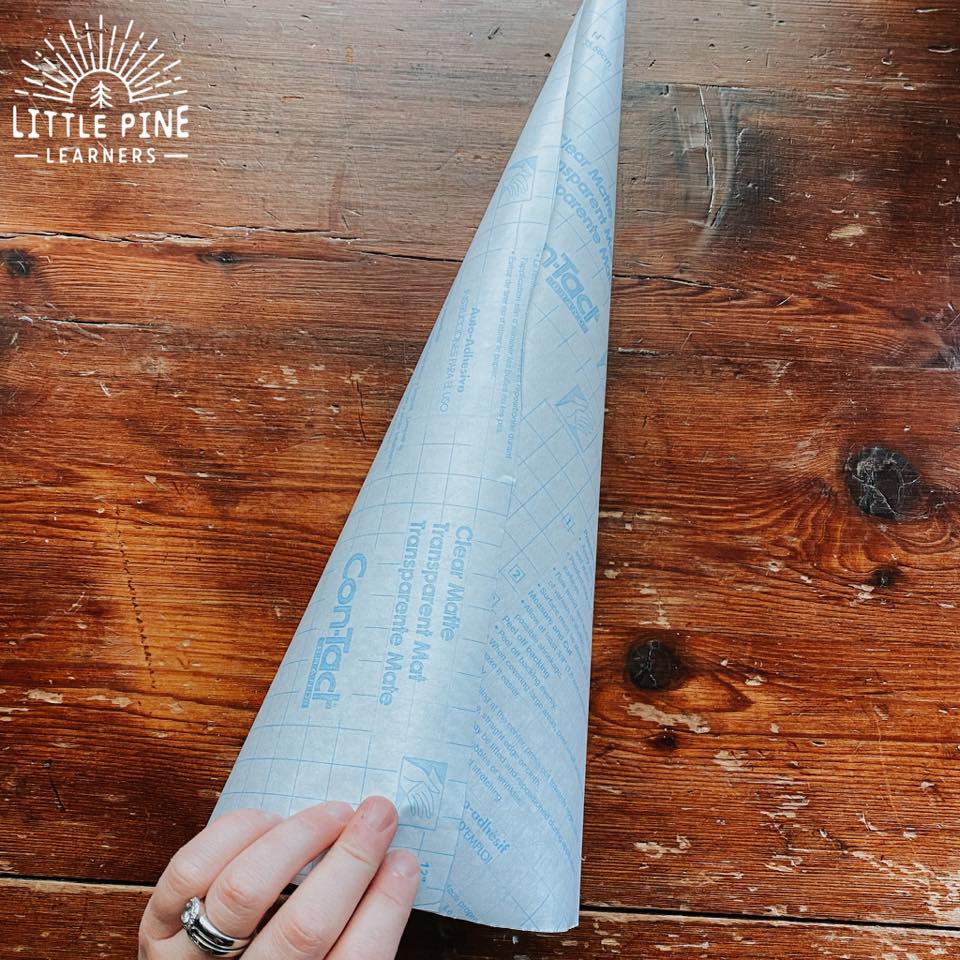
Step 2:
Next you will size up the cone on your child’s head. Wrap the cone around his or her head and secure with a paperclip so the cone keeps it’s size.
*No, your eyes aren’t playing tricks on you! The rest of the steps will have the blue contact paper print:)
Step 3:
Cut off the excess contact paper, so it doesn’t overlap. This step was a bit clumsy. I found it easiest to paperclip the contact paper (as stated above) and flatten it out a bit to draw the line for you to cut.
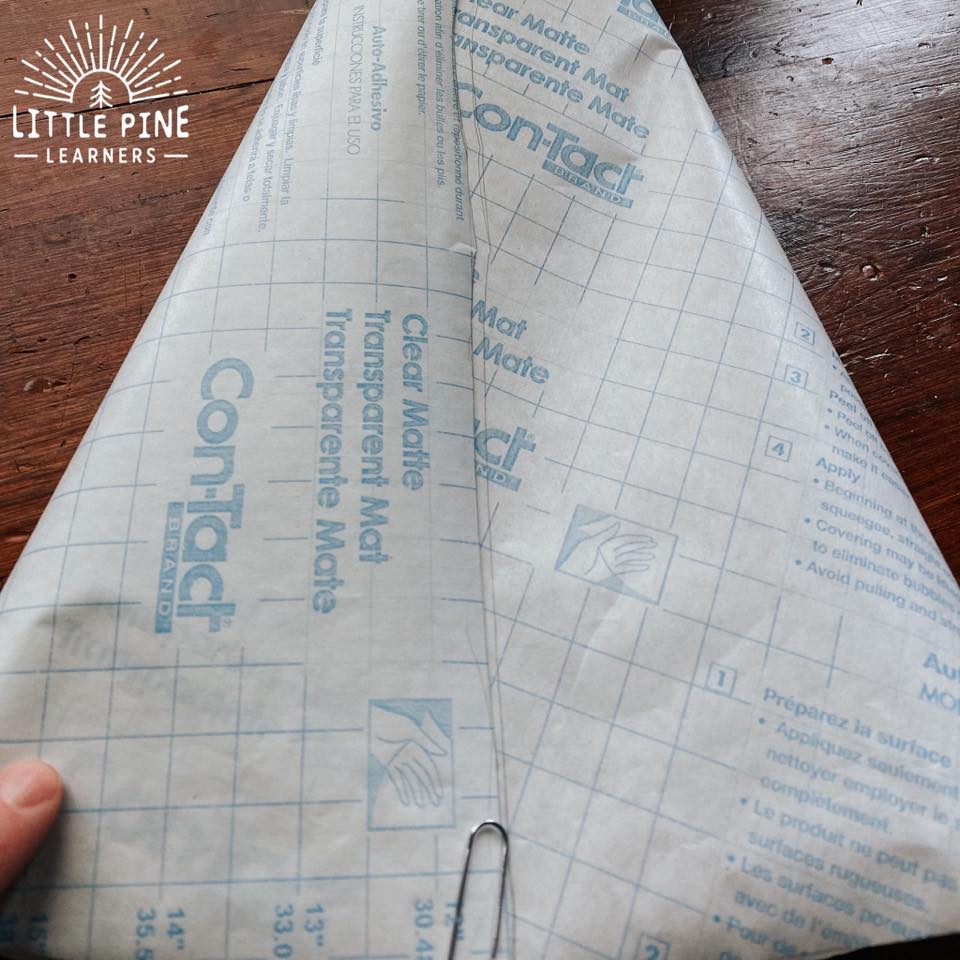
Step 4:
Now you will make the other side of the cone. This side will seal in the leaves.
To make this side, flip over the first side of the cone you made and trace it on the contact paper roll. Notice the cut cone is print side down and the other piece is print side up. This will ensure your unique sides will match together when you seal the leaves.
The lines don’t have to be perfect when tracing. You can just trim any excess contact paper later.
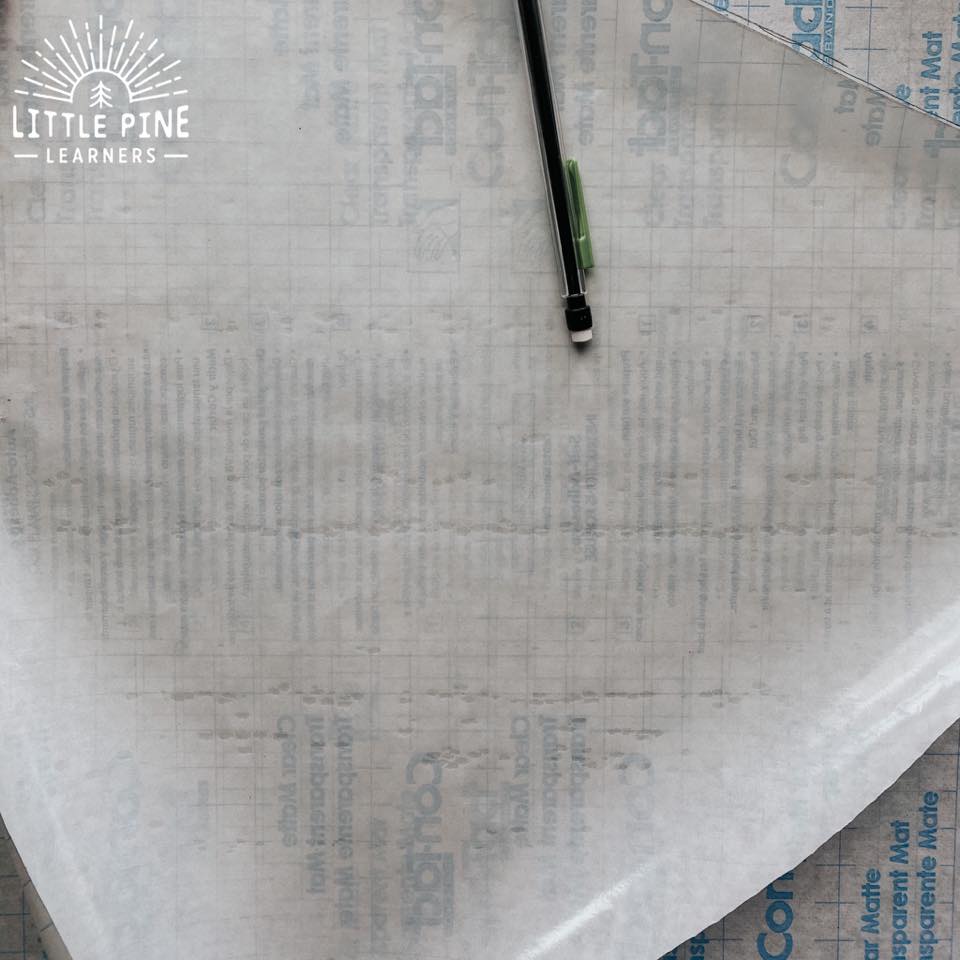
Step 5:
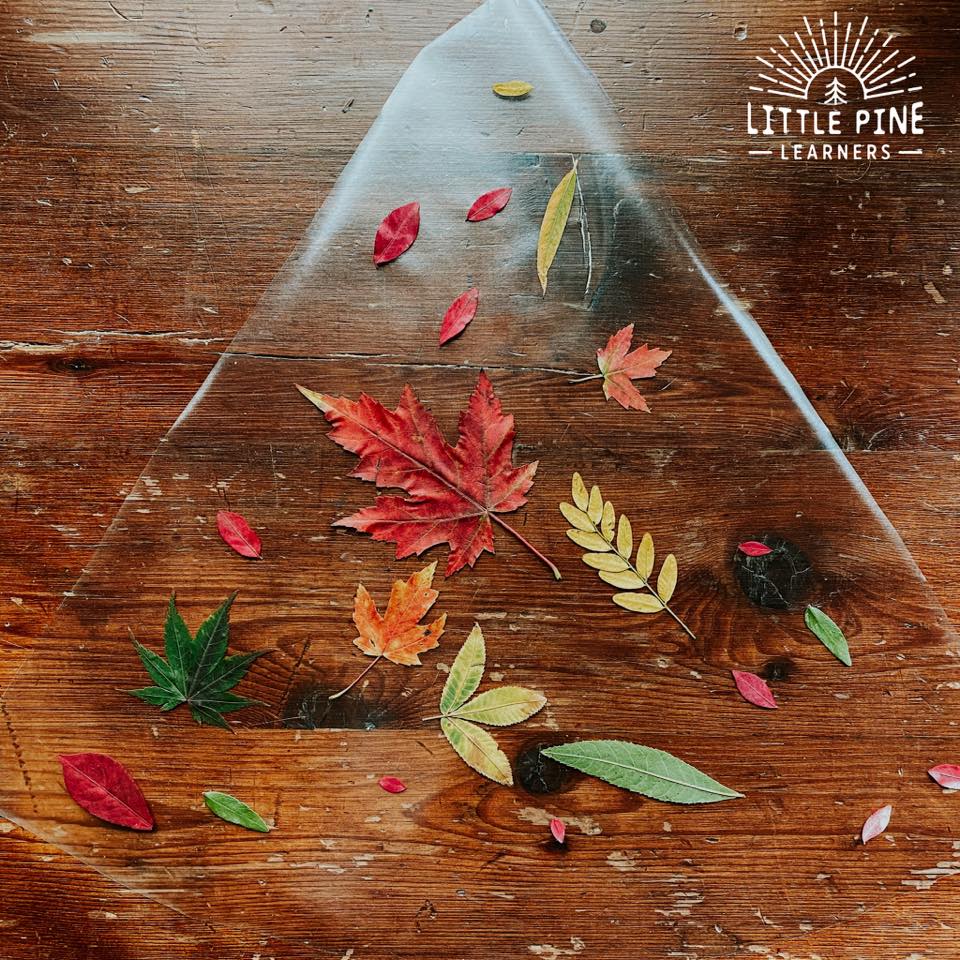
Now it’s time to decorate your cone! We used leaves that we gathered from our yard. I pressed them in a book for about 3 hours just to flatten them out a bit.
My boys loved helping with this step. Slowly peel the backing from your contact paper, lay it sticky side up, and start sticking your leaves!
Step 6:
Now match up the other side of the cone to seal the leaves. This can be a little tricky and I suggest having a second set of hands to help you with this step. Just go slow and start on one side of the cone. My husband held the other side of the contact paper in the air, while I started at the top right corner of the cone.
Try to push out air bubbles as you go, but many of them can be pressed out when the cone is complete. Contact paper is pretty easy to peel back if you need to make minor adjustments as you go. I had to peal the contact paper once to readjust it and I tore a leaf. If this happens to you, just peal as much of the leaf off as possible and put a different leaf (but same color) in it’s place. You could’t see the mistake with this simple fix!
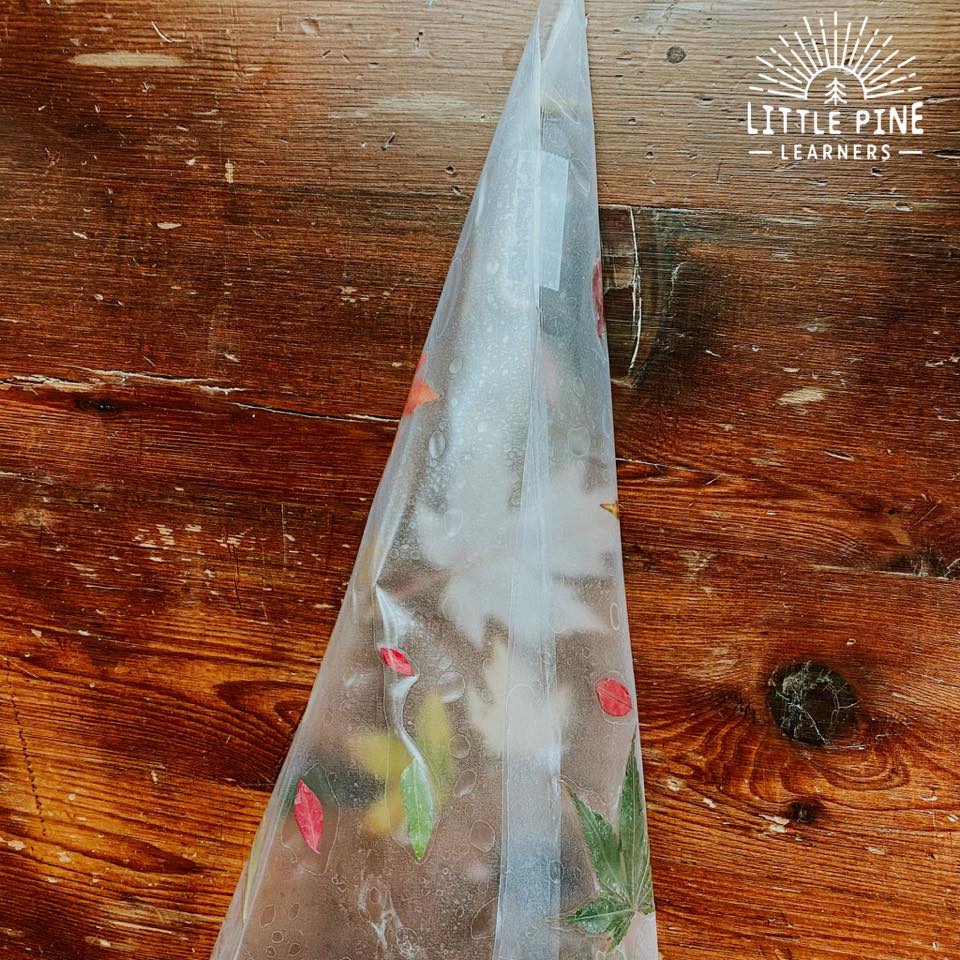
Once this was finished, I made my cone shape and stapled it together towards the bottom of the cone and put a little tape at the top.
You can stop here if you are making a wizard hat! Your wizard hat is complete!
Step 7:
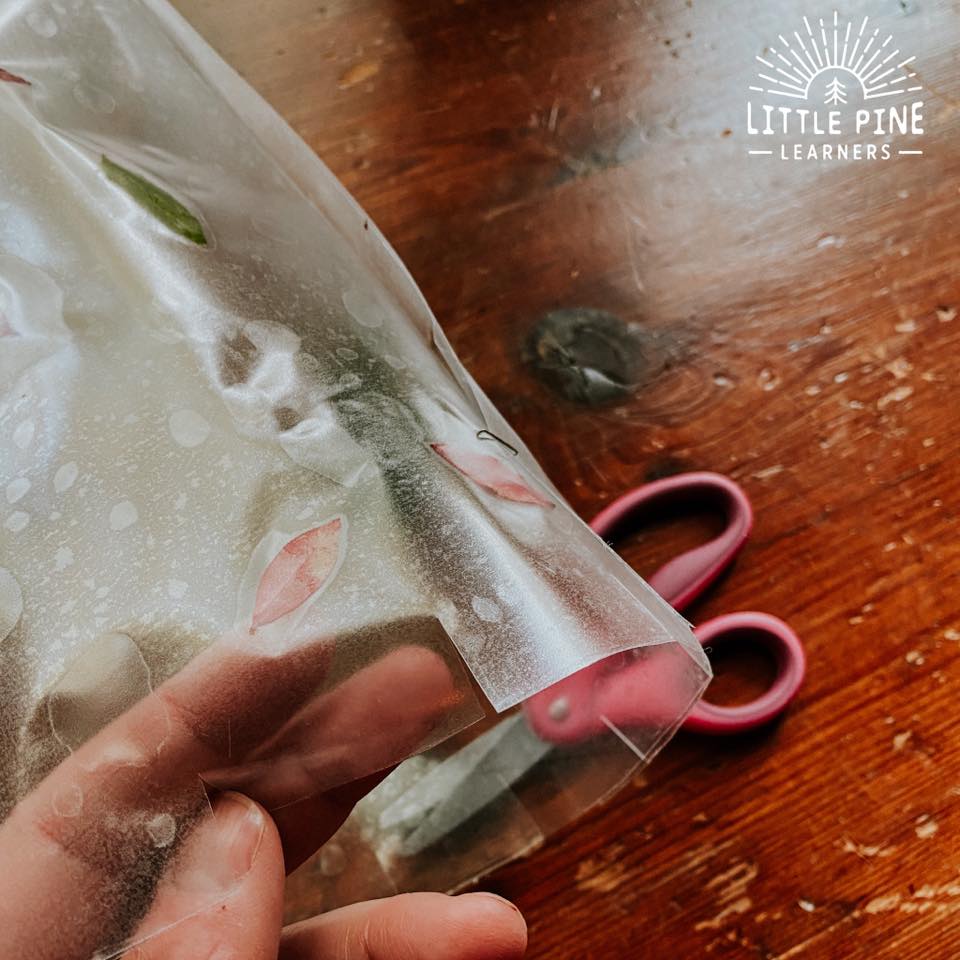
Continue to the following steps if you are making a DIY witch hat! Cut short fringes of about 1 inch apart along the entire base of the cone.
Step 8:
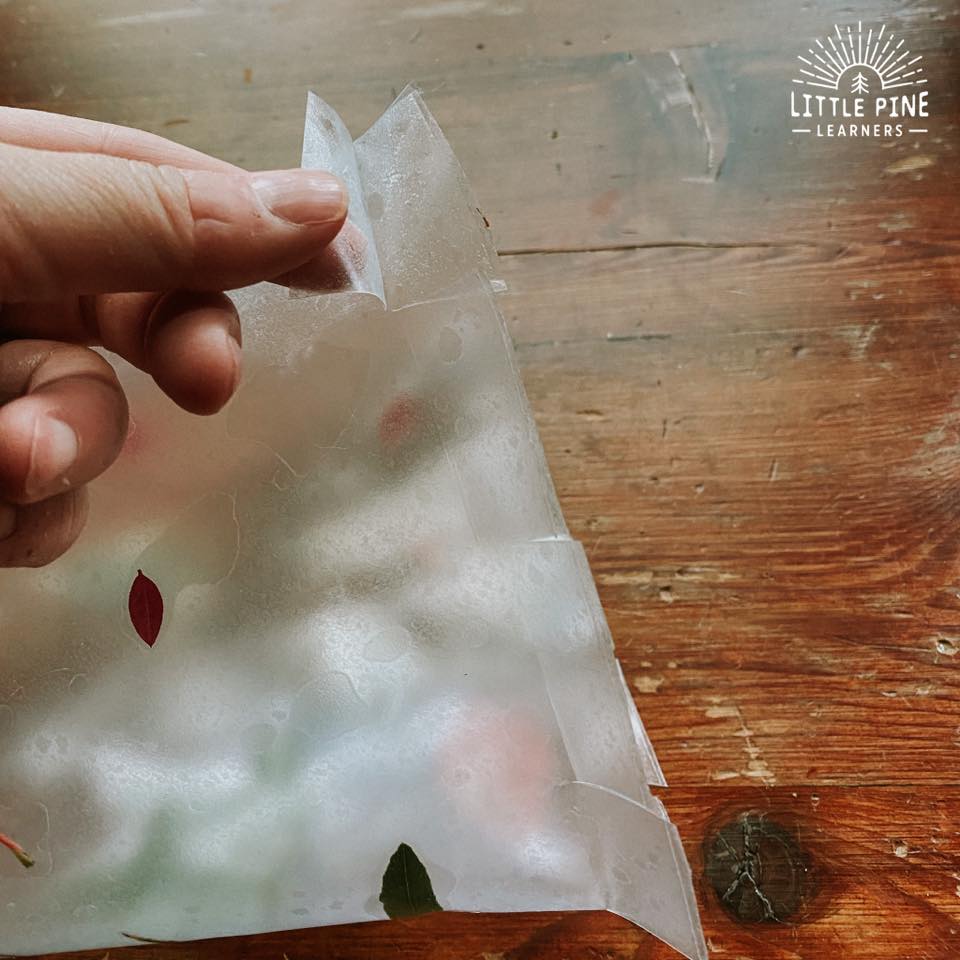
Peel apart the contact paper tabs and cut the top tab. I cut the piece that was in my fingers, picture below. This tab will secure the cone to the brim.
Repeat for all tabs.
Step 9:
Use your compass to make a large circle for the brim of the hat. You can always trim it down later if it’s too big. I opened my compass as far as it would go to make my circle. Make 2 circles right away and cut them out.
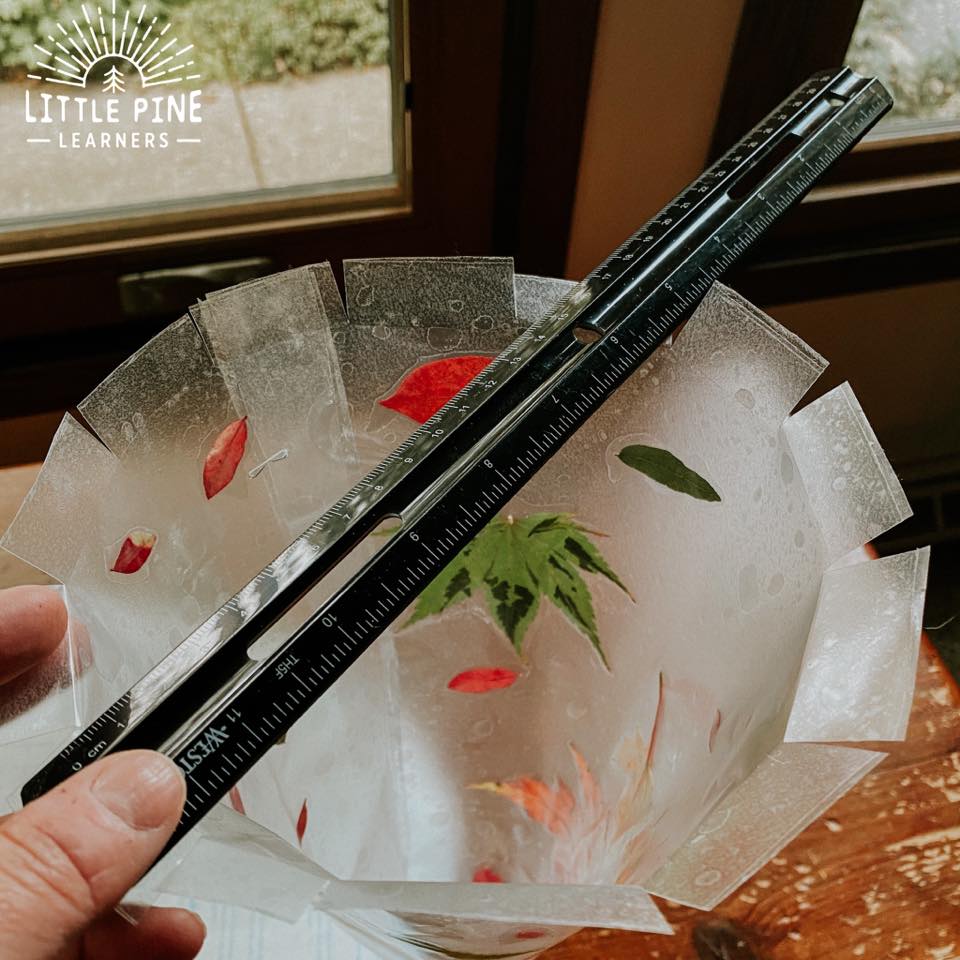
Step 10:
Fan out the sticky tabs and measure the diameter of the hat.
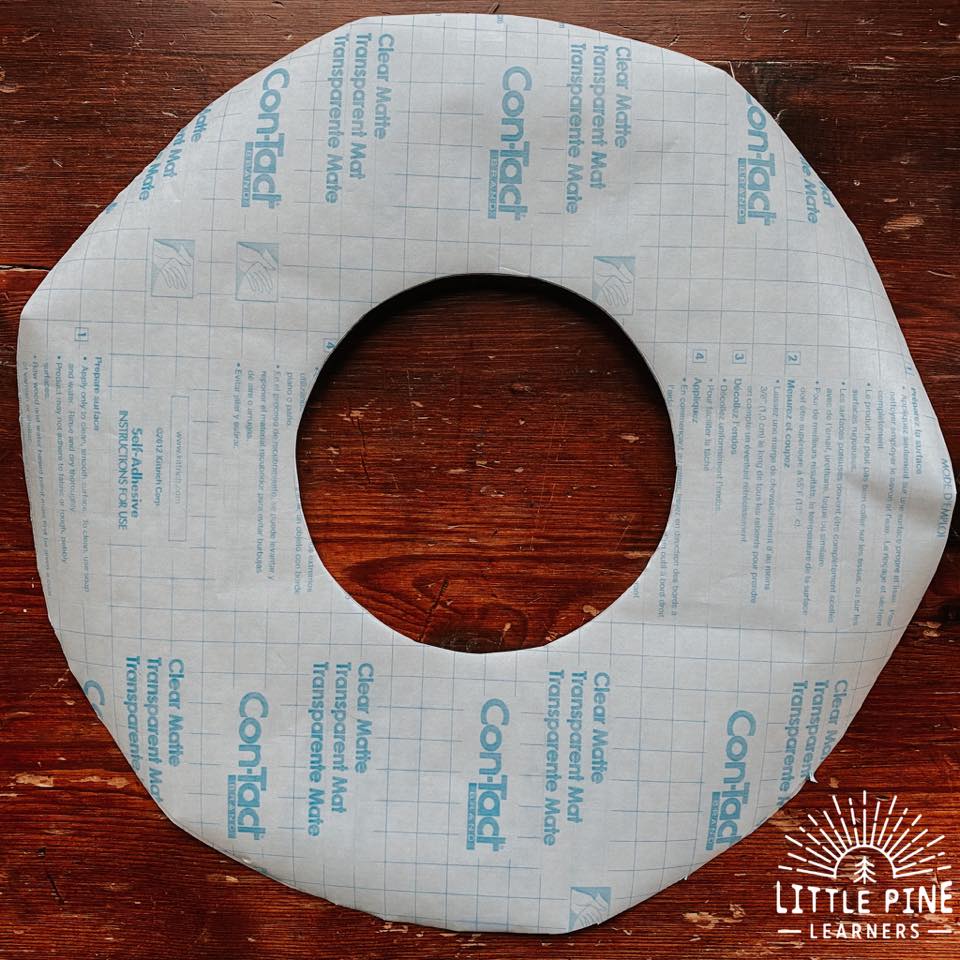
Step 11:
Divide the diameter by 2 and you have your radius. I open my compass to about 3 inches and drew a circle with the compass. I stacked my two brims together and cut out the center hole at the same time, so the hole would be in the same spot on both brims.
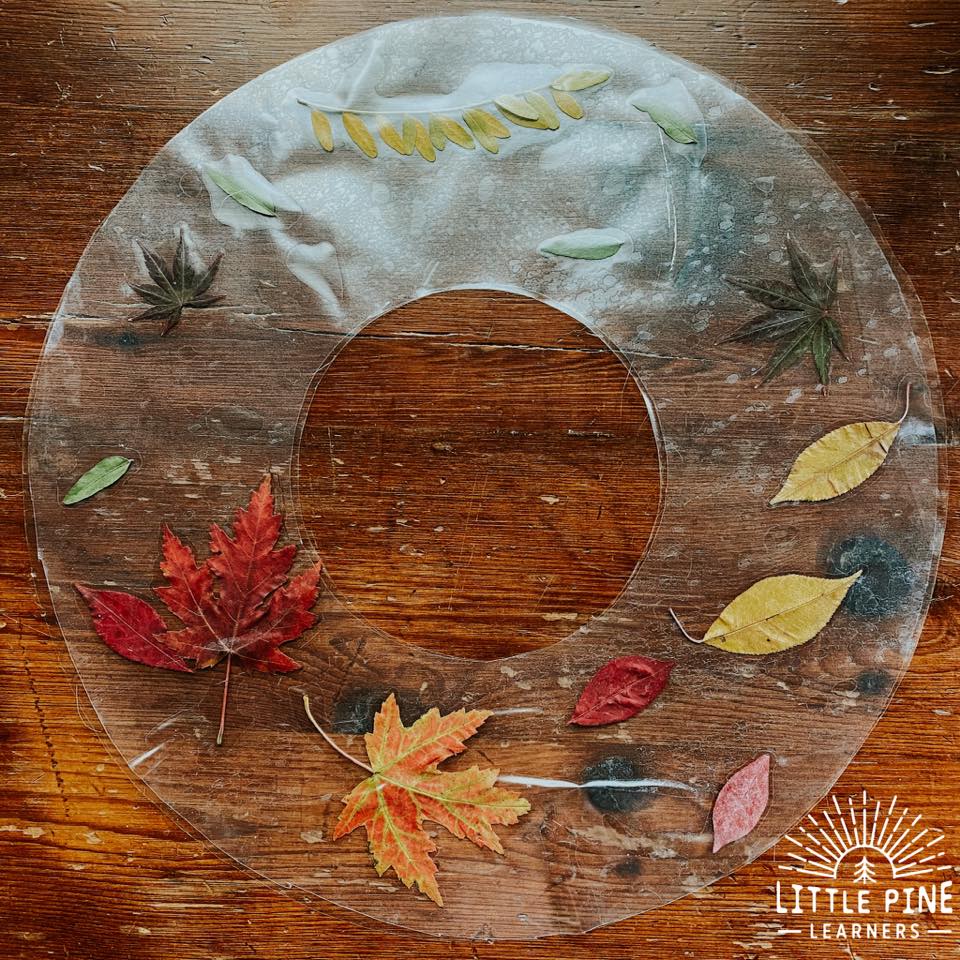
Step 12:
Slowly peel back your brim, sticky side up and decorate it with leaves! I asked my husband to helped me place the other piece of contact paper on top to seal in the leaves. You can see it isn’t perfect, but I trimmed the excess contact paper and it turned out great!
Step 13:
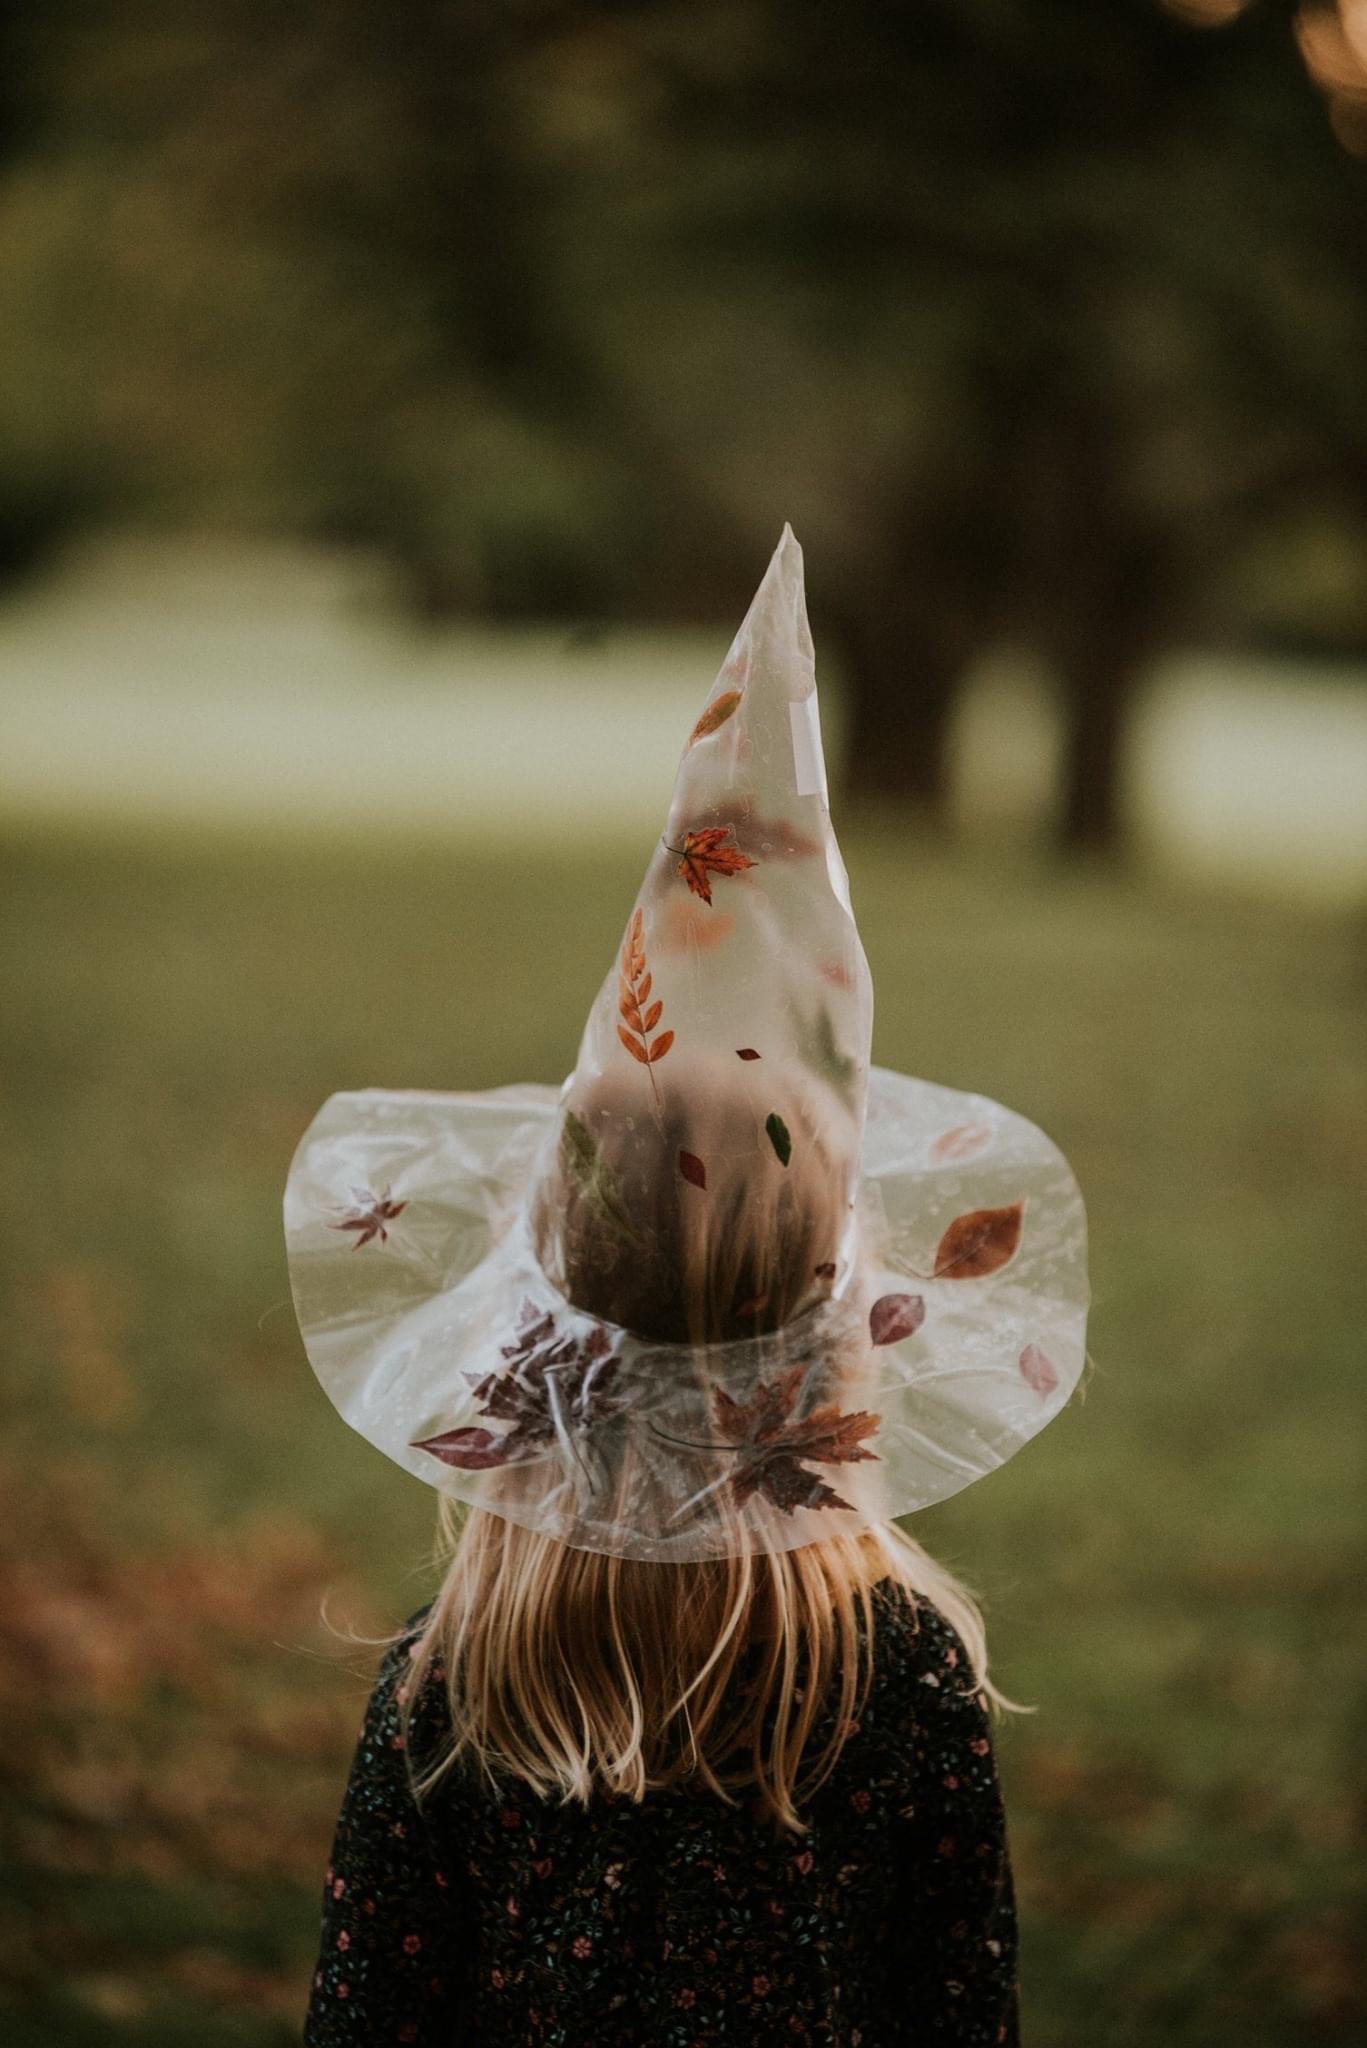
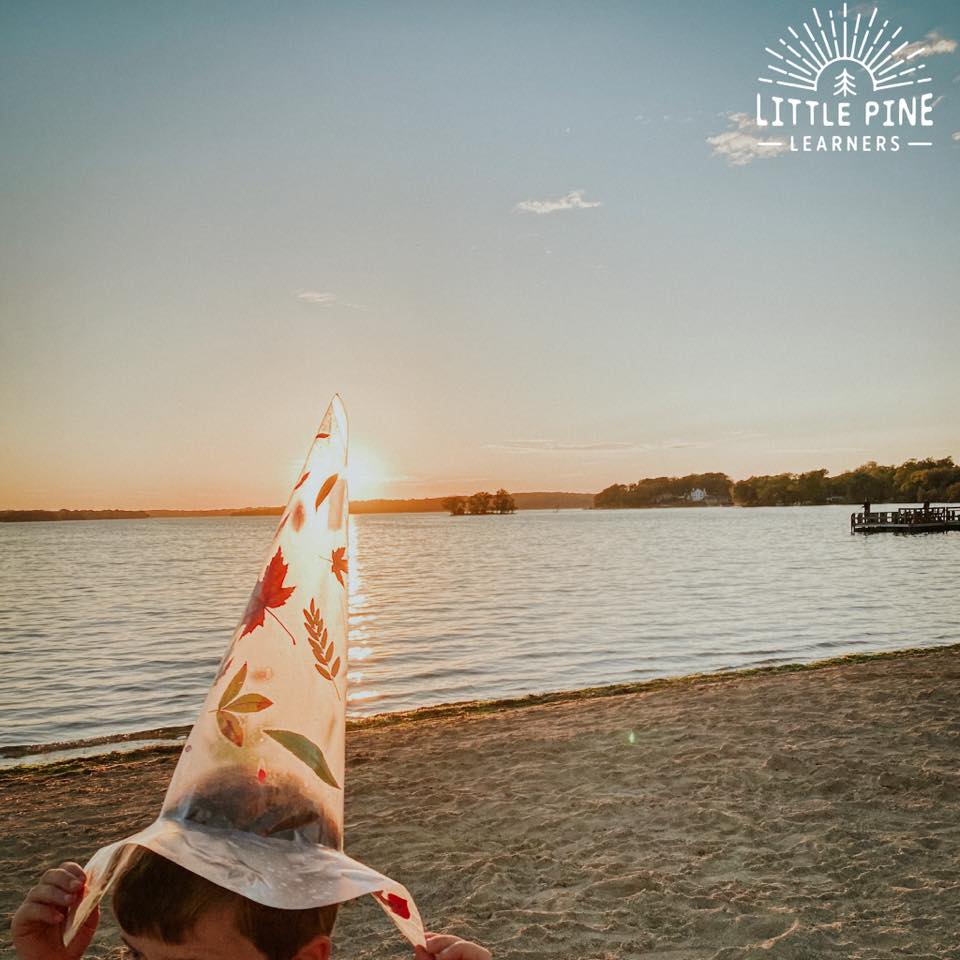
Place your brim over the cone and stick the tabs to the cone! You are all finished! The brim is a little floppy and looks super cute.
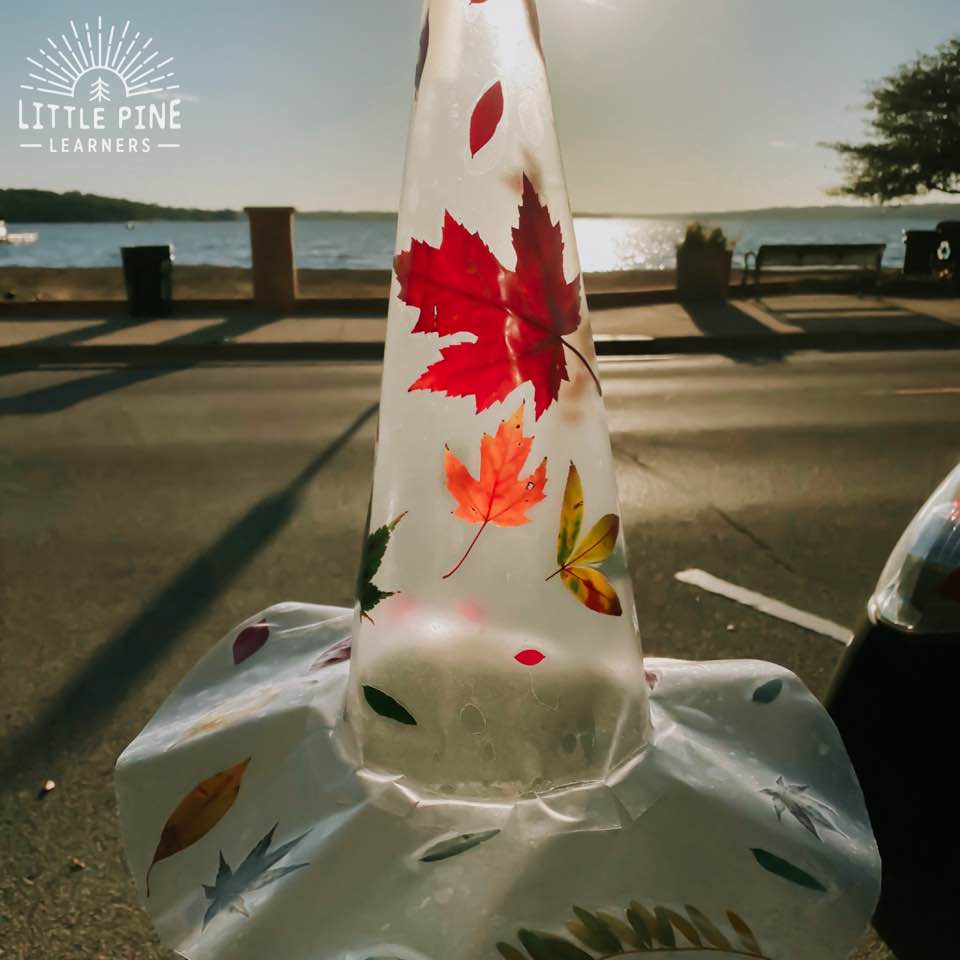
This looks adorable on a child or adult!
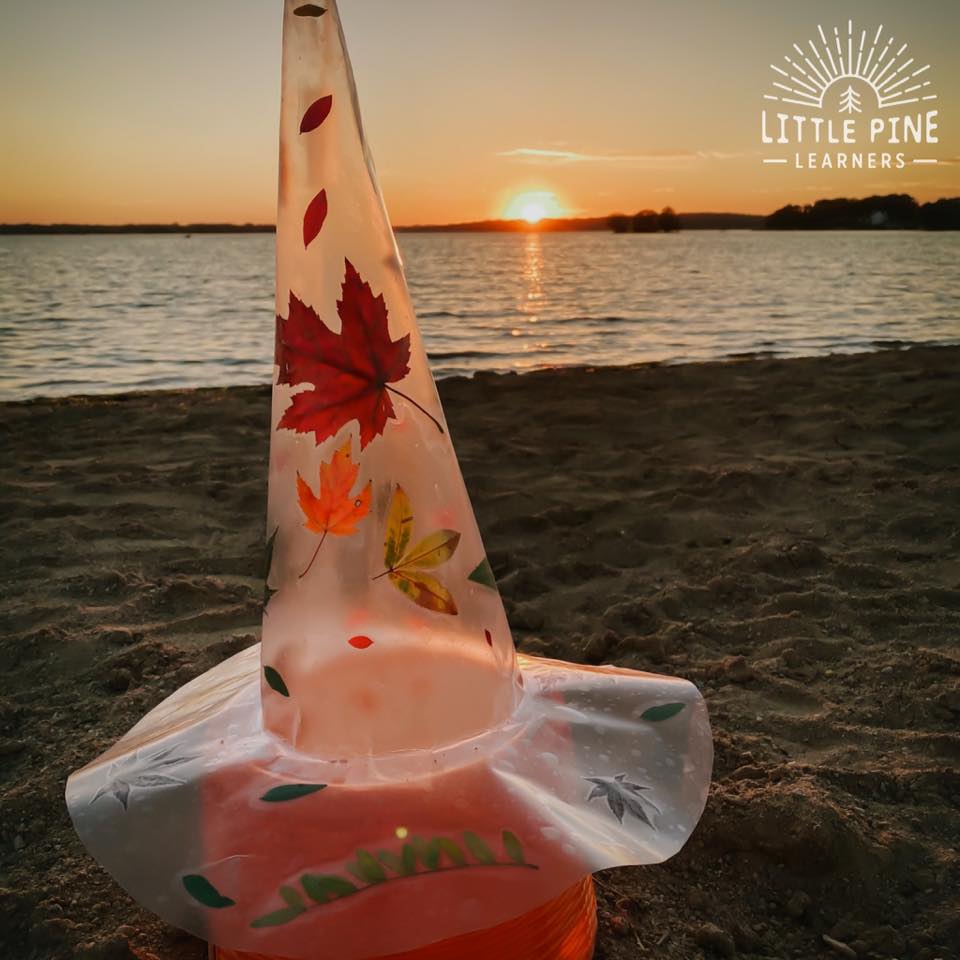
We brought our hat to the beach and I placed it on an orange bucket. This would also look cute on a jack-o-lantern! But bring it in on rainy or windy days, it won’t hold up if you keep it outdoors all the time.
Pin it and save it for later!
I hope you give this beautiful DIY witch hat a try! I promise, your little nature lovers will love it as much as my boys.
∼Tara