Halloween just wouldn’t be the same without a cute ghost craft! Below, I’ll share different ways to use these little ghosts to decorate your home or possibly even turn one into a fun classroom or family game! This isn’t a one and done type of craft. We will save our ghosts and use them year after year!
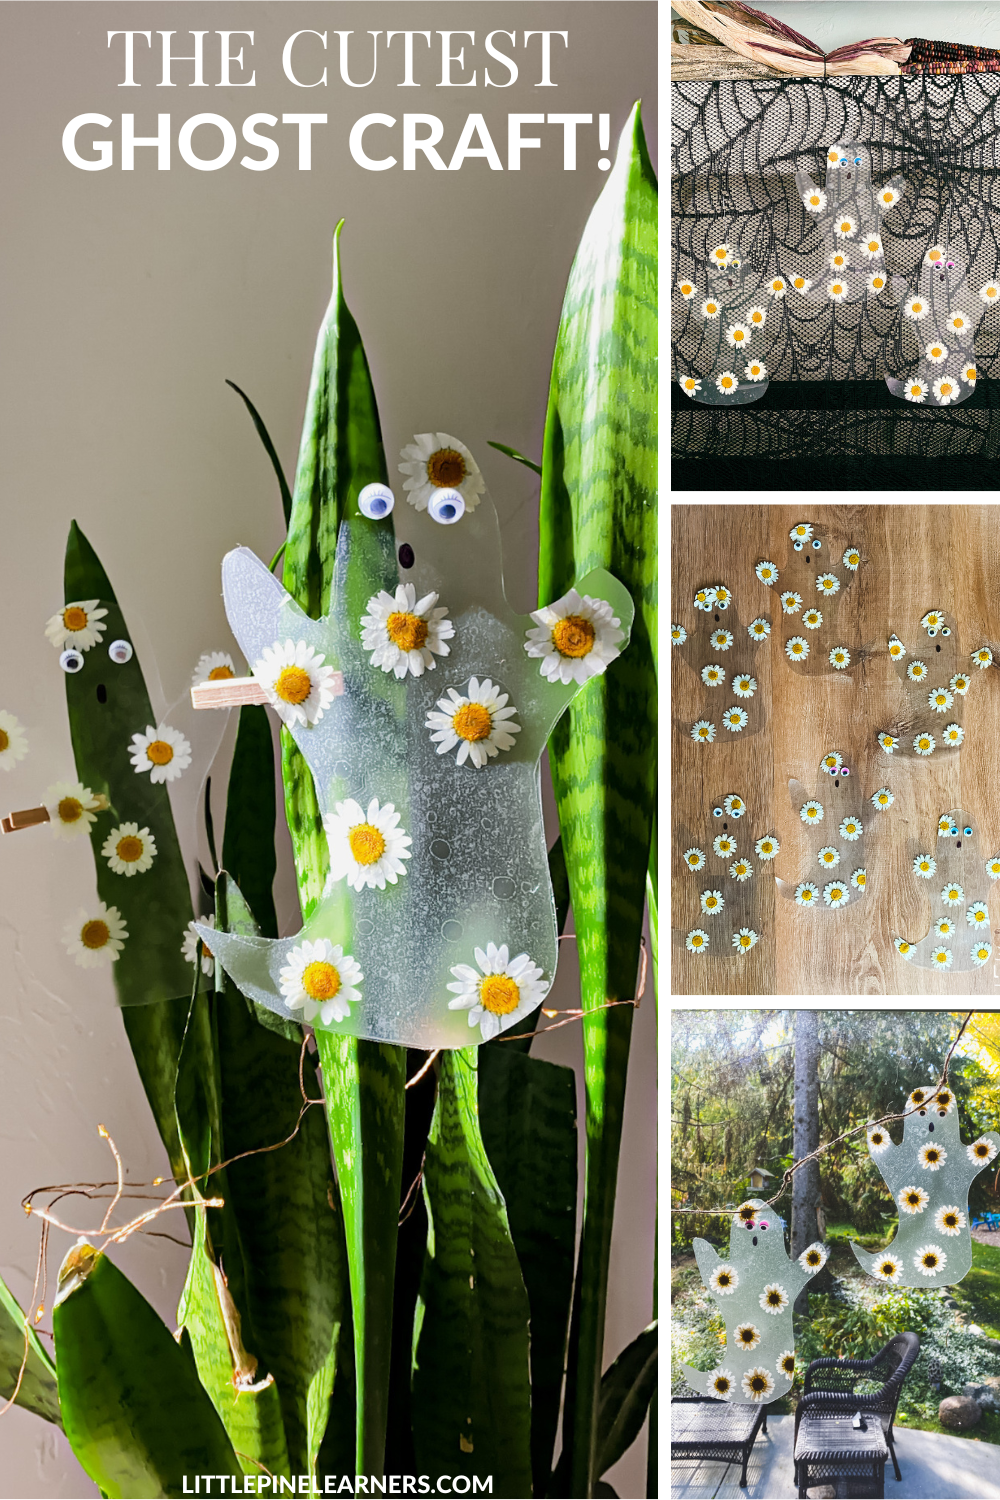
These ghosts are fun, cute, friendly, and not the least bit spooky. We love them so much that we named the first one Daisy right after we made it! These sweet ghosts are made of white daisies, so I guess it’s fitting:)
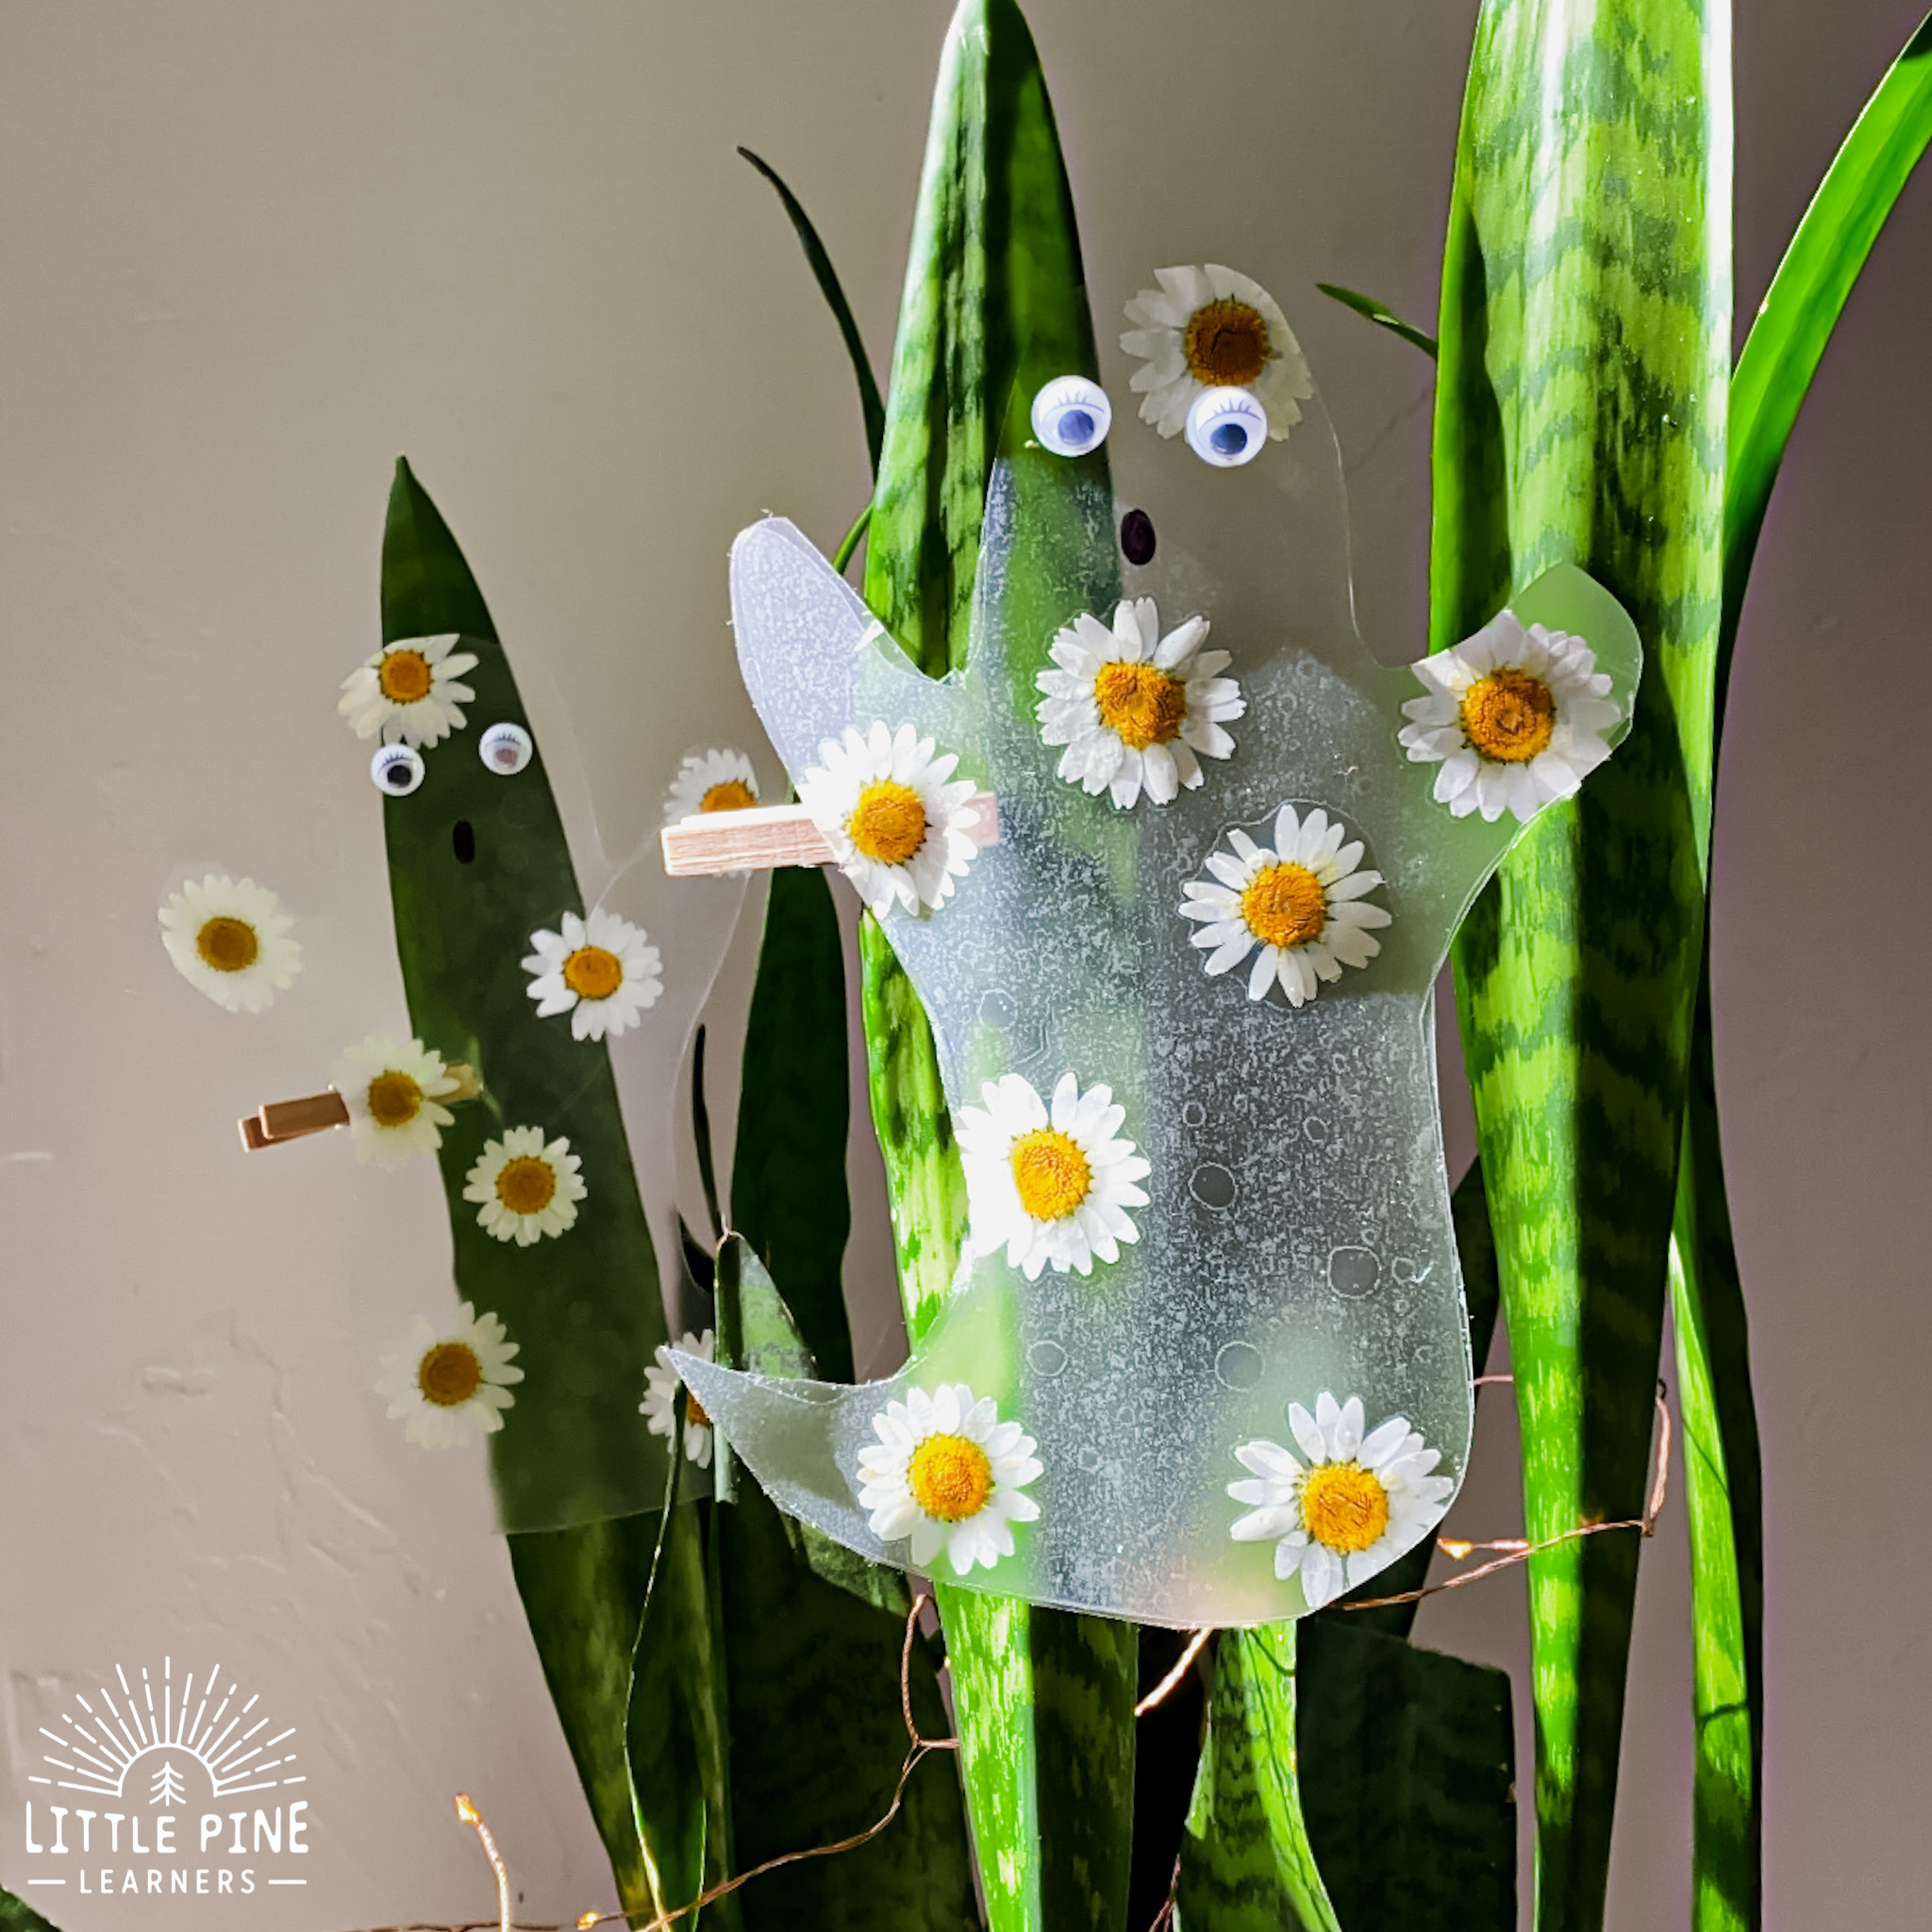
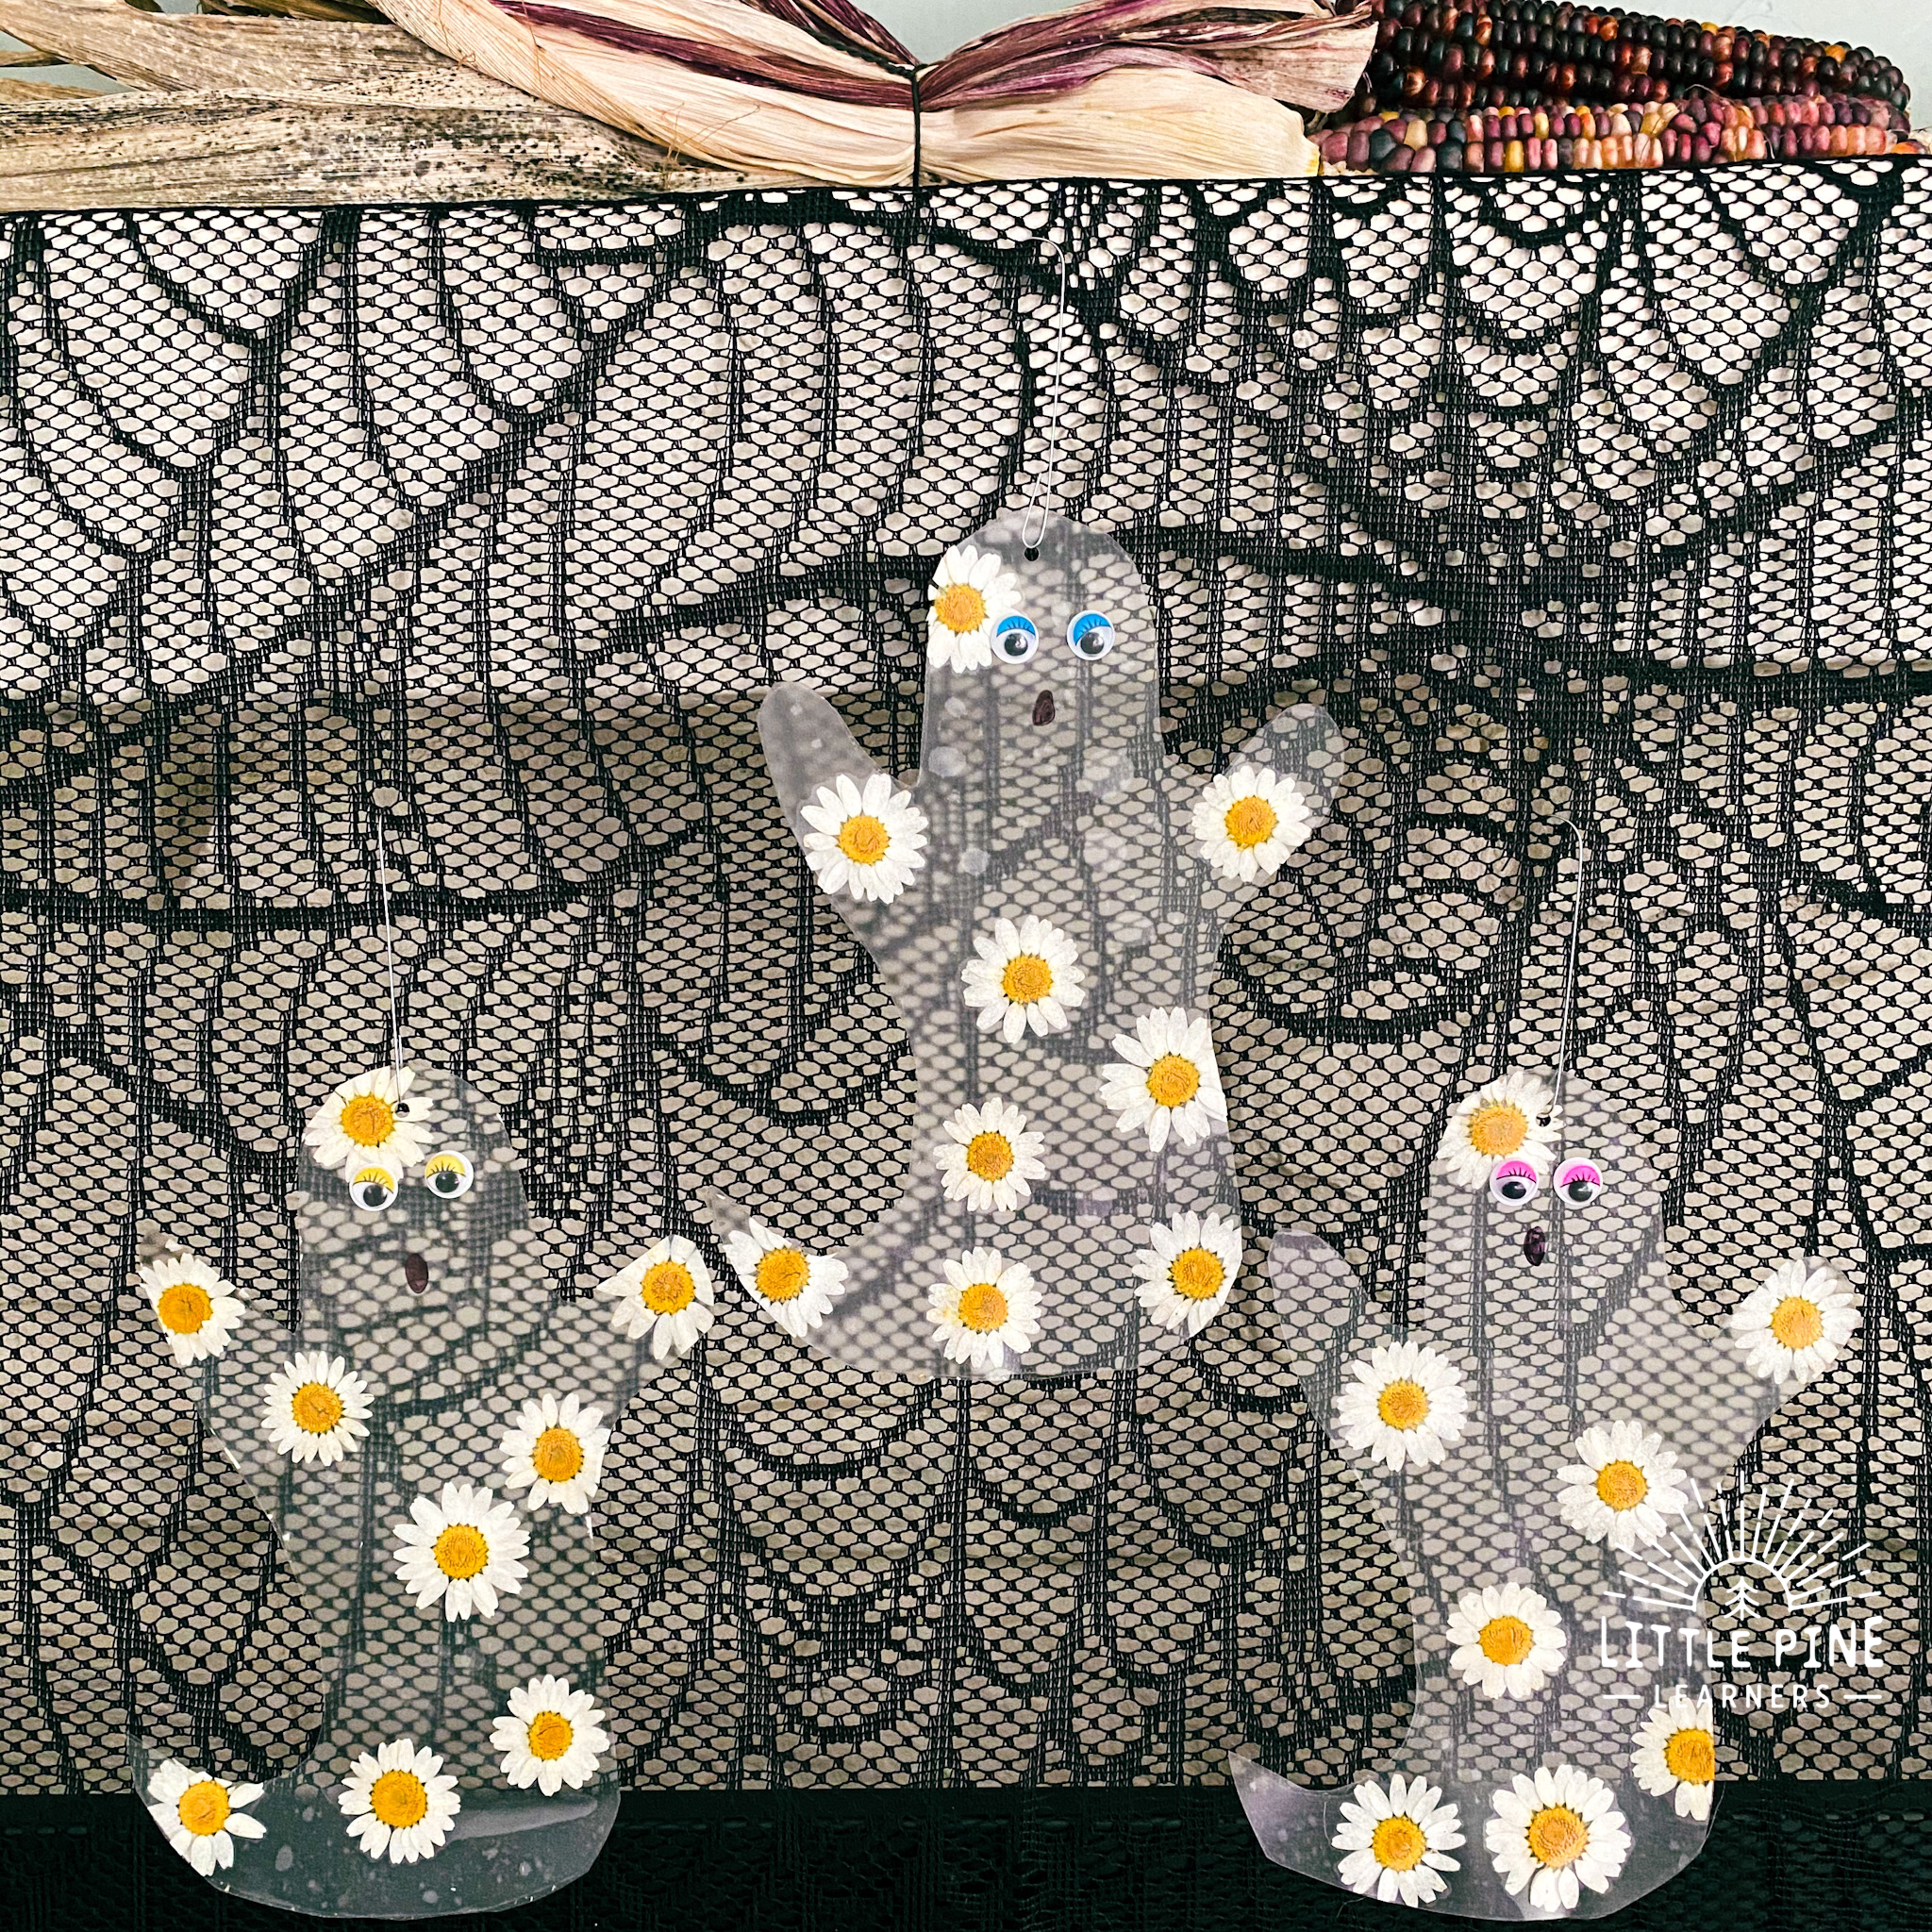
I also love that this ghost craft is mostly see through, as many ghosts are depicted. Depending on how the light hits them, you might really need to search for them!
Ready to make a few Daisy Ghost Crafts?! Here’s what you’ll need–
Supplies:
-
- Clear Contact Paper
- Pressed Pieces of Nature– We used this exact set of white daisies.
- Googly eyes– We used the eyelash eyes in this kit.
- Scissors
- Paper Punch
- Twine
- Metal Hooks
- Clothespins
This post contains Affiliate links for your convenience.
Related: Check out 20+ Pressed Flower Crafts
Here’s How I Made This Ghost Craft:
Step 1:
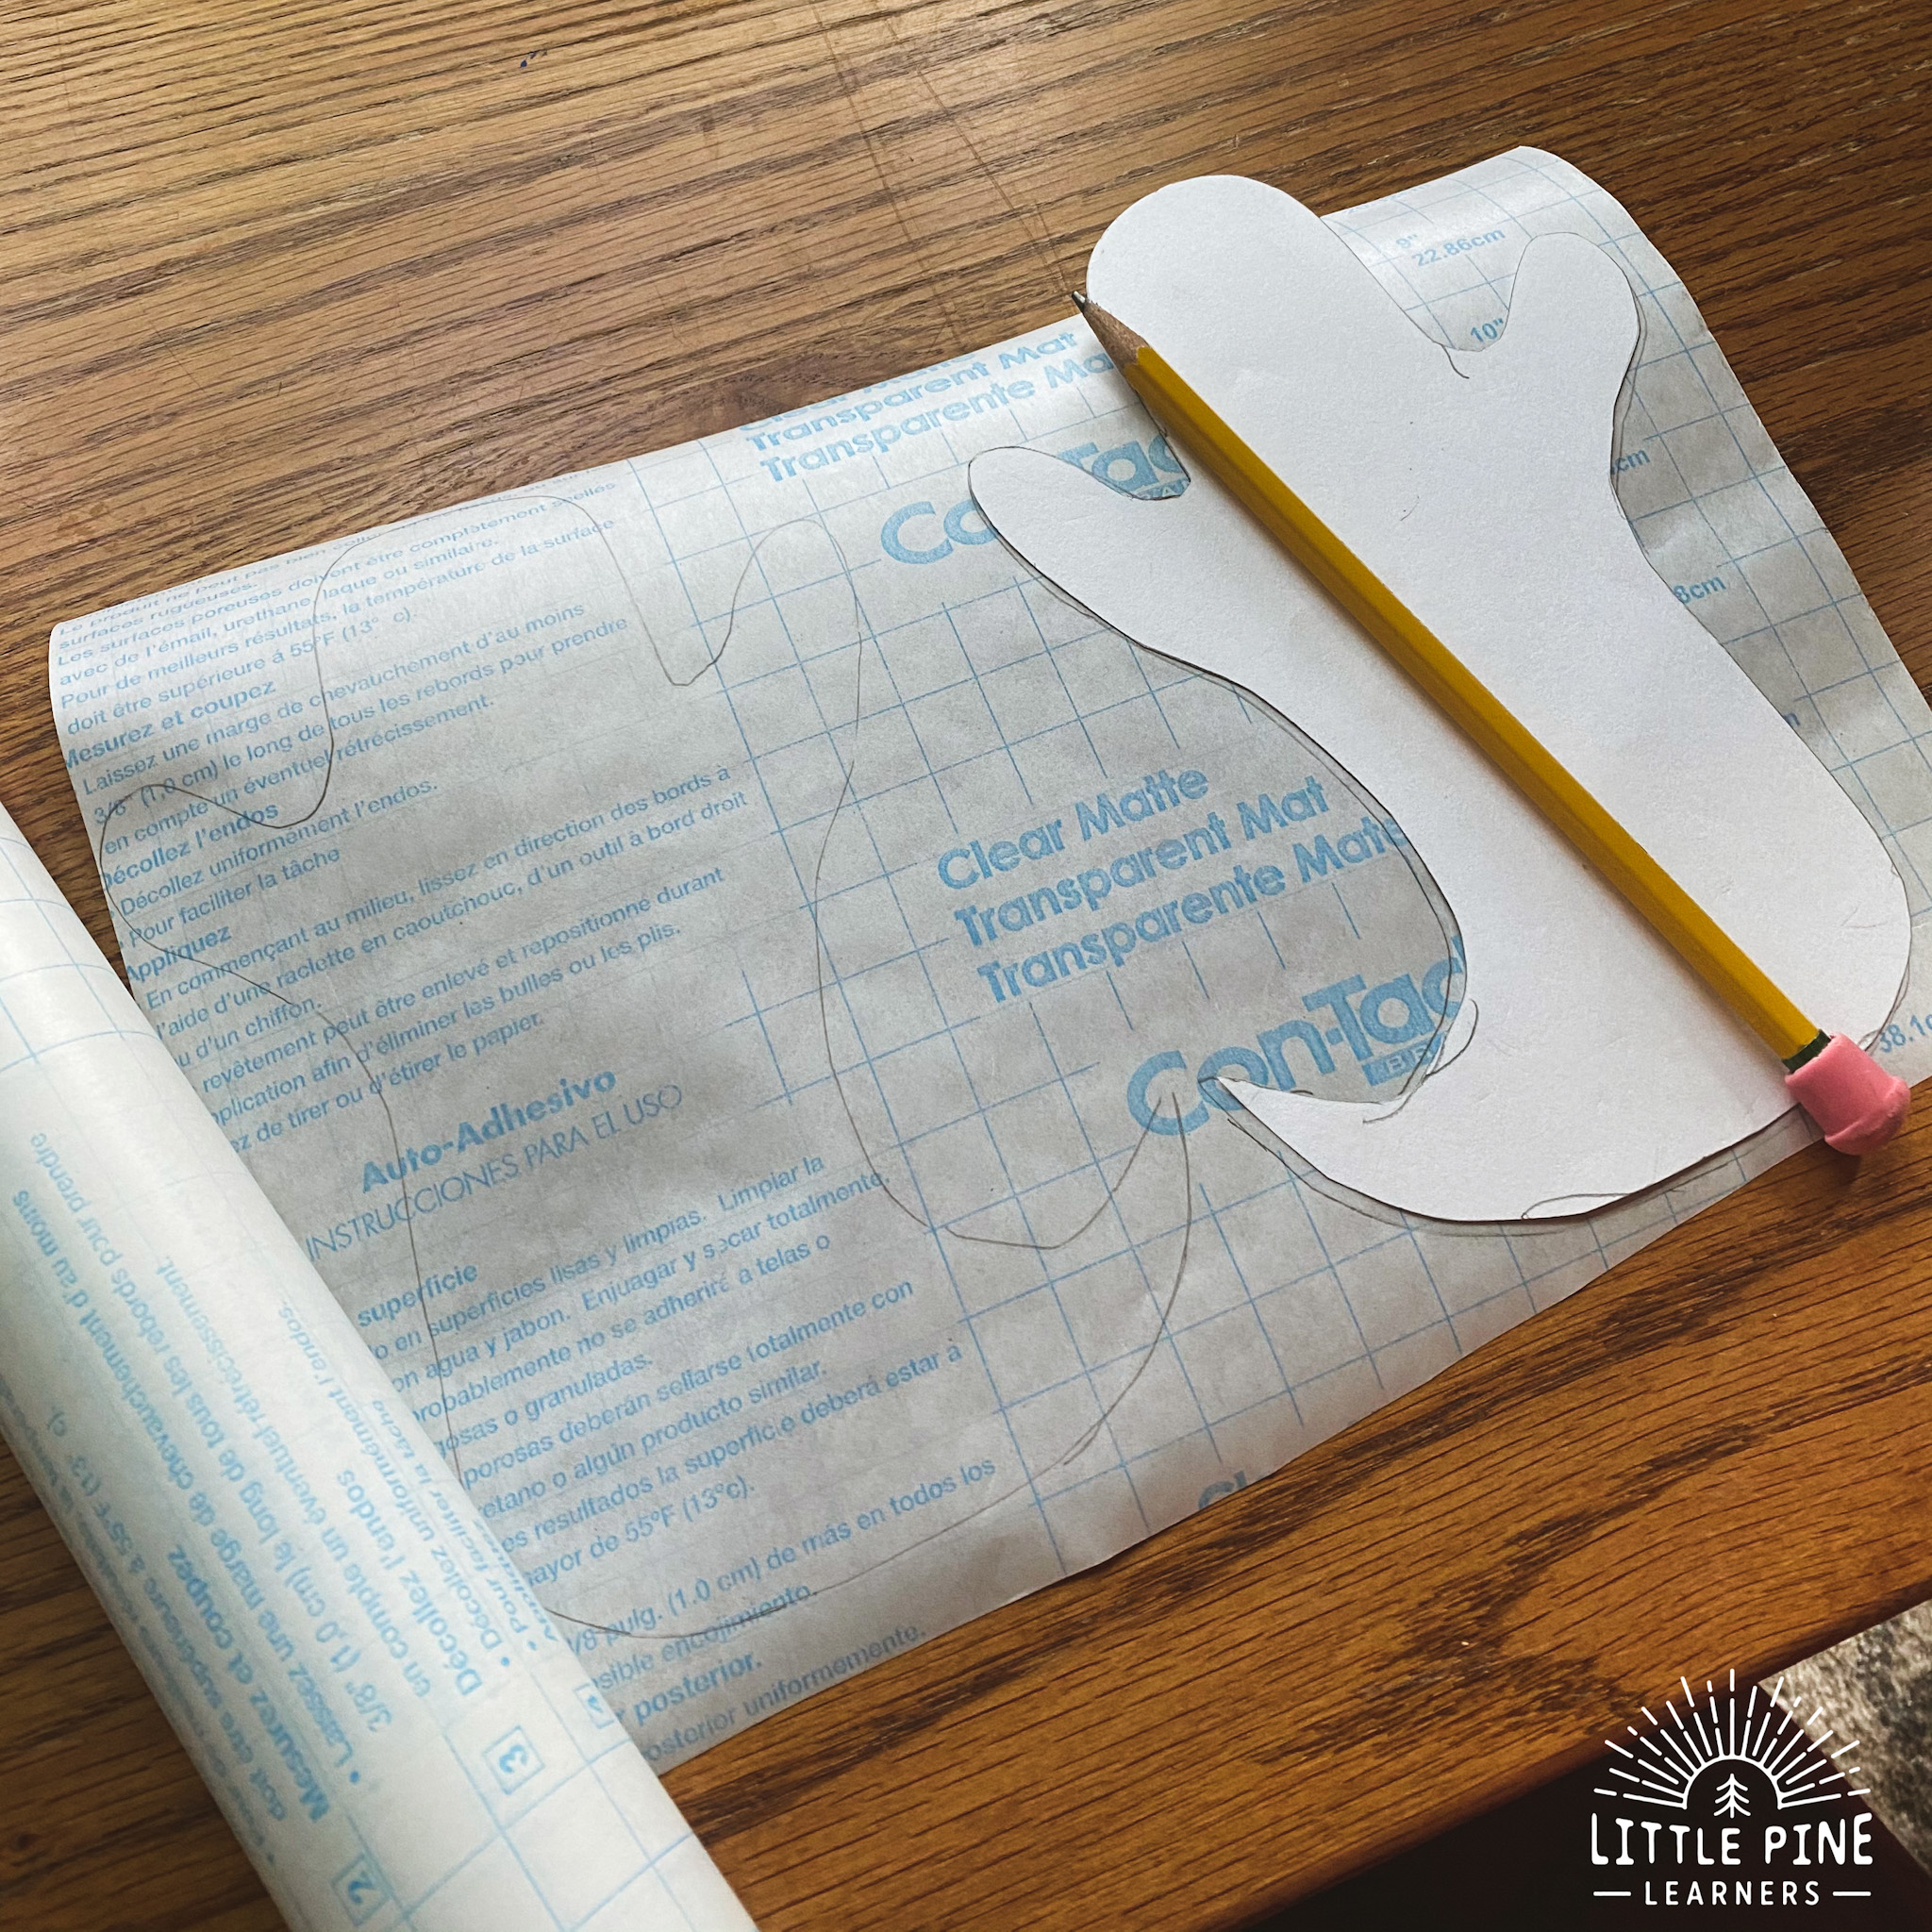
Trace 2 ghost shapes onto contact paper.
To do this, trace the ghost, then flip it over and trace it facing the other way. This will ensure your unique ghost shapes will match when you press them together.
Step 2:
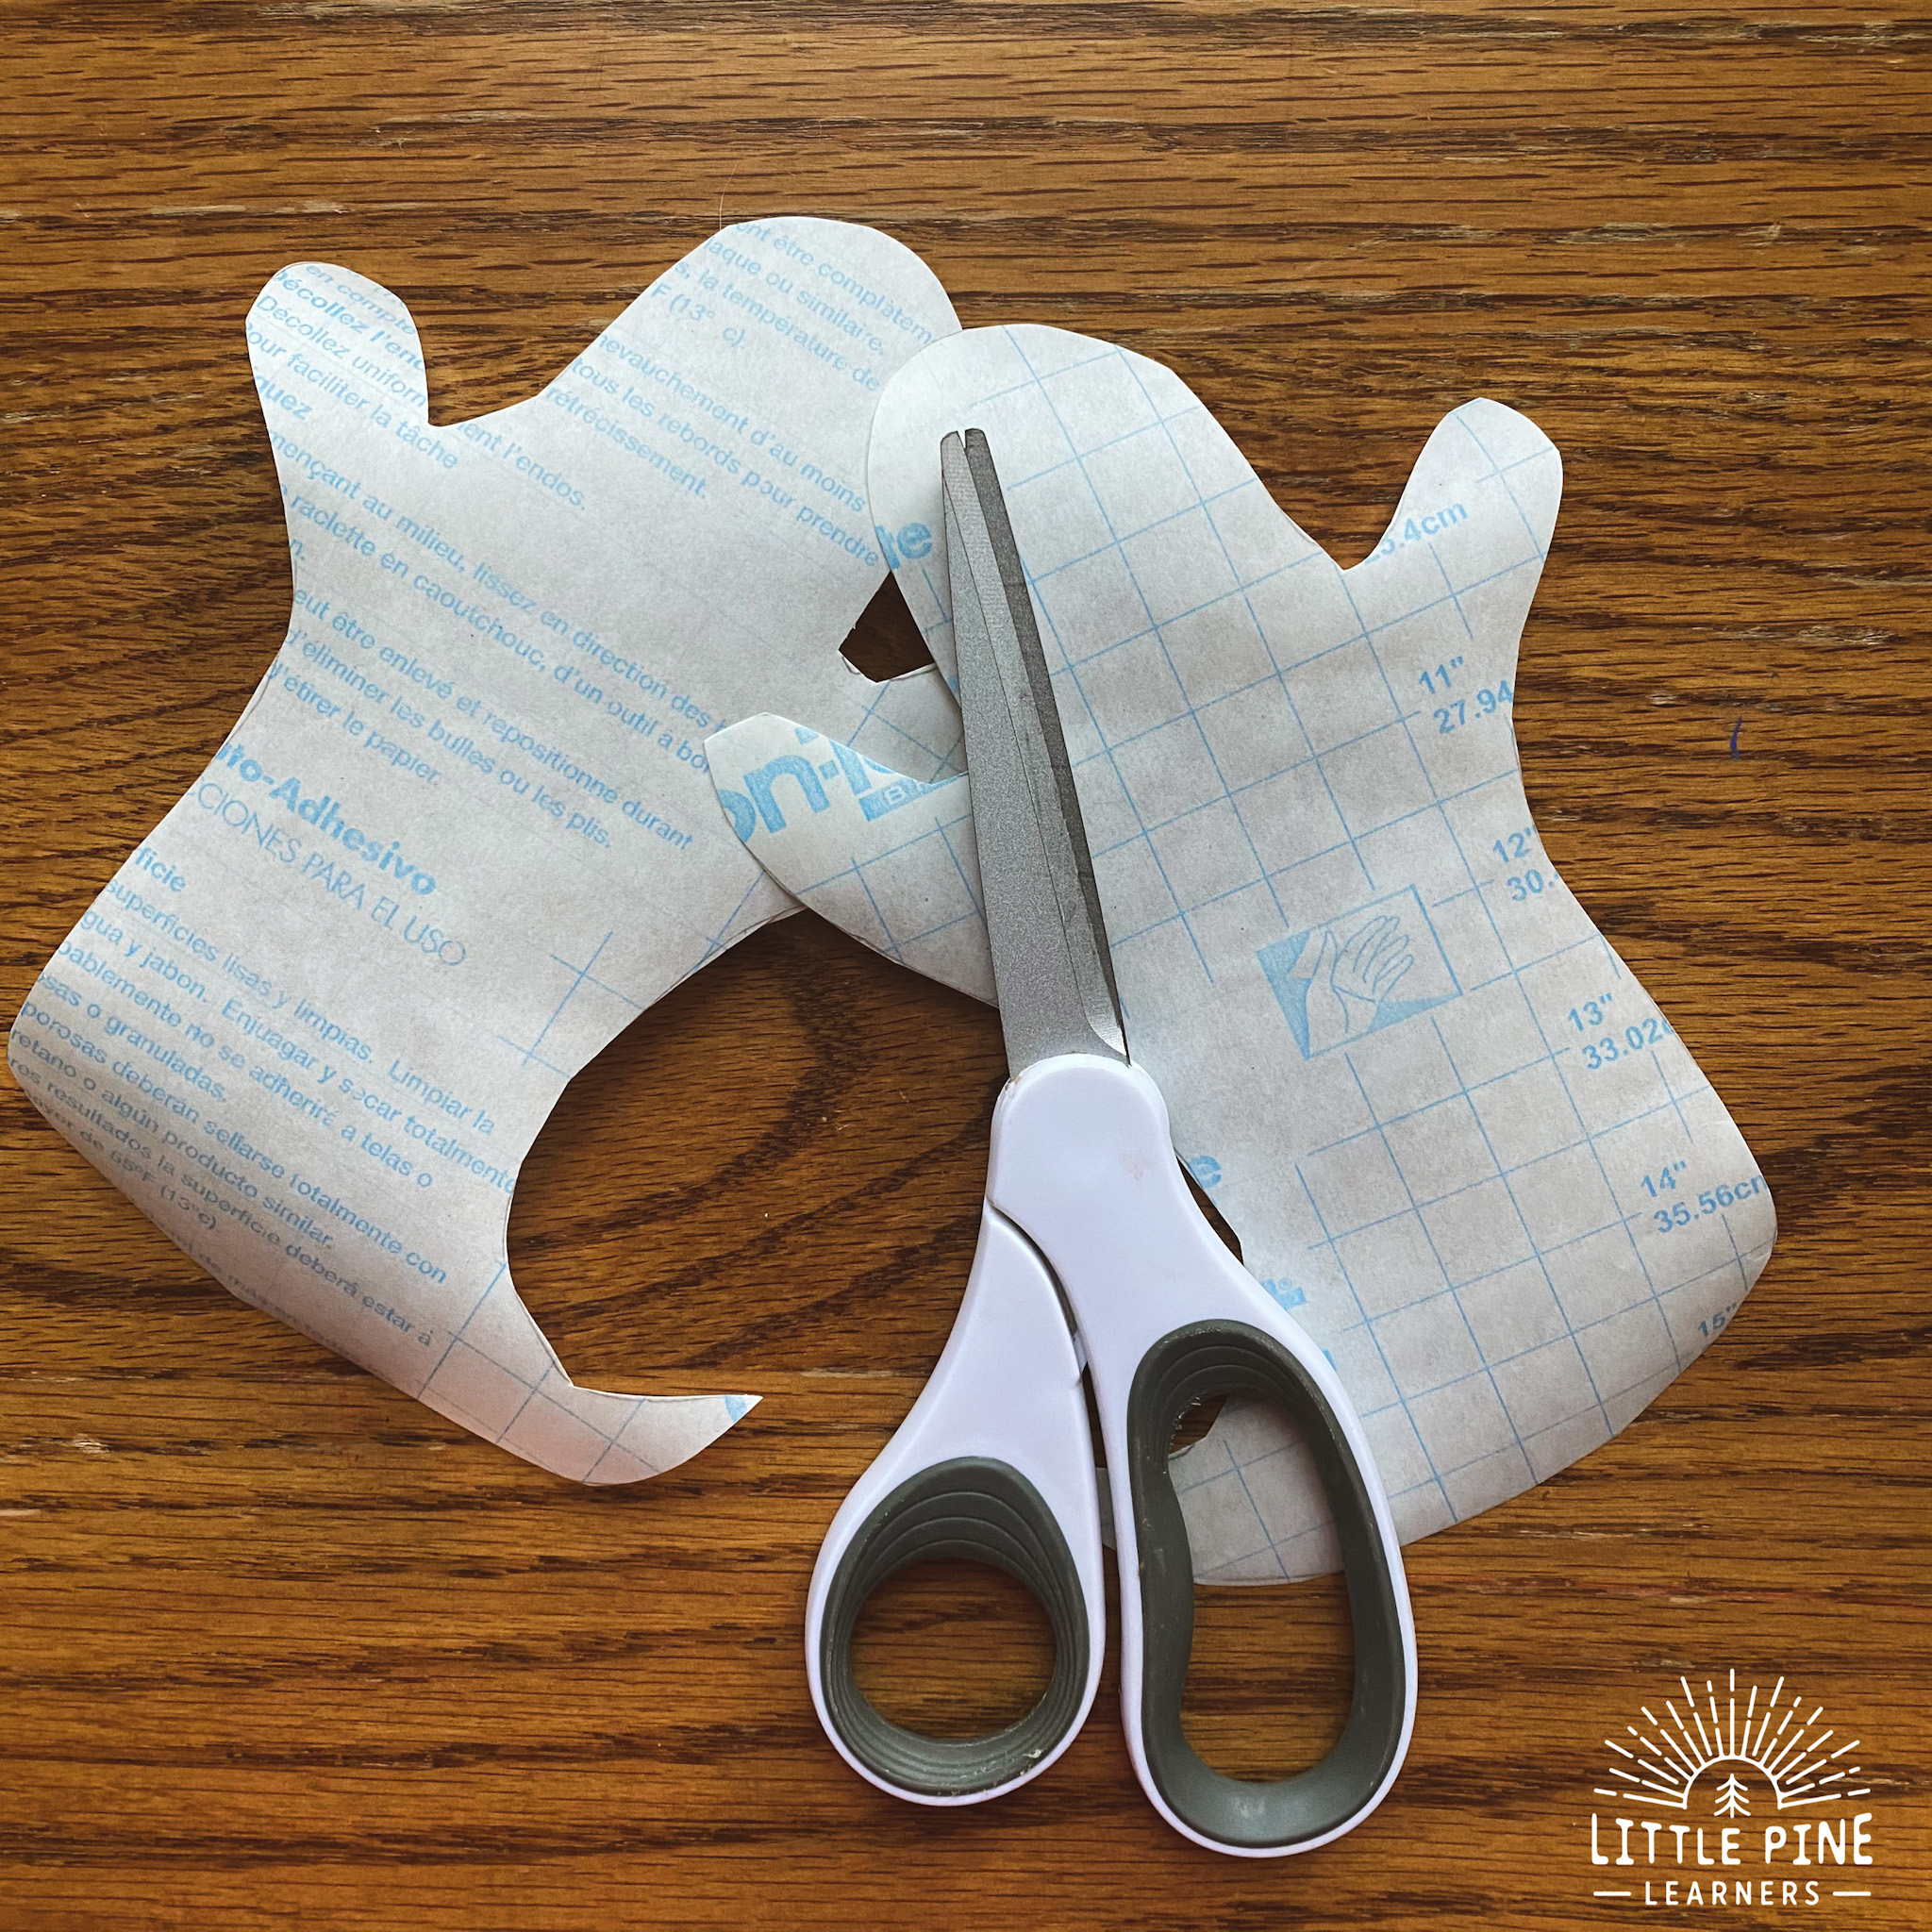
Cut out your contact paper ghosts.
Step 3:
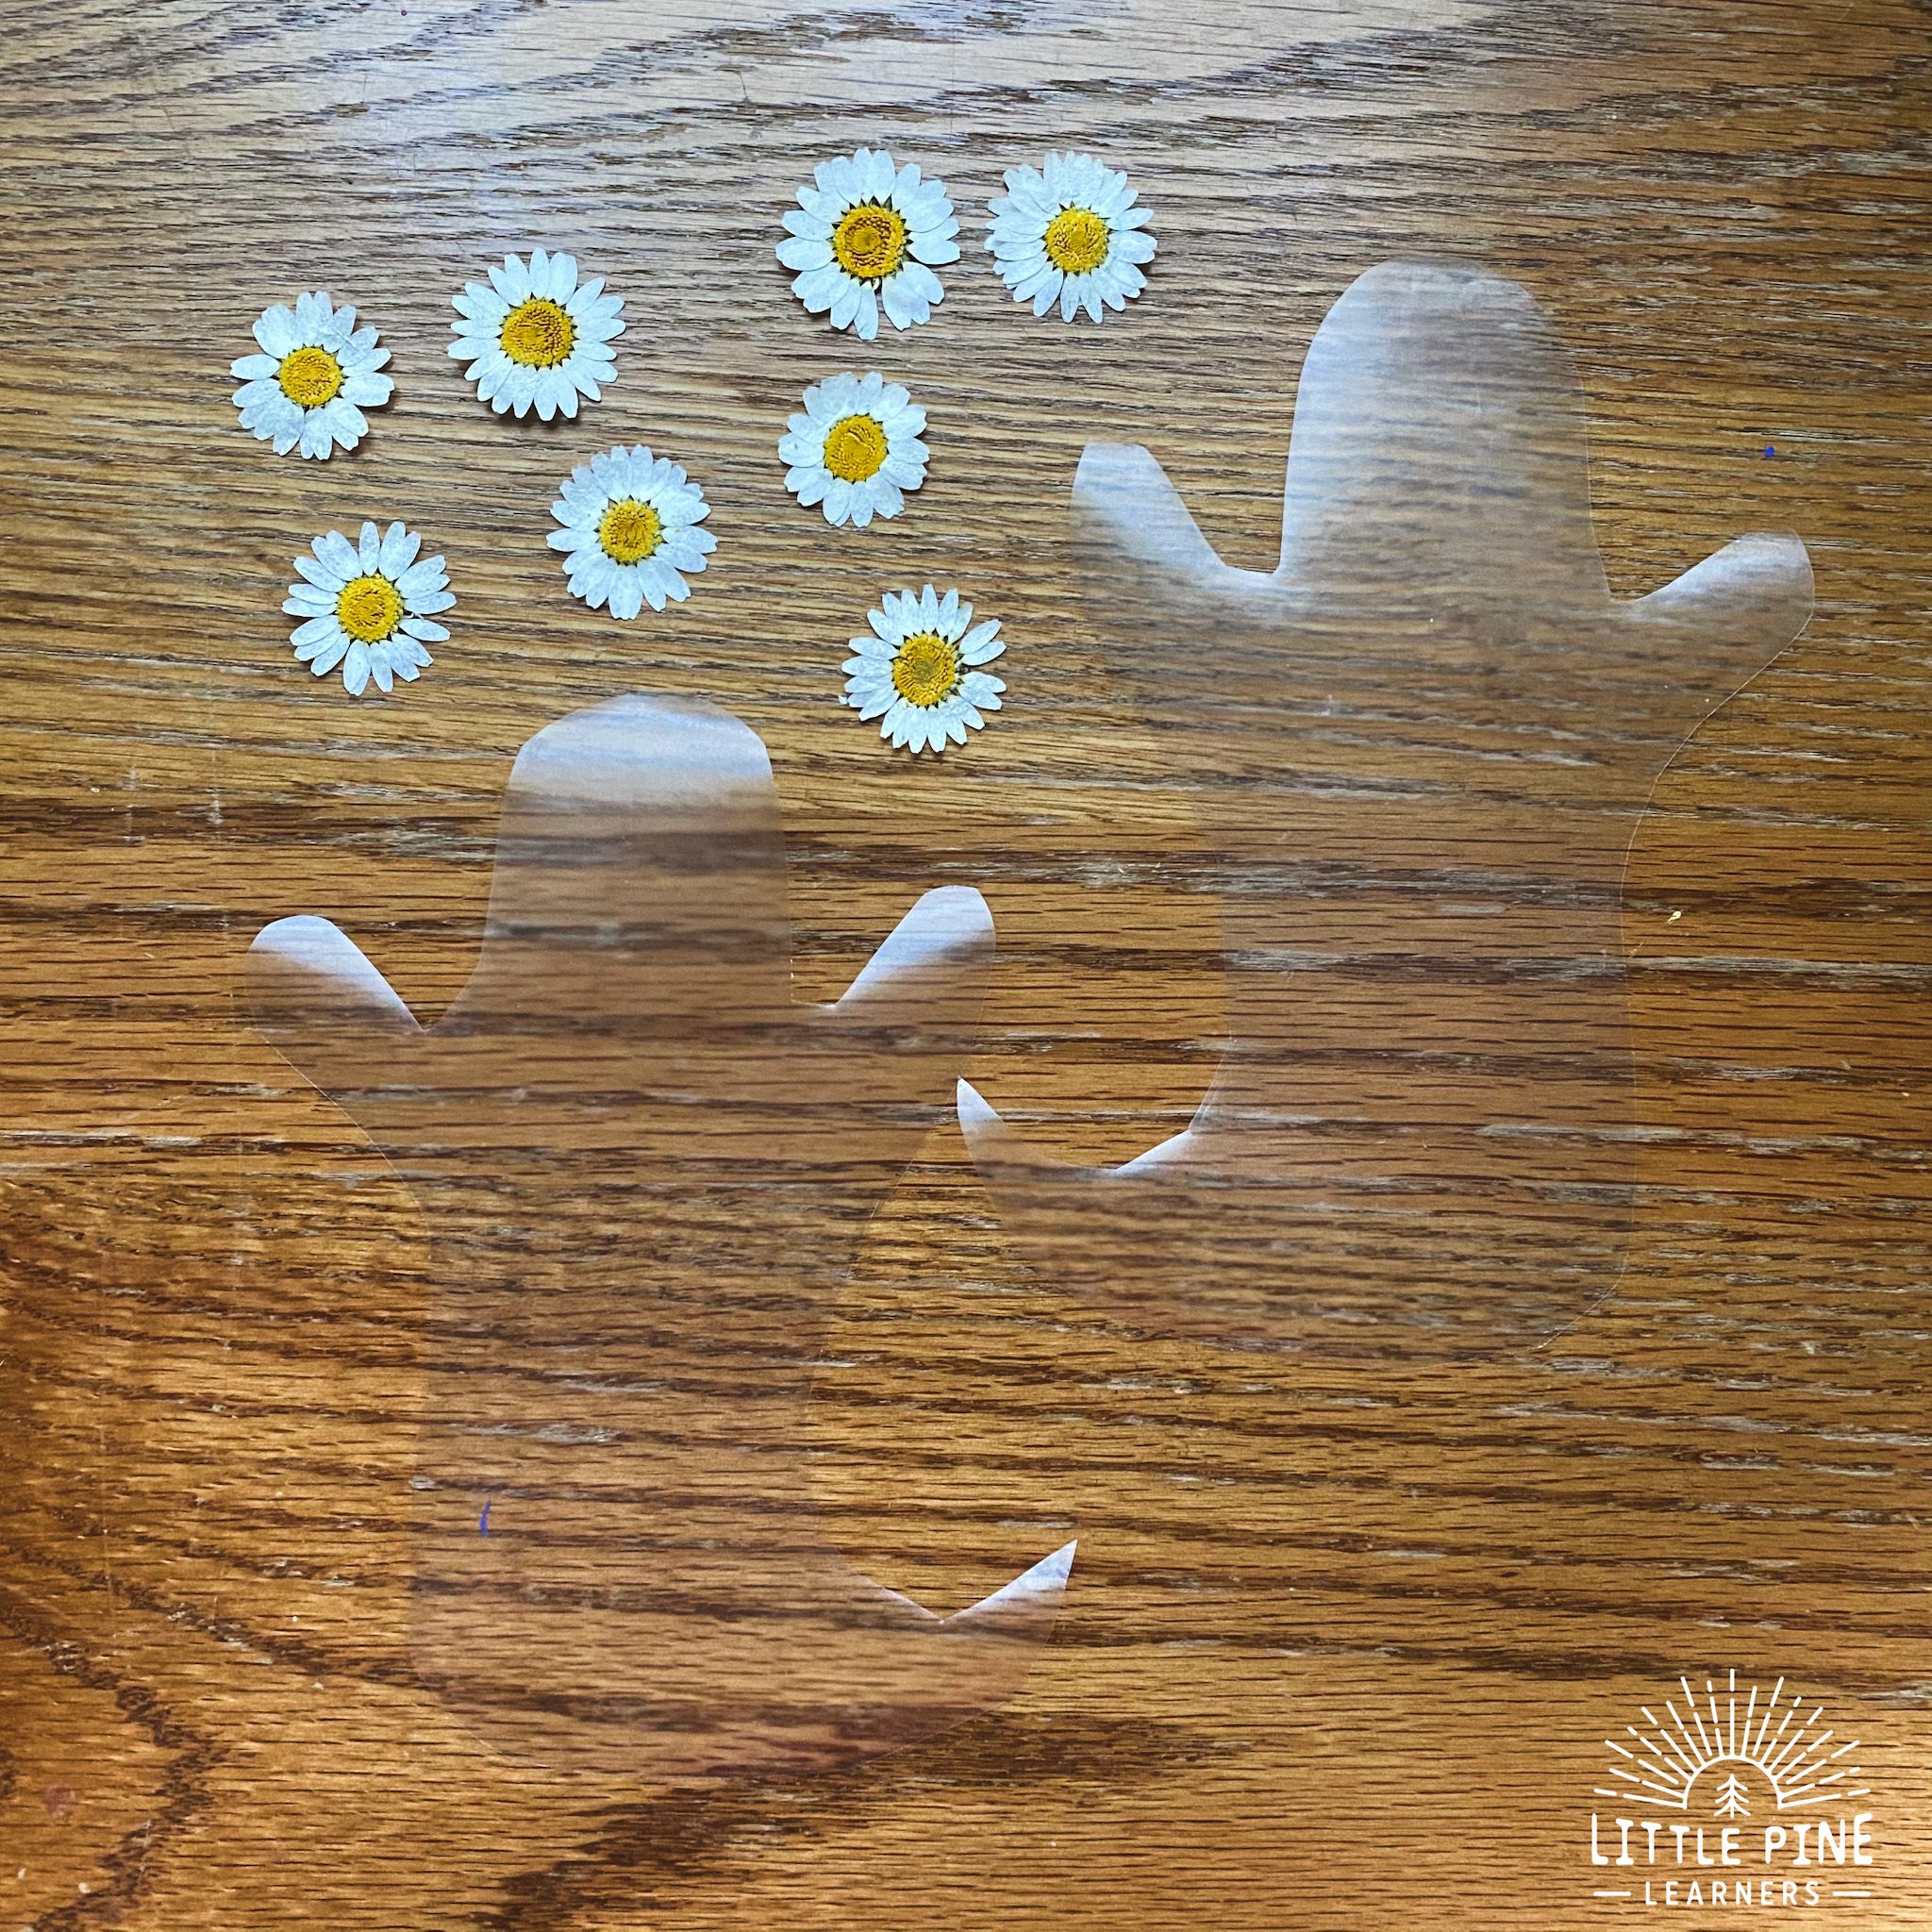
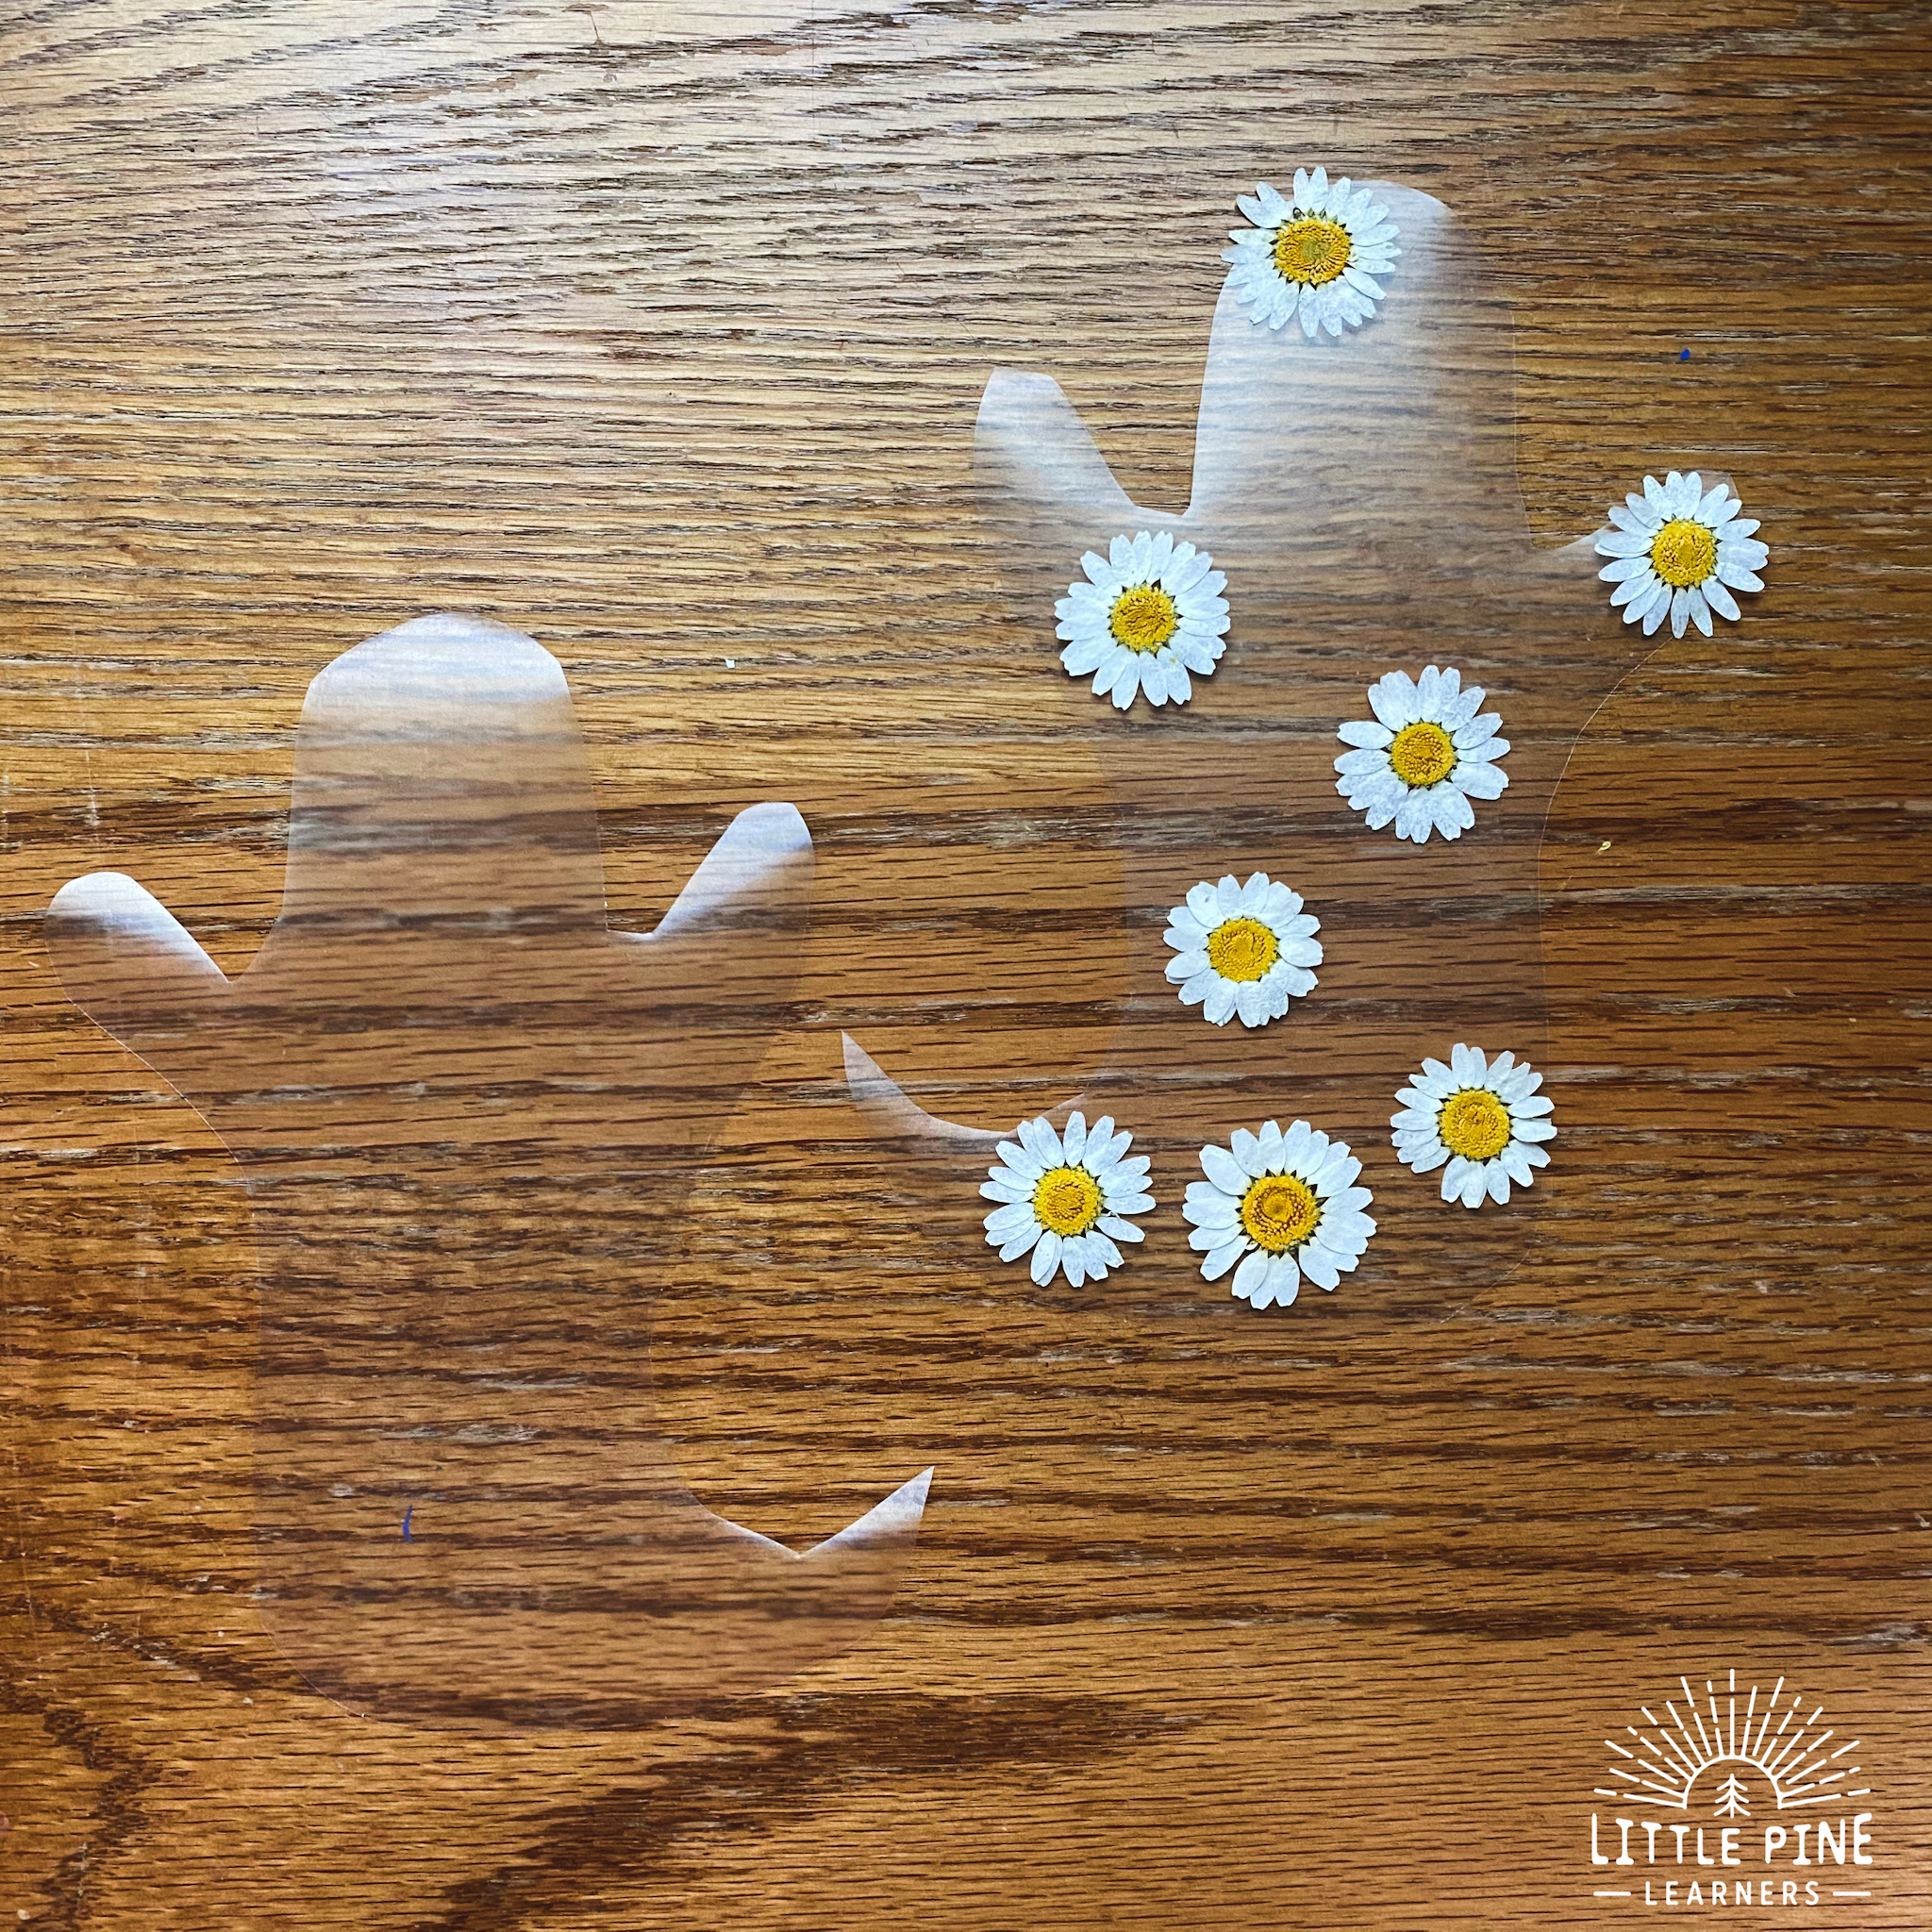
Peel the contact paper ghosts and set up your ghost making station. I set out the white daisies and contact paper- sticky side up.
Step 4:
Now it’s time to decorate! My boys loved getting creative and decorating their pieces of contact paper. Each ghost turned out so cute! It’s okay if the flowers are not fully on the contact paper, but keep in mind that the ghosts will not be completely sealed if this happens.
Step 5:
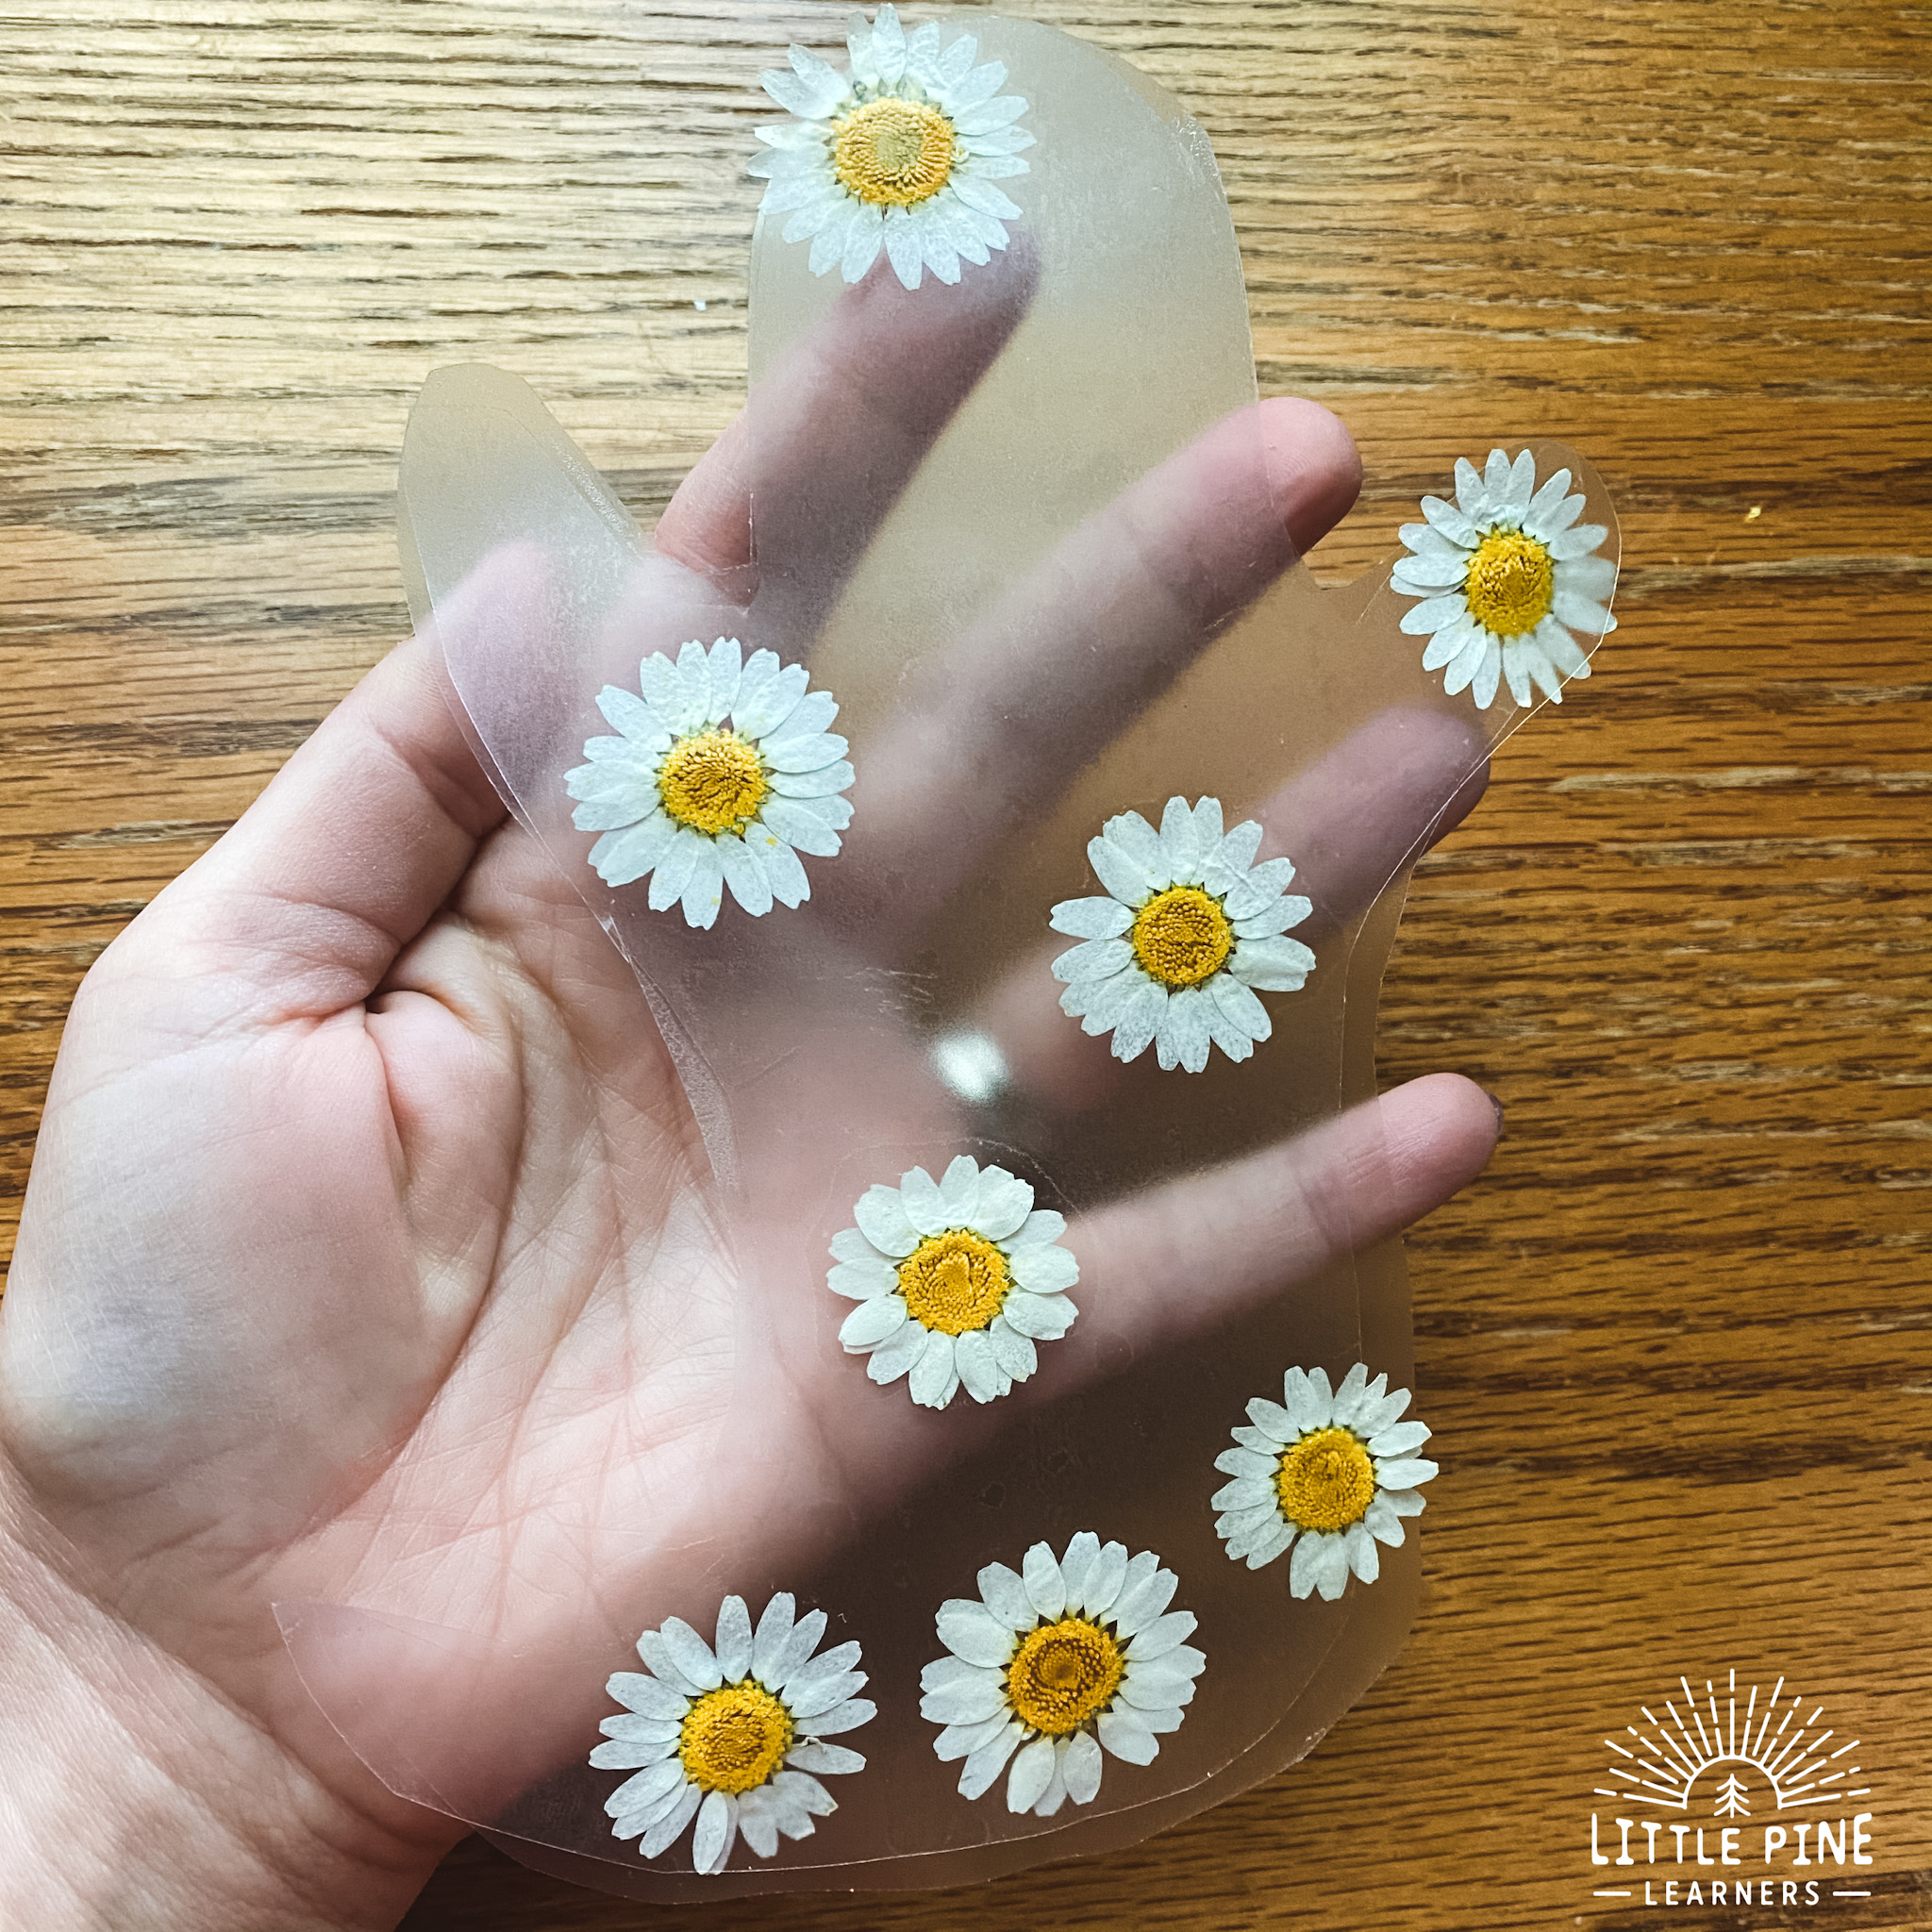
Once the pieces of nature are on the sticky side of the contact paper, seal the pieces of nature with another piece of contact paper. This time, place it sticky side down. As you can see, the ghosts might not match up perfectly, but that’s ok! You can cut any excess contact paper and flowers sticking out of the ghost outline. Or you can keep the flowers sticking out! It’s completely up to you.
Step 6:
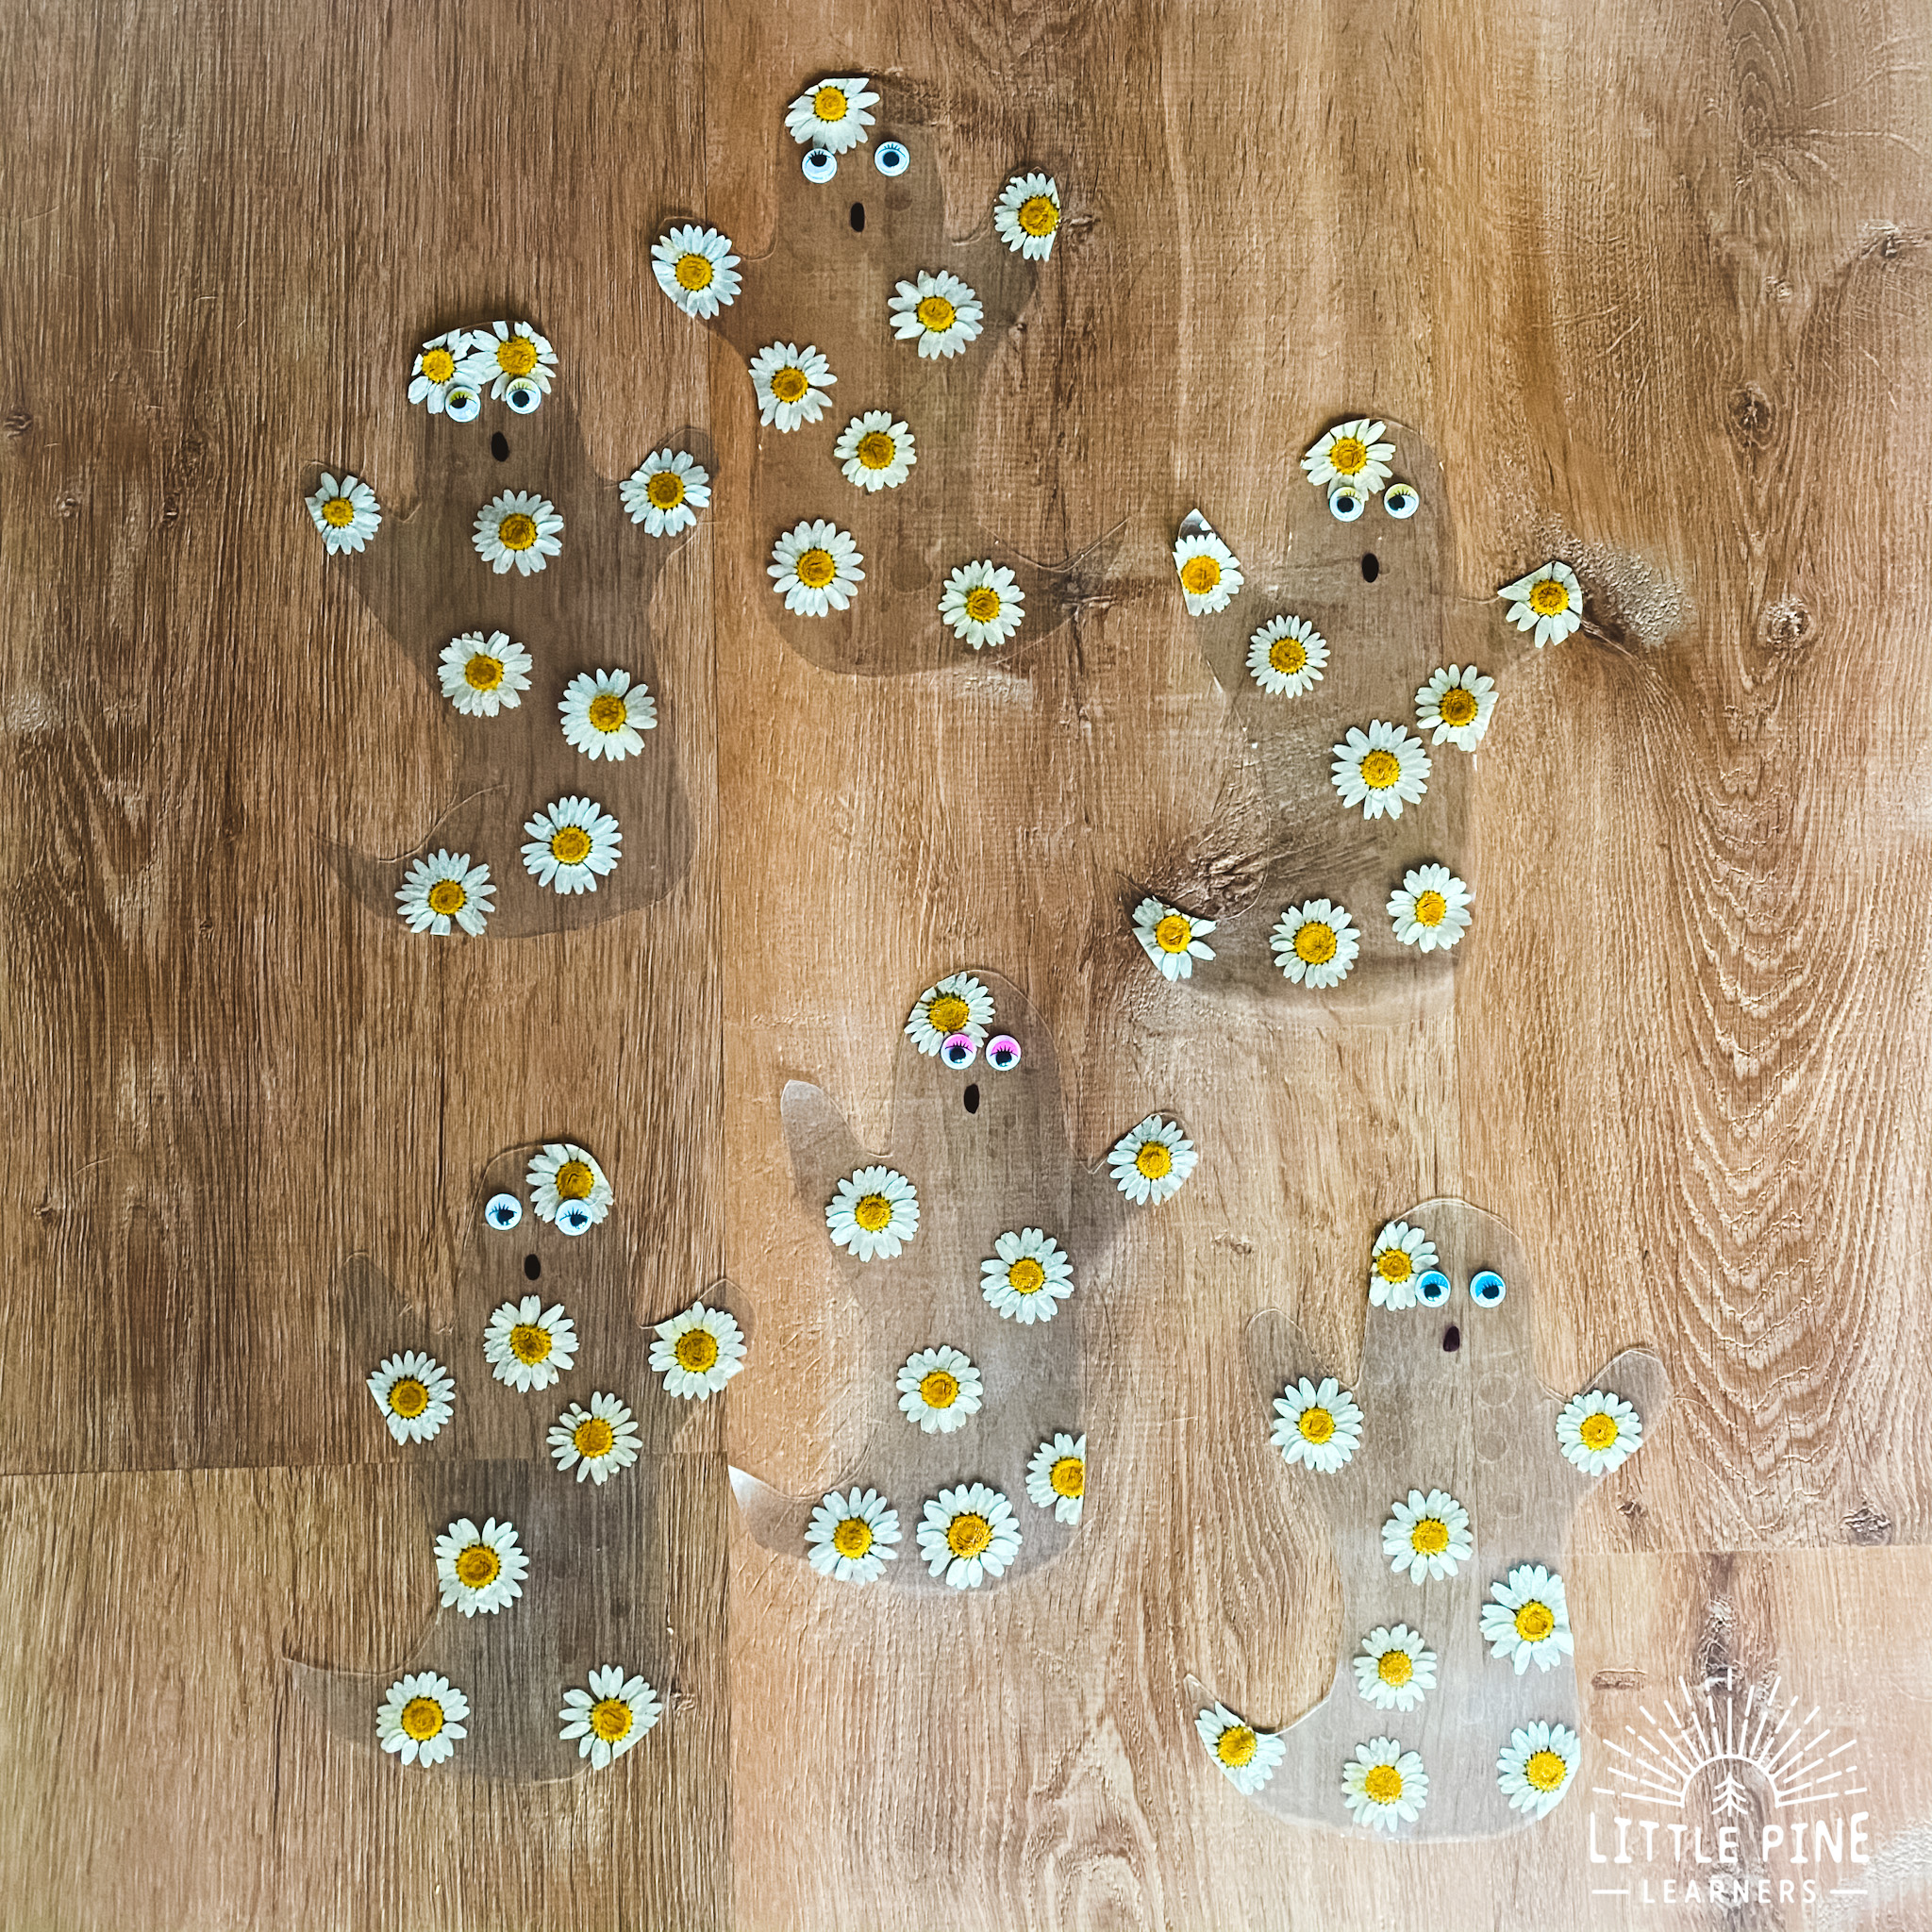
Stick on a couple of googly eyes, draw an oval mouth and you are almost finished! Now you just need to decide how you want to display your ghosts.
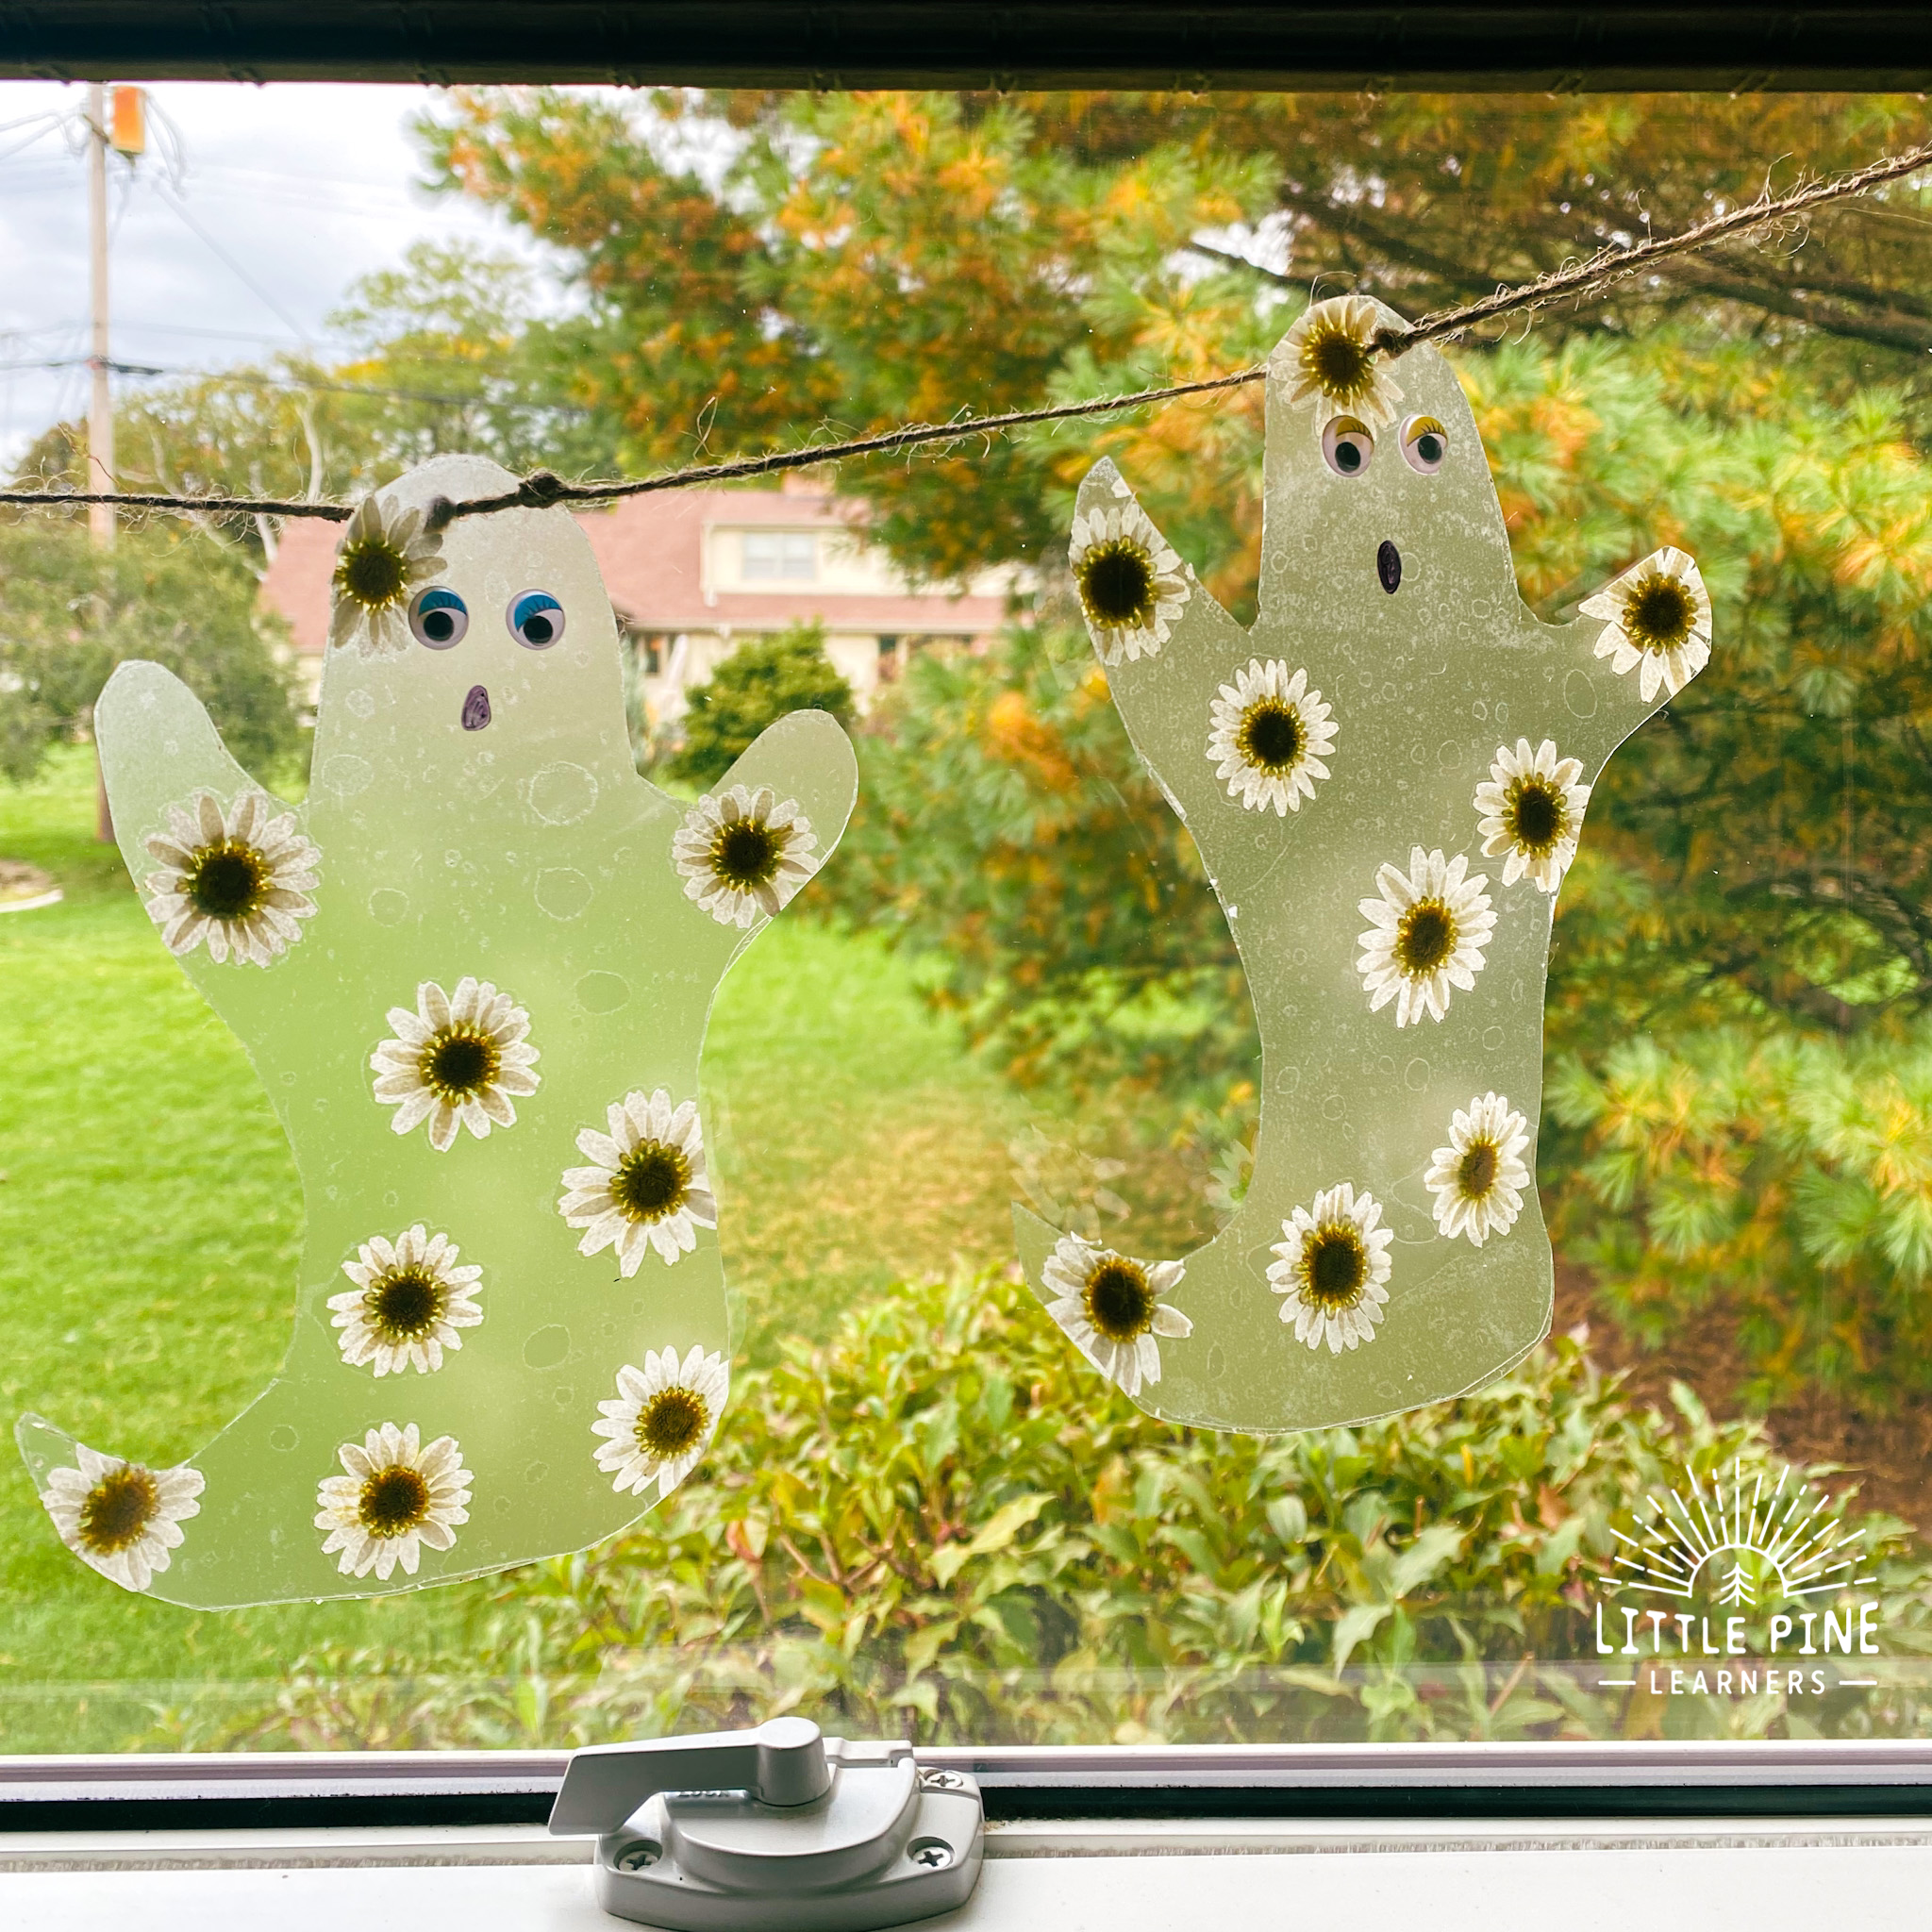
You can string them on twine and make a pretty ghost sun catcher garland. These look so neat with the sun shinning through them!
Or you can hot glue a clothespin on the back of the ghosts and hide them around the house or classroom. Try to move them around each day and make a searching game! I love how they look hiding in our plants.
Finally, you can paper punch the top of the ghost and stick a metal hook through it and place it anywhere! We stuck a few in our spiderweb fabric that’s hanging on our mantel and they look very see through here. It’s fun to see people discover them!
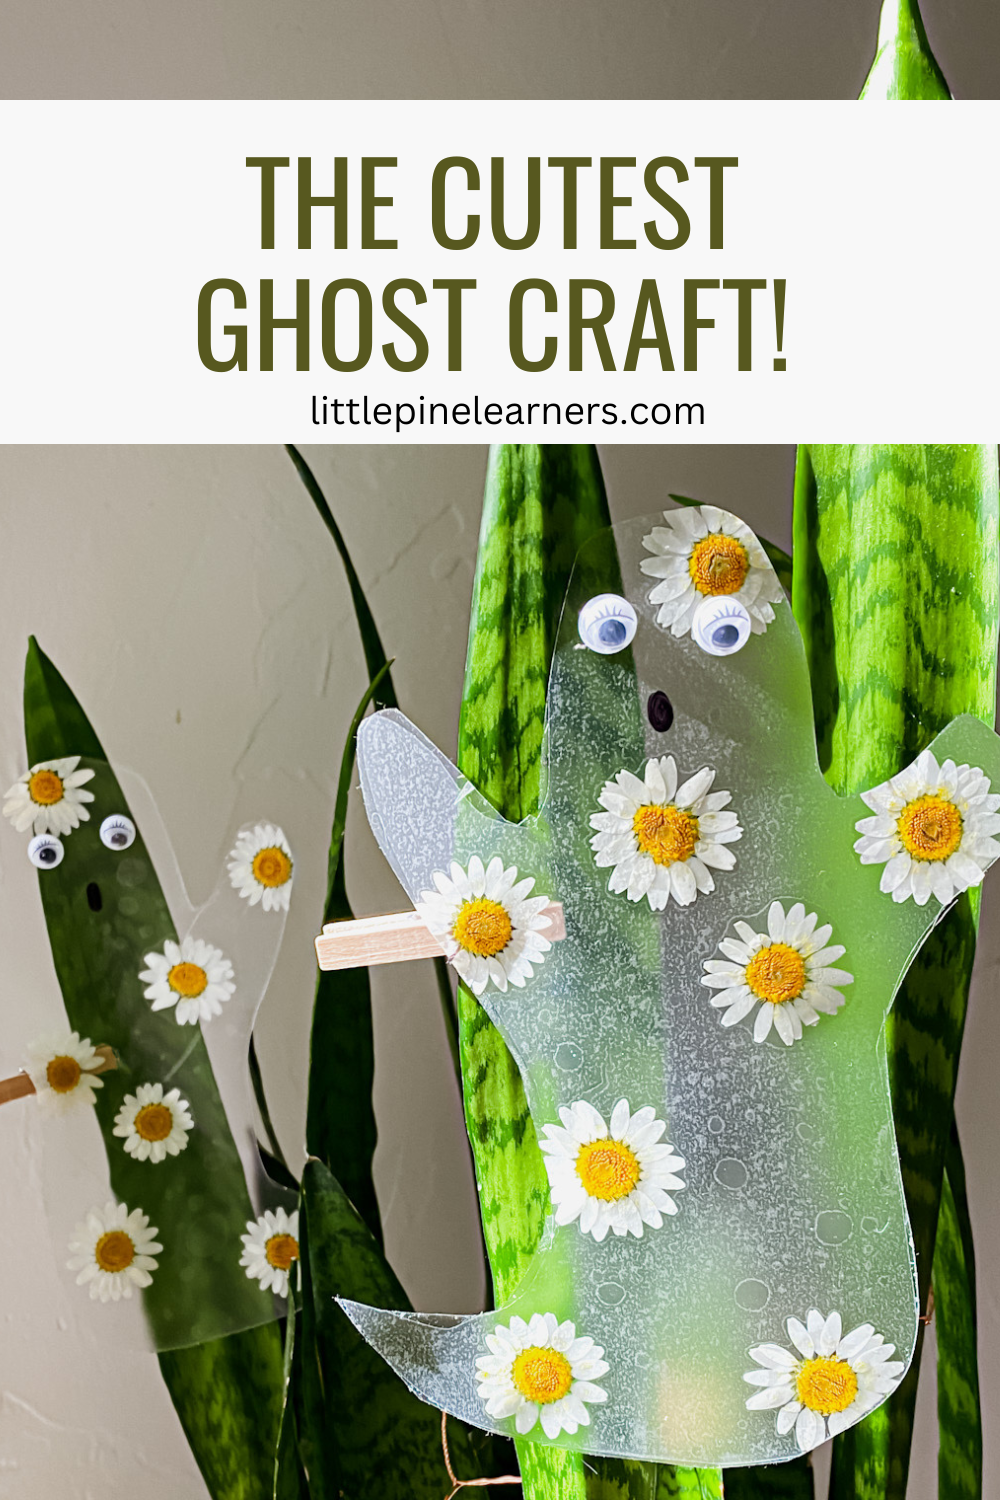
Pin it and save it for later!
I hope you have fun making this cute ghost craft! I promise, your little nature lovers will love it as much as my boys.
∼Tara


