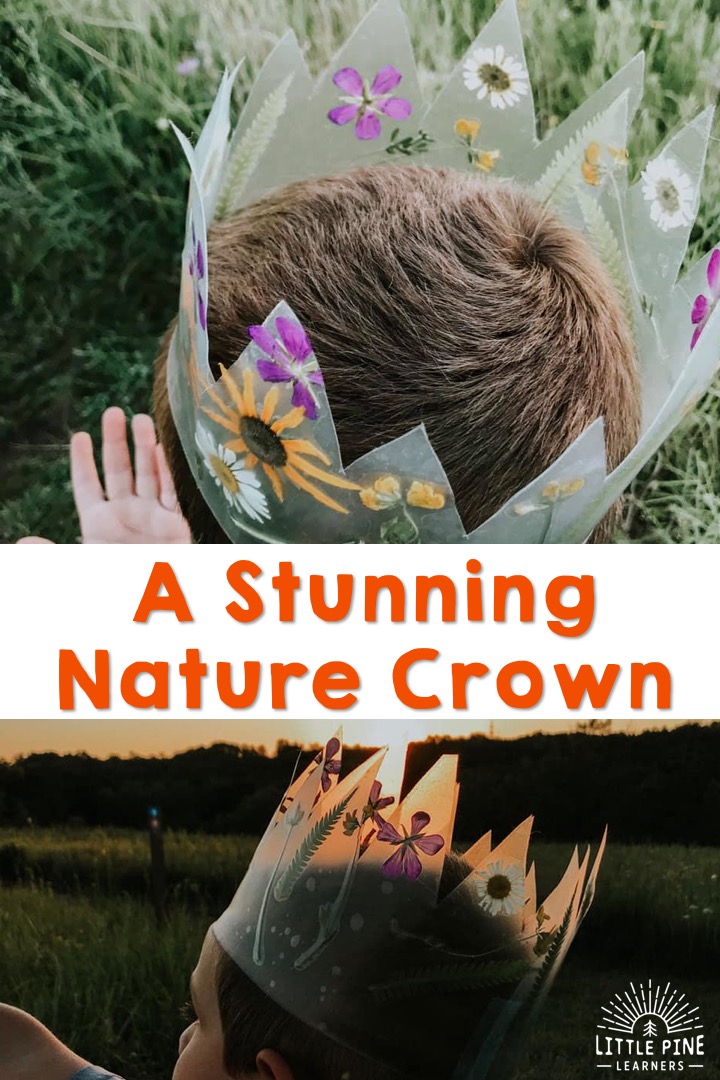
Start pressing your flowers today! This stunning nature crown can be saved and worn over and over again. The beautiful pressed flowers keep their vibrant colors and look so beautiful in the crown! Make one today and keep it for years to come.
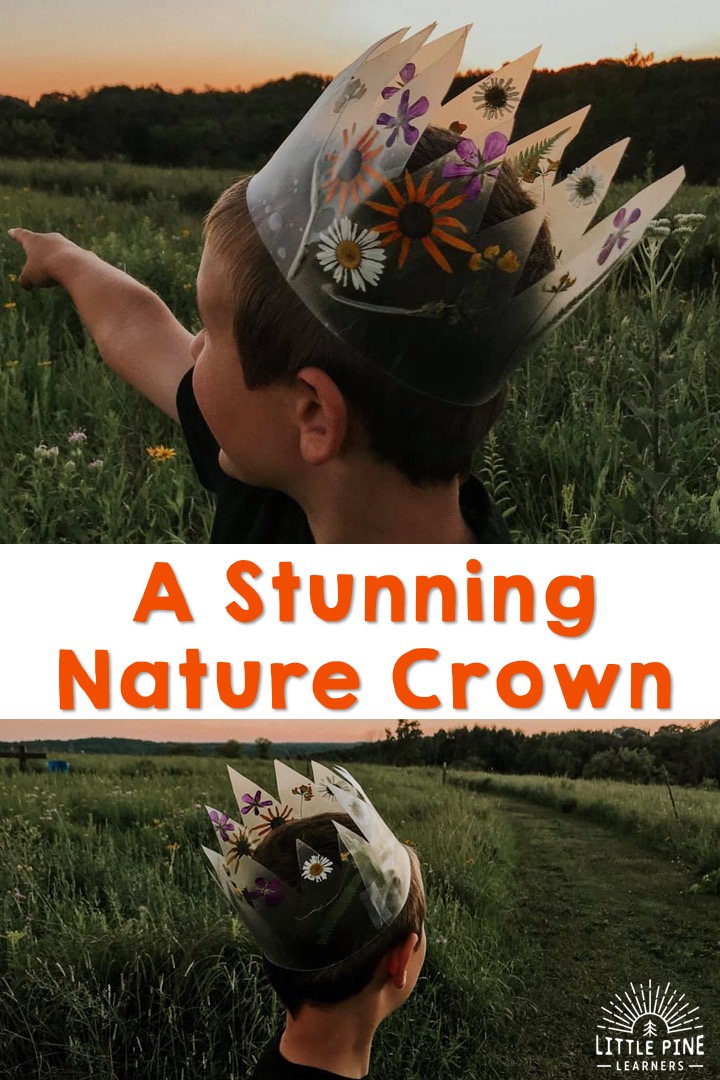
This gorgeous nature crown is inspired from Where the Wild Things Are! We love this book and read it all the time. I love paring activities with books because it creates a deeper connection to the book AND the project.
Ready to make a nature crown?! Here’s what you’ll need..
Supplies for the Nature Crown:
- Clear contact paper
- Scissors
- Pressed pieces of nature. Just grab them from your garden! If you are in the middle of winter and don’t have pieces of nature to press, you can order already pressed flowers and leaves right here
This post contains Affiliate links for your convenience.
How to Make the Nature Crown:
Step 1:
First measure your child’s head by wrapping a piece of string around his/her head. Add an inch of string to ensure that you will be able to tape the crown together when finished. Then lay that piece of string on your roll of contact paper to see how big your sheet of contact paper needs to be.
Step 2:
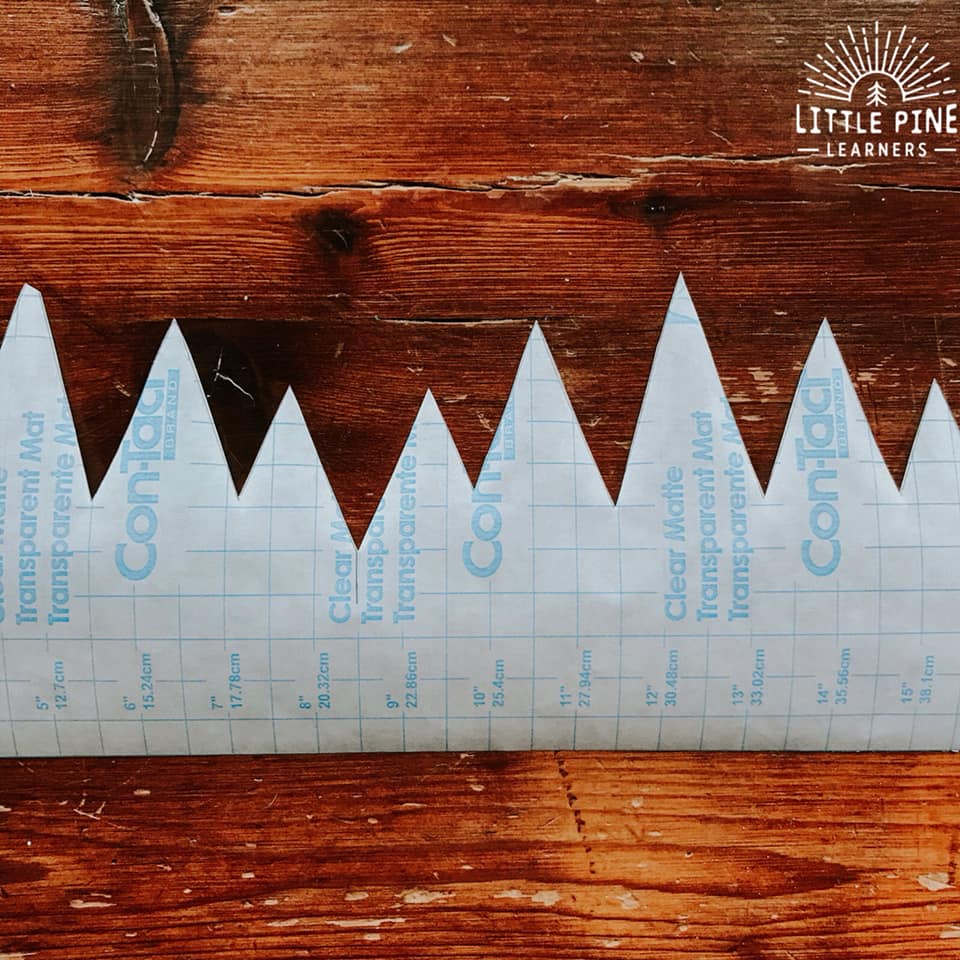
Lay down your piece of contact paper with the print side up. Create a crown outline or find a template to copy online. For easy tracing, I copied a crown template from the My Wild Finds packet. I adapted the crown a bit and made straight points instead of the little circles that are on the crown. Then I just continued the pattern to make it big enough to fit around by son’s head.
Cut it out after you traced your template.
Step 3:
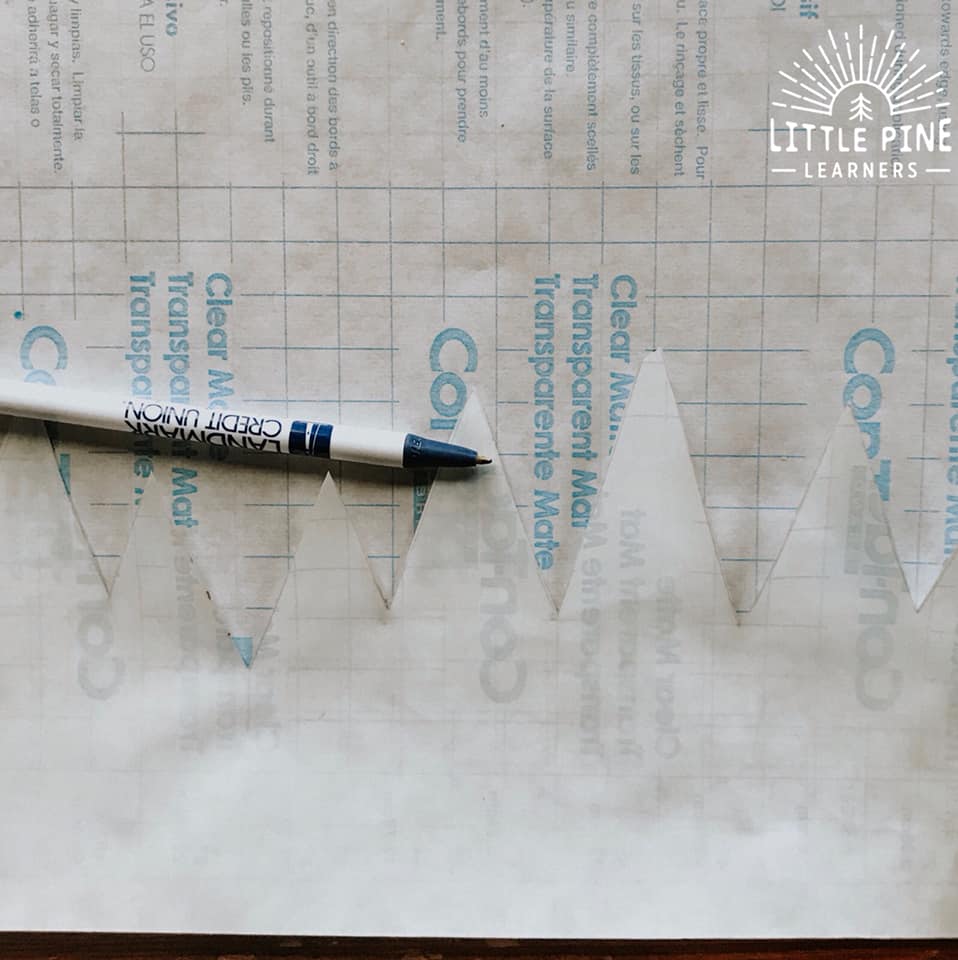
Now you will make the other side of the nature crown. This side will seal in the pressed flowers.
To make this side, flip over the first side of the crown you made and trace it on the contact paper. Notice the cut crown is print side down and the other piece is print side up. This will ensure your unique sides will match together when you seal the flowers.
Step 4:
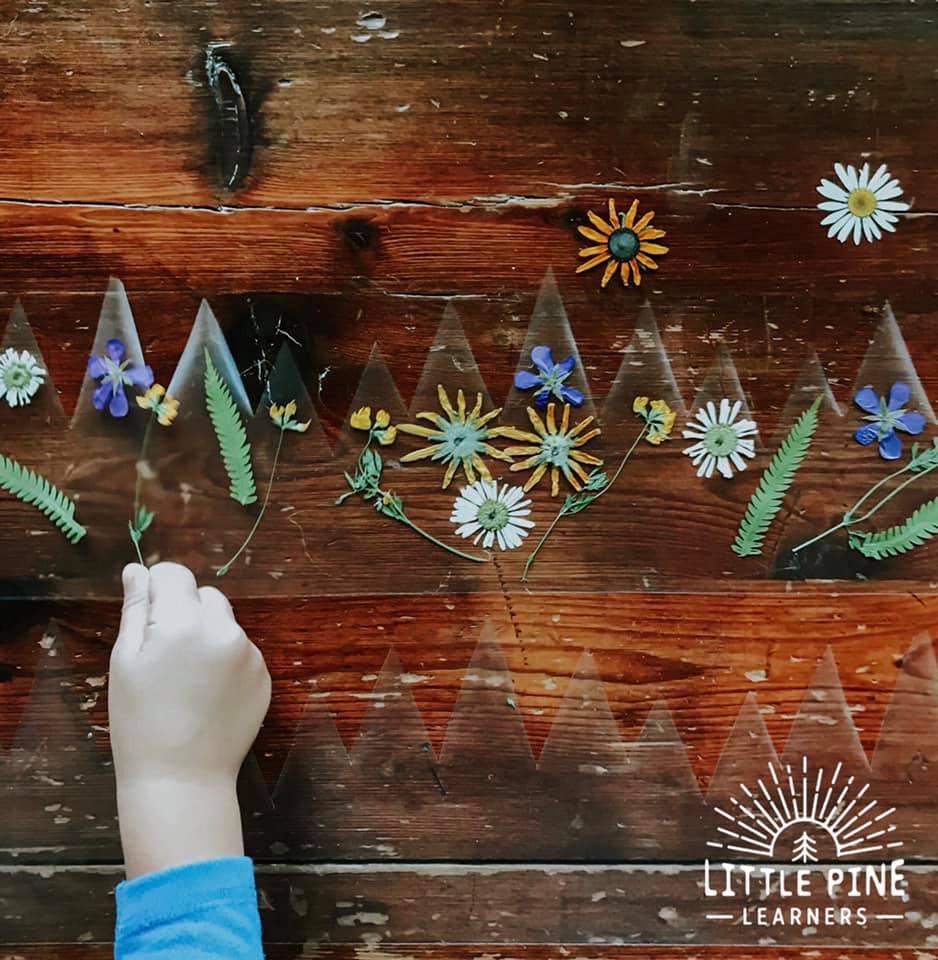
Next it’s time to decorate your crown! We used pressed flowers from a book, you can see that method HERE. We also used pressed flowers from the microwave, you can see that method HERE.
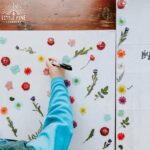
My boys loved helping with this step. Just peel the backing from your contact paper, lay it sticky side up, and start sticking your pressed flowers!
Step 5:
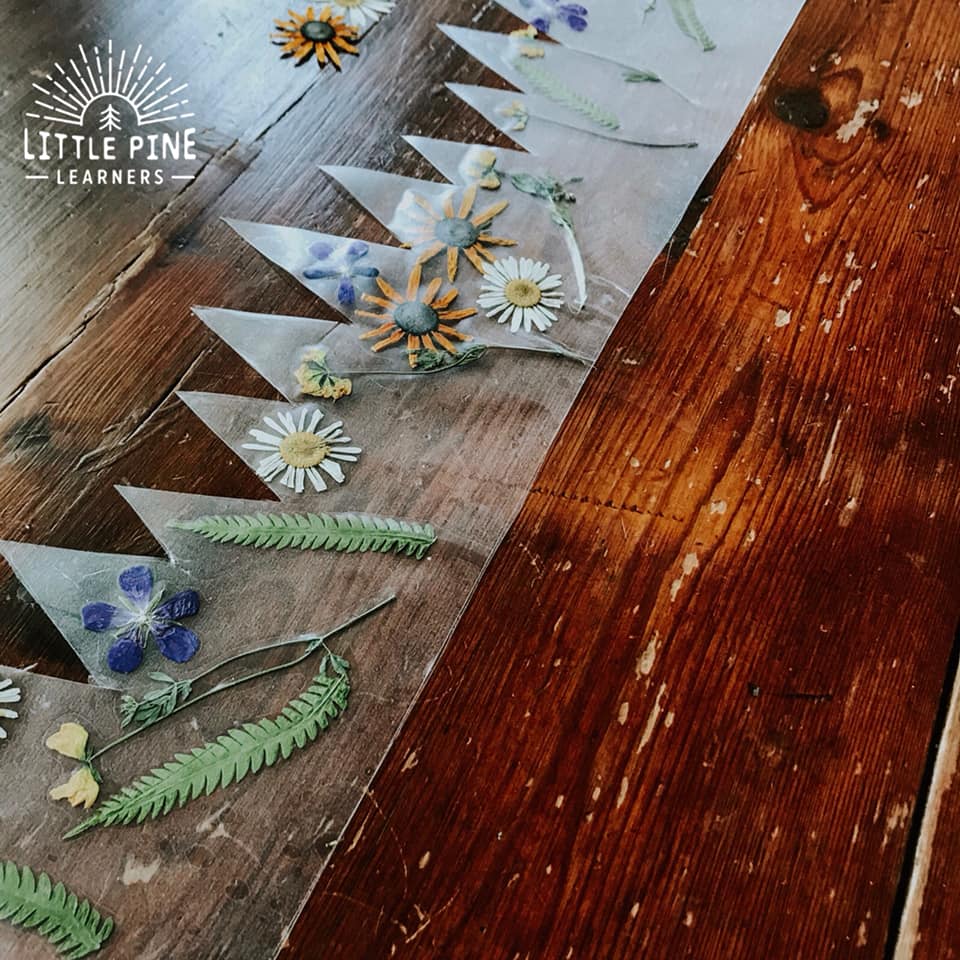
Now match up the other side of the nature crown to seal the flowers. This can be a little tricky, but totally doable. Just go slow and start on one side of the crown. I like to match up the lower corner and slowly match the sides. Try to push out air bubbles as you go, but many of them can be pressed out when the crown is complete. Contact paper is pretty easy to peel back if you need to make minor adjustments as you go. I trimmed the sticky pieces that didn’t quite match up when I was finished.
Use a little tape to connect the sides and you are ready to go!
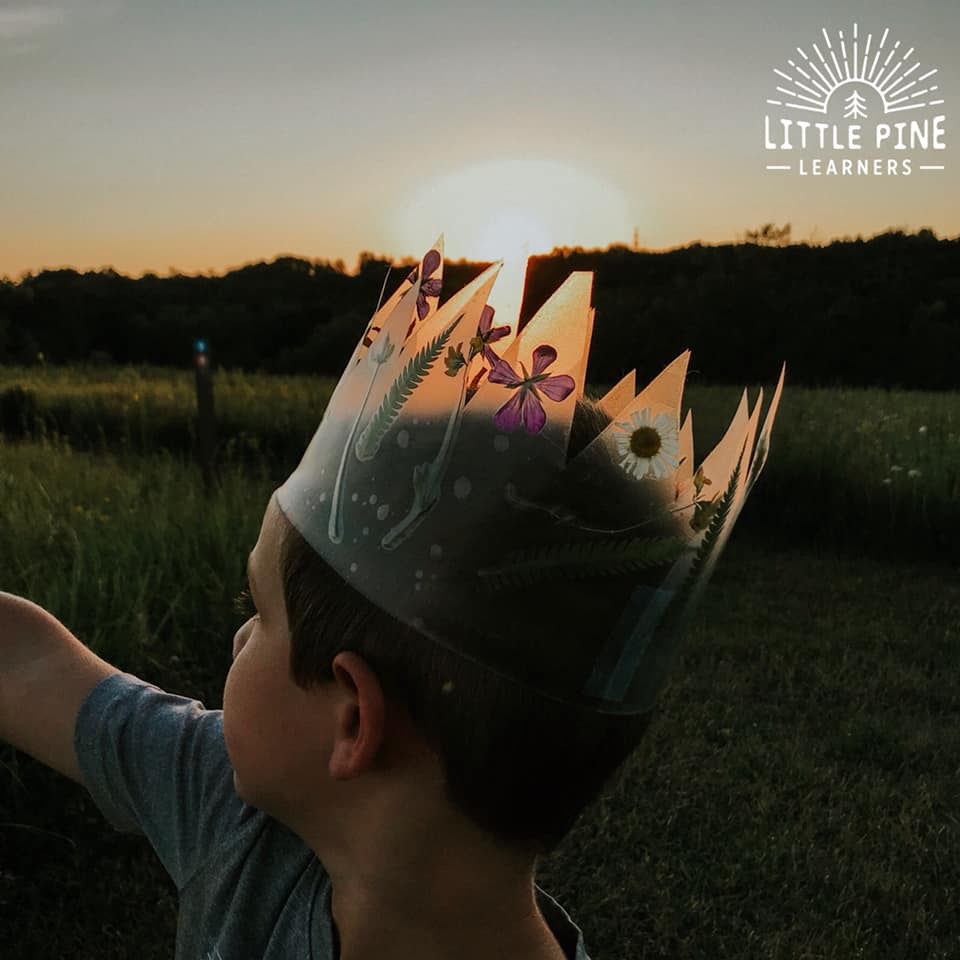
Now that your nature crown is complete, take it out for a sunset hike! The flowers look so gorgeous with the sun shinning through the crown.
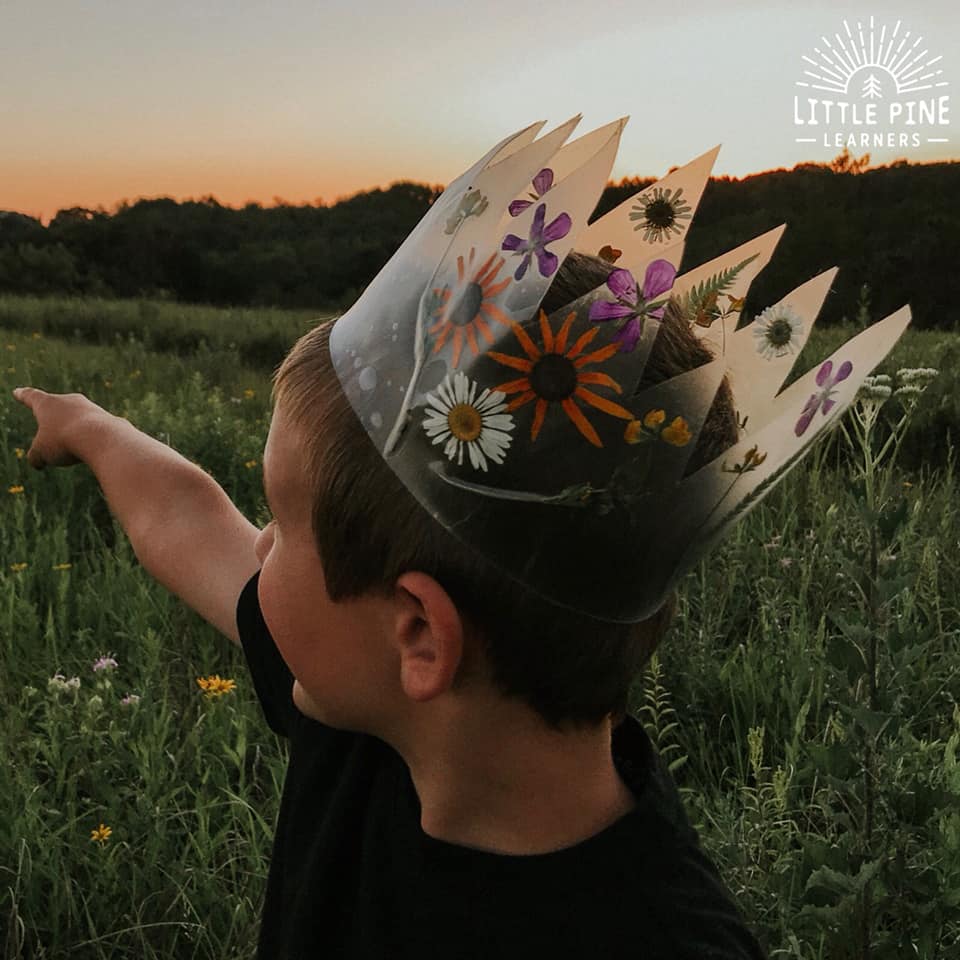
This crown is the perfect outdoor play accessory or make one for your next special occasion, like a birthday party!
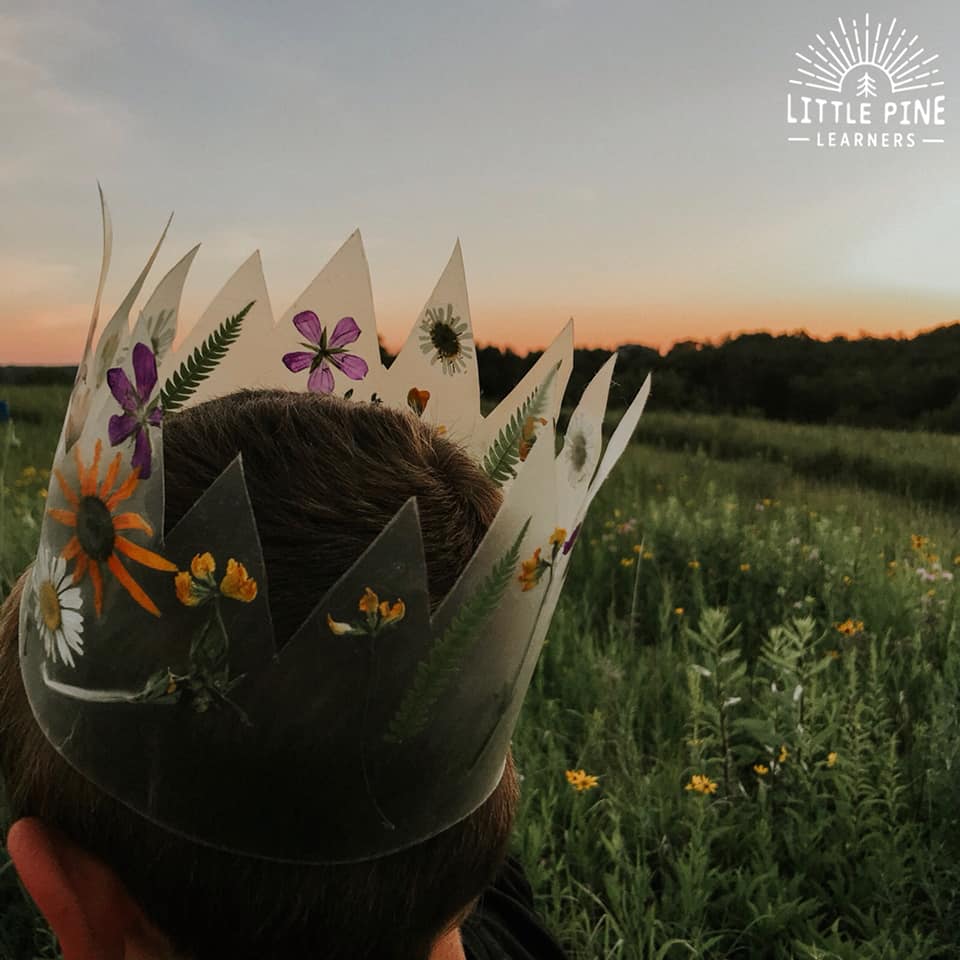
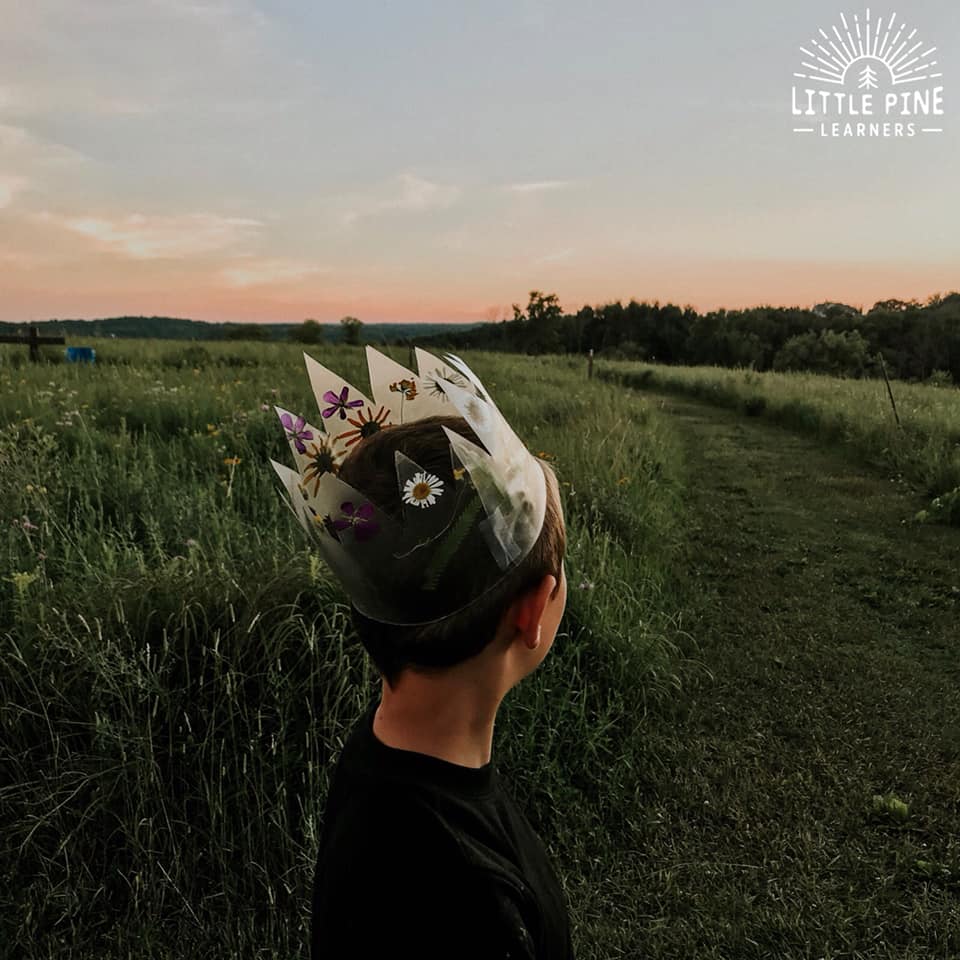
You don’t need the golden glow of sunset to make this nature crown special, it also looks beautiful during the day!
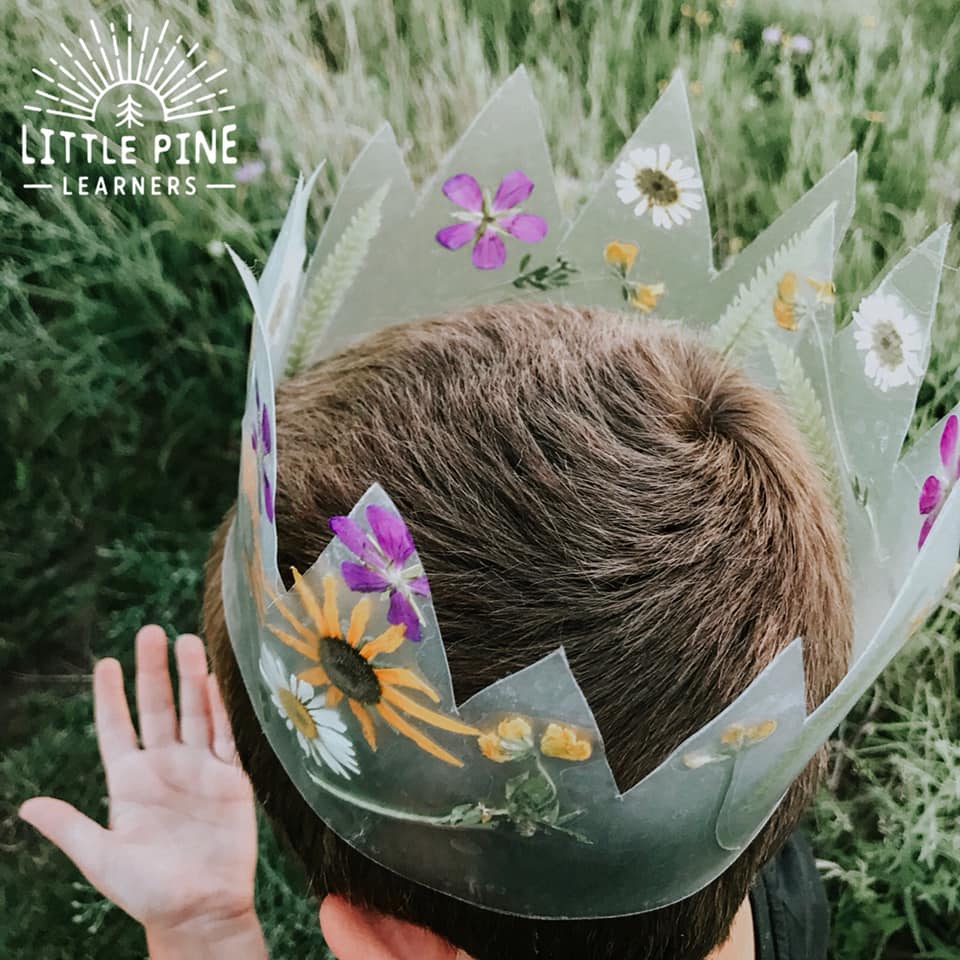
I love this crown because you can save it and use it over and over again.
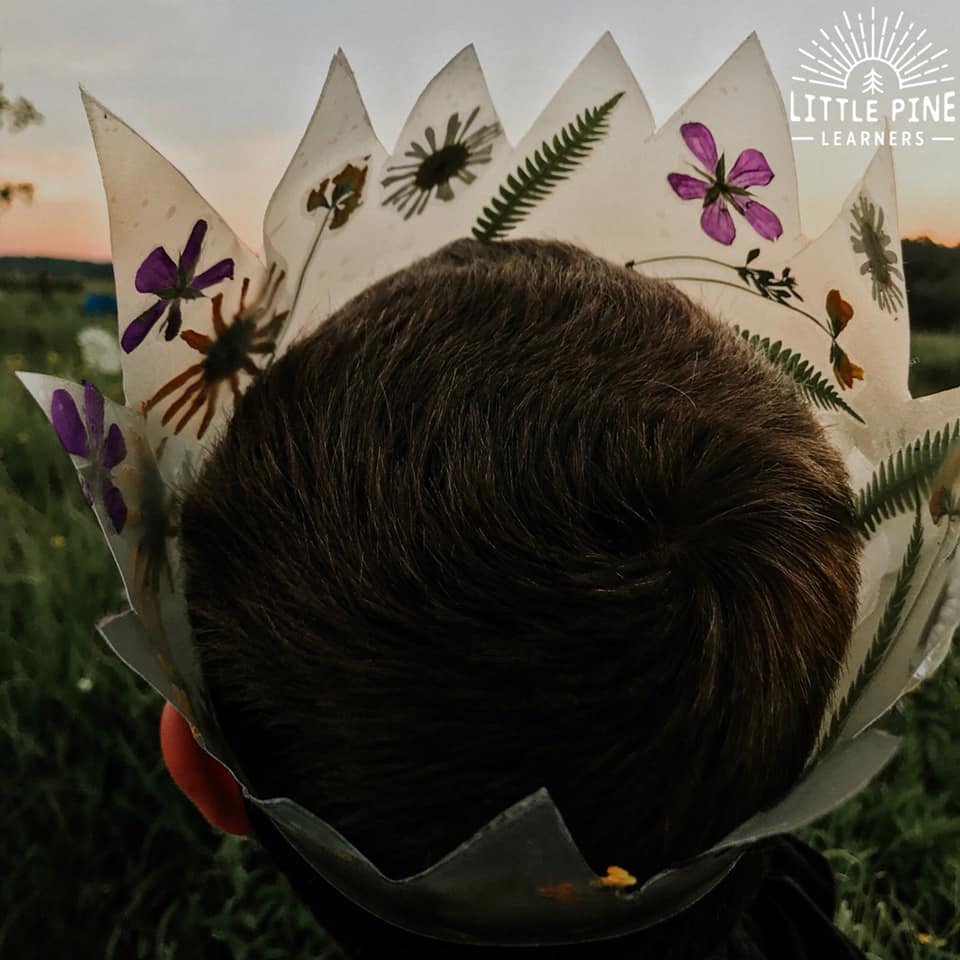
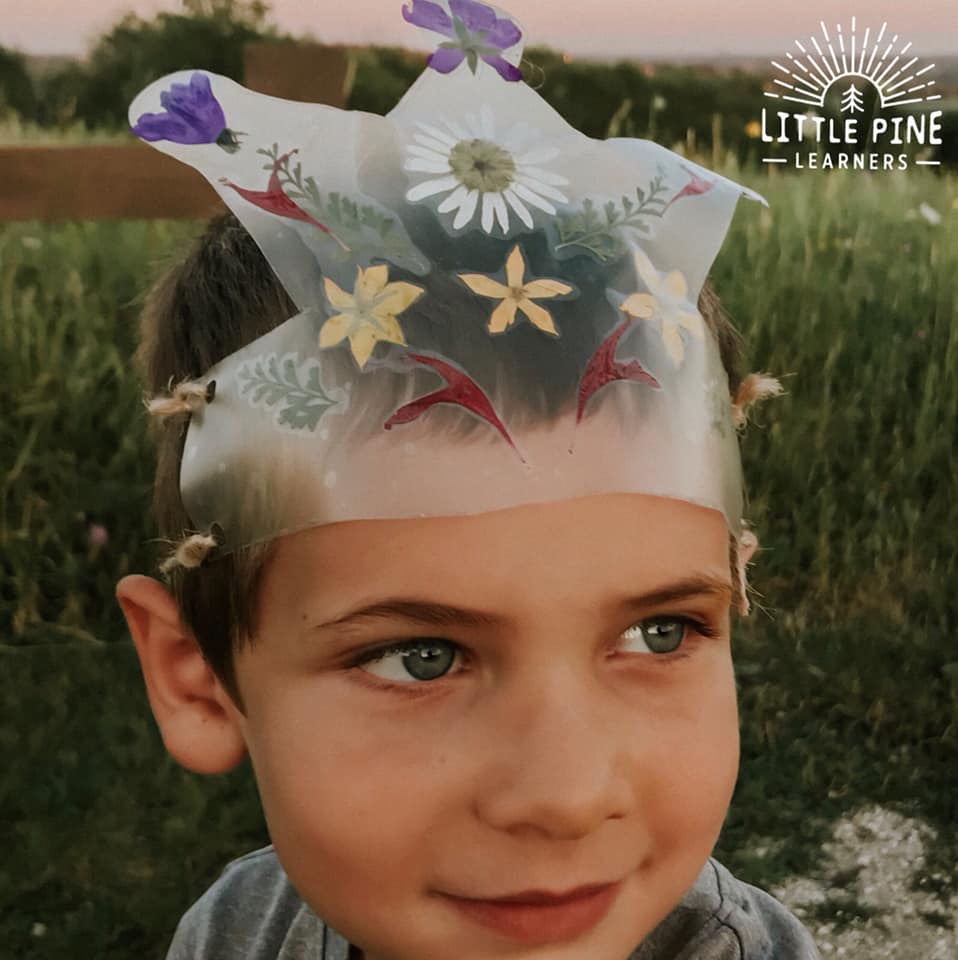
We also traced this crown design from from the My Wild Finds packet. I added a little twine to wrap it around my son’s head. Which one do you like more?! It’s hard for me to decide! Here are a few more photos to inspire your crown:)
Pin it and save it for later!
I hope you give this nature crown craft a try! I promise, your little nature lovers will love it as much as my boys.
∼Tara
