Have you ever decorated pumpkins with pieces of nature? It’s so simple and looks beautiful when complete! You can use leaves, flowers, or other light pieces of nature. Kids will love pressing the pieces of nature and gluing them onto the pumpkin! This is one pretty pumpkin when complete.
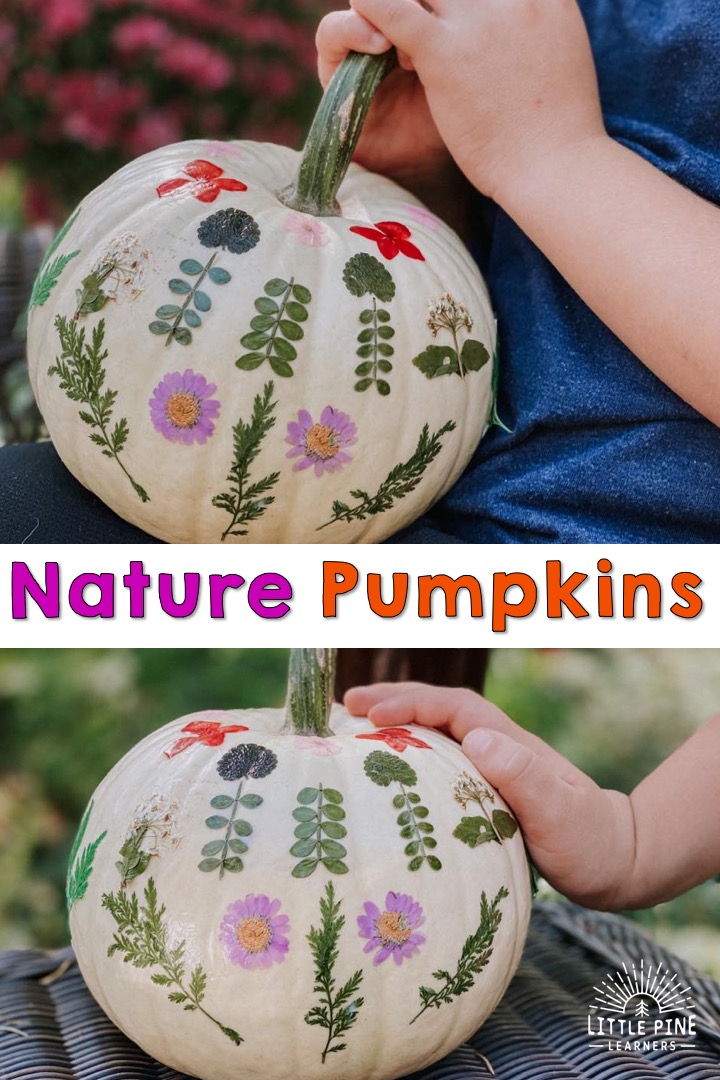
I’m loving how our nature pumpkin turned out! It’s so bright, colorful, and unique! If you are looking for a beautiful no-carve pumpkin design, then you’ve come to the right place.
Ready to give this pretty pumpkin craft a try!? Here’s what you’ll need..
Supplies:
-
- Pumpkin
- Pressed pieces of nature- You can press your own pieces. We didn’t have any on hand, so we used some pieces from this set.
- Mod Podge– I like the matte for this project, but the glossy variety will work just fine as well! It will just be a little shinier.
- Foam brush– This is optional, you can also use your finger. I just started using foam brushes with Mod Podge projects and they are pretty helpful and keep the mess more contained!
This post contains Affiliate links for your convenience.
Related: Check out THE CUTEST NO-CARVE PUMPKIN DESIGN
Here’s How to Make this Pretty Pumpkin:
Step 1:
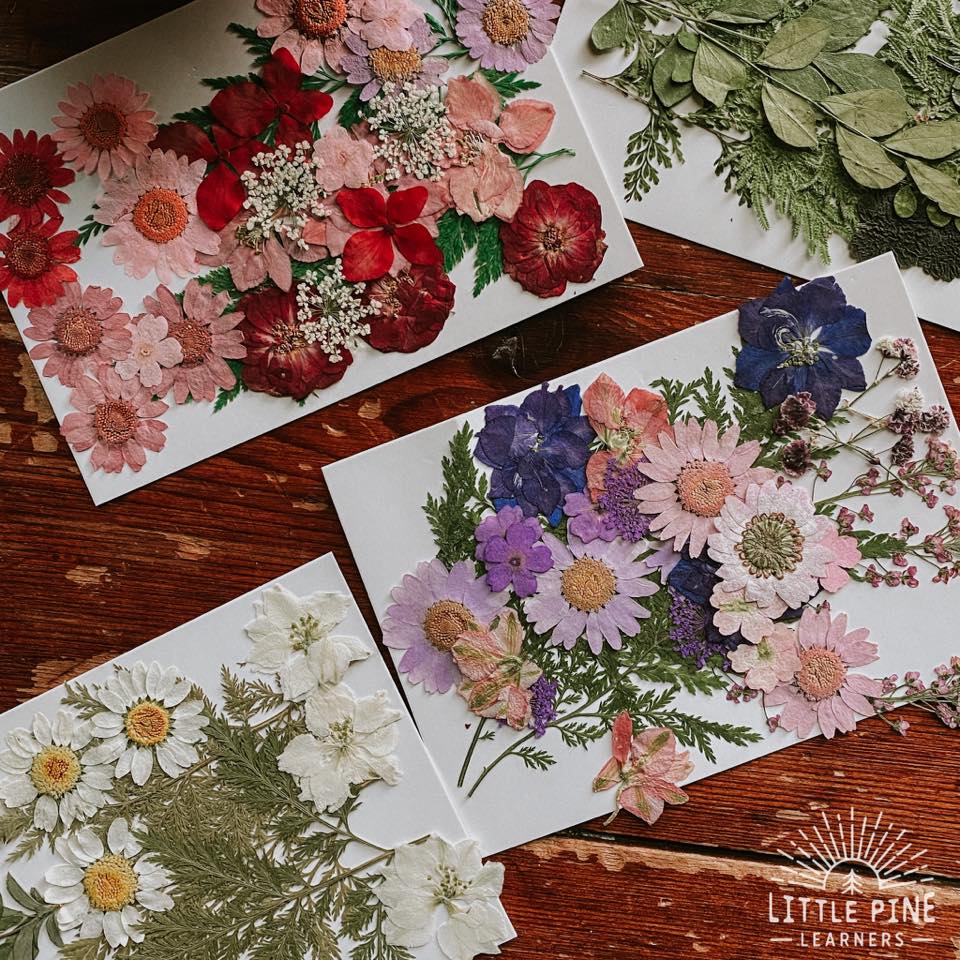
First you need to gather your supplies. I initially tried using fresh leaves for this project, but they were pretty heavy and were not laying very flat on the pumpkin. We didn’t have any pressed leaves from our yard on hand, so I dug into our stash of pre pressed pieces of nature. I ordered these sets from Amazon and love using them for nature crafts!
If you have the time and would like to press your own leaves, just place them in between pages of a book for about 5 days and they should be flat and dry by then. Press leaves that are small, thin, and have a lower moister content. If you would like to press your own flowers, you can learn more about the process in this post about preserving flowers!
Step 2:
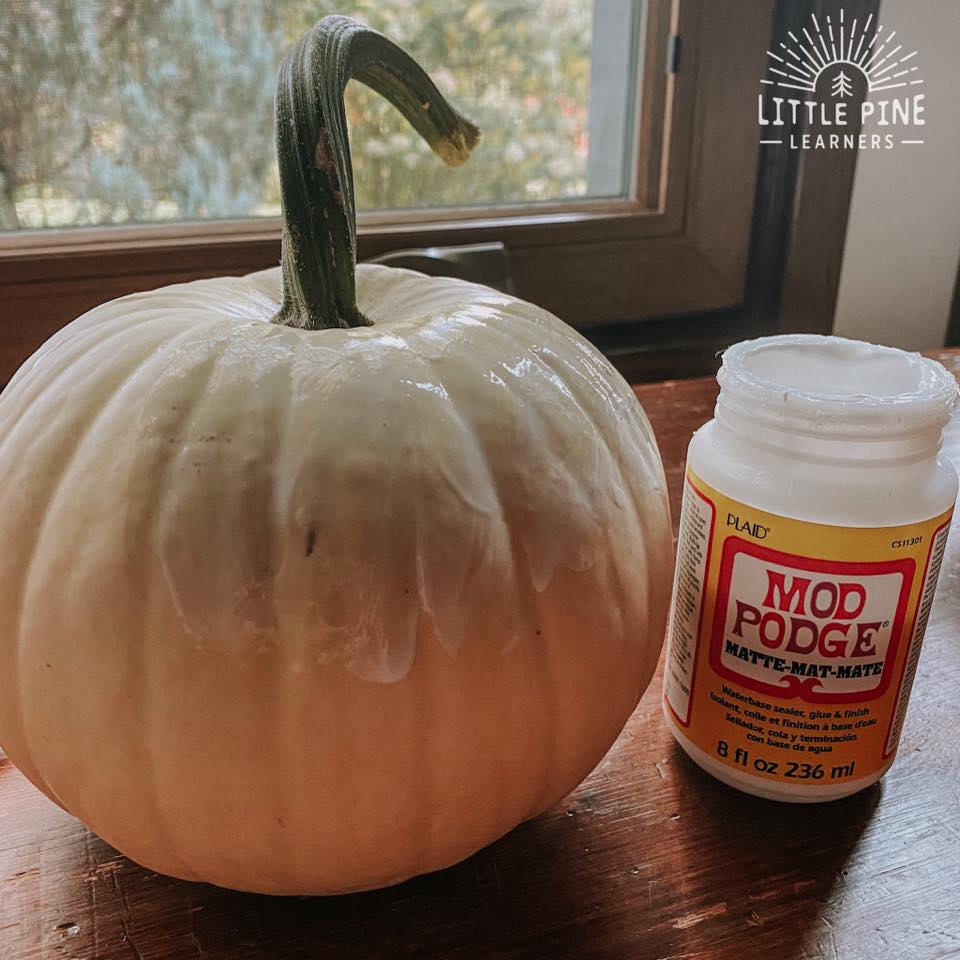
Now that you have your pressed pieces of nature ready, it’s time to decorate your pumpkin! You can think of a design beforehand or just start gluing the pieces of nature on the pumpkin.
First, Put a thin layer of Mod Podge on the pumpkin.
Step 3:
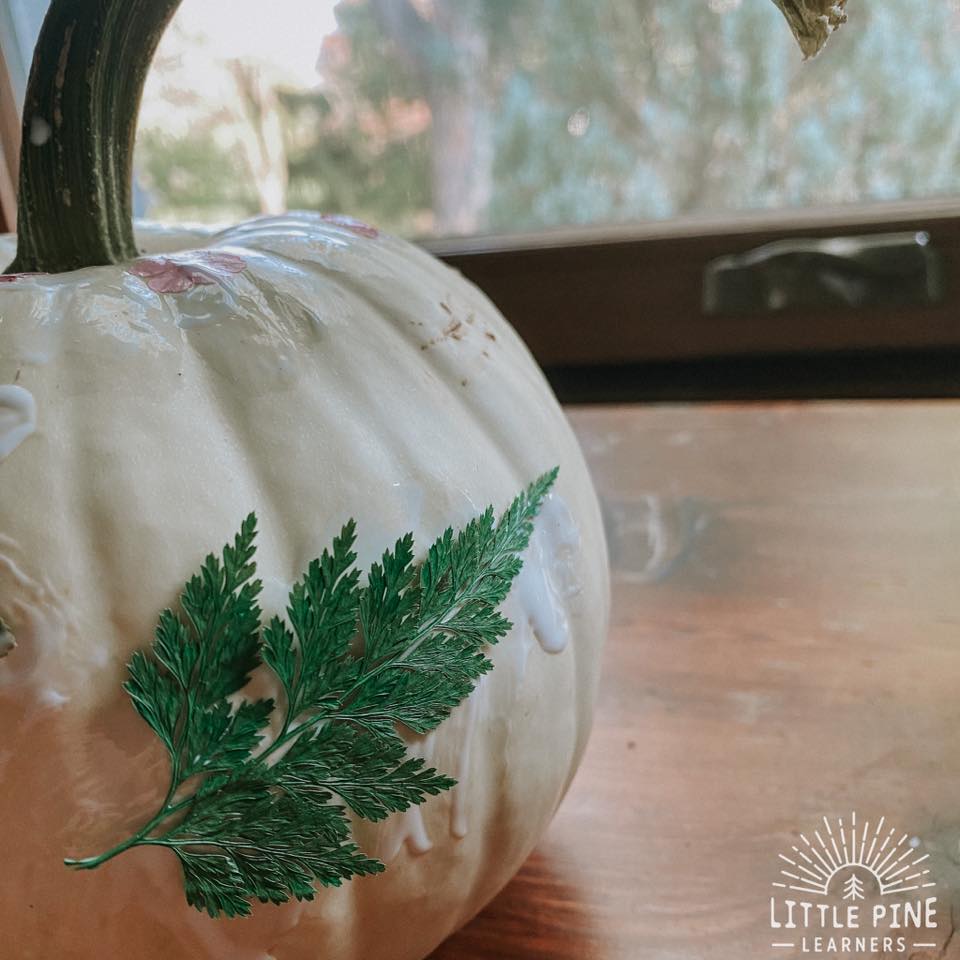
Place your pieces of nature on the pumpkin. Work on a small section at a time, so the Mod Podge doesn’t dry.
Step 4:
Cover your pieces of nature with another layer of Mod Podge. I added quite a bit to make sure the leaves and flowers were covered and laying flat. You might have a little piece of stem sticking up, but that’s fine!
Repeat this step for the other sections of your pumpkin and let it dry. It took my pumpkin a couple of hours to dry.
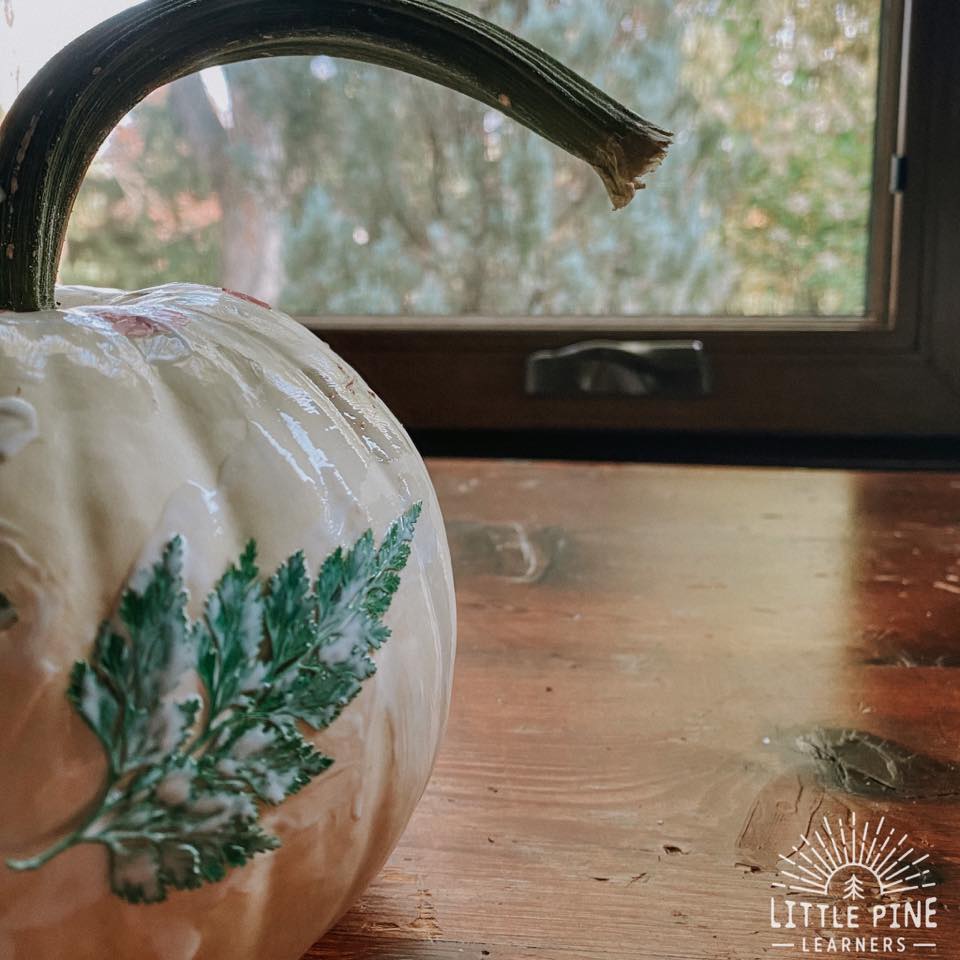
Once it’s dry, find a nice spot to showcase your beautiful pumpkin! We took it outside for a photo, but are keeping it inside near our mantle. It’s one of our favorite decorations!
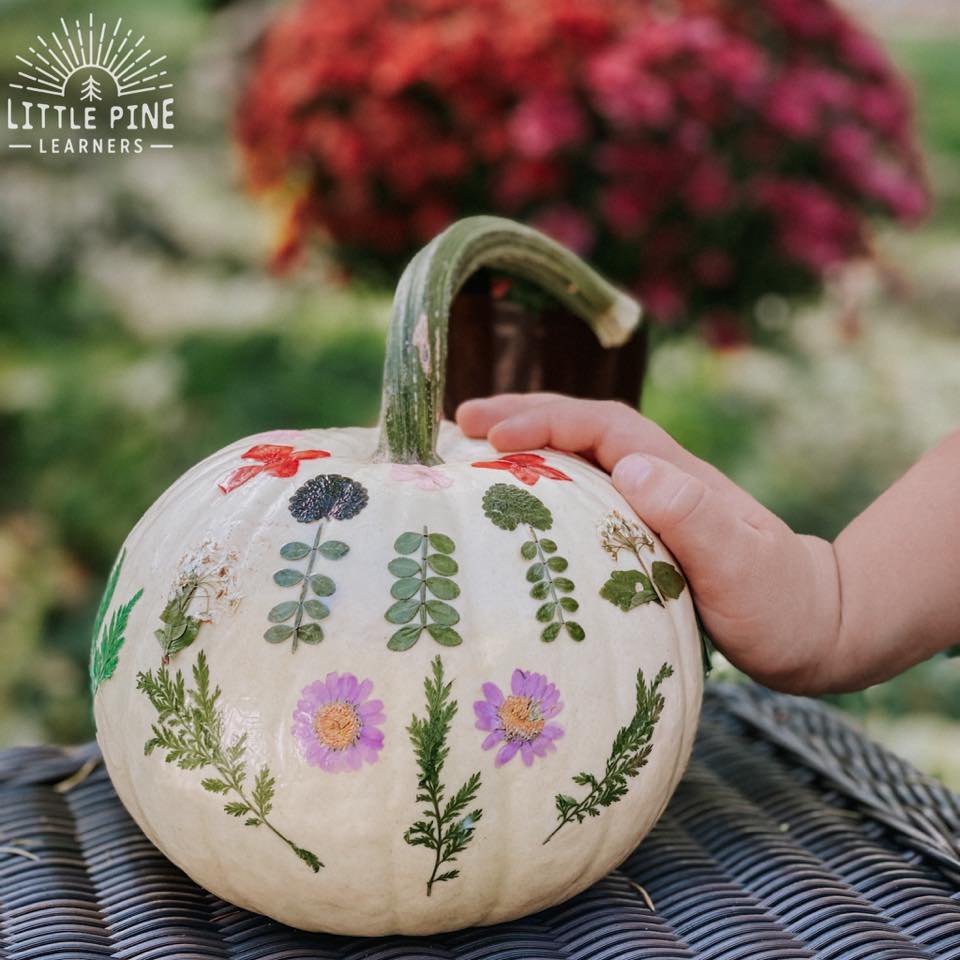
I don’t suggest keeping this pumpkin outside, because the rain will wash away the Mod Podge. Also many animals love eating pumpkins, but the Mod Podge is most likely toxic for our furry friends. If they try to eat the pumpkin, then they will also get a mouthful of Mod Podge.
I love this pretty pumpkin! How about you?
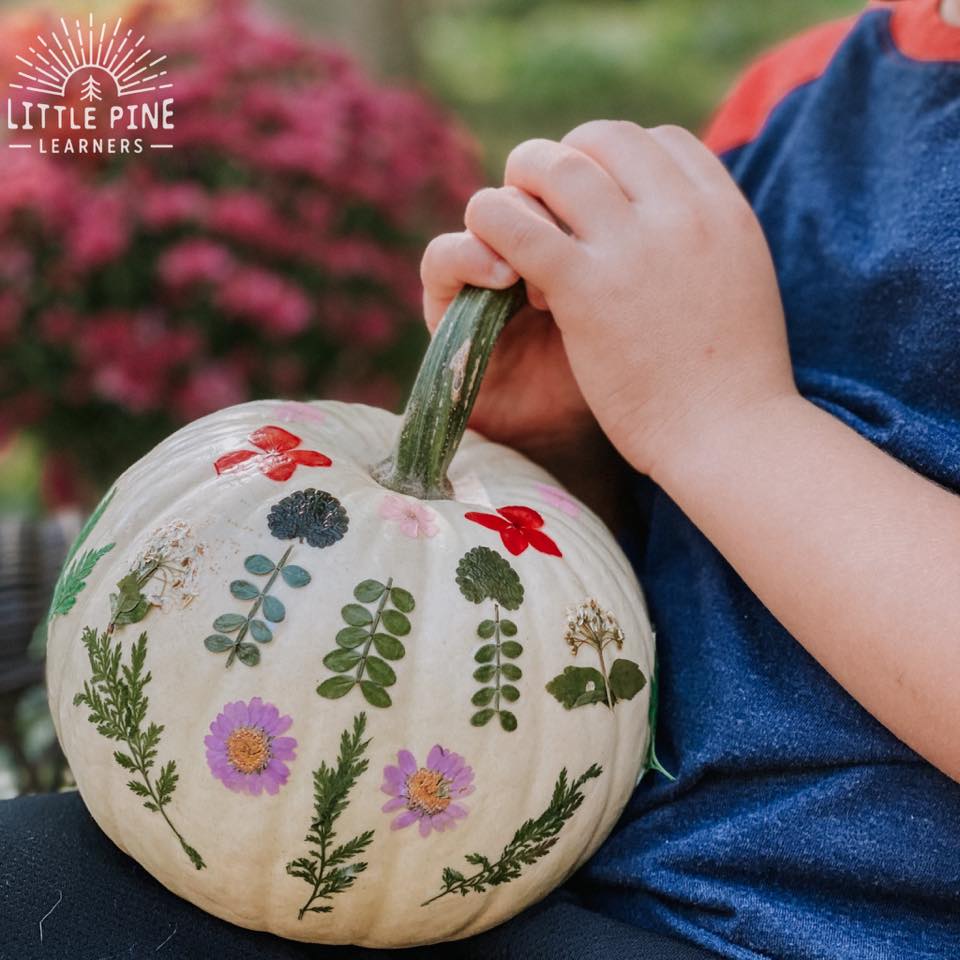
Pin it and save it for later!

I hope you give this pretty pumpkin craft a try! I promise, your little nature lovers will love it as much as my boys.
∼Tara

