This simple nature owl craft is for kids of all ages! Younger children can glue the basic pieces of nature to the cardboard background and older children can add detail to their nature pictures. You can also change up the nature pieces and cut out different pictures to match any theme or season!
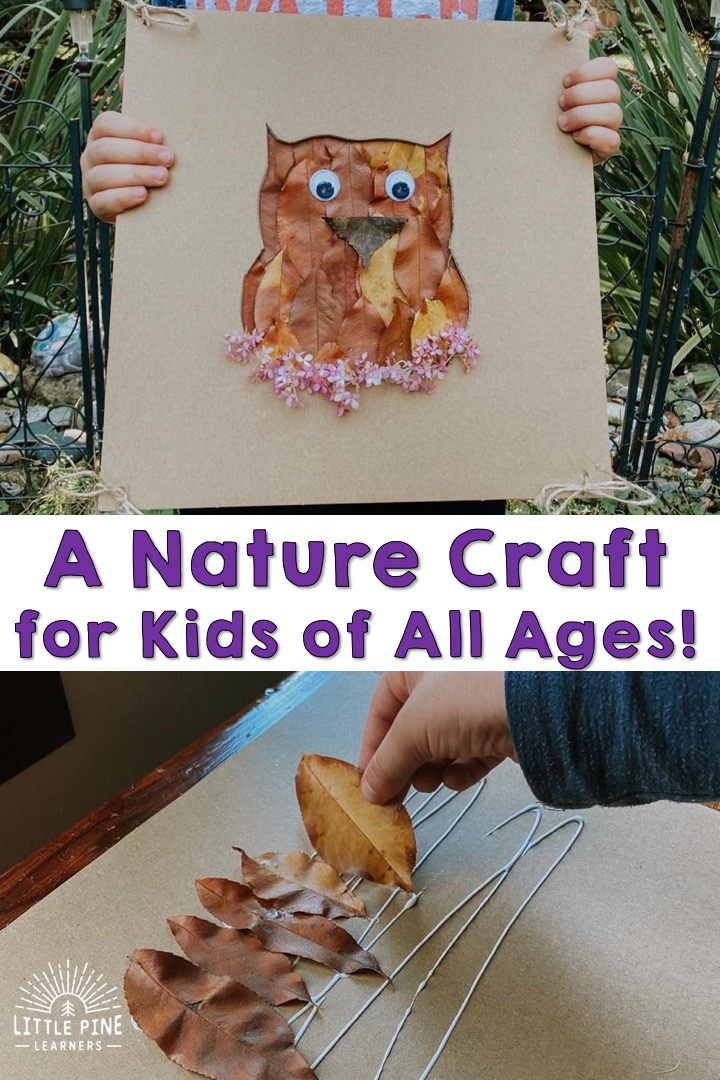
This craft was so fun to make! I love this one because it will turn out adorable each and every time. An adult will need to cut out the picture in the center of the cardboard, but the child is in control of the rest of the craft! This is an adorable keepsake craft that you will return to over and over again.
Ready to give this owl craft a try!? Here’s what you’ll need..
Supplies:
-
- Cardboard- 2 Pieces
- Pencil
- X-Acto Knife
- Leaves
- Twine or String
- Glue
- Paper Punch
This post contains Affiliate links for your convenience.
Related: Check out Adorable Bat Nature Craft
Here’s How to Make this Owl Craft:
Step 1:
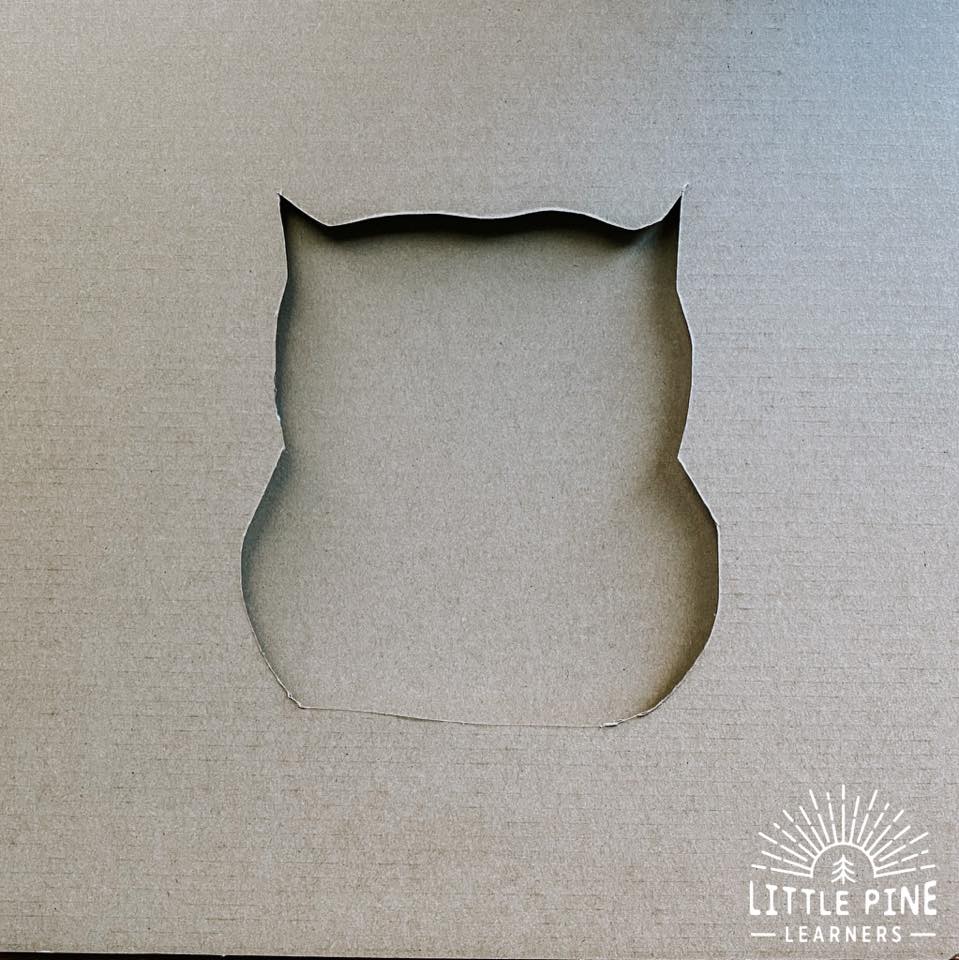
Grab 2 pieces of cardboard that are the same size. Cut out a picture in one of the cardboard pieces. I like to use an X-Acto knife when cutting out cardboard pictures like this. These are very sharp and ONLY FOR ADULT USE!
I printed, cut out, and traced this free owl coloring page onto the piece of cardboard. You can usually find free coloring pages on any theme by searching: free owl coloring page or whatever theme you need. And then kids can color or decorate the picture after you trace it!
Step 2:
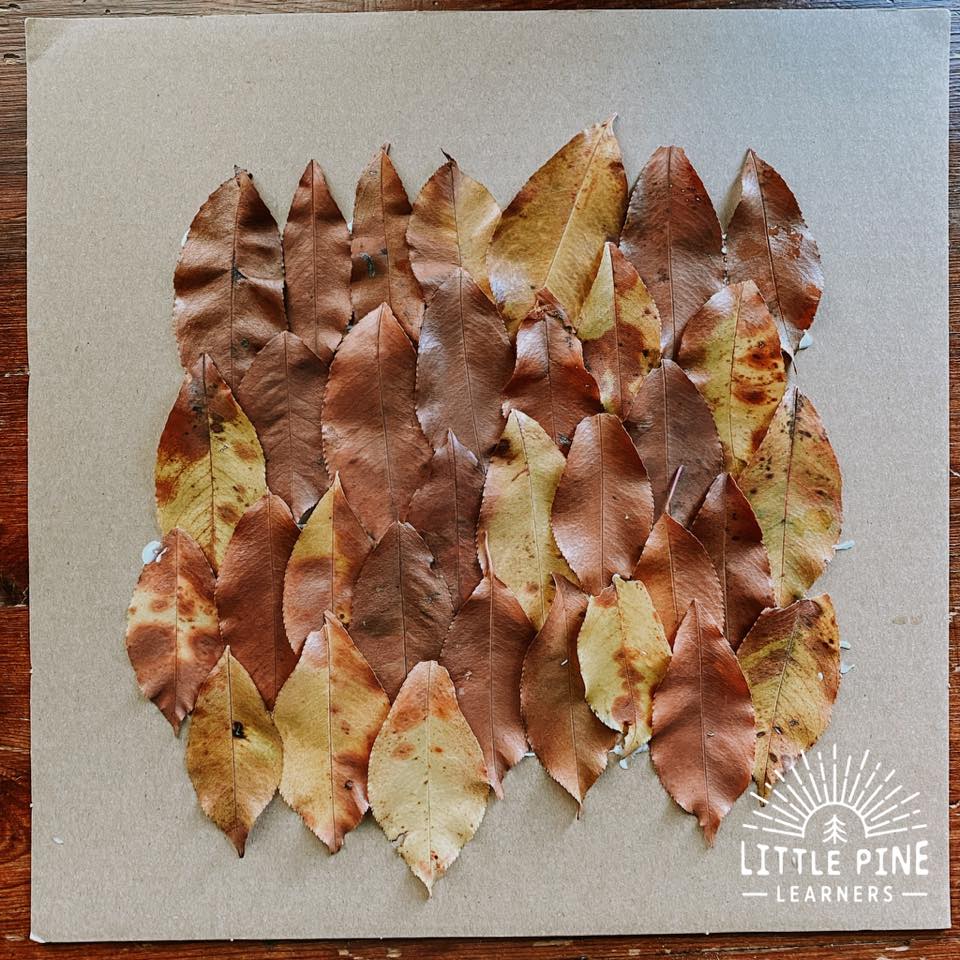
Now glue pieces of nature on the other piece of cardboard. You can use leaves, sticks, dried flower, or any other pieces of nature! This doesn’t have to be perfect. My five year old liked lining up the leaves, but they can be glued on in any order.
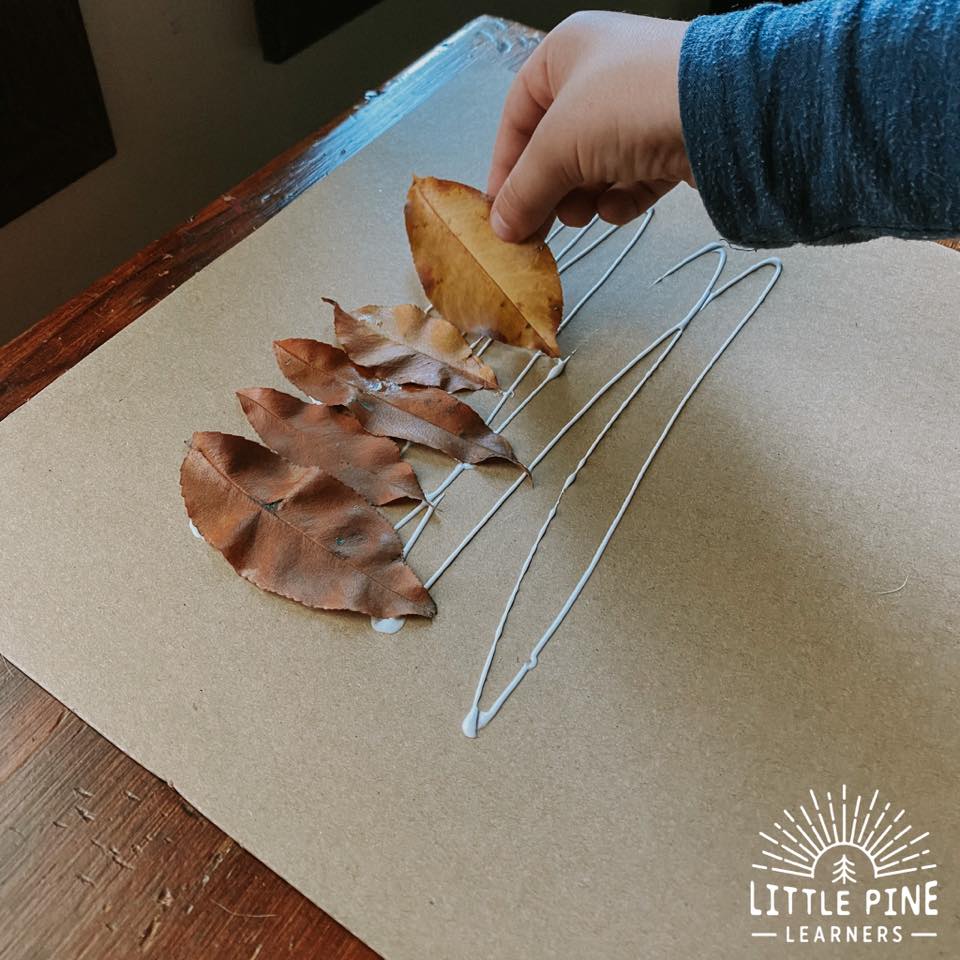
Fill up the whole board or just the section that will show through the cut out.
Step 3:
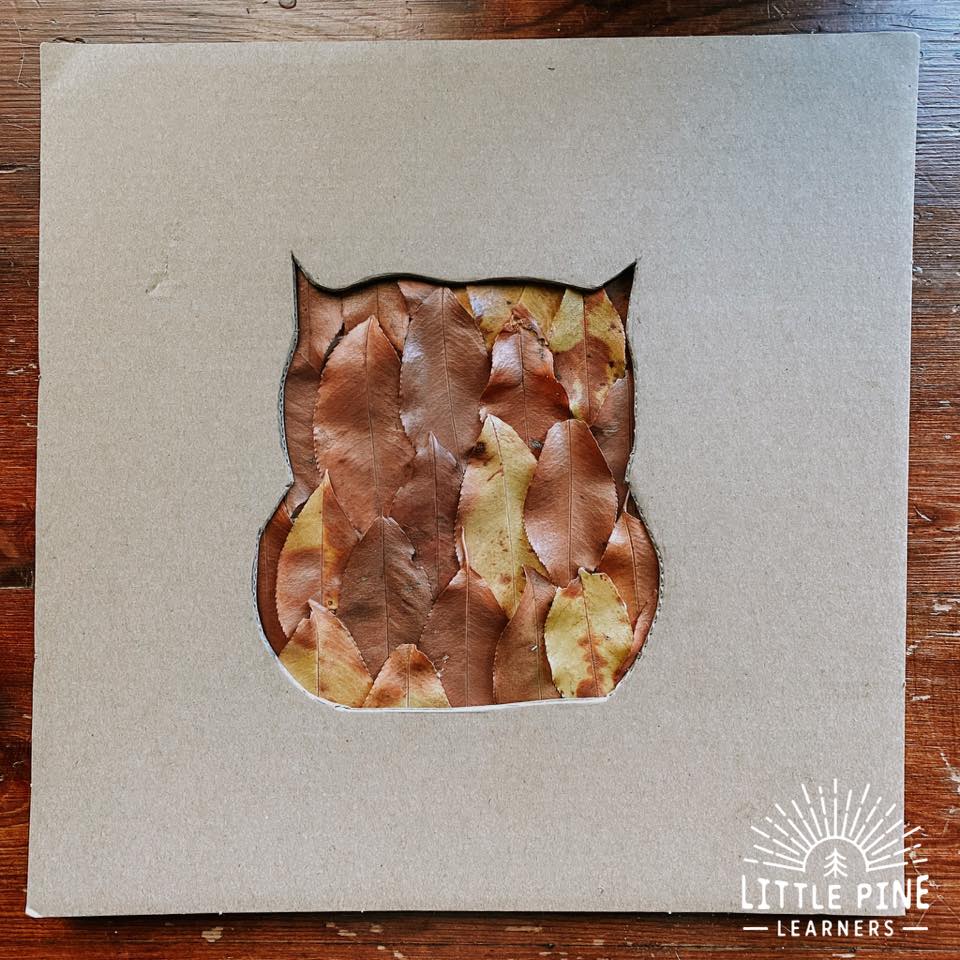
Put your owl cut out over your board. Don’t those leaves look like soft feathers?! I love using brown leaves for crafts because the colors won’t fade and the leaves will last forever!
Toddlers might want to stop the owl craft at this step. I think it looks adorable without any detail!
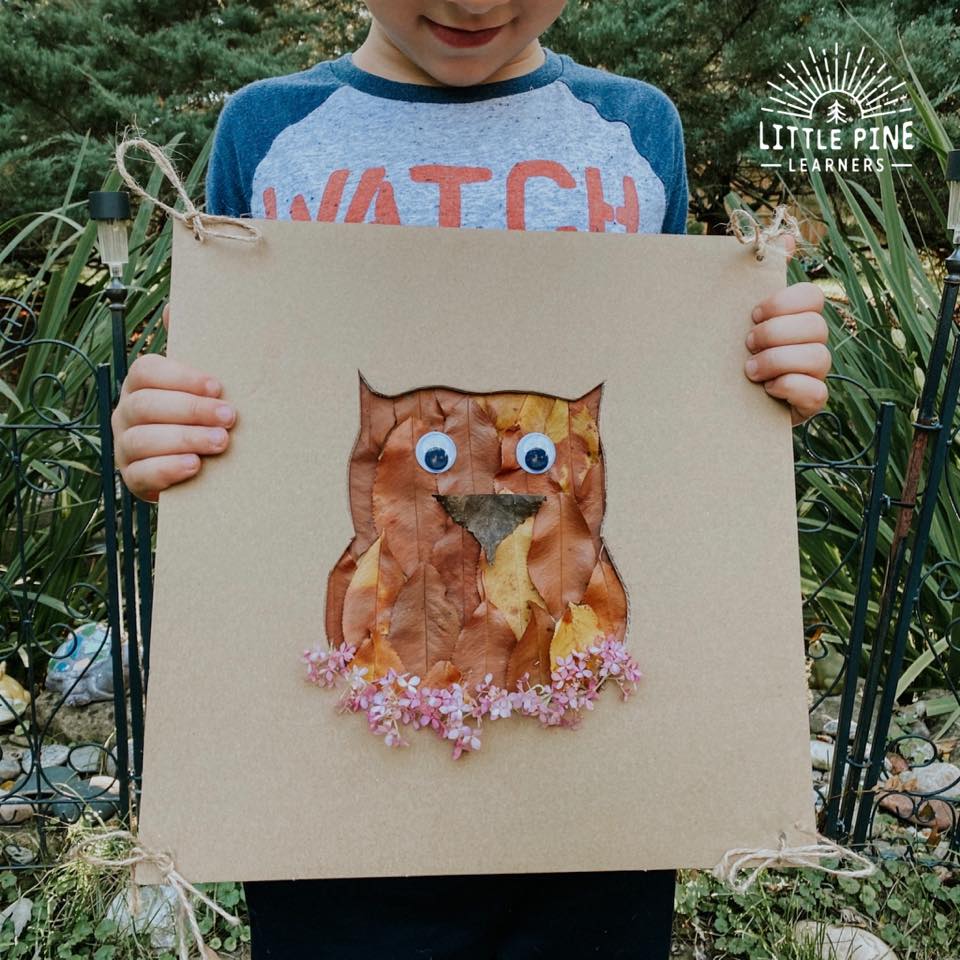
Older children, might want to add more detail to the owl craft! My five year old added the googly eyes, leaf beak and hydrangea nest. Looking at the photo, I’m thinking we could add a stick to the picture for a tree branch!
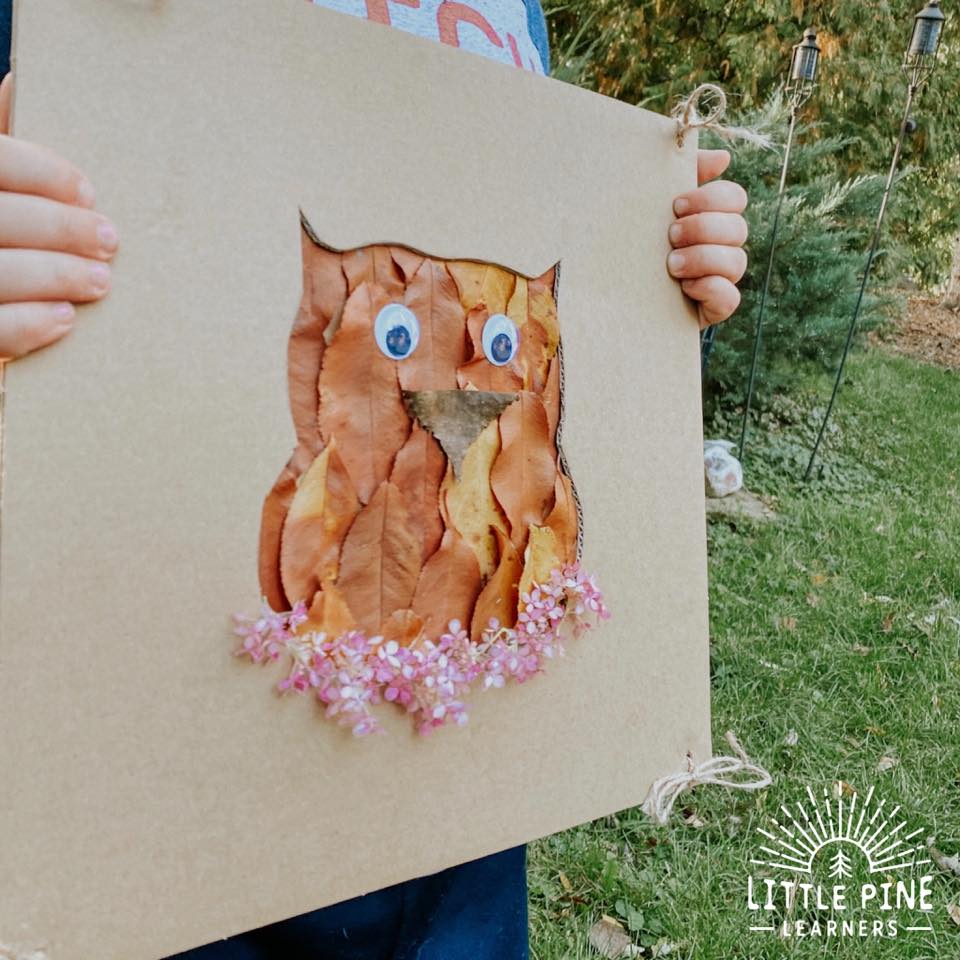
I attached the two pieces of cardboard by tying them together with twine. All you need to do is paper punch holes in the cardboard pieces and tie the twine to secure them.
My little guy was so proud of his owl craft and we plan on giving it away to a little owl lover that we know!
Pin it and save it for later!

I hope you give this simple owl craft! I promise, your little nature lovers will love it as much as my boys.
∼Tara
