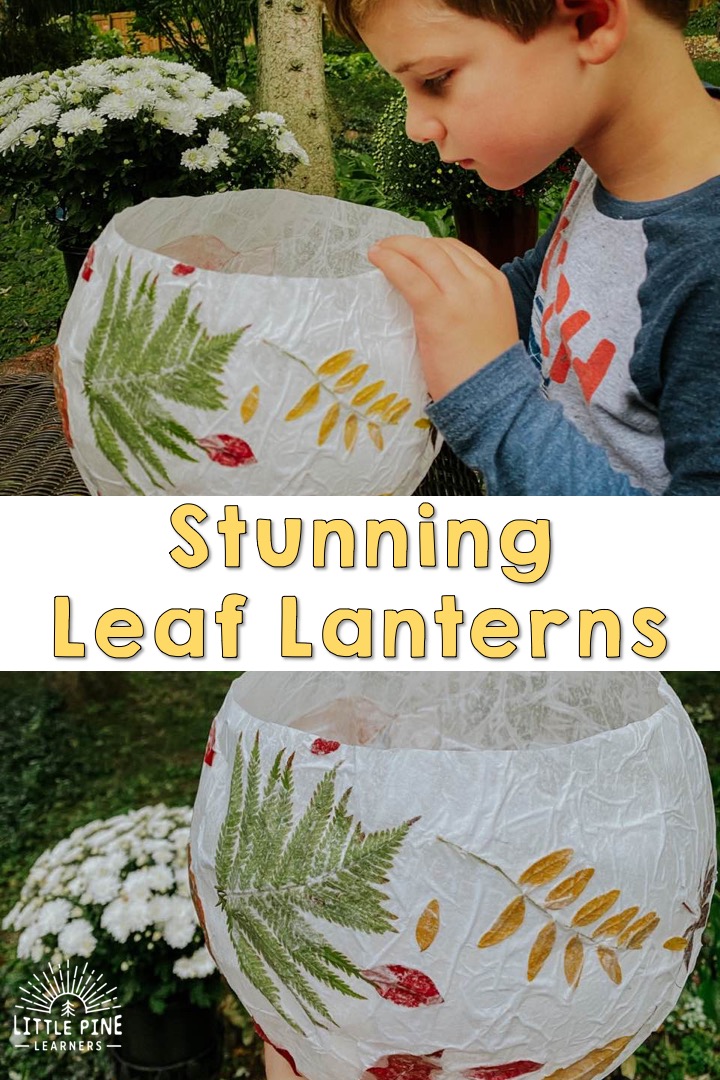
These stunning leaf lanterns will bring light into your home during the darker days of fall. It’s the perfect activity to try with your children on a beautiful fall day! It also make a great fall equinox craft. Children will love going on a leaf hunt and enjoy the process of making this gorgeous fall decoration!
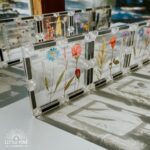
We had so much fun making our magical pressed flower lanterns this past spring, that I wanted to try a leaf version for fall! These leaf lanterns turned out so beautiful and I’m so excited to share the process with you today. It’s a little messy, but super fun to make and will definitely get some oohhs and ahhs from visitors in your home! It looks so delicate during the day and the flickering of the light at night gives any home a warm and cozy autumn vibe.
Don’t forget to carefully pack it up at the end of the season, so you can enjoy it year after year!

Ready to make a couple leaf lanterns?! Here’s what you’ll need..
Supplies:
- Tissue paper: You can try any color, but we used white.
- Elmers Glue-All– We used this type of crafting glue.
- Balloons– We used these biodegradable balloons.
- Paint brush– We used the foam sponge brushes.
- A container to place your lanterns in when they are drying.
- Flameless tea light
- Water
- Leaves! We headed outside for a leaf hunt to find colorful leaves of all different shapes and sizes.
This post contains Affiliate links for your convenience.
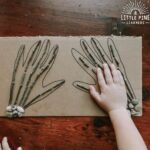
Looking for more homemade fall decorations?! Check out this lovely Seed Picture Garland for Fall
Here’s How We Made Our Leaf Lanterns:
Step 1:
Search for some beautiful fall leaves! We looked for leaves of all different colors, shapes, and sizes! It was difficult to narrow them down, but we were happy with our selections.
This is a great fall activity, but you can do this any time of year and use green leaves. Check out this gorgeous green leaf lantern from Woven Childhood for inspiration!
Step 2:
Now set up your lantern making station. We set up our area with our supplies and got right to work. For the glue mixture, I used half a bottle of Elmers Glue All and mixed in equal parts water. This doesn’t need to be exact. I have made quite a few of these lanterns and eyeballed the mixture every time.
We ended up cutting more pieces of tissue paper because the pieces pictured below were wayyyy to small. You can see the size of the new tissue paper pieces on the balloon in the next photo. We used a regular sized balloon this time around for our lantern and we didn’t take that into consideration when cutting the tissue paper.
Step 3:
For the first layer of covering, we just used plain water without glue. Dip the tissue paper right in the water and start a single layer without glue. This will help the balloon peel off the inner layer of tissue paper when you pop it later.
Step 4:
Now add another layer of tissue paper, but this time add the glue mixture on top of the first layer of tissue. You can start to add leaves after you have your second complete layer of tissue paper on your balloon. I covered most of the leaves with a single layer of tissue paper just to make sure they wouldn’t budge. I was a little nervous that the leaves would fall off since some of them were so heavy, but they are secure and look beautiful! There are a couple of small leaves on the leaf lanterns that I did not cover with tissue paper and they dried nicely and are still stuck to the lantern.
I suggest four layers of tissue paper at most, but we stopped at three layers to allow for more light to shine through the lanterns.
Step 5:
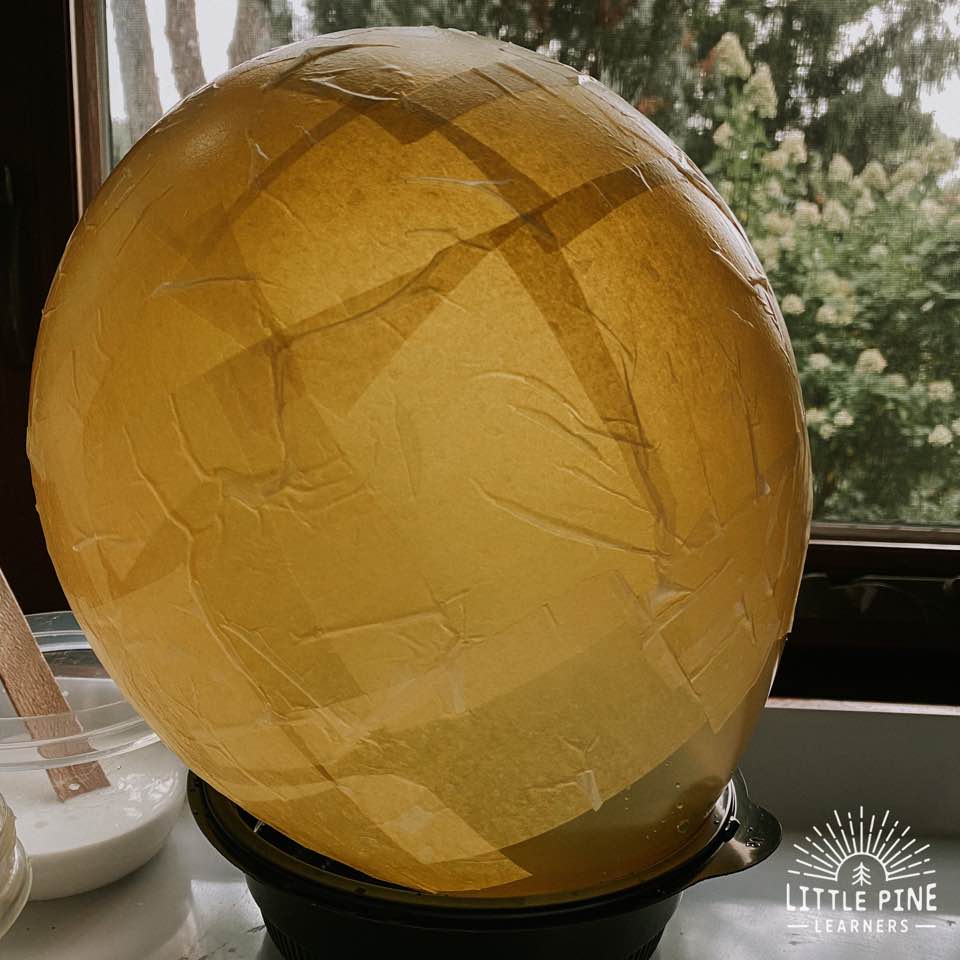
Let them dry.
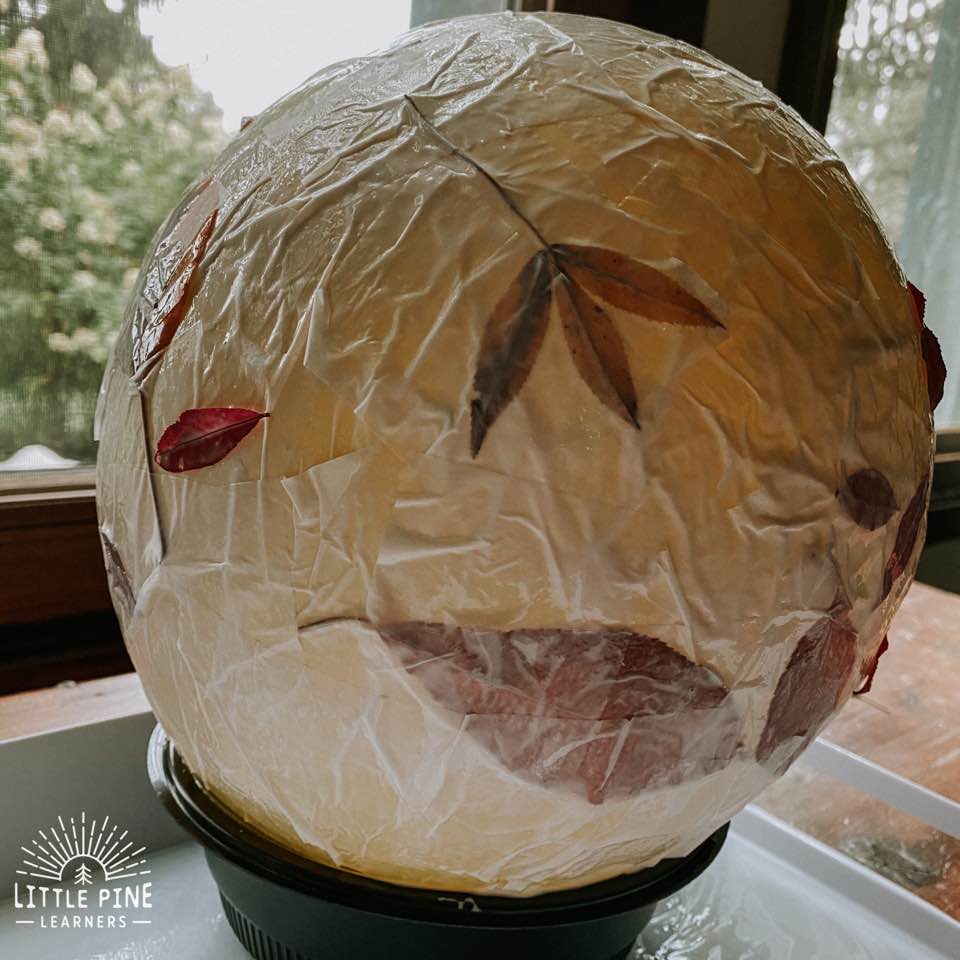
I set my lanterns in a take out container, so they could dry evenly. Once the tops were dried, I took them out of the container to make sure the bottoms of the lanterns were 100% dry before we popped them. Give them about 10-12 hours for them to dry completely.
Step 6:
Pop the balloons. This is always a fun process!
I used a sharp knife to pop the balloons. The balloon popped right out and the leaf lanterns looked awesome!
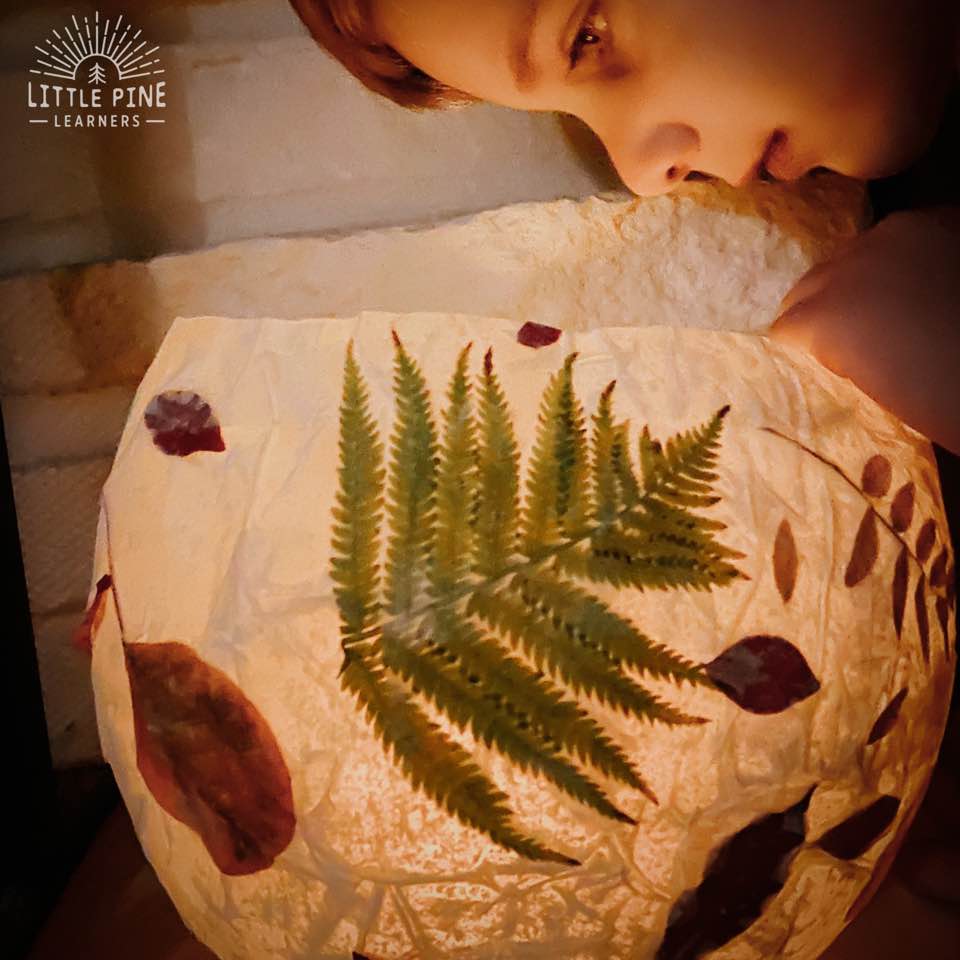
It looked so beautiful when it was lit with the flameless candles!
The next night, we brought it outside at dusk and placed it in our yard. The boys kept running up to look at the leaves and their beautiful piece of art!
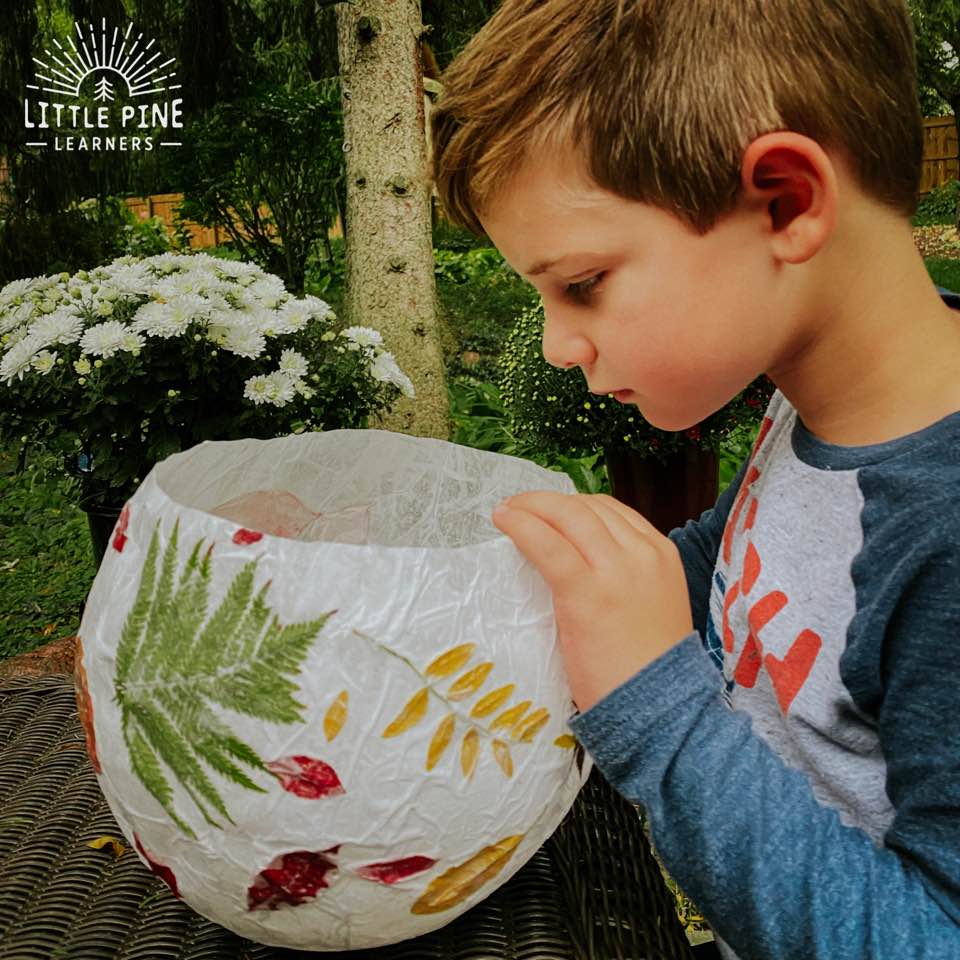
If you take your lantern outside, make sure to bring it back in because rain will ruin it.
What do you think? Do you love this lantern as much as we do?!
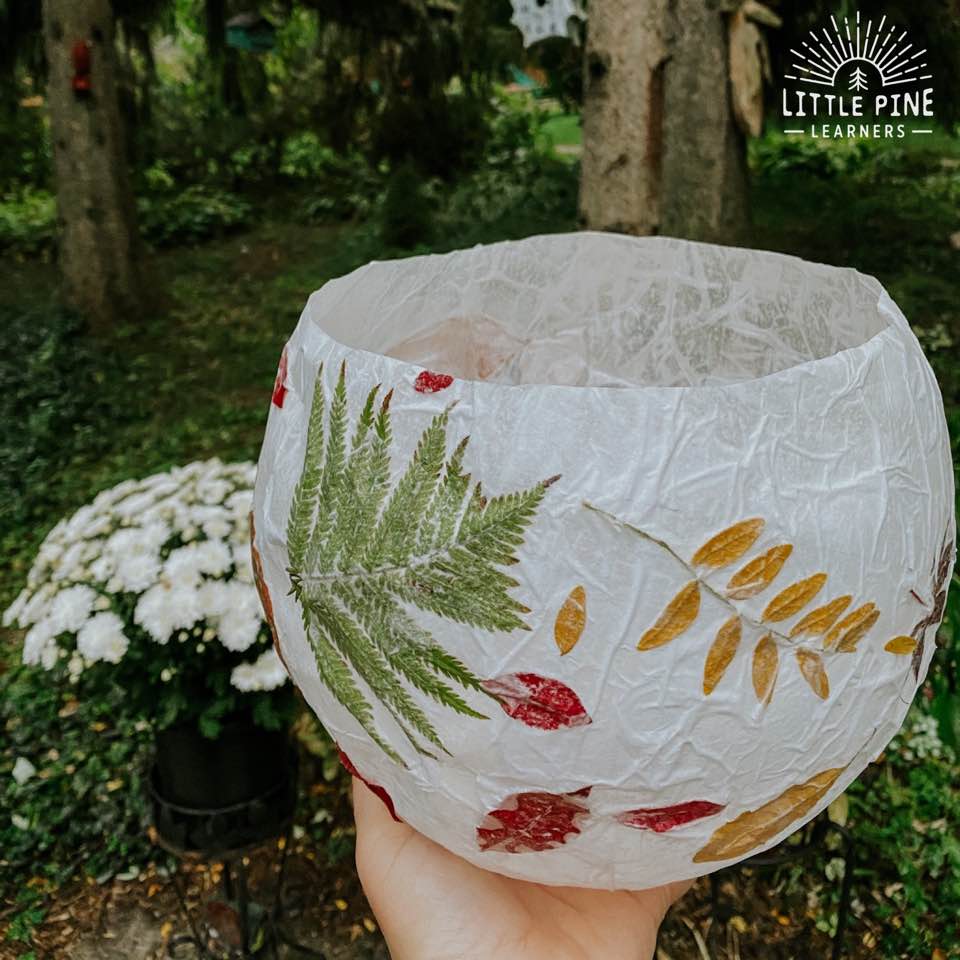
Pin it and save it for later!
I hope you make a couple leaf lanterns! I promise, your little nature lovers will love this nature craft as much as my boys.
∼Tara