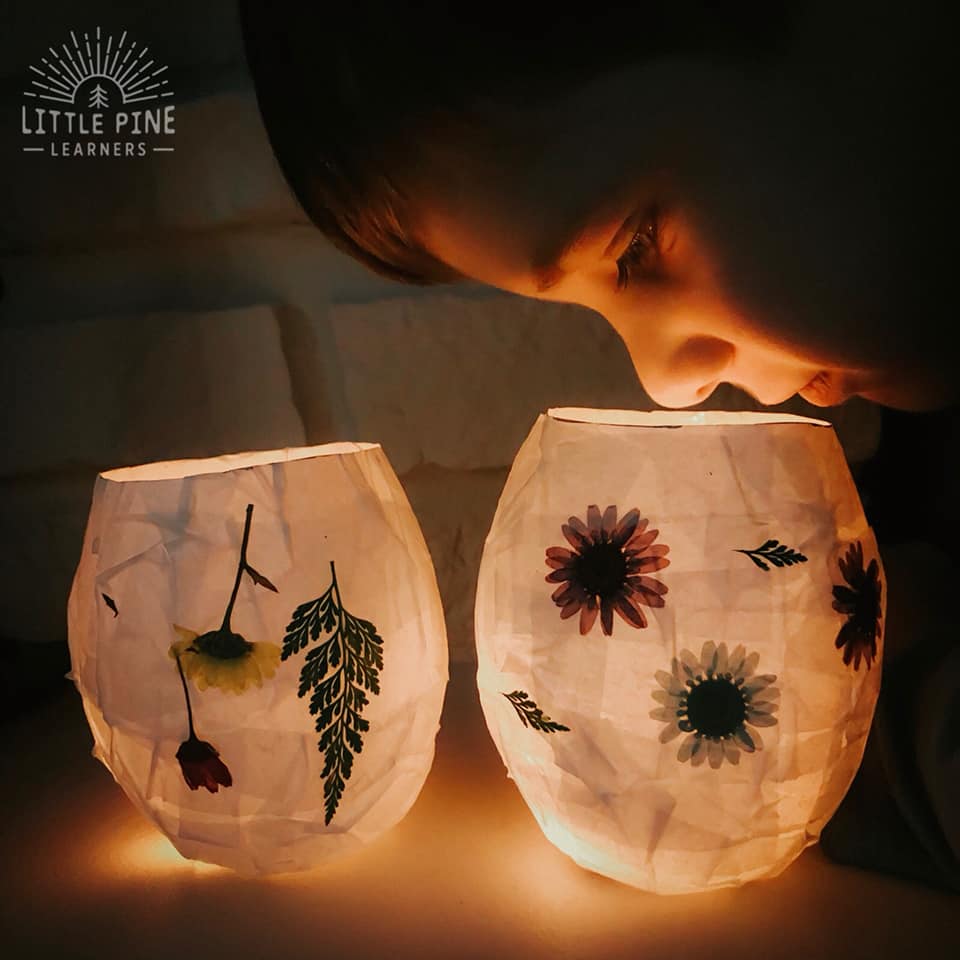
This lantern craft is the perfect way to bring light into your home during those slightly chilly and dark evenings of early spring. Kids will love to help with the process of making these and I guarantee they will be in awe when you light the lanterns at night. The silhouette of the pressed nature pieces look beautiful on the illuminated lanterns. They also look pretty and delicate during the day when they the tea lights are off. Check out our method for making these nature lanterns below and see how we use them 2 different ways at the bottom of the post!
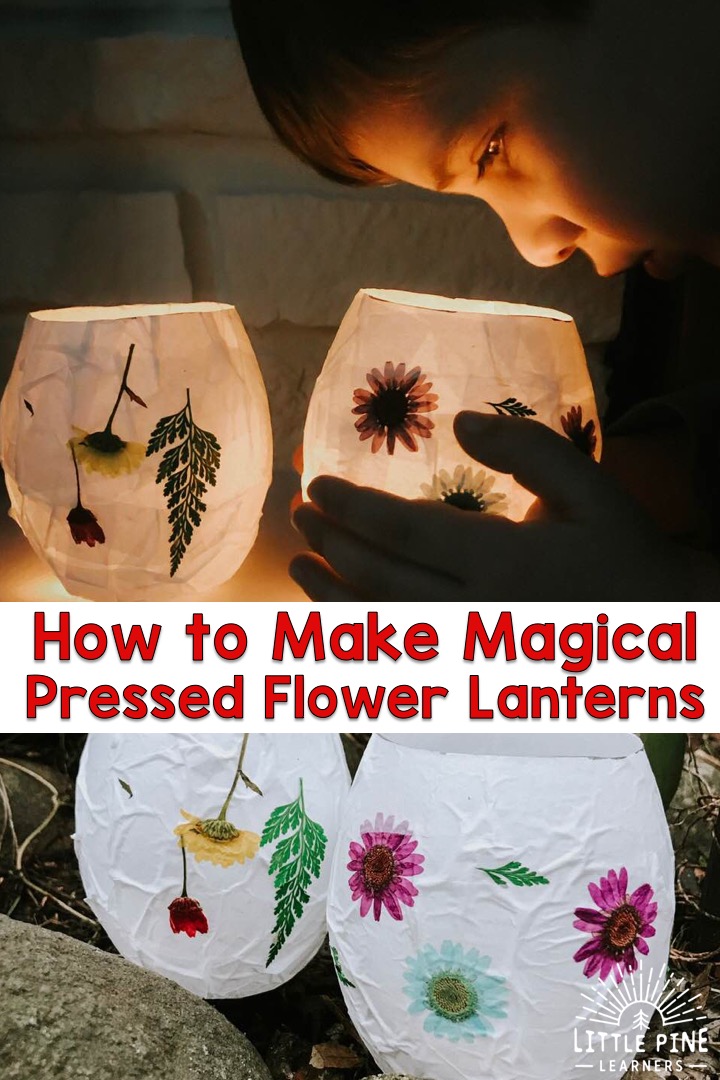
You can make this lantern craft any time of year, but they are the perfect spring and summer activity for kids. This craft is a wonderful way to welcome a changing season, make a cute Easter decoration, or represent a beautiful symbol of hope during uncertain times.
You can check out our stunning super sized leaf lanterns for fall HERE!
Ready to make a beautiful lantern?! Here’s what you’ll need..
Supplies:
- Tissue paper: You can try any color, but we used white.
- Glue– We used this type of crafting glue.
- Flowers- Try bouquet flowers if they are currently out of season. Or you can buy pressed flowers here! There are many different pressed flower combinations so check out the different options!
- Water Balloons– We used some water balloons that we had around the house. I linked some biodegradable water balloons.
- Paint brush– We used the foam sponge brushes.
- Jars or something to place your lanterns in when they are drying.
- Flameless tea light
This post contains Affiliate links for your convenience.
Here’s How We Made Our Lantern Craft:
Step 1:
Press flowers.
You have several choices here:
- Purchase flowers from a bouquet. Single layer petal flowers work the best when pressing flowers!
- Pick flowers from your garden.
- Purchase already pressed flowers from Amazon. We went this route since we don’t have flowers growing outside yet. There are a bunch of different sets, so look around
If you purchase or pick flowers, place them between 2 pieces of wax paper in a book and close the book. Place a couple more heavy books on top and check back in a couple of weeks. You can read more on pressing flowers in How to Preserve Flowers for Nature Activities.
Step 2:
Mix your glue mixture with equal parts water and glue. I used a half a bottle of glue and eyeballed the same amount of water.
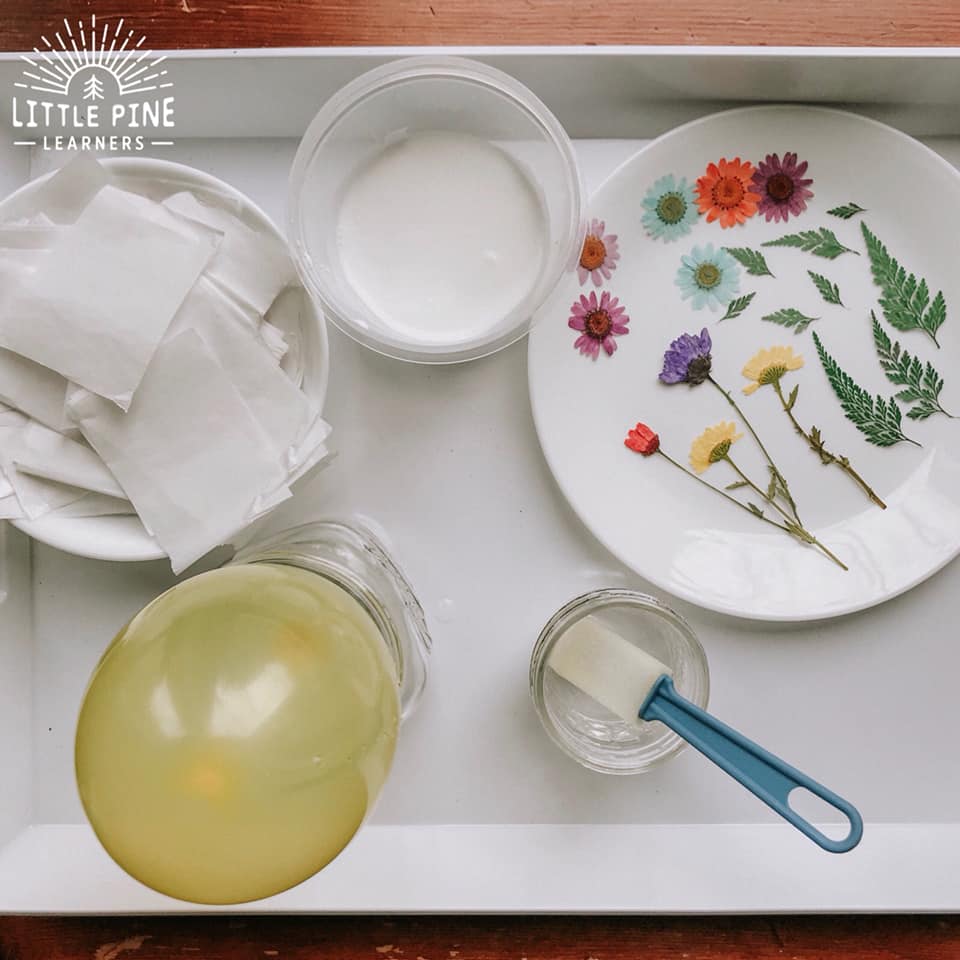
Now set up your work area for your lantern craft. Make sure you protect your work surface because this activity is pretty messy! This is what is pictured below:
- little rectangles of tissue paper
- glue mixture
- water and sponge paintbrush
- pressed pieces of nature
- balloon placed in jar
Step 3:
For the first layer of covering, we just used plain water without glue. We dipped the tissue paper right in the water and started a single layer without glue. This will ensure that the balloon will peel off the inner layer of tissue paper when you pop it later. My boys really like helping with this part! This doesn’t need to be perfect, just enjoy this messy and fun process!
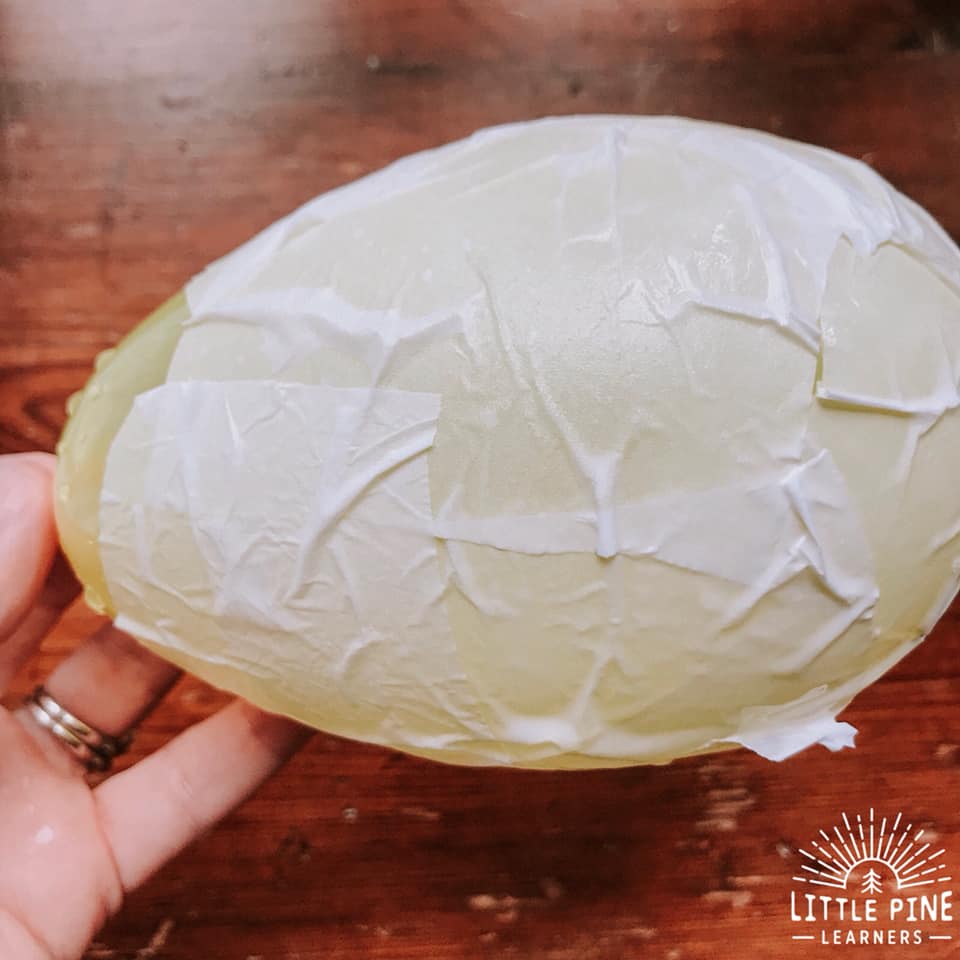
Step 4:
Now add another layer of tissue paper, but this time you will want to add the glue mixture on top of the first layer of tissue. You can start to add flowers after you have your second complete layer of tissue paper on your balloon. You can even add depth to your lantern, by adding more tissue over the flowers. You can also choose to brush the flowers with the glue mixture, leaving them as the top layer of your lantern craft.
You will want four layers of tissue paper at most, but we stopped at three layers to allow for more light to shine through the lanterns. Take the time to flatten the tissue paper as you go. This is something that I will focus on more the next time we try this activity!
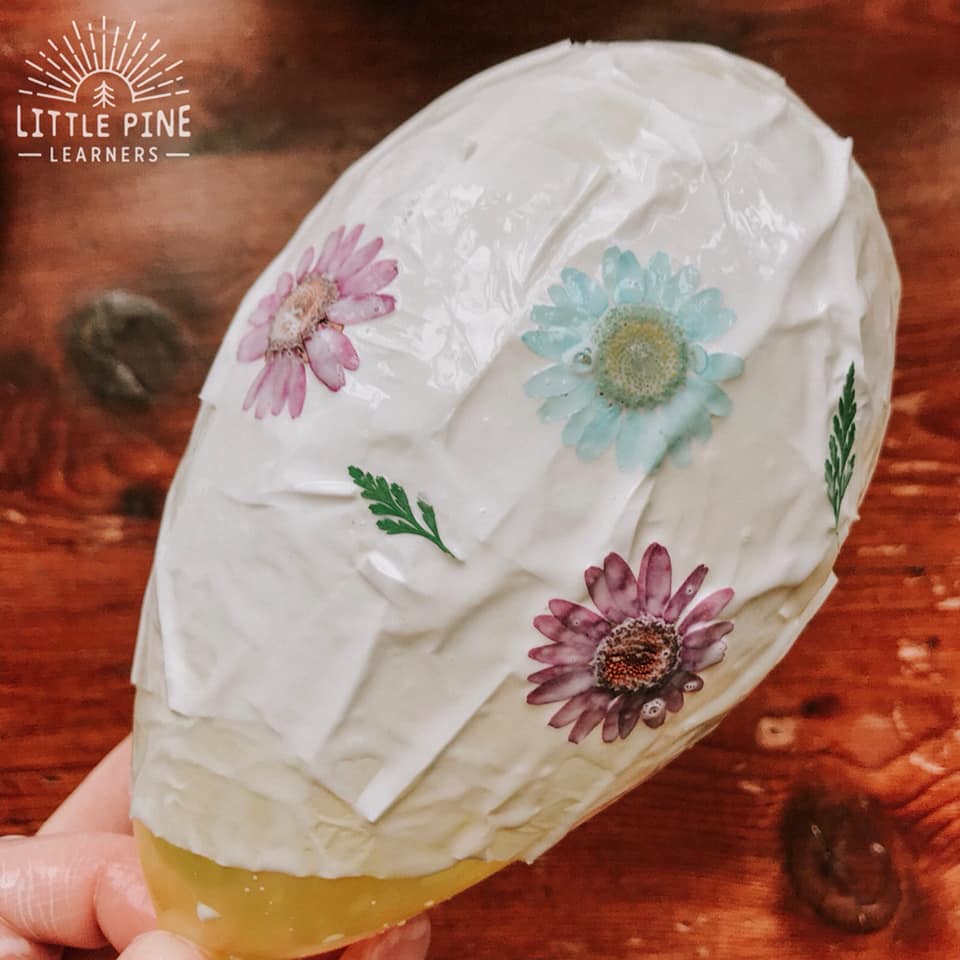
Step 5:
Let them dry.
You will have a bit of a drippy gluey mess, but it will all dry clear. I set my lanterns in a jar, so they could dry evenly. Once the tops were dried, I took them out of the jar to make sure the bottoms of the lanterns were 100% dry before we popped them. It took about 4 hours for them to dry completely.
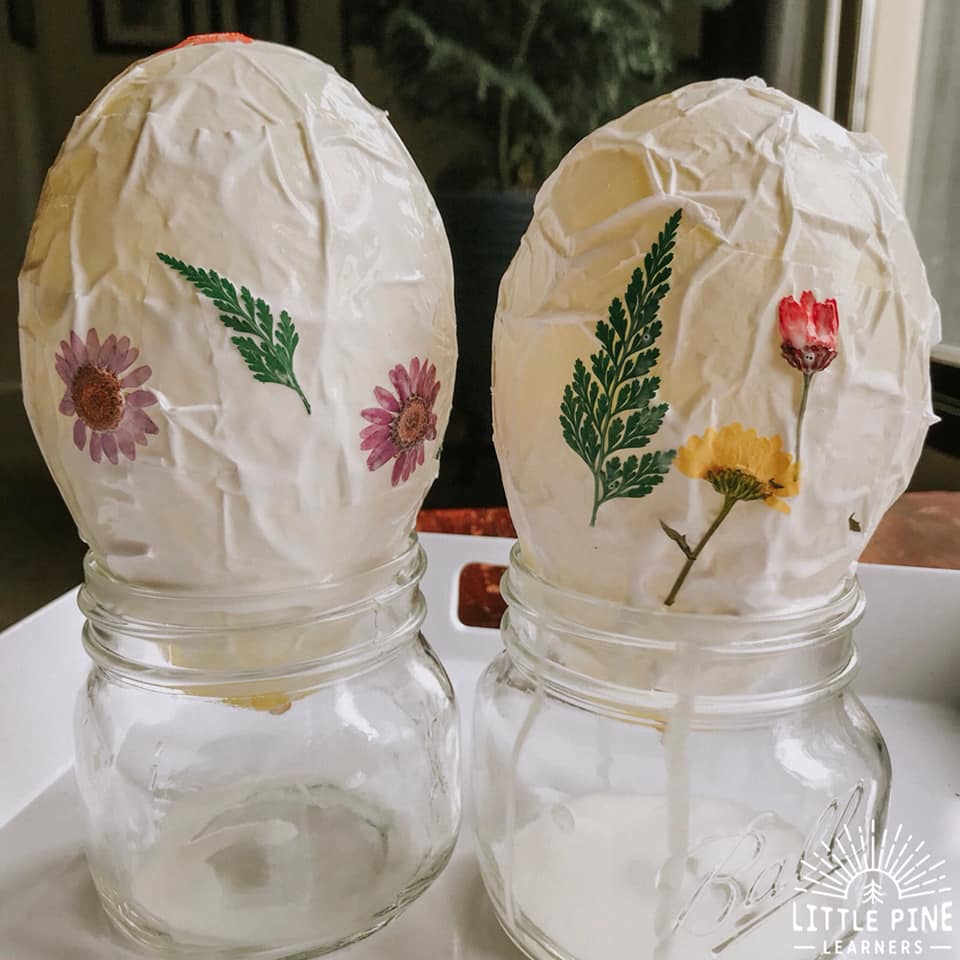
Step 6:
Pop the balloons
Once the lanterns are dried, you will want to draw a line to help you cut an even line later. I used this jar lid to help me draw an even line. Then you can pop the balloon. The balloon should quickly shrivel up and fall out of the balloon. This is pretty fun to watch!
Now you can cut the excess paper mache at the bottom of the lantern, so you have a nice even top.

Now you can carefully dent in the bottom of the lantern, so it will sit evenly on whatever surface you choose.
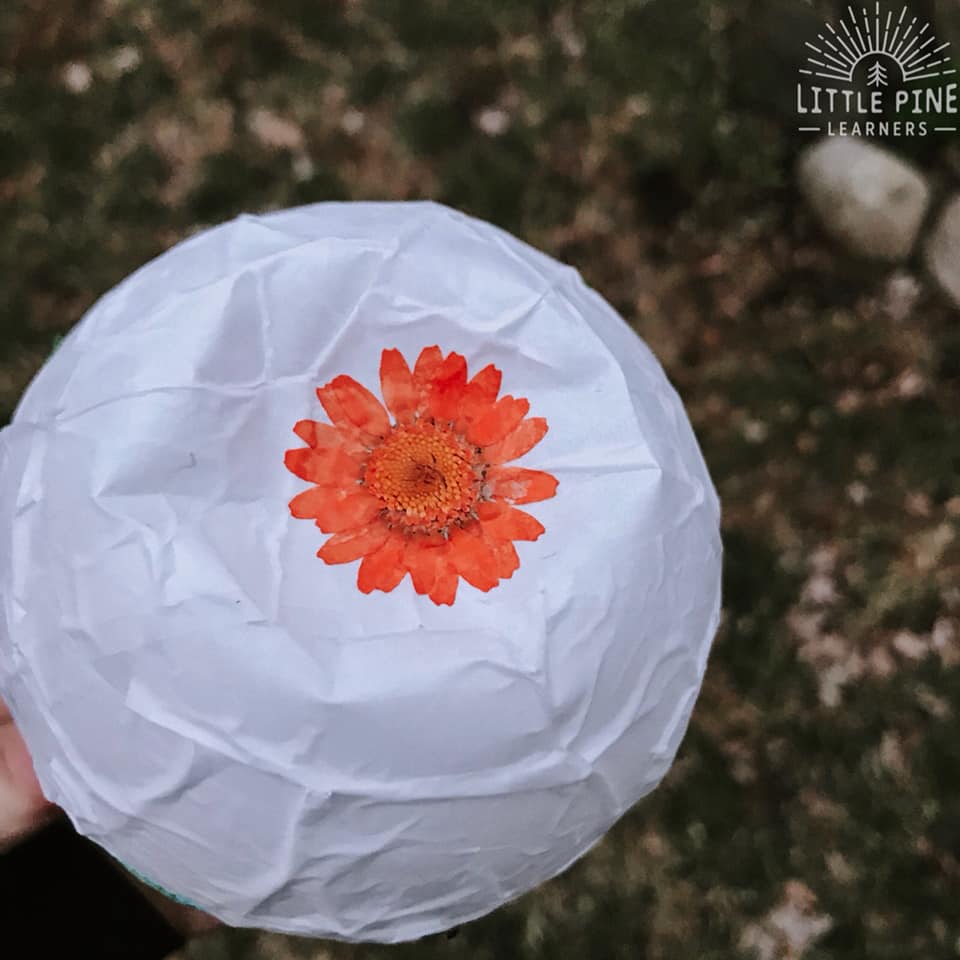
At this point, you can put tea lights in your lantern craft and set them up in your home. Kids will be drawn to the warm glow and it brings a calming element to your home.
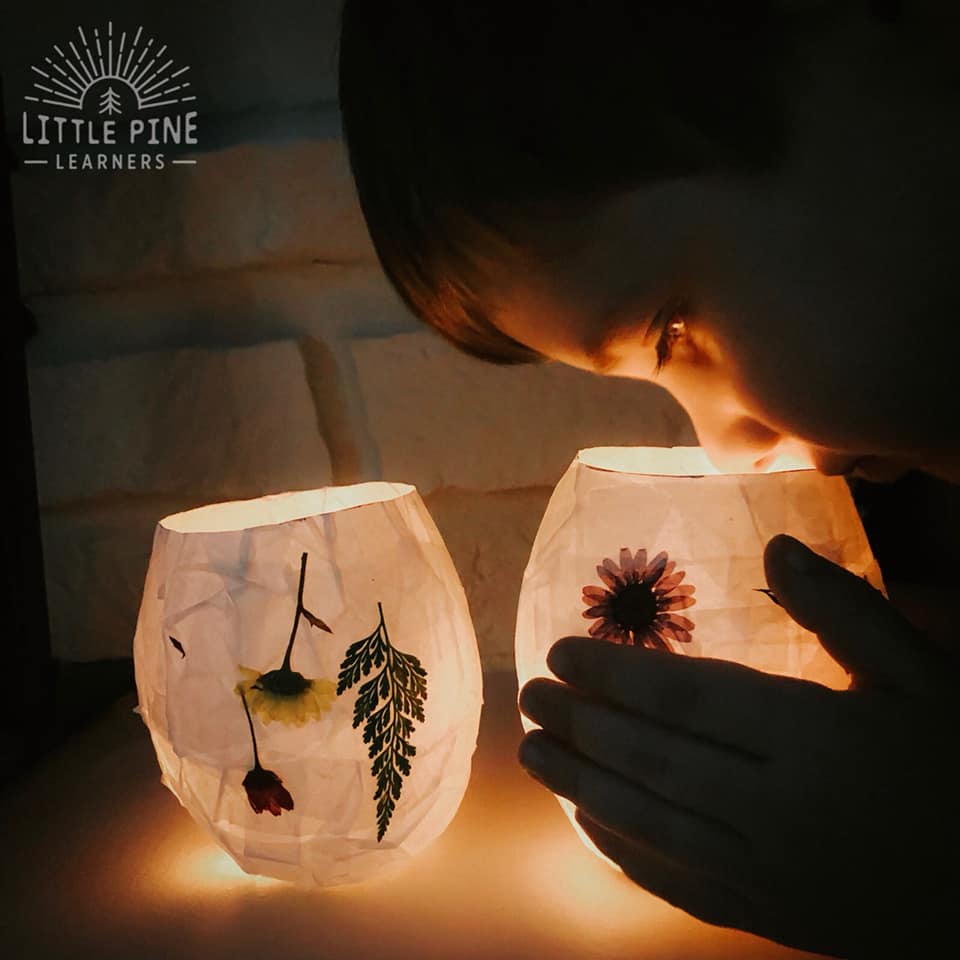
We placed our lanterns in our living room and they look so beautiful!
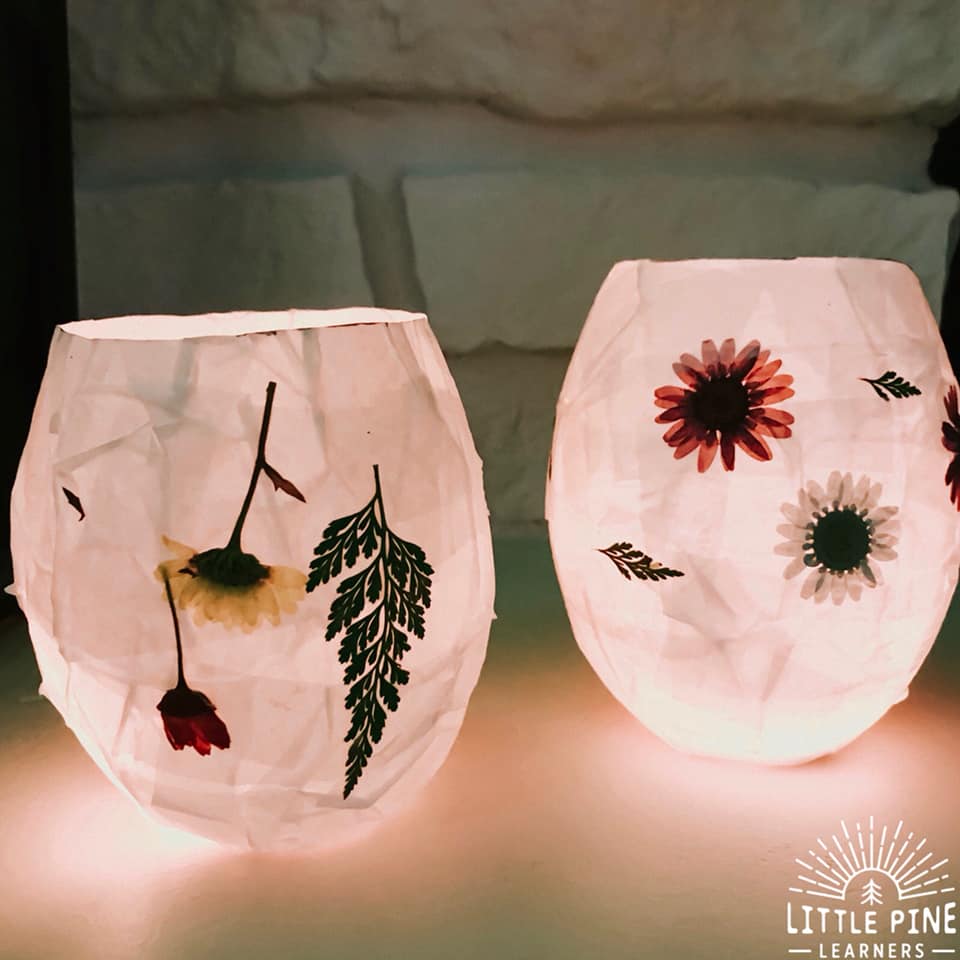
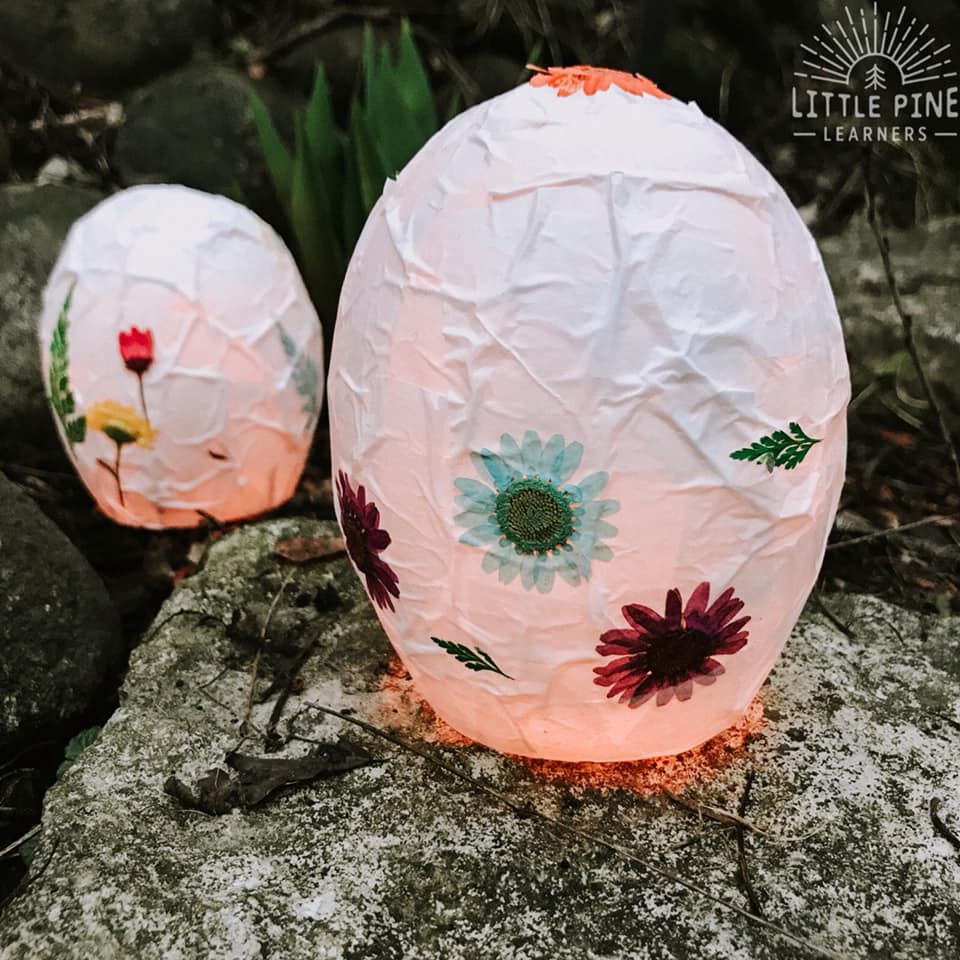
We noticed that if you flip them over, they look like eggs! Just gently pop out that dent and you have a cute egg shape. This is the perfect Easter decoration. I think I’ll add them outside when we are doing our Easter egg hunt in a couple of weeks!
Pin it and save it for later!

I hope you give this simple nature activity a try! I promise, your little nature lovers will love it as much as my boys.
∼Tara

