These pressed flower cards and envelopes are perfect for the holidays, but they can be made for any occasion! They make beautiful birthday, Easter, Mother’s Day, and thank you cards as well! If you don’t currently have pressed pieces of nature, I linked some beautiful sets in the supplies section!
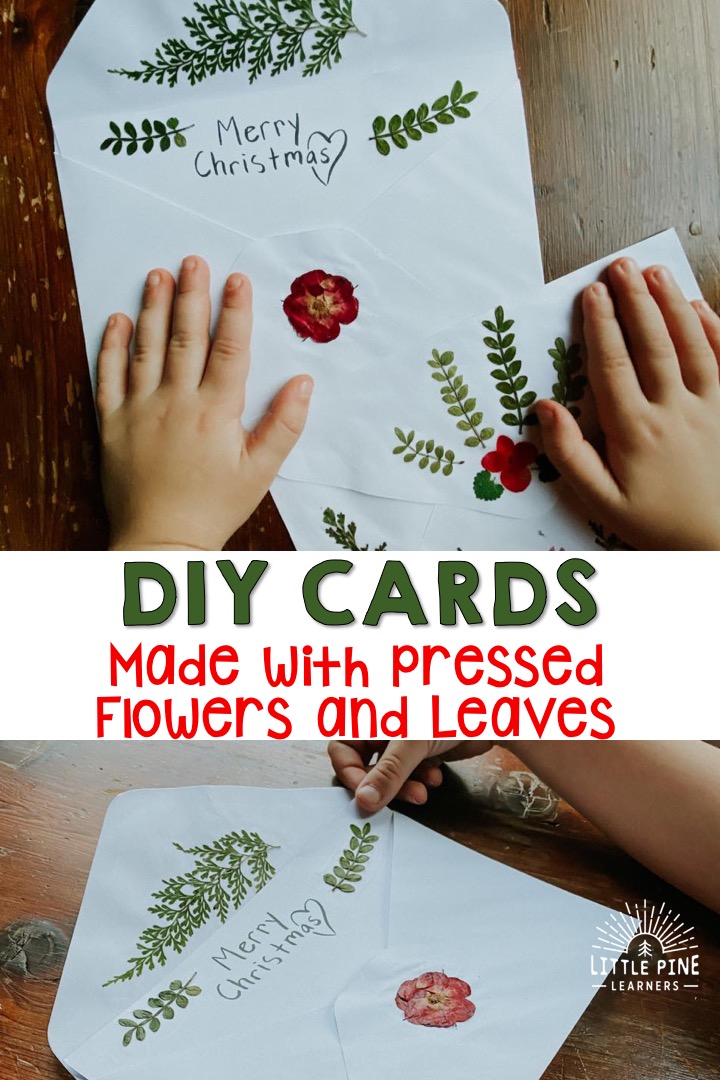
These beautiful creations are not just cards, but also make great gifts! The pressed flowers and leaves in the sets listed below won’t fade and will last as a memorable keepsake for years. Kids will love making them and feel so proud with the finished result!
Ready to make a few pressed flower cards?! Here’s what you’ll need-
Supplies:
-
- Blank envelopes and cards- I can’t find a plain white set with a V shaped flap on Amazon, but this set with the gold trim is pretty! I found my set at Target. I wish the envelopes were a bit thicker, but they worked just fine! I suggest using card stock for the cards, so the paper doesn’t get wavy in the drying process.
- Pressed pieces of nature- If you just want greenery, you can use this set of pressed leaves. This is a great set if you want a mix of pressed flowers and leaves.
- Mod Podge– I like the matte for this project.
- Foam brush
This post contains Affiliate links for your convenience.
Related: Check out Nature Christmas Cards to Make with Kids
Here’s How to Make the Pressed Flower Cards and Envelopes:
Step 1:
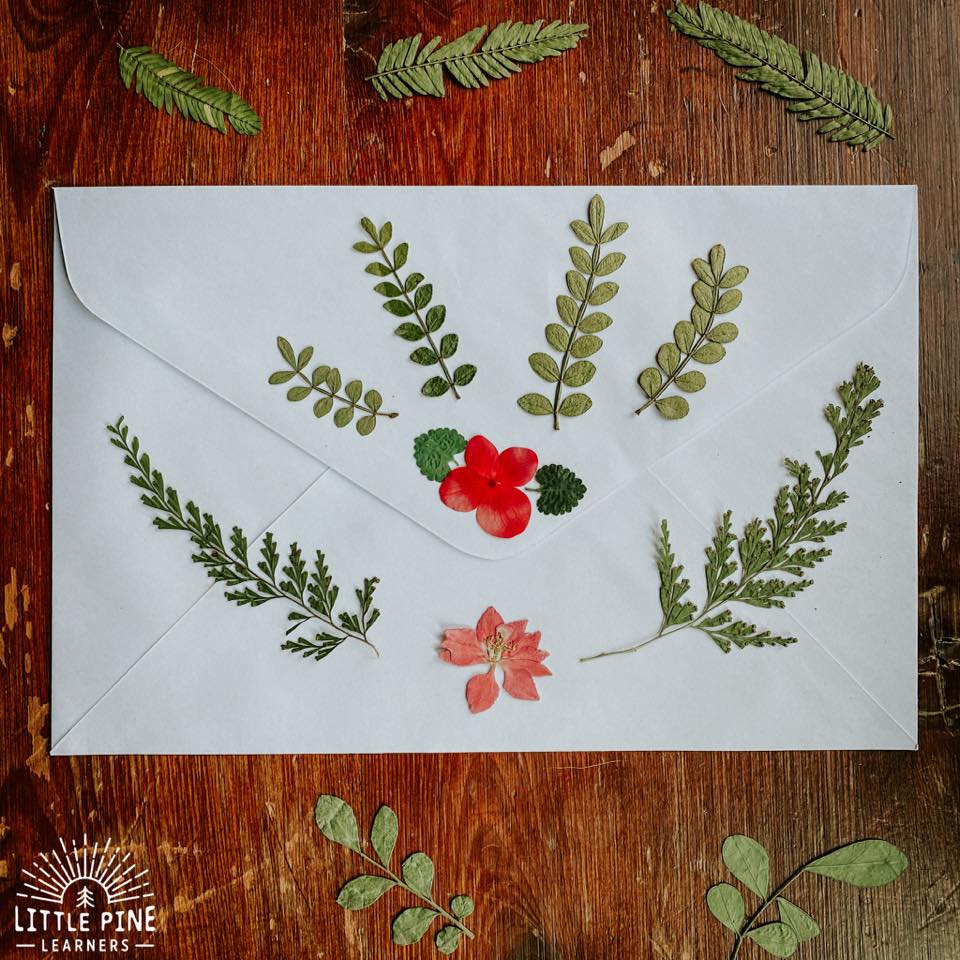
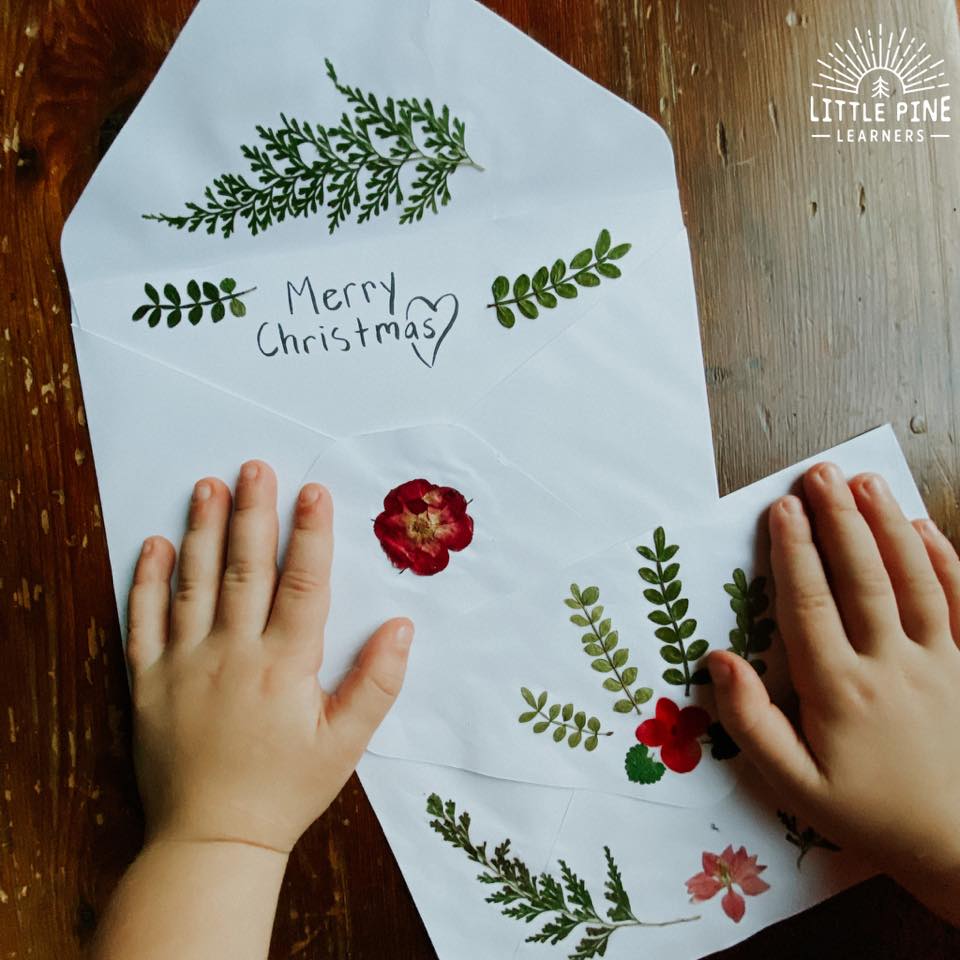
First we played around with different designs on the envelope. We tried both symmetrical placement and free-form deigns. Some of the leaves we pretty delicate. If you lose a little leaf, you can always put it back in place when you glue them to the envelope. If you are working with really young children, then test out the pieces of nature first to see if you think they can handle them with enough care.
Step 2:
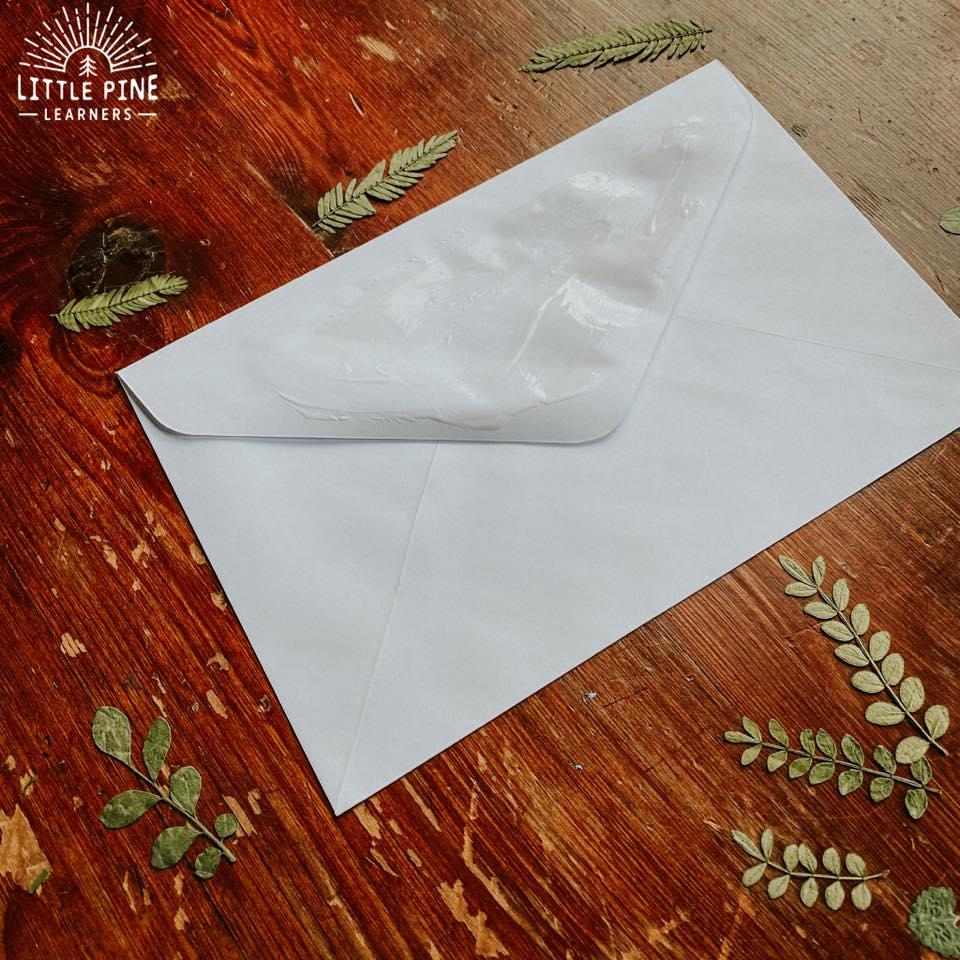
Next apply a thin layer of Mod Podge with a foam brush on the entire surface. The foam brush will help you have thin, even layers.
Step 3:
Now gently place your pieces of nature on the layer of Mod Podge.
Step 4:
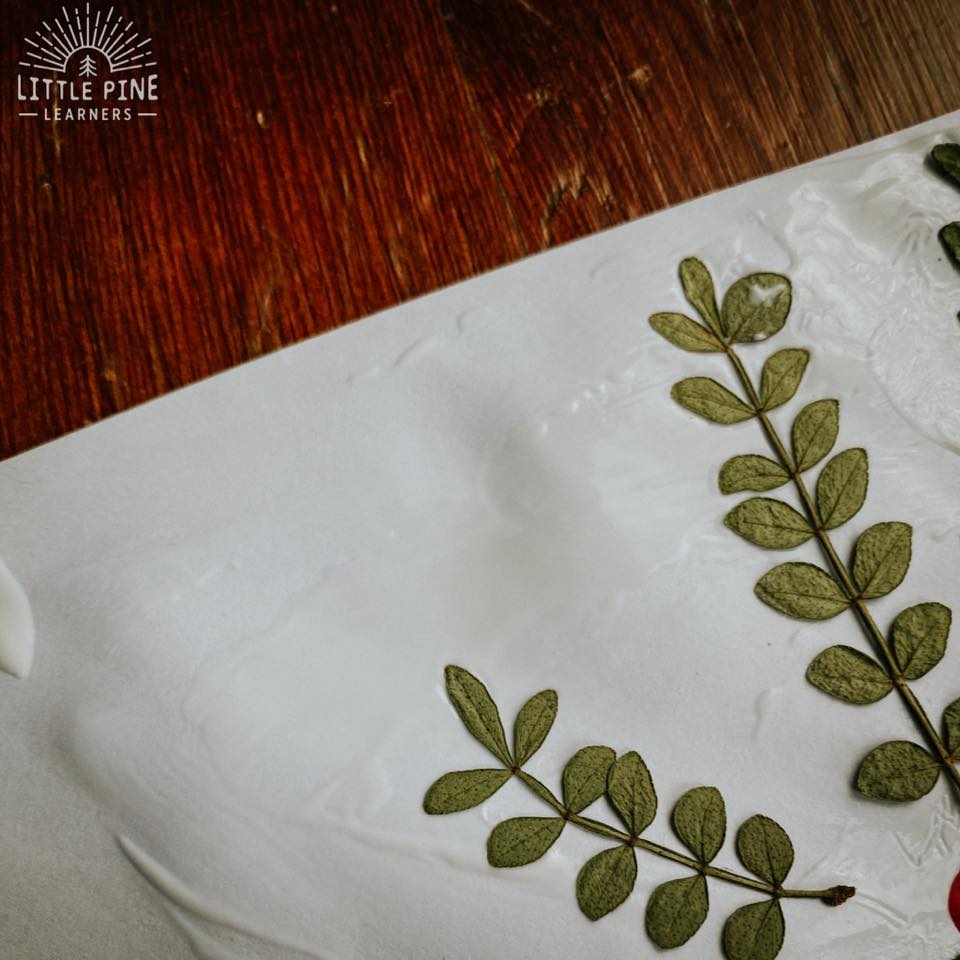
Last, carefully apply a layer of Mod Podge on the pieces of nature. Again, if you use small delicate pressed leaves or flowers and lose a piece, just place it back with your fingers or tweezer.
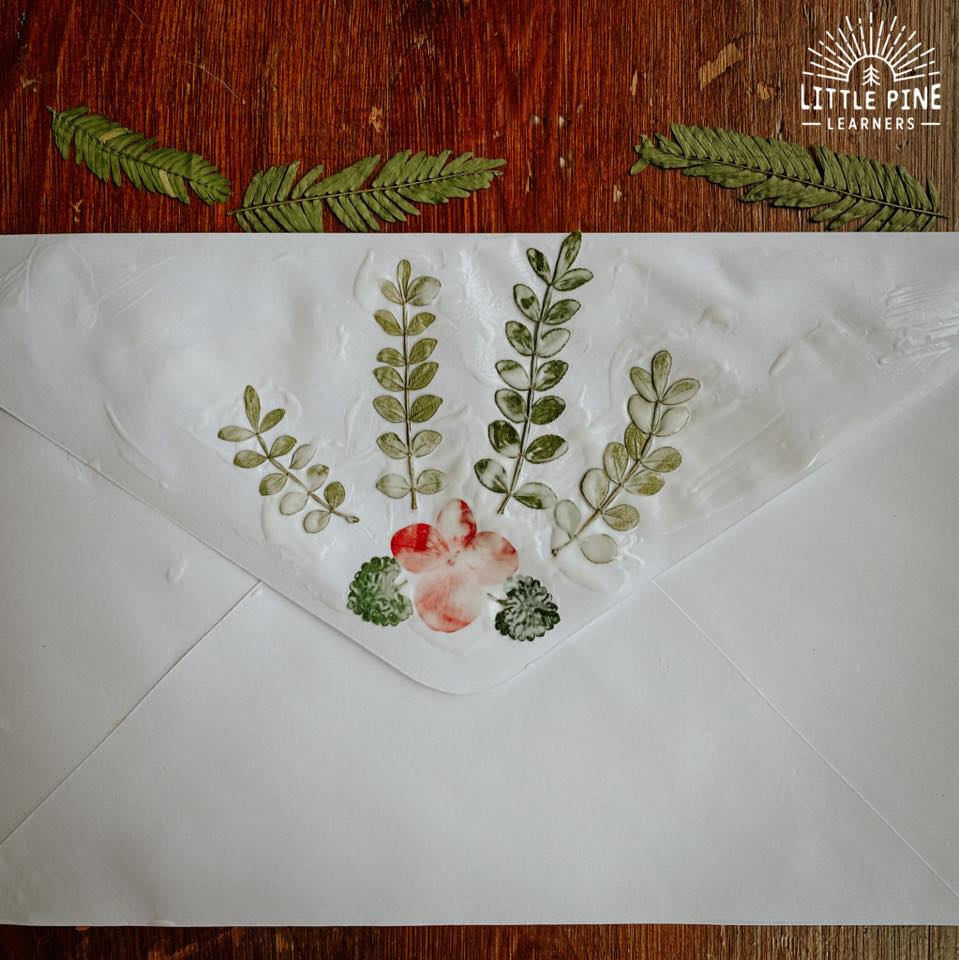
Let the cards dry completely. Once they are dry, you can press them in a heavy book to keep the paper flat. If you used thinner paper for the envelope (like I did), I highly suggest this step! This will flatten out most of the waves that formed during the drying process.
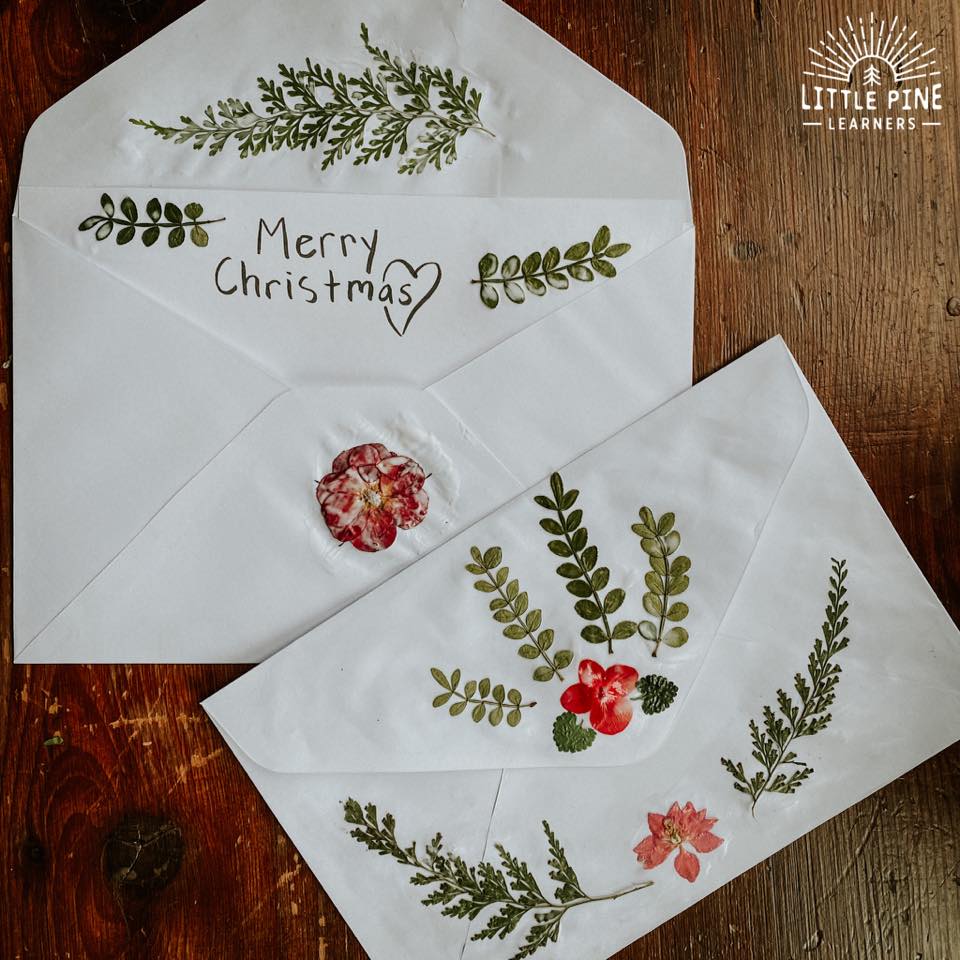
I do not suggest licking and sealing the envelope. You don’t want to risk damaging the pressed flower cards when they are being opened!
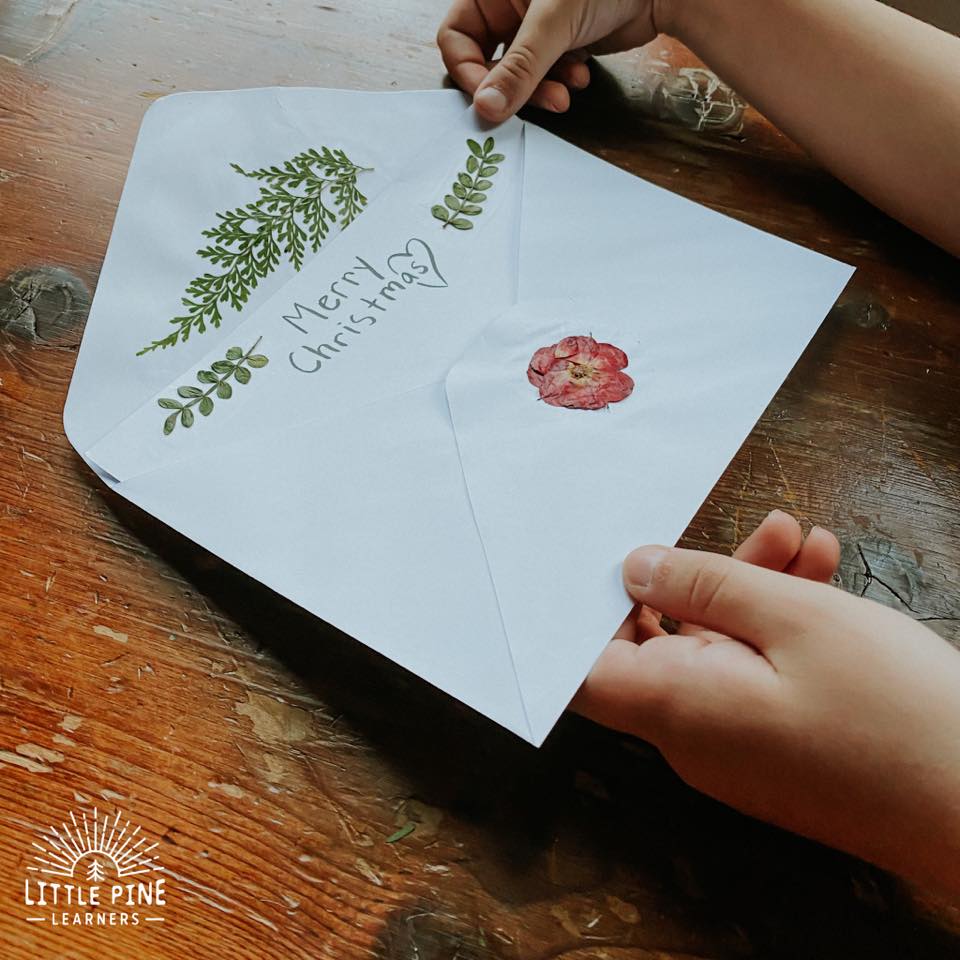
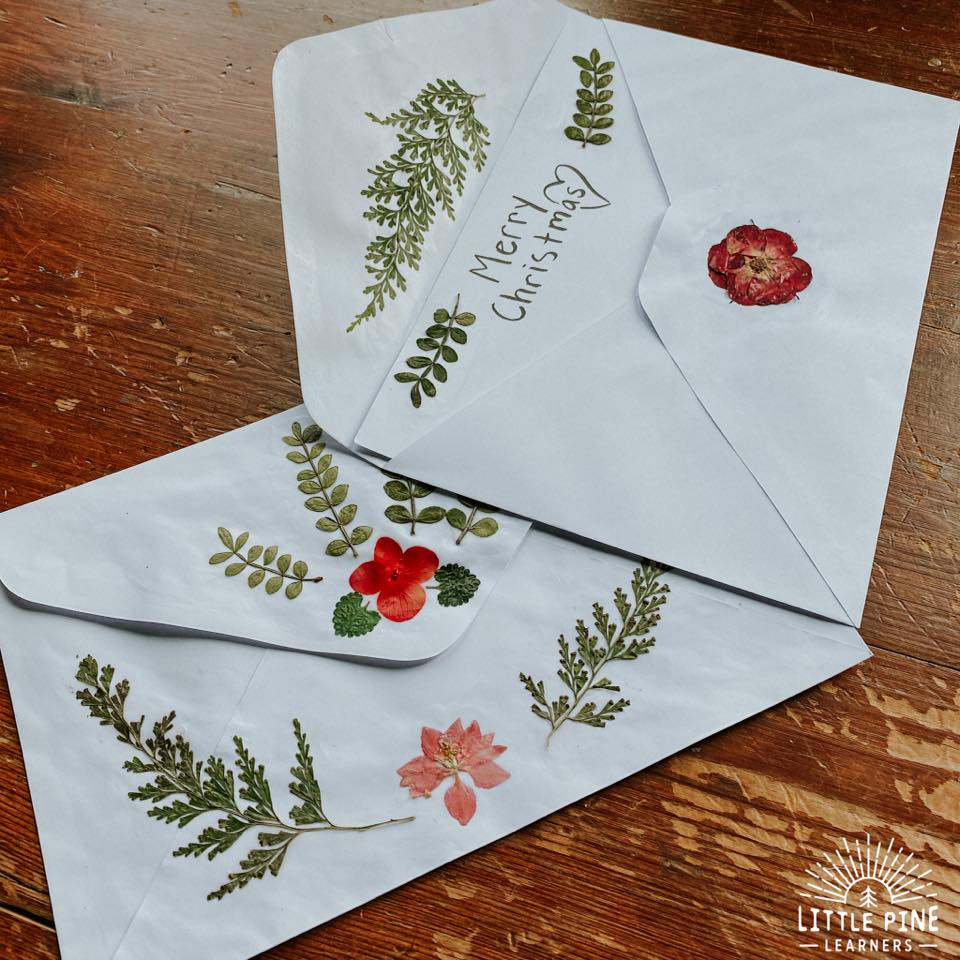
Don’t the look so pretty when completed?! They are true pieces of art that can be treasured for years to come!
Pin it and save it for later!

I hope you give these pressed flower cards a try! I promise, your little nature lovers will love it as much as my boys.
∼Tara
