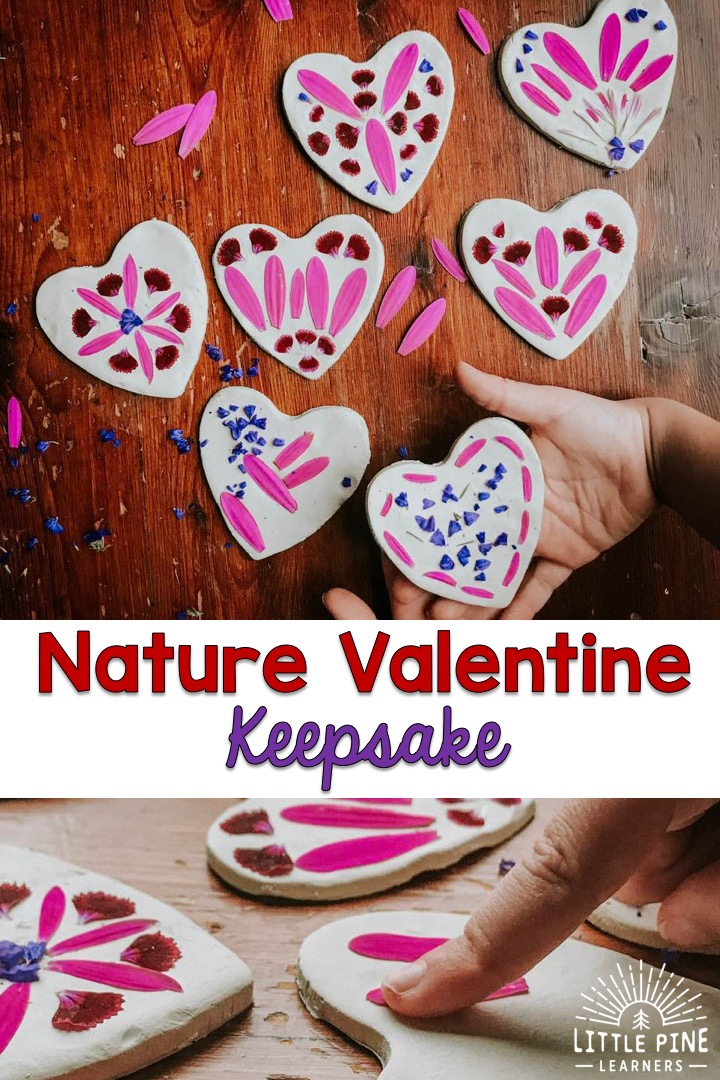
Try making this simple and gorgeous nature valentine keepsake! It’s easy enough for a preschooler, yet older kids will love making this nature craft as well. Just gather a few supplies and start making these beautiful clay hearts. I promise, they will be treasured for years to come.
*If you love this post, check out 10 Nature Heart Activities for Kids!*
We loved making our pine needle keepsake ornaments so much that we had to try a Valentine’s Day version! We used flowers instead of the pine needles and the results were just as stunning. The flower petals gave the clay hearts a beautiful pop of color and were super easy to work with.
If you would rather make these as a decoration for your home, you could always hang them on the wall or place them on a shelf. If you choose to hang them, just poke a hole through the moist clay with a straw and hang with twine.
Ready to make a clay heart or two? Here’s what you’ll need….
Supplies:
- Flowers- Pressed flowers will last longer!
- Parchment paper
- Air Dry Clay
- Heart cookie cutters
- Straw (If you want to hang it)
- Twine (If you want to hang it)
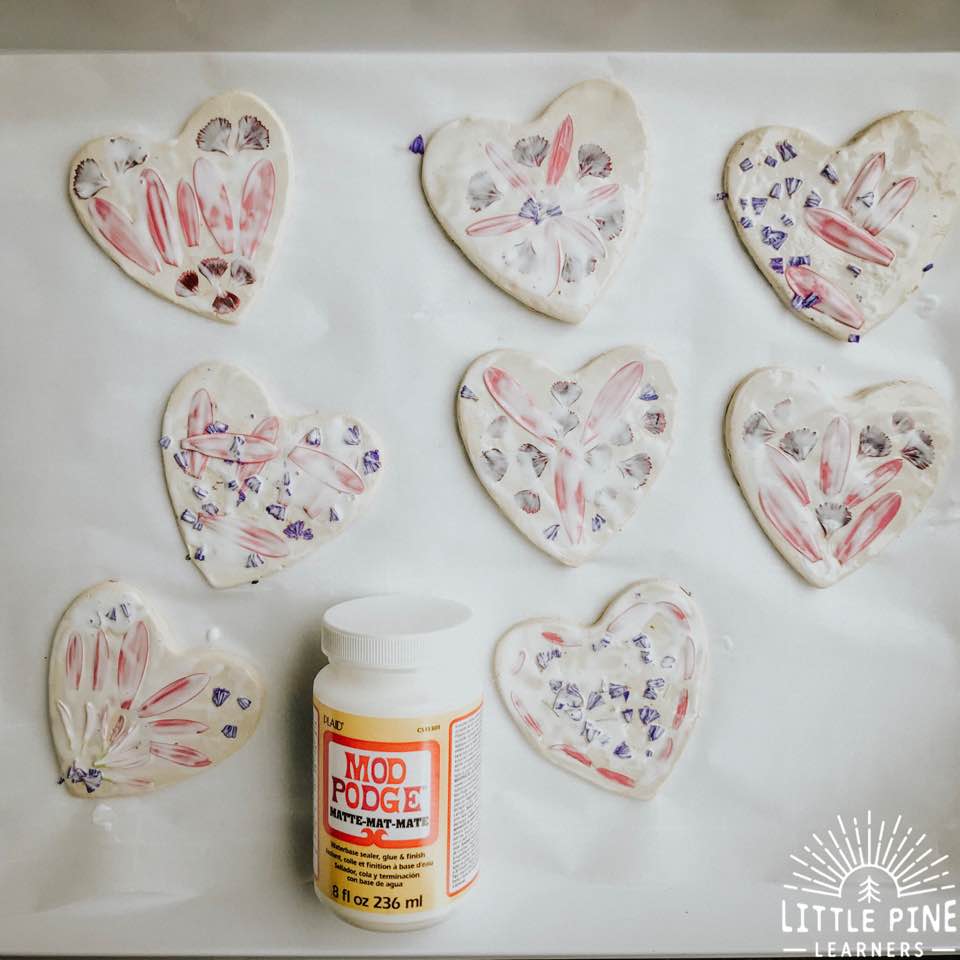
- Mod Podge– I suggest using this starter kit to see which type you prefer. Glossy is a shiny finish and matte is a flat finish. I use my fingers to apply the Mod Podge so I can control it better. I don’t want any petals to brush off with the sponge brush.
This post contains Affiliate links for your convenience.
RELATED: Check out A Heart Nature Weaving Craft to Try Today!
Here’s How we Made These Pretty Clay Hearts:
Step 1:
Roll out the clay on parchment paper. Try to get your kids involved in this step! My boys love rolling out the clay:)
Step 2:
Choose a cookie cutter design and cut out your clay hearts!
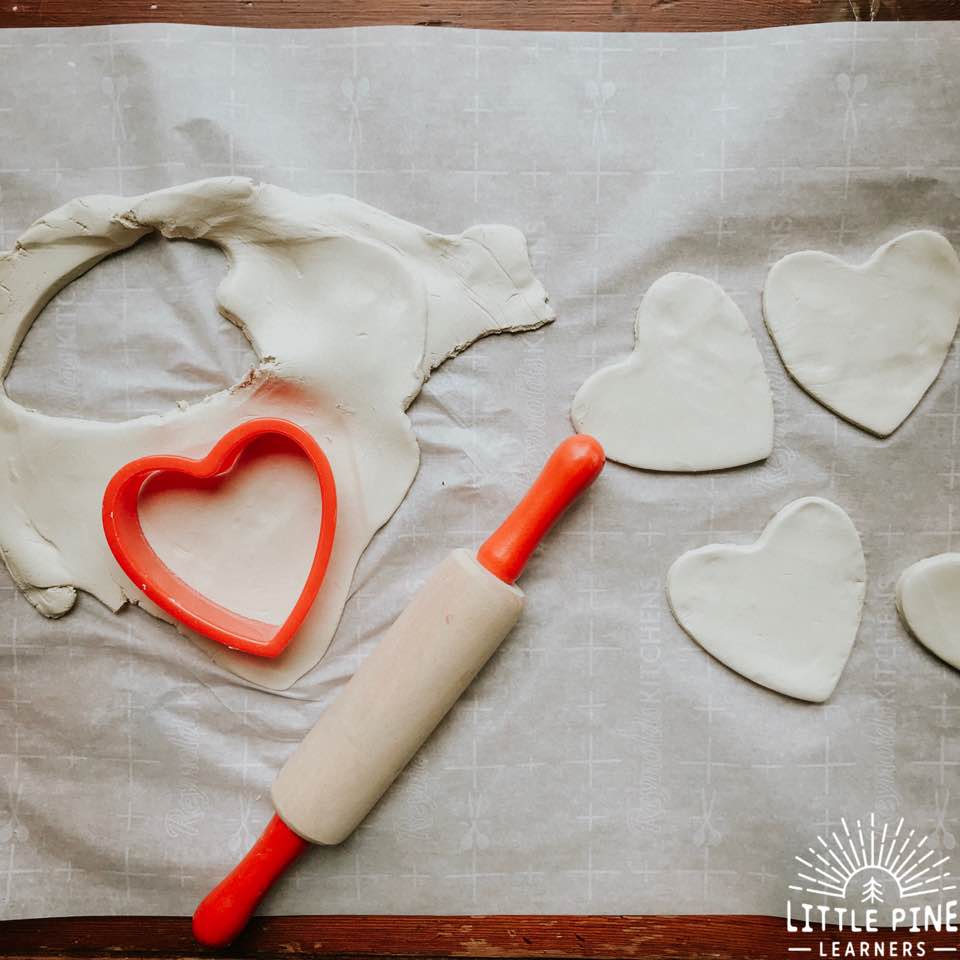
I suggest keeping the clay hearts on parchment paper while you design your clay hearts, but for the sake of pretty pictures, I took them off for the steps below.
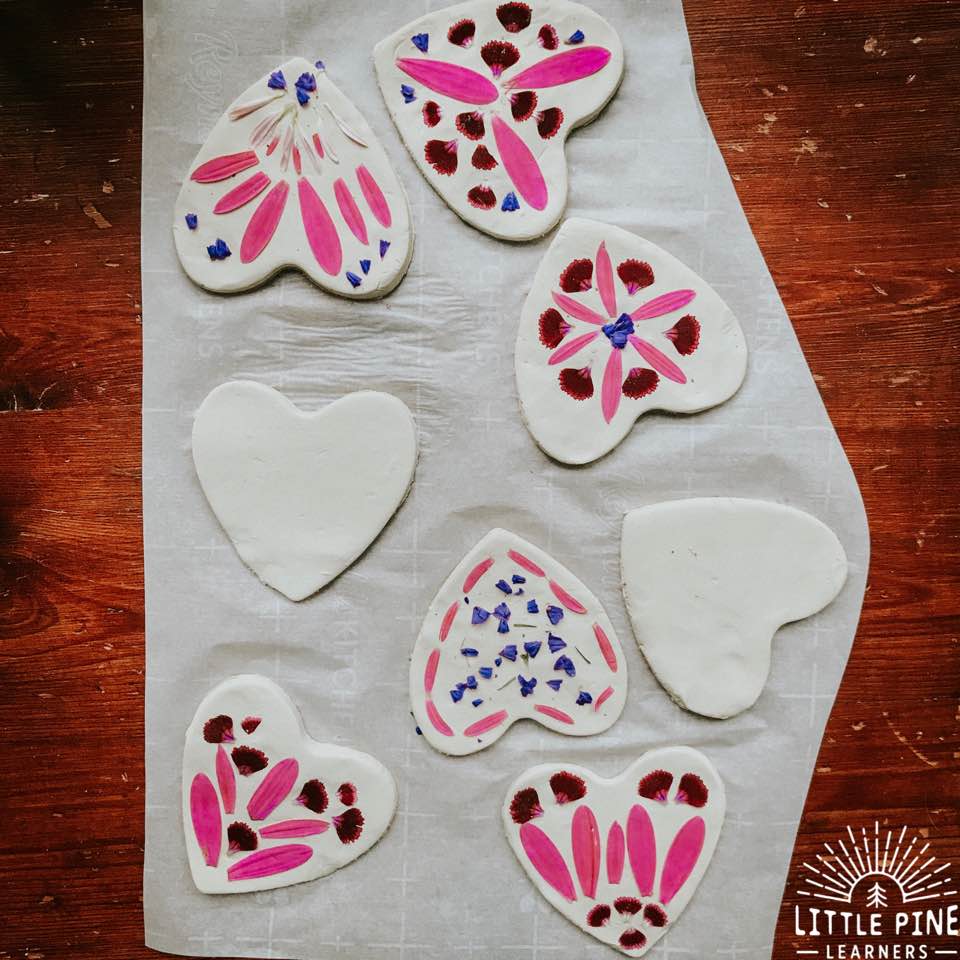
Step 3:
Grab some flowers from a bouquet or outside (if you are lucky!) and start decorating. Just like the pine needle ornaments, my boys loved making different designs on the valentines. I made a few of these! I couldn’t resist.
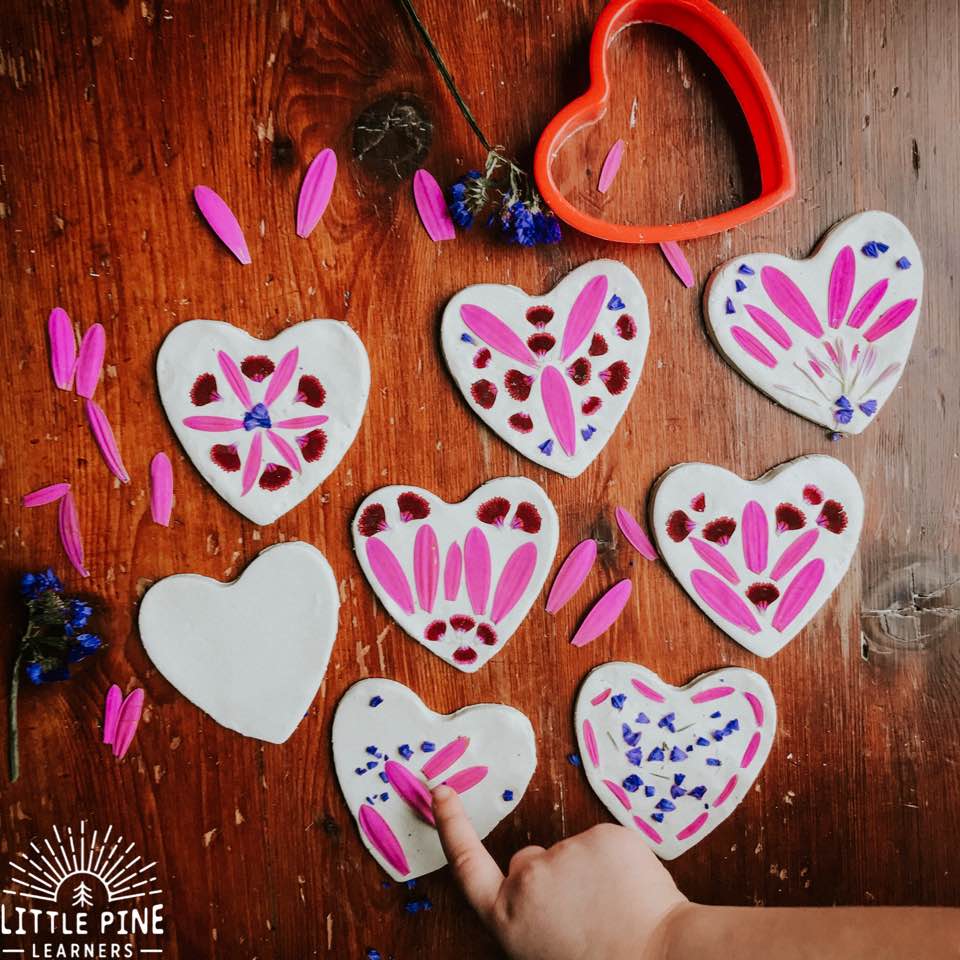
You can choose to press your flowers so they are flat and easier to work with or deconstruct fresh flowers and rearrange the petals on the clay. If you use fresh flowers, there’s a chance they will fade depending upon the variety you use.
We used all fresh flowers. The boys worked on their fine motor skills by pulling the petals off the stems and cutting smaller flowers to make little confetti pieces.
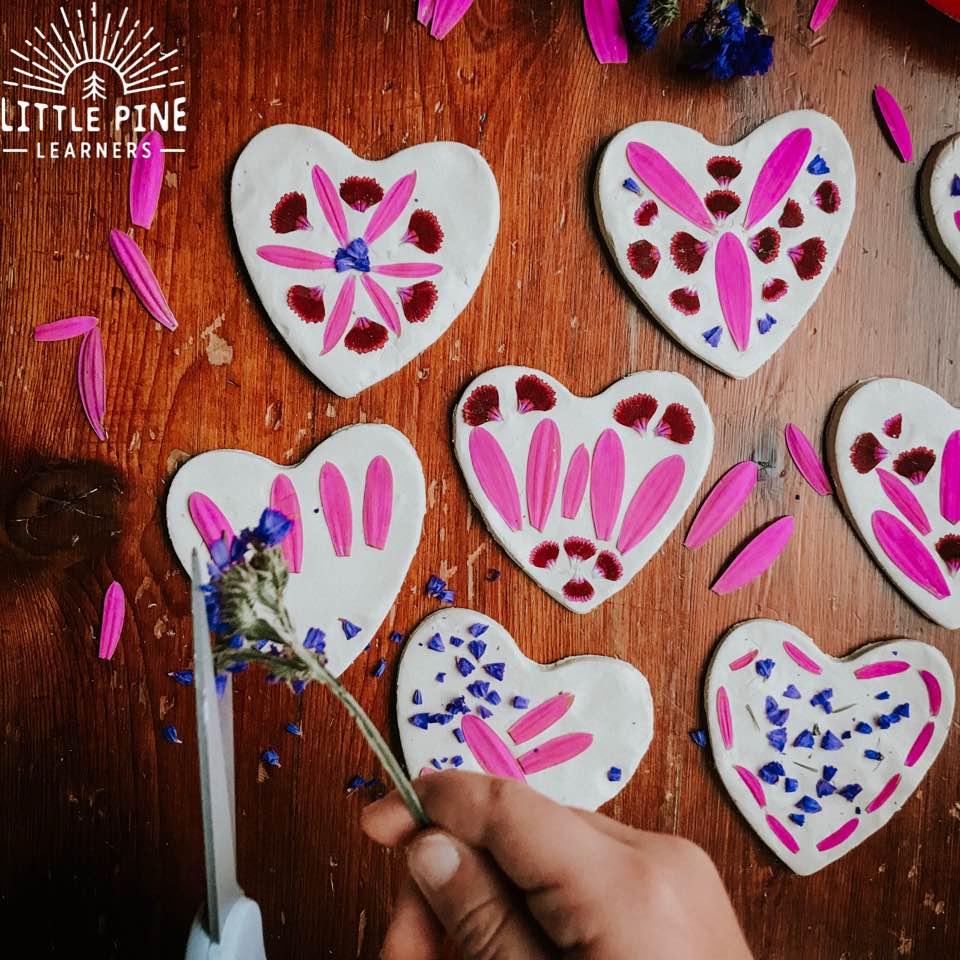
Make sure you push the flower petals into the clay with gentle pressure. This will help them stay in place when you apply the Mod Podge on your clay hearts.
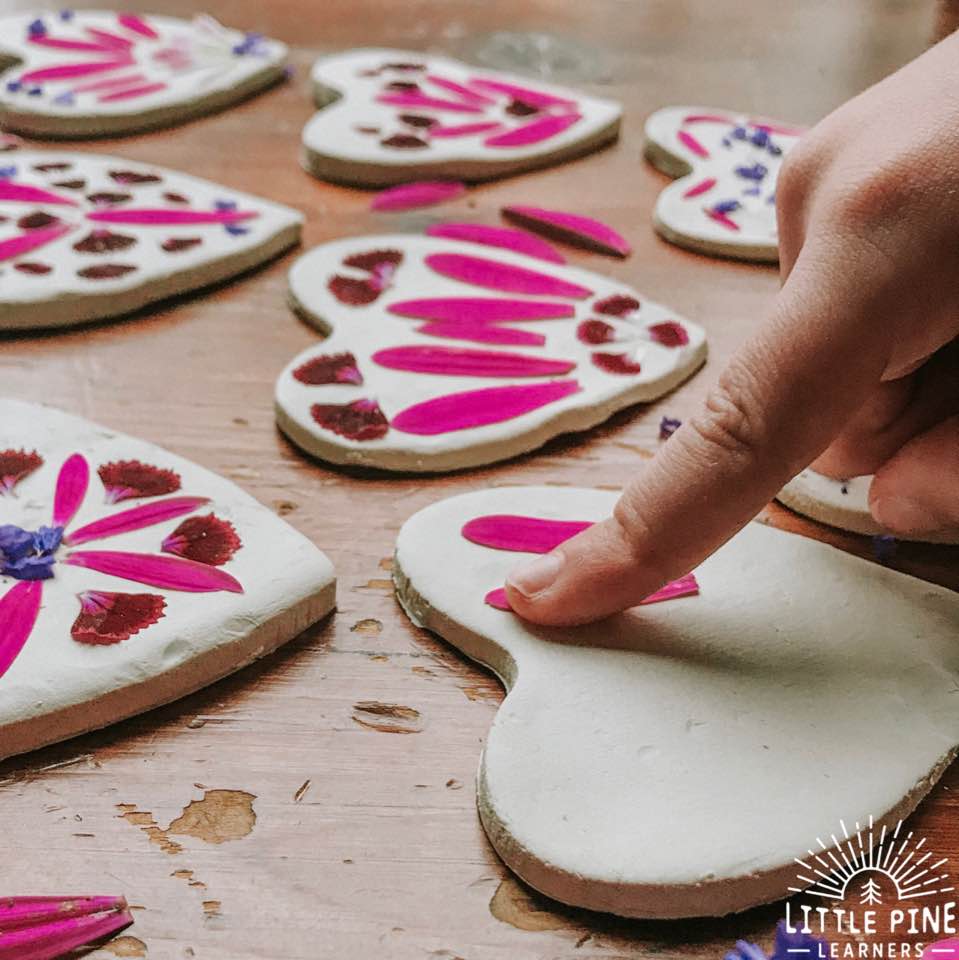
Step 4:
Once your valentines are finished, put a generous layer of Mod Podge over the flowers. This will help the petals stay in place. I used a cookie rack to help the valentines dry quicker but this isn’t necessary.
I have found that the valentines dry in about 48 hours, but the drying time on the box is 2-3 days.
Pin this activity to save it for later!

I hope you give these clay hearts a try! I promise, your little nature lovers will love it as much as my boys.
∼Tara
