Preserving flowers in resin is an easy and fun process if you follow the steps below! These resin pieces are the perfect decoration, handmade gift, or fun learning tool for kids! They are washable which makes them great for the classroom setting and are so inviting to play with. Kids will be drawn to them!
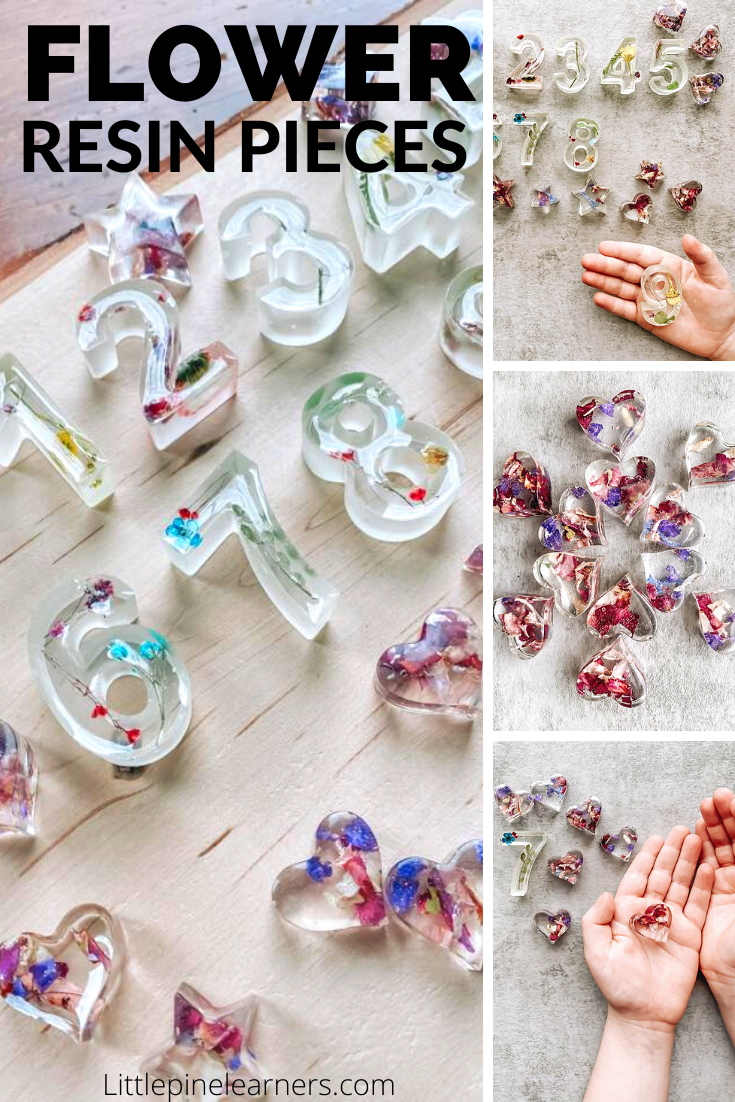
If you are looking for a fun new center for your classroom or learning invitation for home, this is it! I will be sharing with you the easiest way of preserving flowers in resin and some fun ideas for how to use them.
PLEASE NOTE THAT THIS IS A CRAFT FOR ADULTS ONLY! DO NOT LET CHILDREN HANDLE THE RESIN BOTTLES, LIQUID, OR PIECES UNTIL THEY ARE FULLY CURED.
Ready to make a set? Here’s what you’ll need….
Supplies:
- Epoxy resin– This is enough to make the alphabet letters, numbers, and more! There are little finger protectors in the kit. I suggest rolling those over your gloved thumb and pointer fingers on your dominant work hand. You might want to purchase additional gloves because this can get pretty messy!
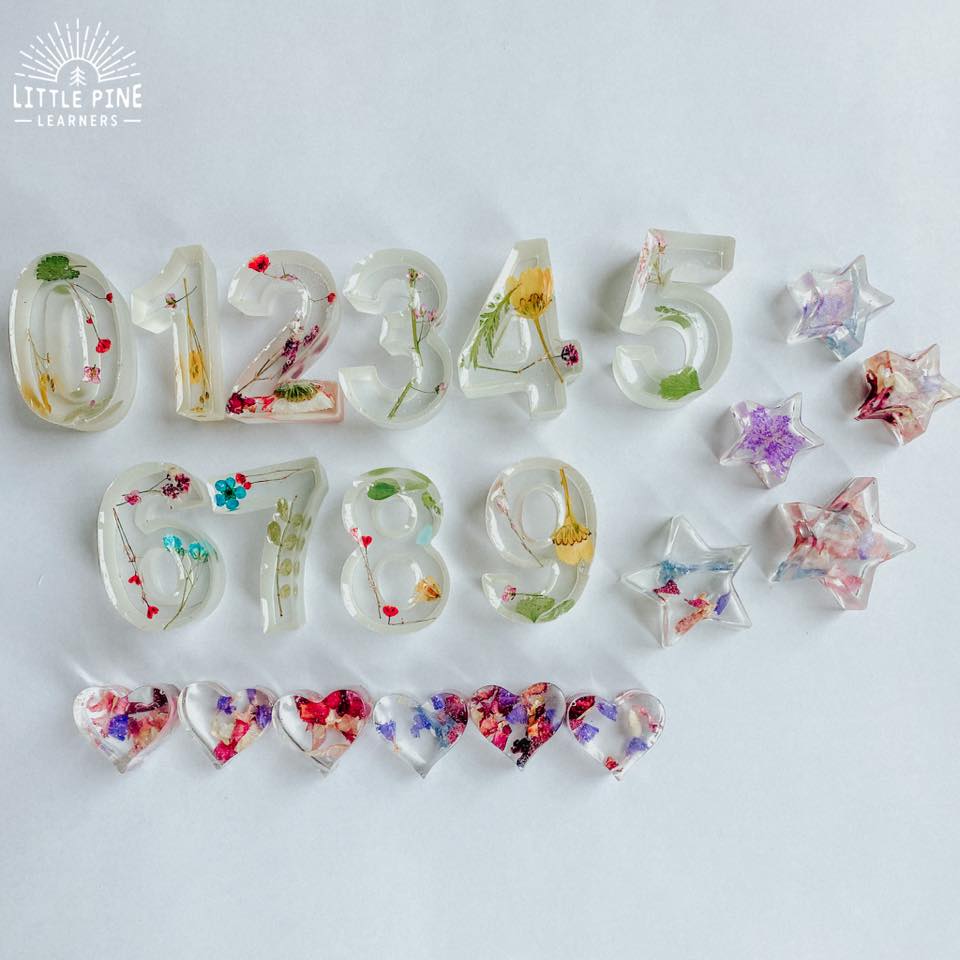
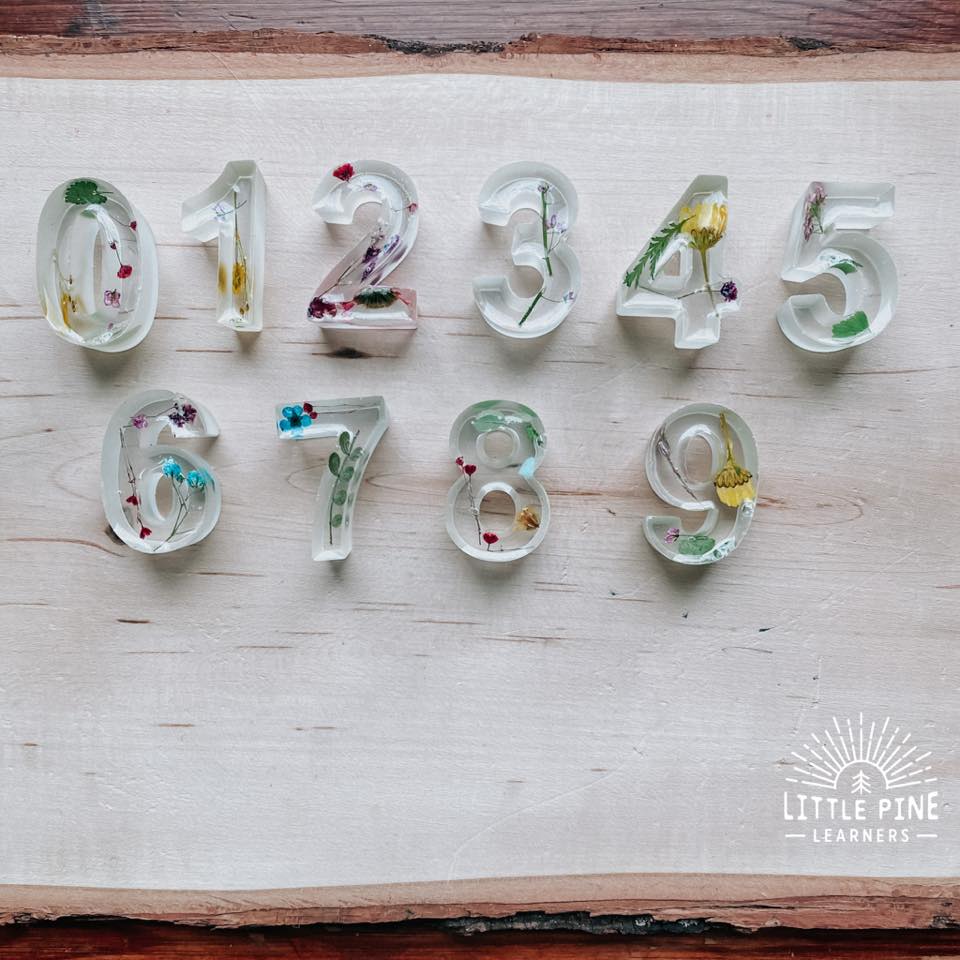
- Molds– Make sure you order molds specifically for resin! The inside of the molds need to be shinny. Don’t use molds with a matte finish, or the bottom/sides of your cured resin pieces will have a frosted finish. We made numbers, hearts and stars this time around.
- Dried flowers– It’s the middle of winter for me, so I purchased some from Amazon! I’ll share how to dry flowers below if you want to go that route.
- Tweezers– This kit has great resin tools.
- Measuring cups– The resin kit linked above comes with small measuring cups, but I found it difficult to read the measurements on the cups. These 3 cups are great for measuring, mixing, and pouring into the molds.
- Sandpaper- I used a fine sandpaper
This post contains Affiliate links for your convenience.
RELATED: Check out 20+ Pressed Flower Crafts
Preserving Flowers in Resin:
Step 1:
First, choose how you want to dry your flowers. It’s important that your flowers are 100% dry or they will turn brown or yellow with timed. Click on the techniques below to learn more:
- Press your flowers.
- Microwave your flowers.
- Or purchase them already dried. This is great for the winter months when you might not have flowers available.
Step 2:
Next, take the time to prepare your work station! This is SO important. This is a rather messy project, so I suggest laying a plastic garbage bag flat on your work surface to protect your table. Also, make sure all of your supplies are in order and ready to go. I suggest choosing the flowers and leaves you would like to use and lay them on the garbage bag. Make sure the flowers aren’t too big for the resin mold. If they are too big, cut them in half or trim them down before you get started.
Step 3:
Make sure you put on your gloves before you start working with resin! If you happen to get some on your skin, try to wash it off with soap and water right away. If that doesn’t work, you can try soaking a cotton ball in vinegar or acetone and rubbing it on your skin. To be on the safe side, I also suggest working in a well ventilated room and wearing a mask when handling resin to protect yourself from the fumes. The type I used is low scent, but it’s always smart to be extra safe! Don’t allow children near you when you are working with the resin.
Now you are all set! Make sure to carefully follow the instructions on your epoxy resin bottles. Most are a 1:1 ratio but yours may be different. I mixed equal parts resin and hardener and slowly stirred for 2-3 minutes. Scrape the sides and bottom of the mixture cup multiple times during the stirring process.
Step 4:
Pour a little resin into the mold, then use a tweezer to place the pieces of nature into the mold. Make sure your flowers are facing the correct way when you place them into the mold. My mold is backwards, so I put the front of the flower facing down in the mold. Now add more resin over the flowers and leaves. When preserving flowers in resin, make sure you entirely cover the pieces of nature with the mixture! You can use a toothpick to press the nature bits down if they float up to the surface.
Step 5:
Lastly, you need to pop any bubbles that come to the surface. I used one of the resin tools in the tweezer kit linked above, but you could also use a toothpick. Check back every 5 minutes or so during the first 30 minutes of curing to pop bubbles.
Now is the hard part! Let your resin cure. My resin took 24 hours. I tried to take one out at the ten hour mark and it was way too soft. Just be patient and WAIT! Once they are ready, just pop them out of the molds. If you are having a hard time getting them out, pop them in the freezer for a bit and try again. Luckily, I had no problems with this.
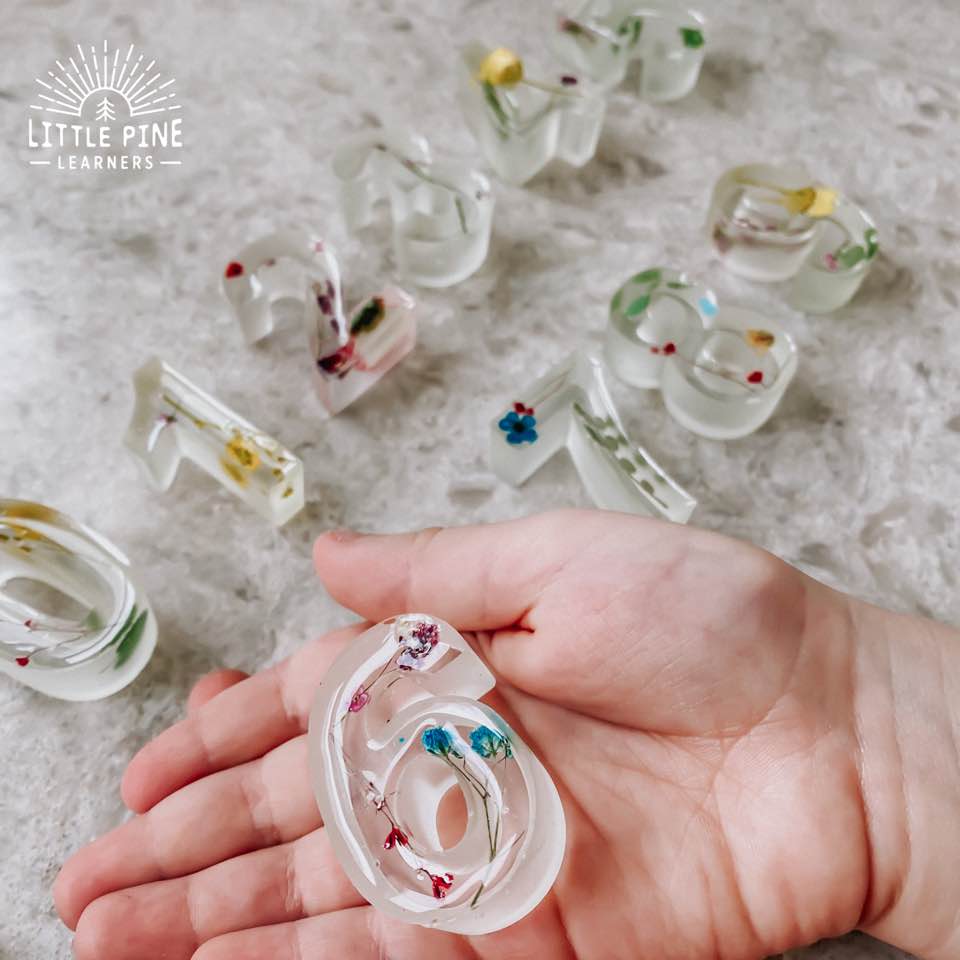
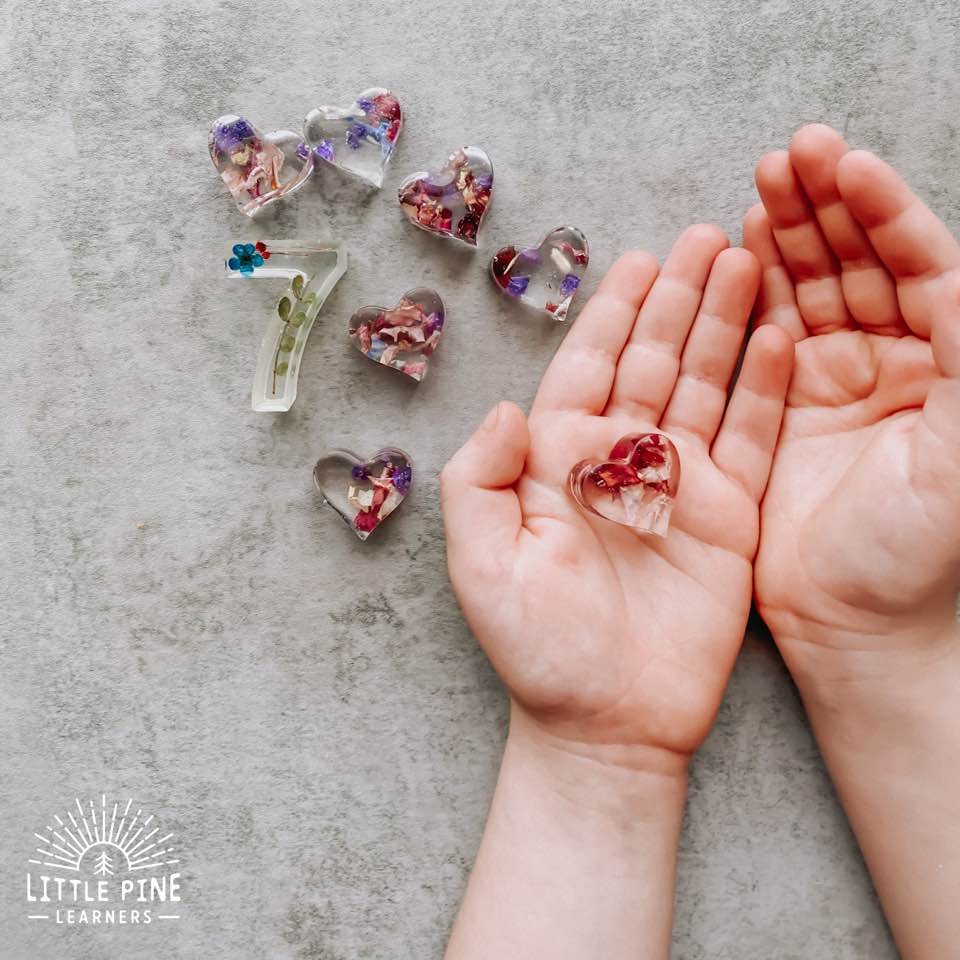
Kids will LOVE holding, learning, and playing with these! If you have any rough or sharp edges when you pop the resin pieces out, make sure you sand them down. I only had a few that needed some sanding on the edges.
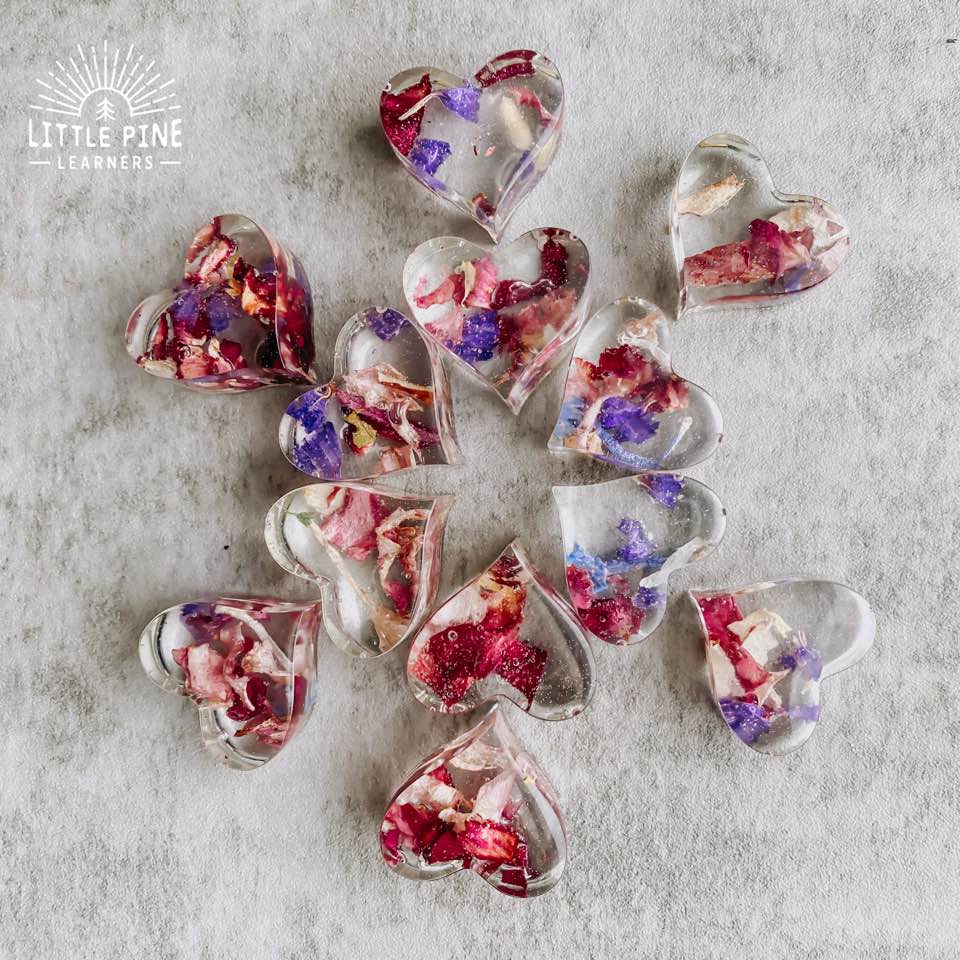
These make the best loose parts! Check out this fun heart mandala made by my 7 year old.
Children will love lining up the numbers in order.
You can also hide resin shapes in a sensory bin and invite children to find the correct amount of shapes to match the numbers!
Pin this activity to save it for later!
I hope you try preserving flowers in resin! I promise, your little nature lovers will love these gorgeous pieces as much as my boys.
∼Tara