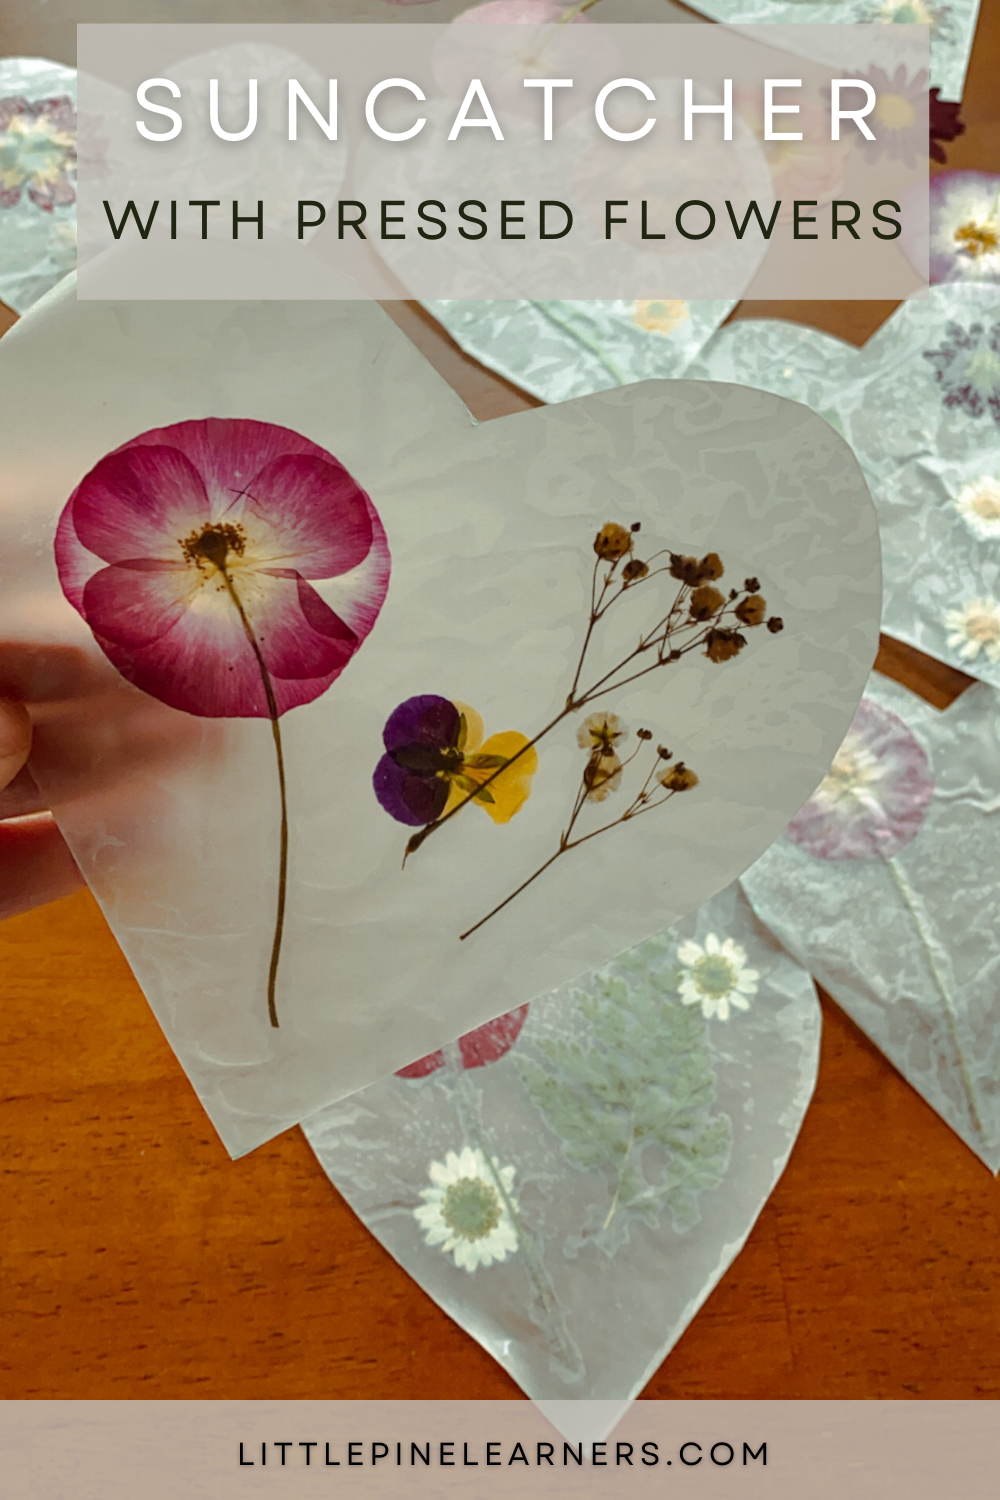
This beautiful pressed flower suncatcher is perfect for Valentine’s Day, Earth Day or Mother’s Day! They are so easy and fun to make. I also love that you can store them and bring them back out at any point of the year! The wax paper seals the pressed flowers and preserves them beautifully.
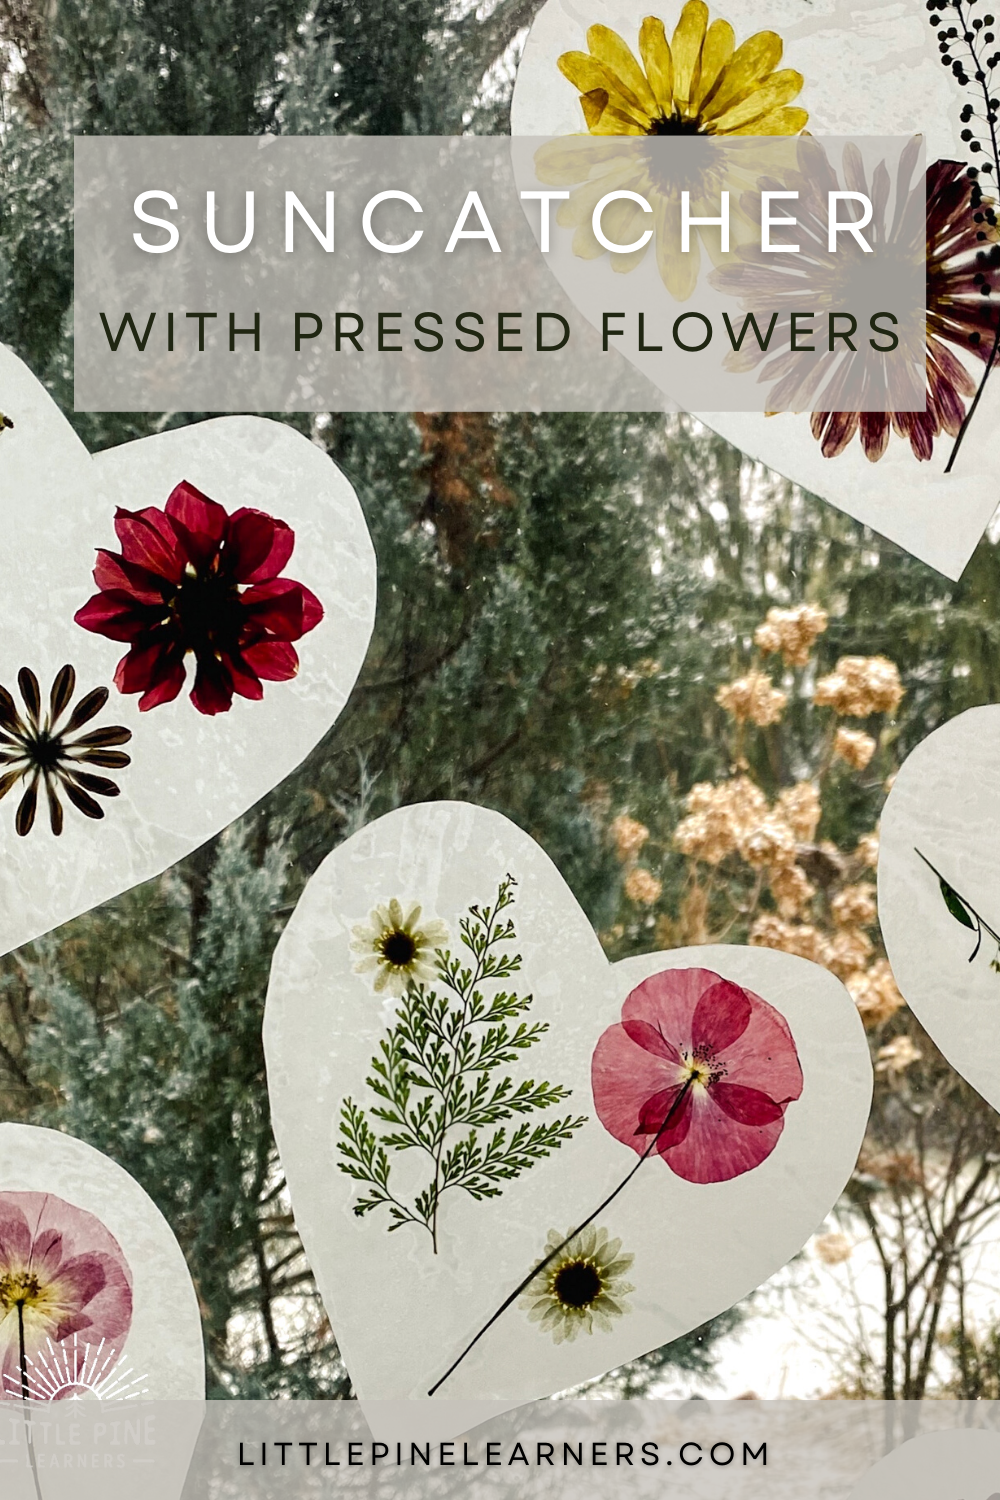
We made Easter egg suncatchers similar to these hearts last year! They turned out so pretty, that I wanted to try them for Valentine’s Day. These make the perfect handmade Valentine and are a great alternative to the typical sugary treats that everybody hands out.
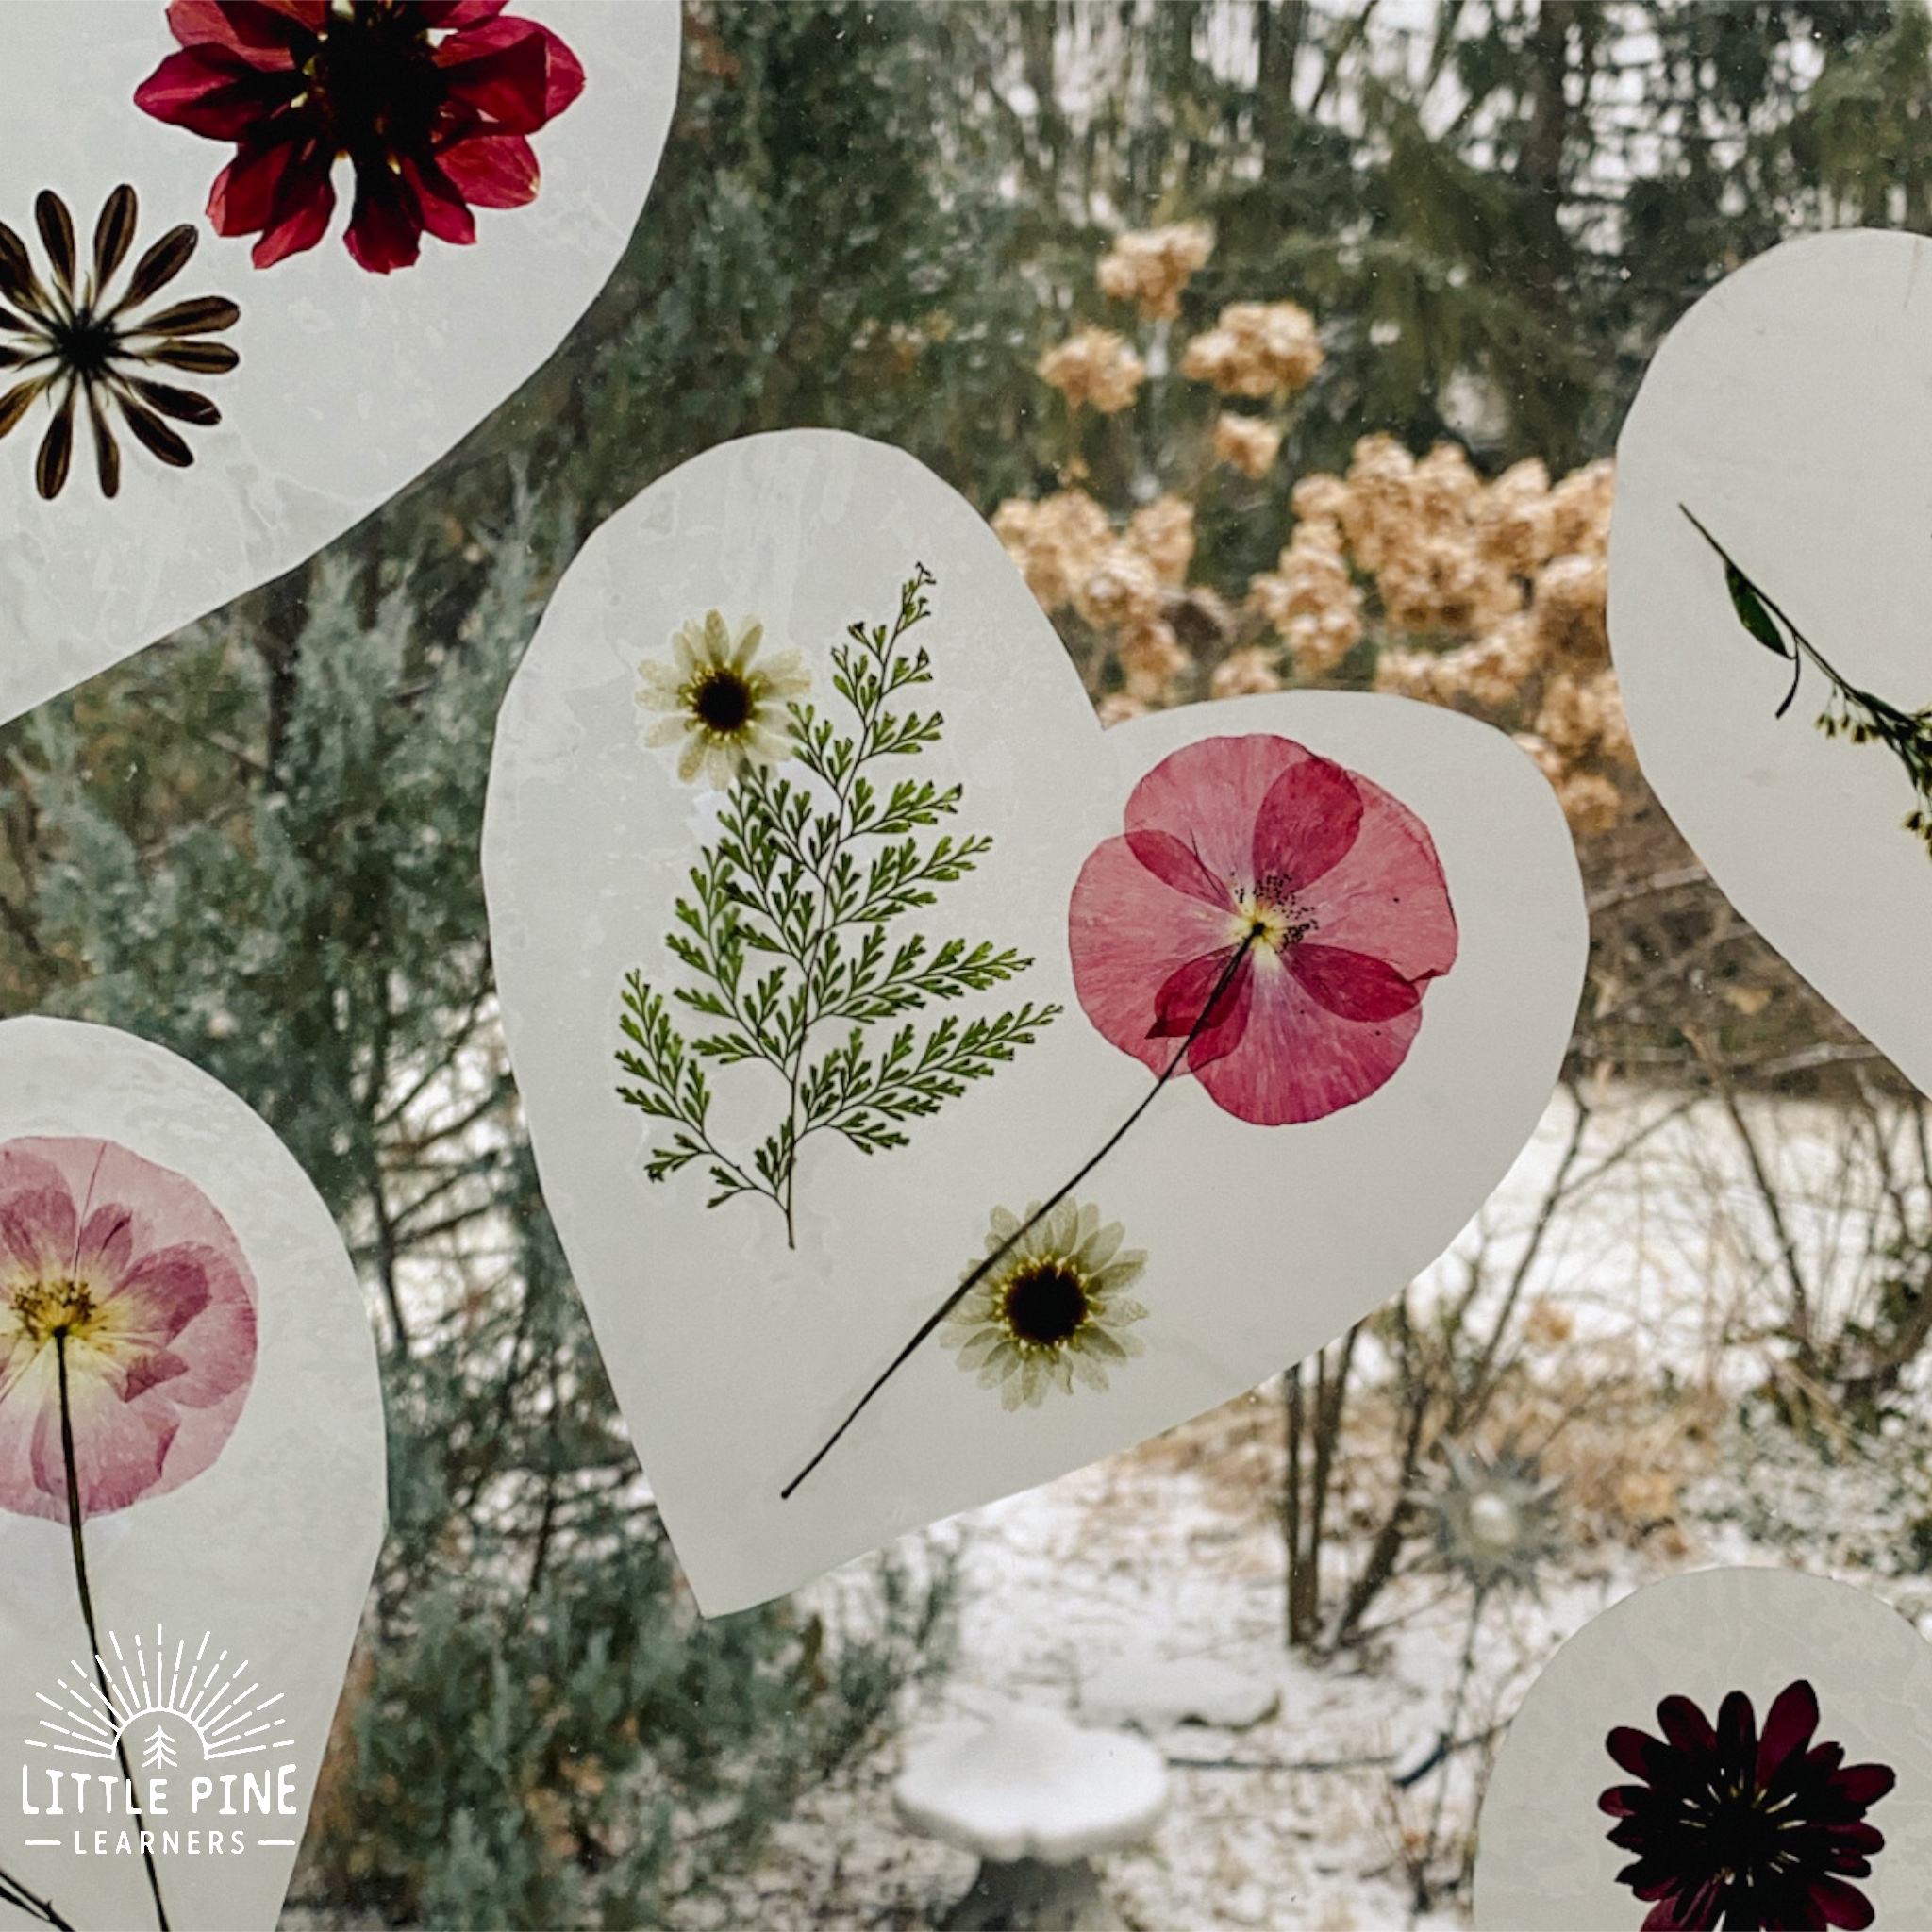
If you are making these for a home decoration, I suggest making a bunch of them and sticking them to a window! They look so pretty as a large group of hearts.
Ready to give it a try!? Here’s what you’ll need..
Supplies:
- Dried flowers– It’s the middle of winter for us, so I purchased some pressed flowers from ETSY. The large pressed poppy flowers are from this shop and the wildflower mix are from this shop! I love supporting these beautiful pressed flower businesses from ETSY, but these flowers took over a week to arrive at my house. If you need pressed flowers quickly, then I suggest going with Amazon. I’ve used many pressed flowers from Amazon for my crafts and am happy to recommend them as well. I love this set from Amazon.
- Wax paper
- Towel or ironing board
- Scissors
- Twine
- Iron
- Heart template- I drew my own and cut it out.
This post contains Affiliate links for your convenience.
Related: Check out Valentine’s Picture Books for Kids
Here’s How We Made These Pressed Flower Suncatcher:
Step 1:
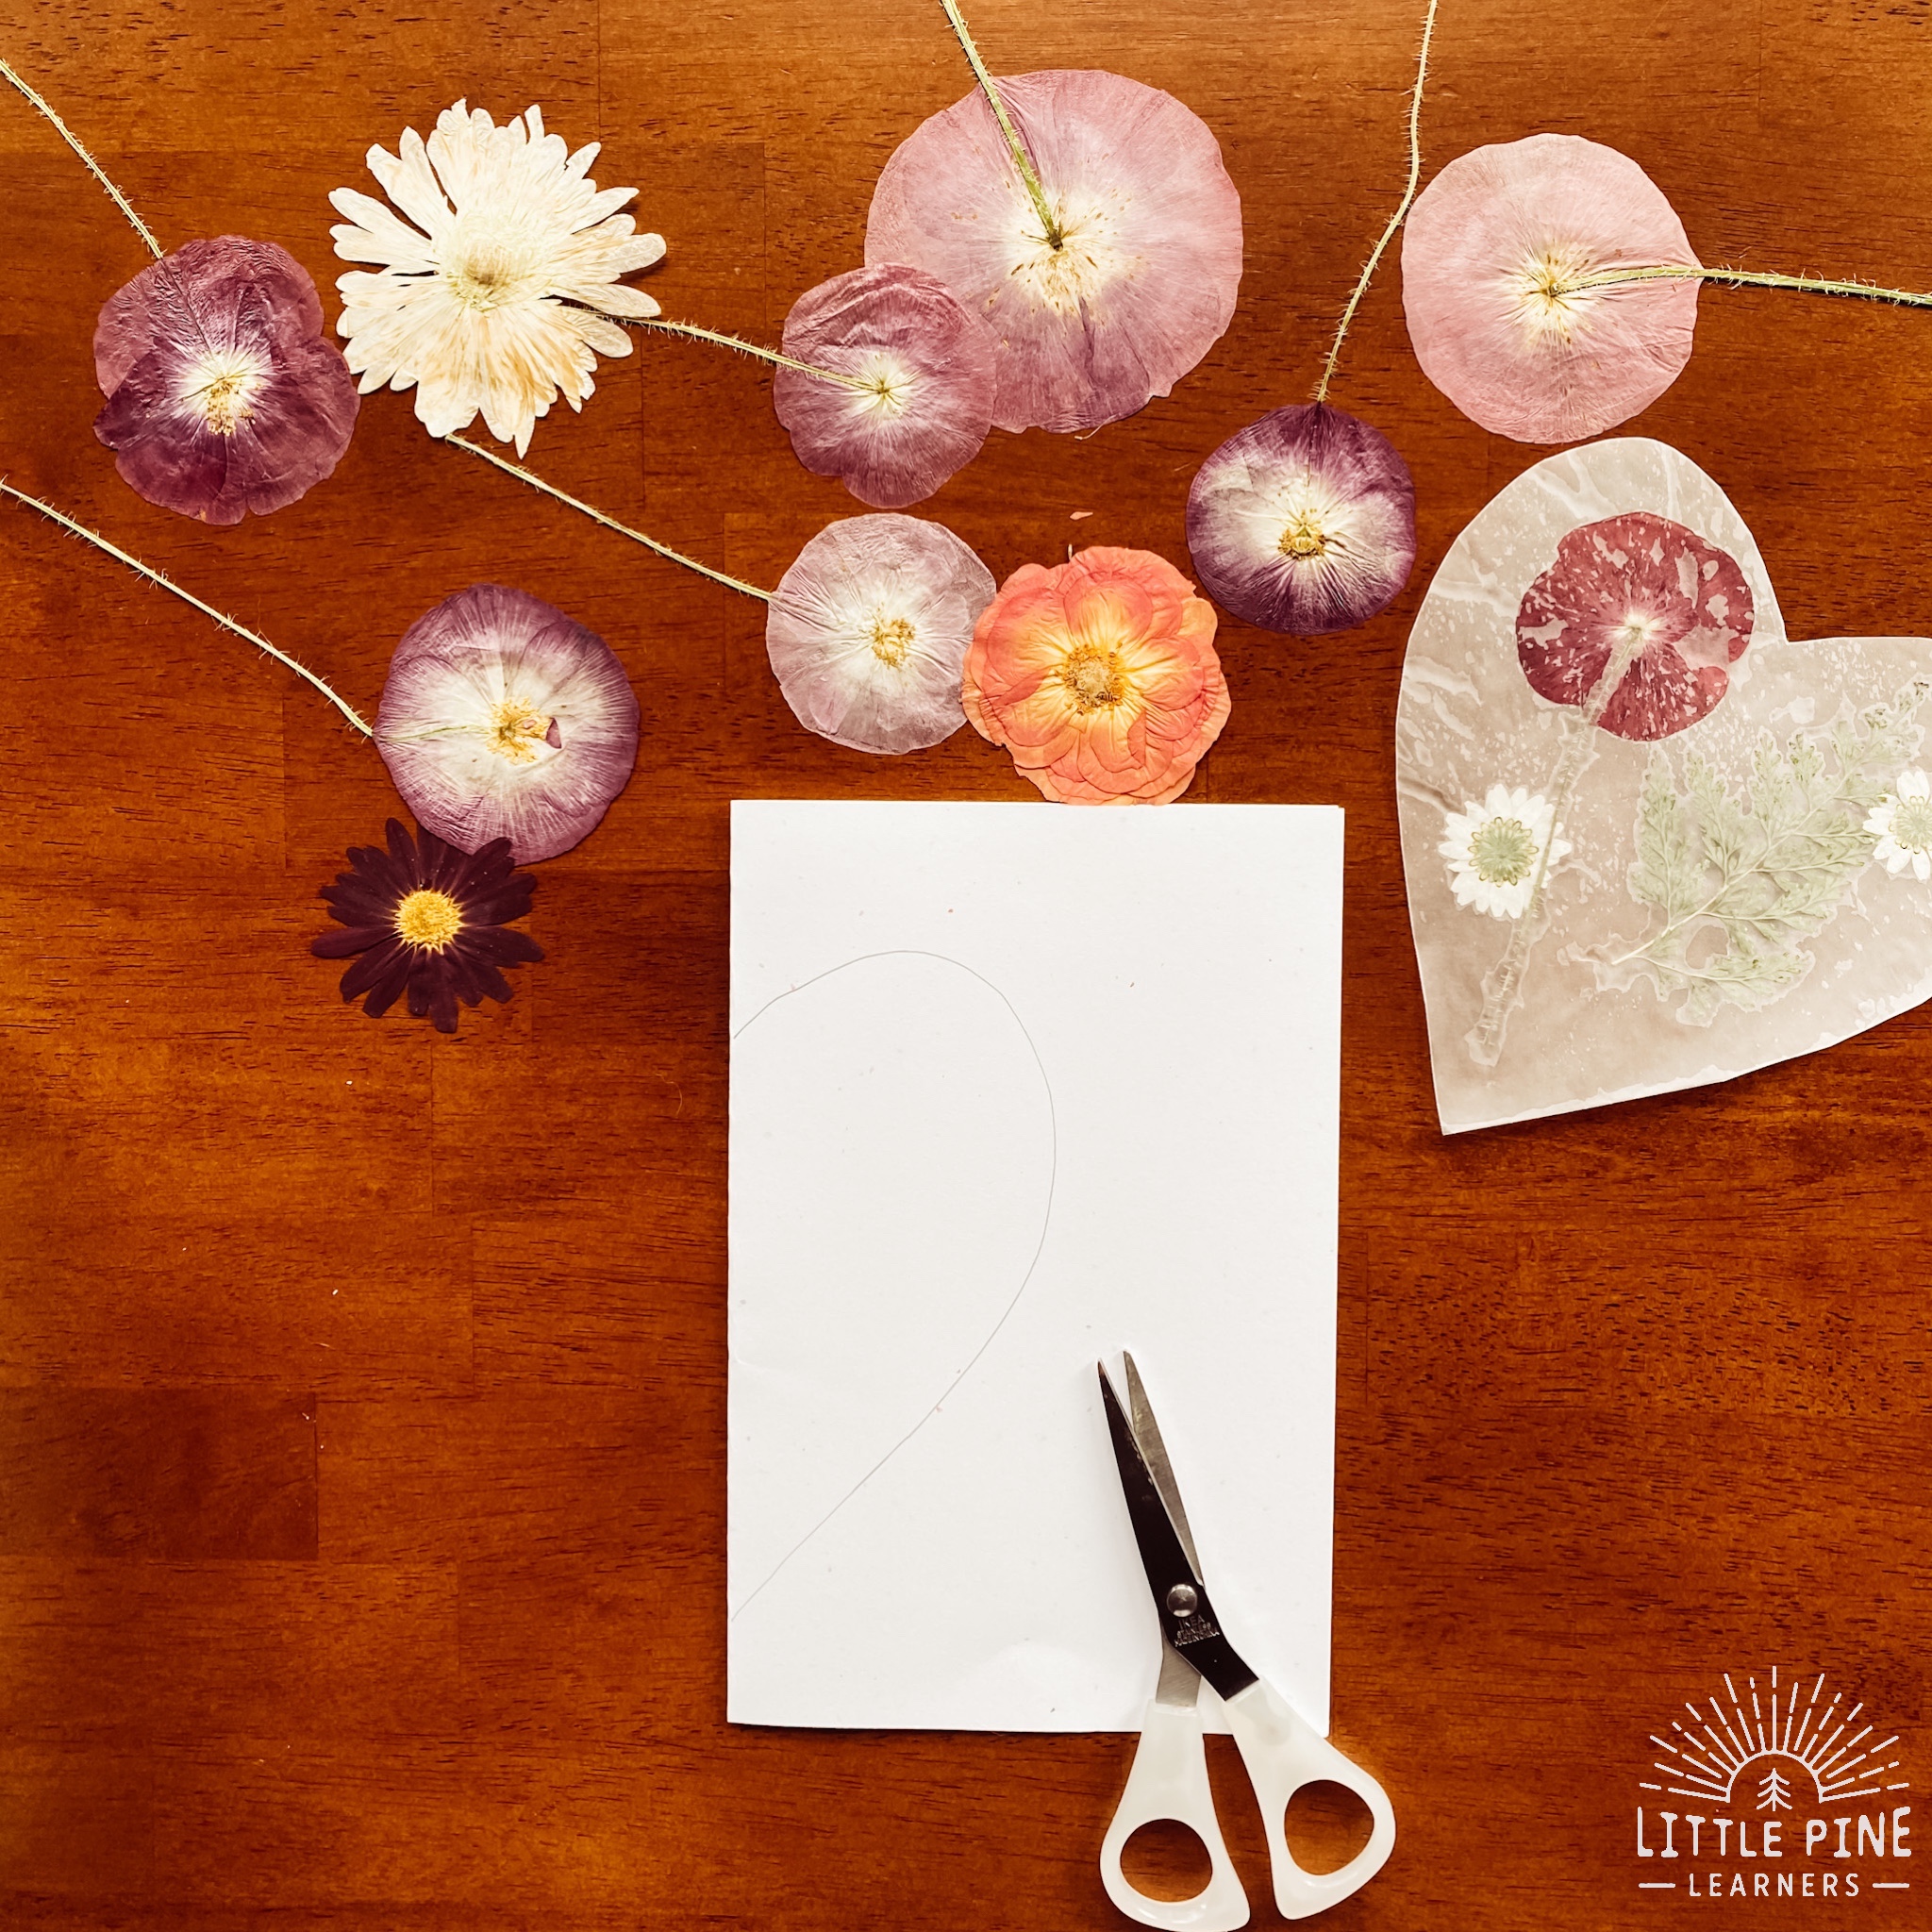
First, make a heart shape. For an even heart shape, I like to fold a paper in half, draw half a heart, cut on the line and open the paper up. Your heart sides will be perfectly even!
Step 2:
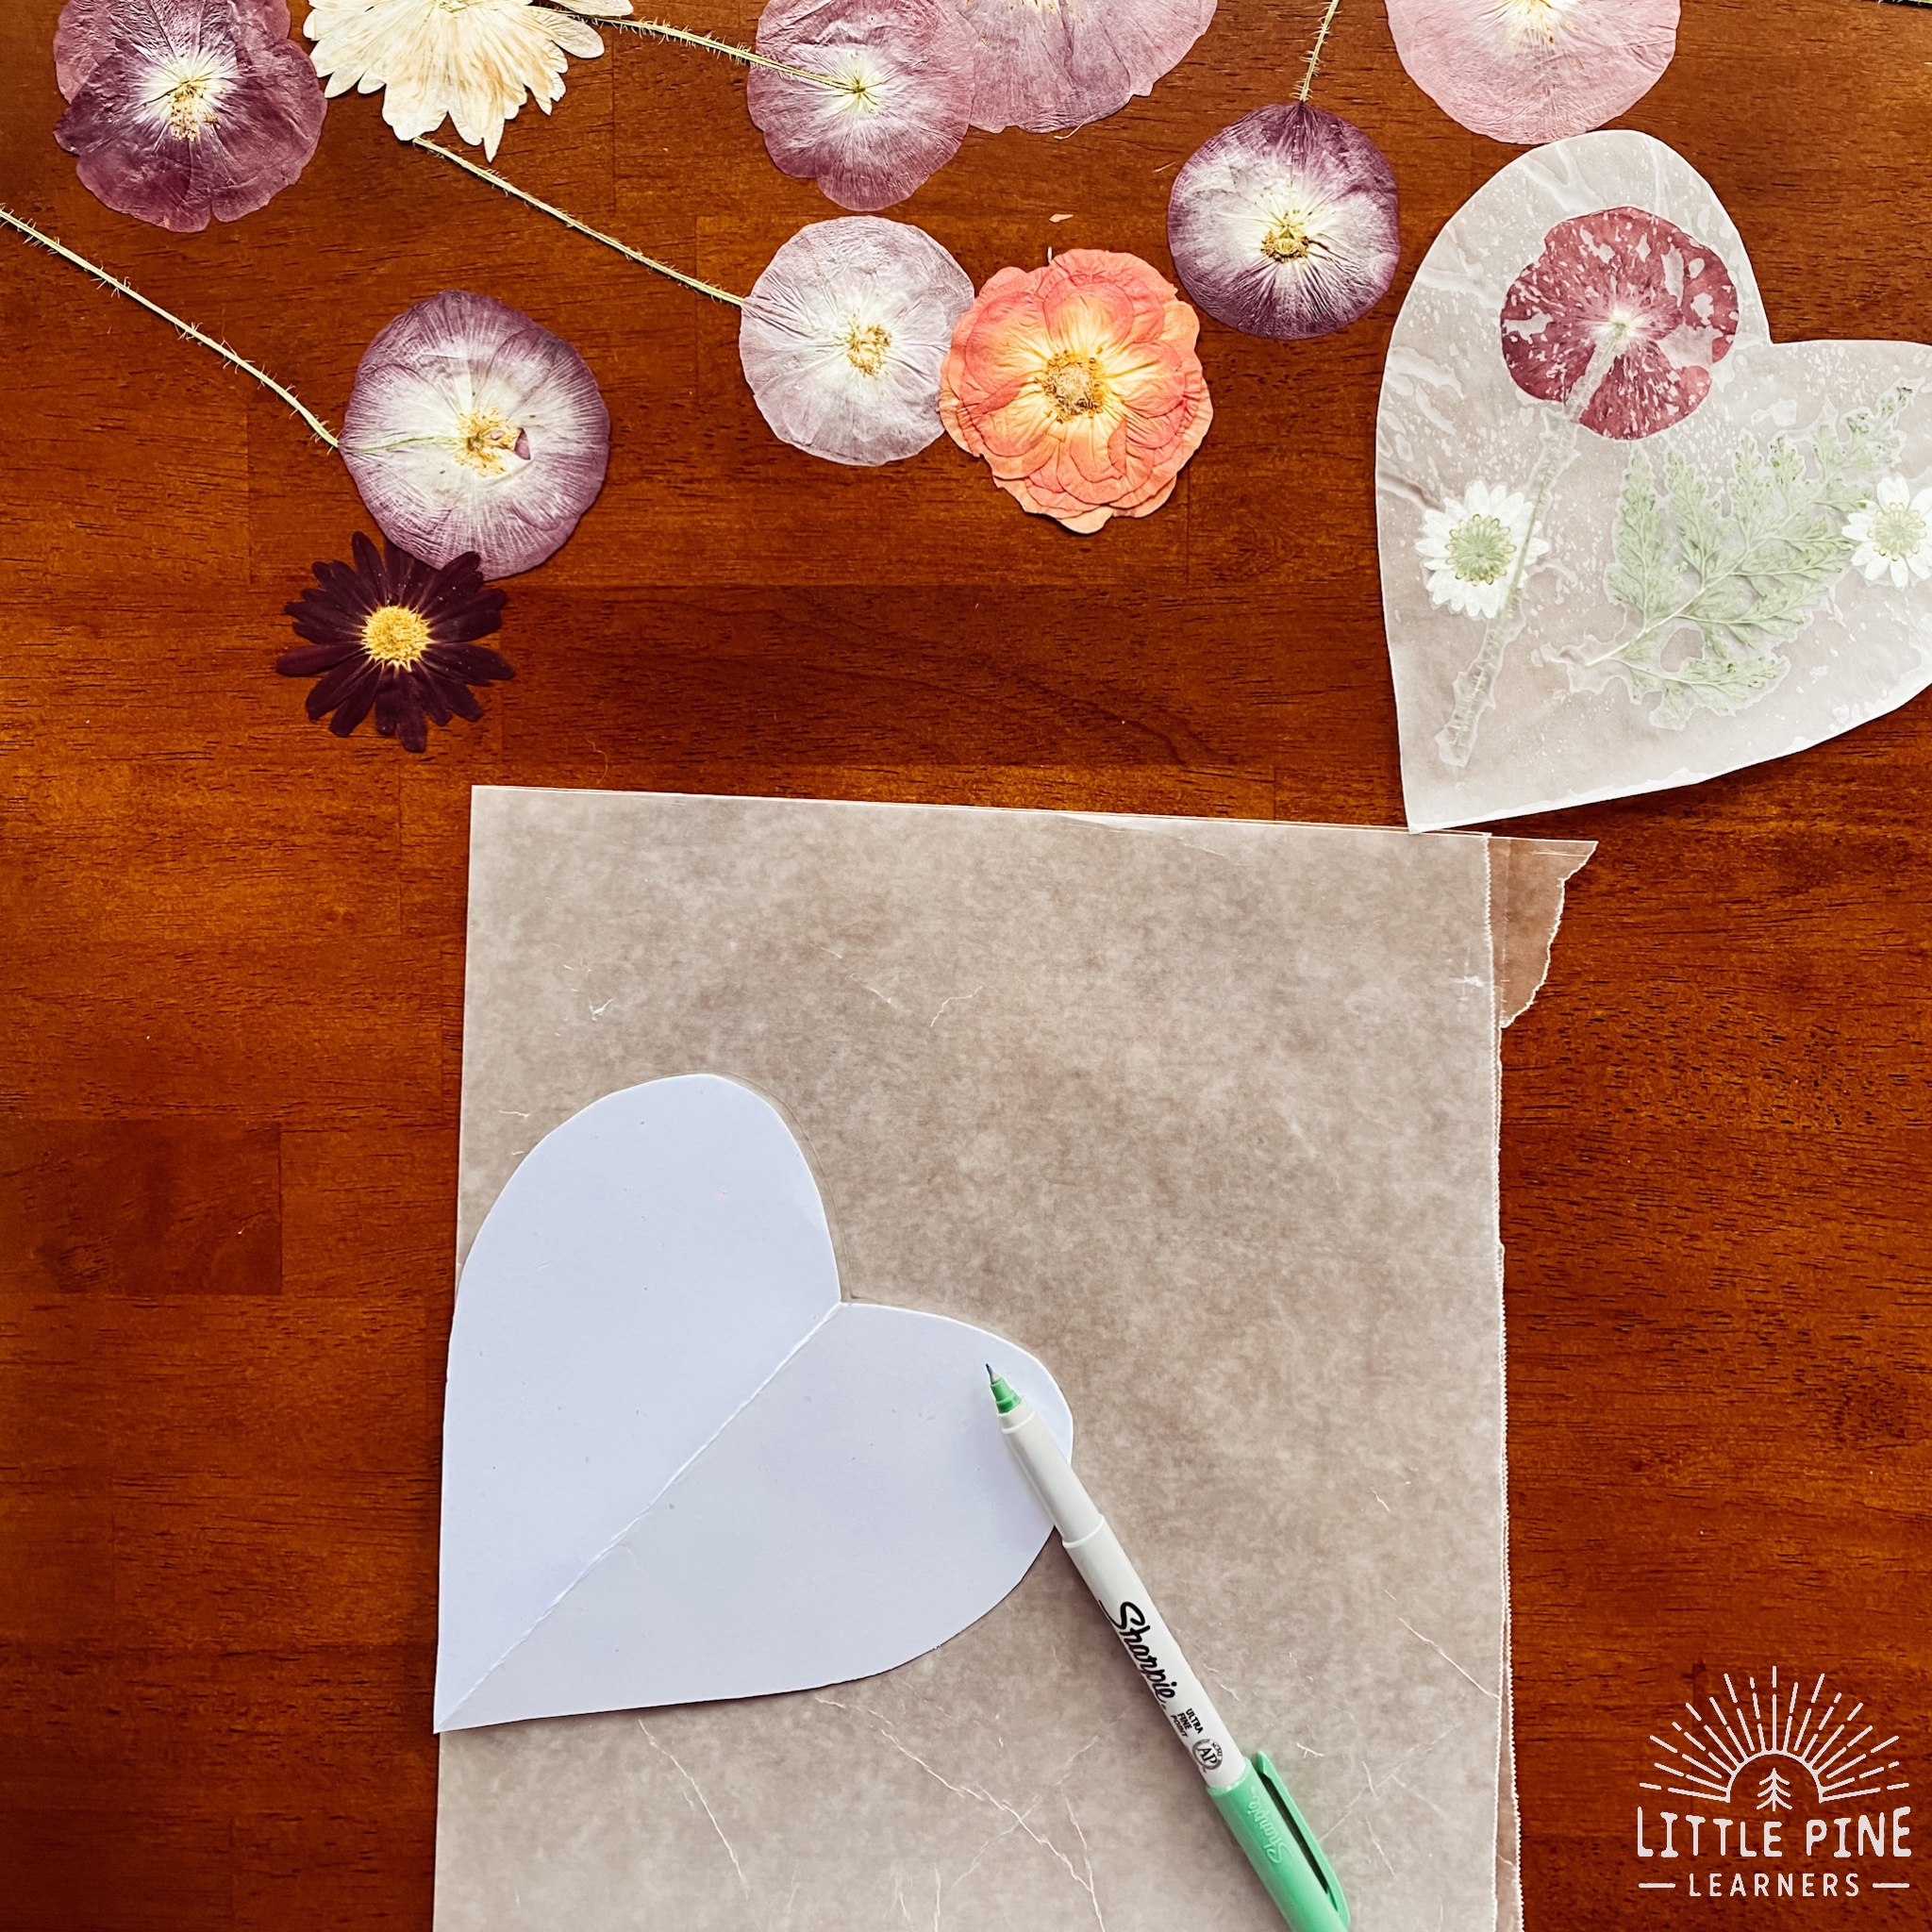
Cut a large piece of wax paper and fold it in half to make a crease. Place the heart cut out at the fold mark and trace the heart. As you can see below, I placed the straightest part of the heart line on the crease. You want the 2 hearts to stay attached at that spot, so keep that in mind while tracing and cutting. This little line helps fuse together the 2 sheets of wax paper.
I suggest using a thicker Sharpie than the one I have shown below. This skinny Sharpie left a very faint line on the wax paper and the thicker Sharpie line made it easier to see and cut.
Step 3:
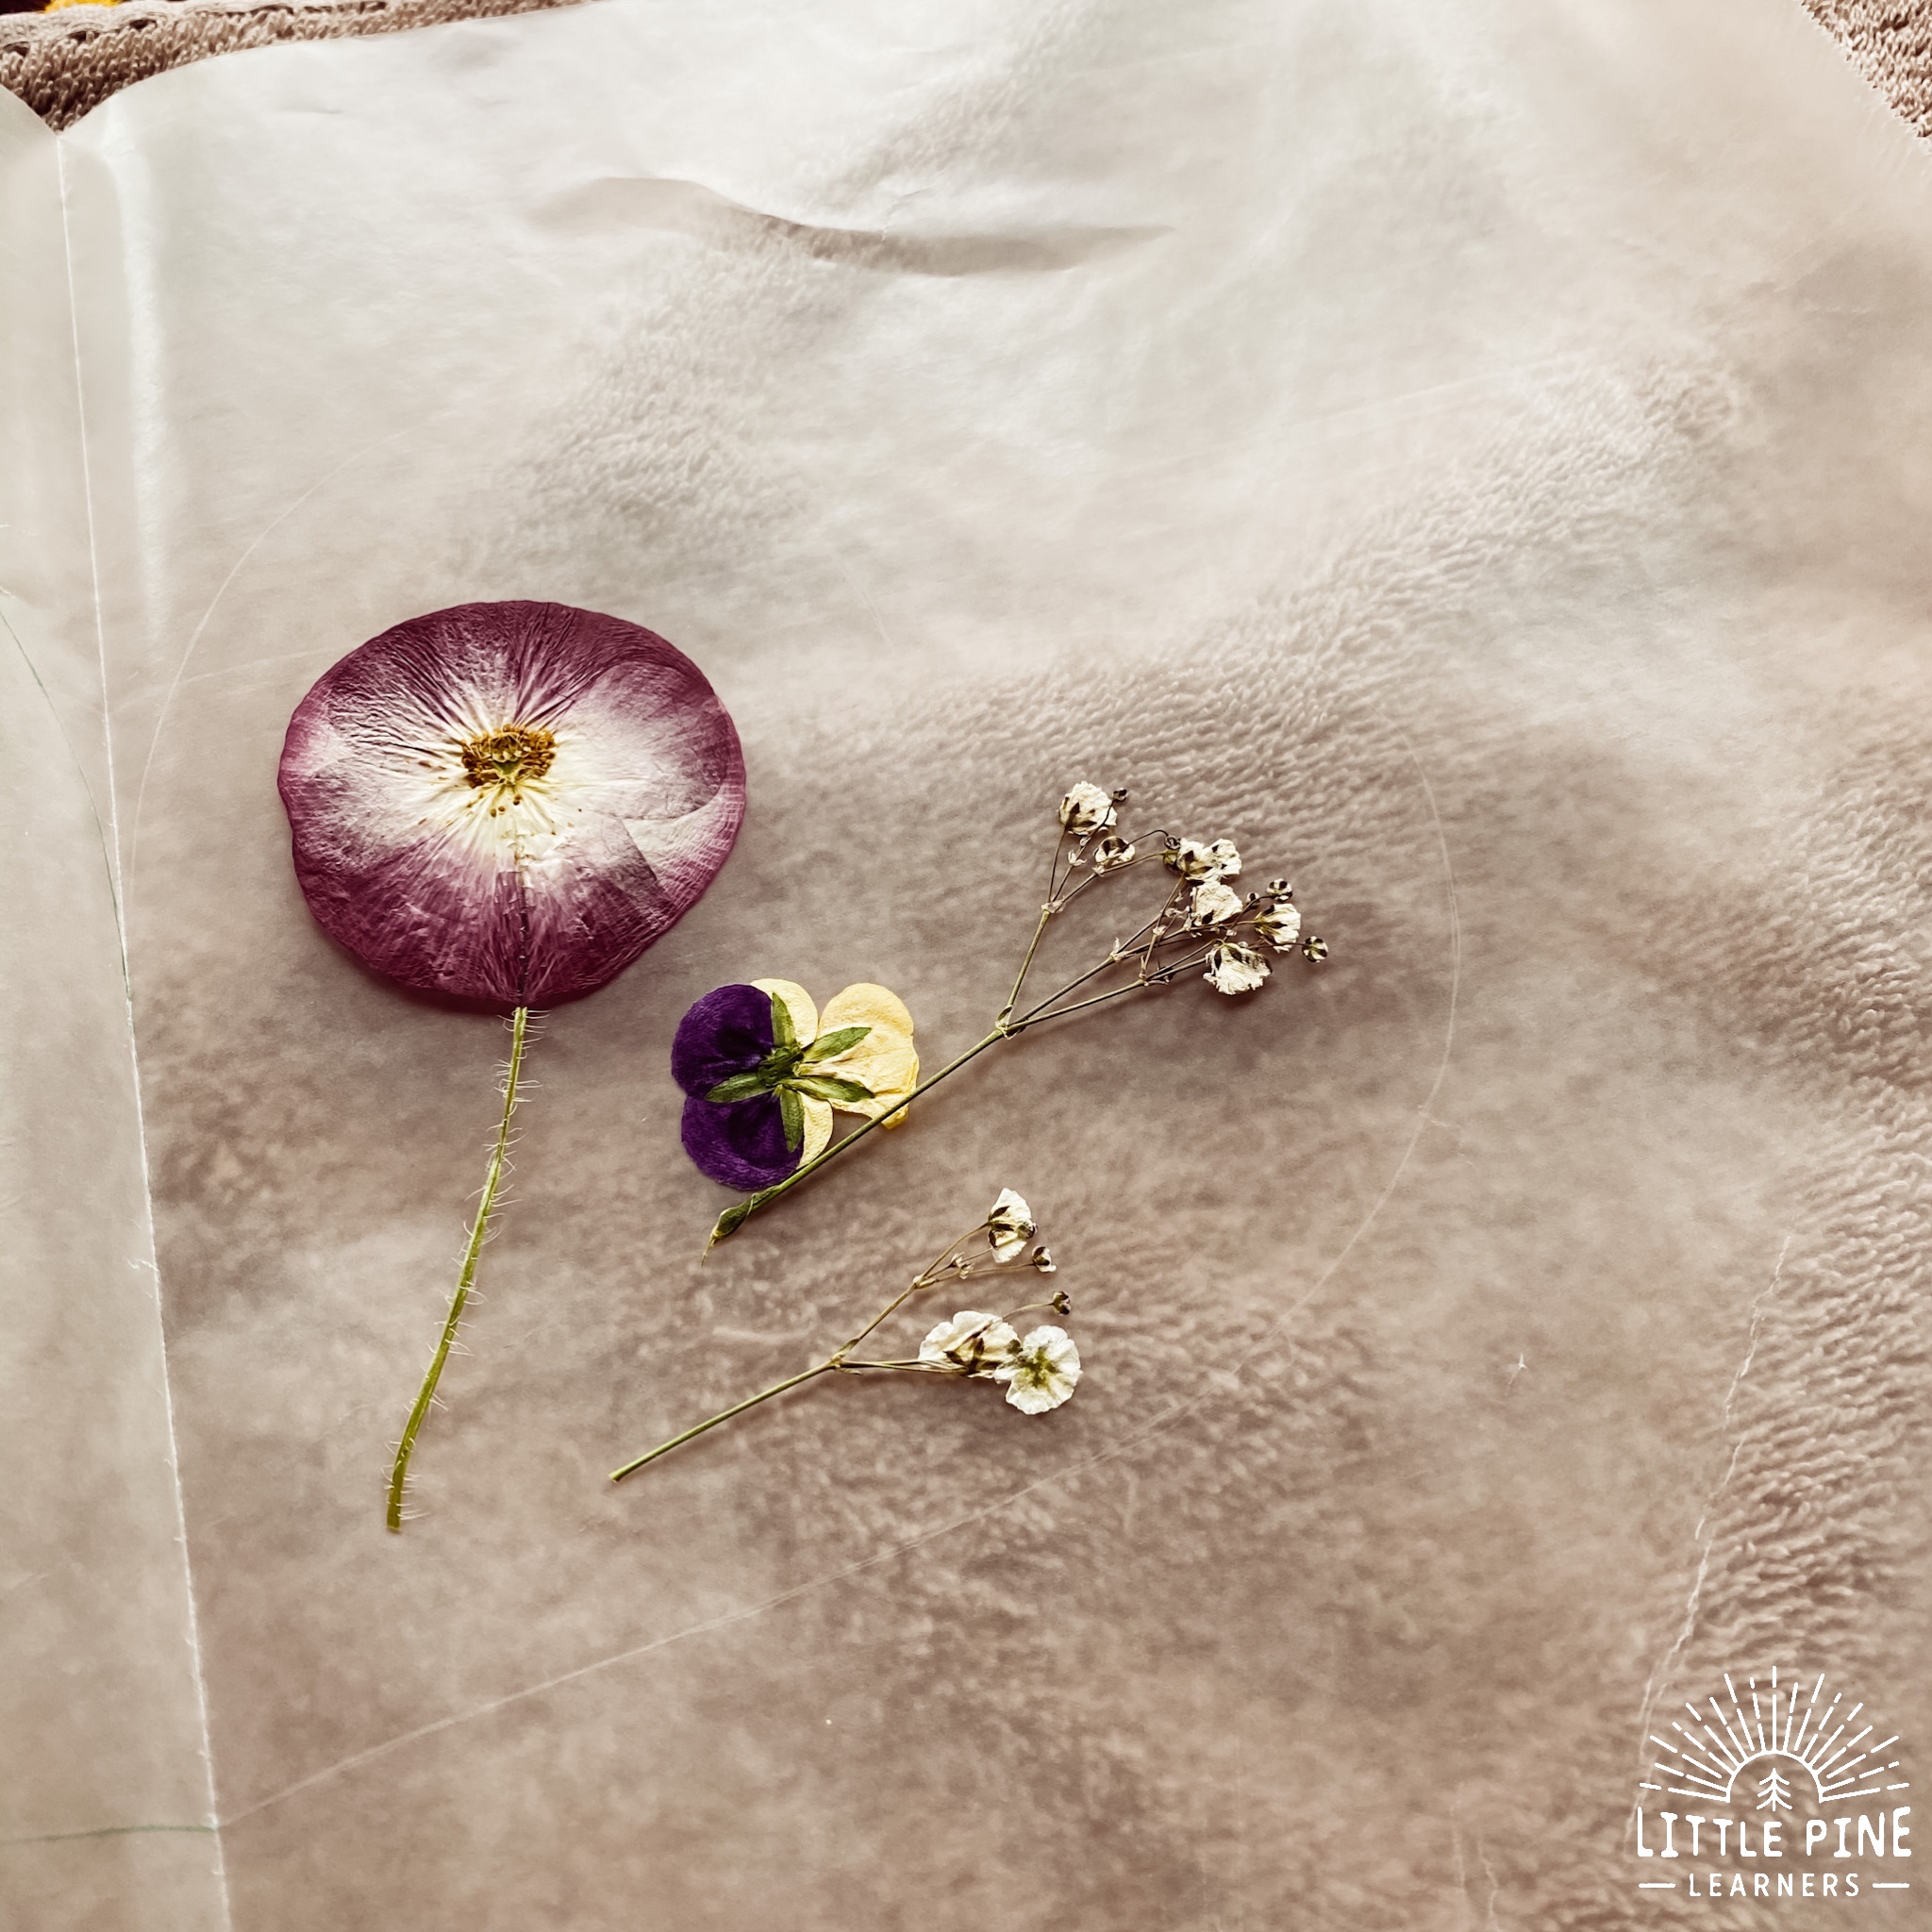
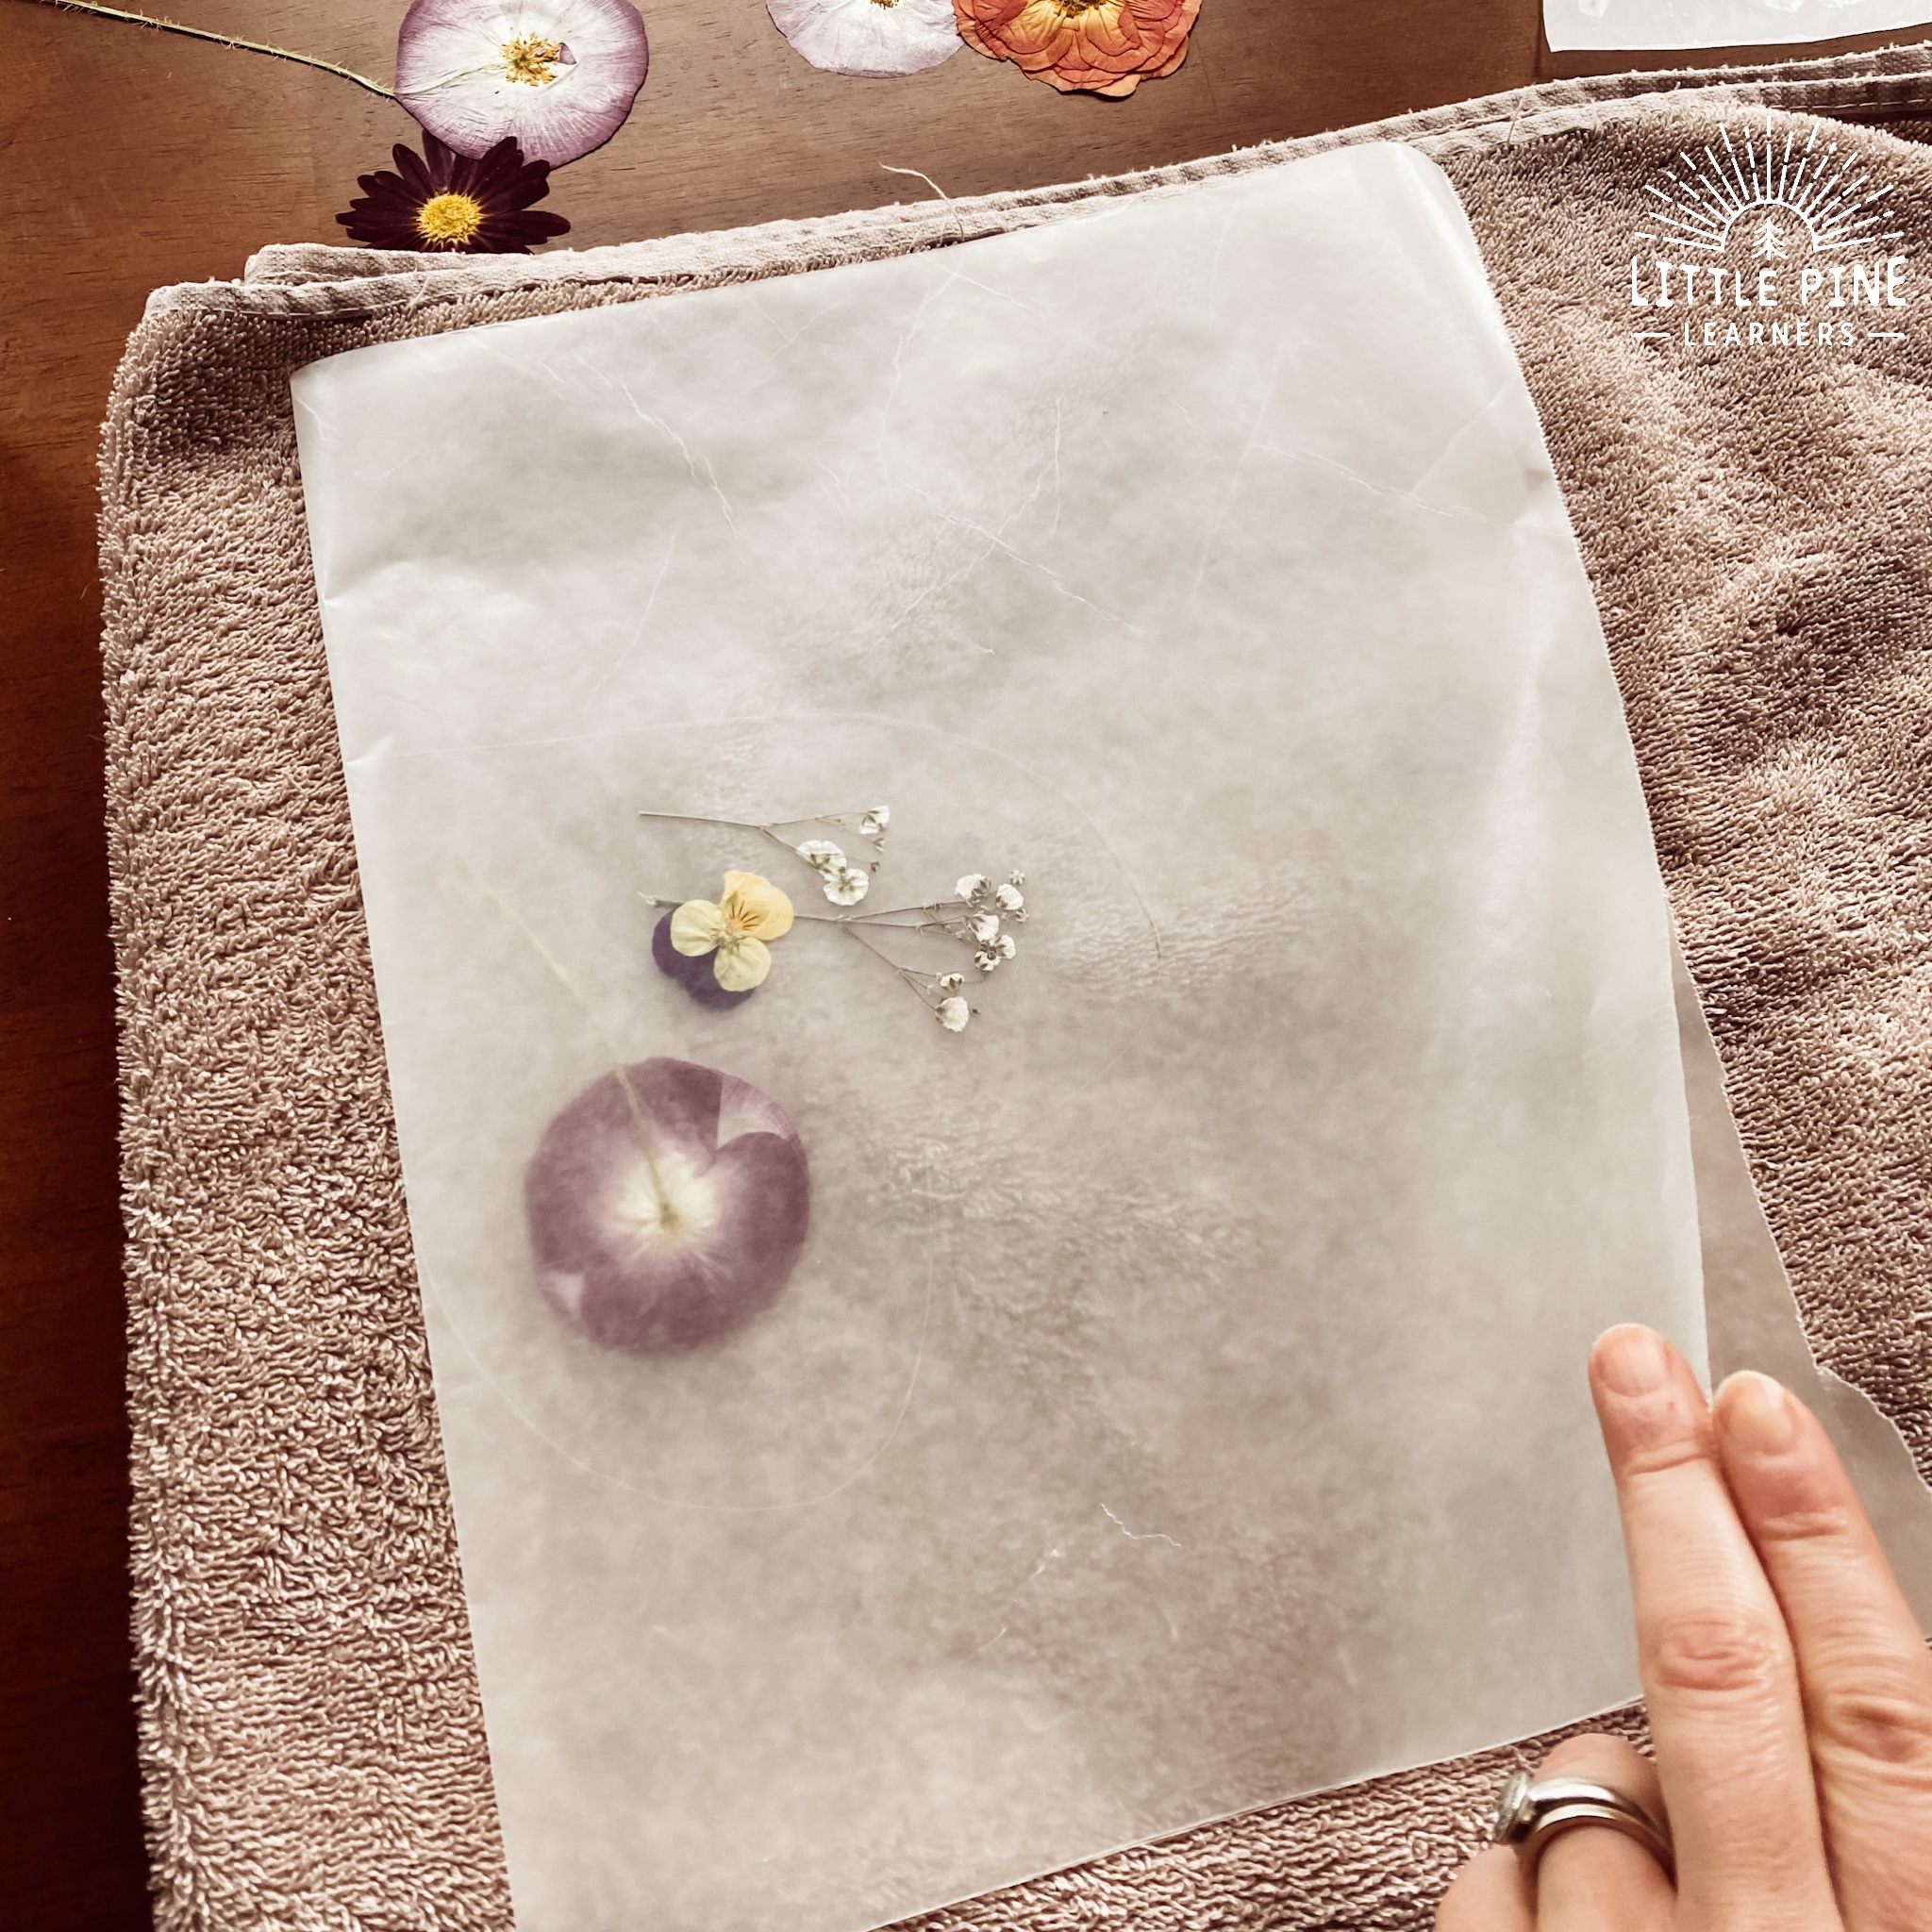
Then, place a towel on your work surface to protect it from the iron heat. Open the wax paper and arrange the pressed flowers on the wax paper, keeping the pieces of nature inside the heart lines.
Step 4:
Now flip over the other side of the heart when finished arranging. I suggest making sure the Sharpie side is on the bottom, so the iron doesn’t make contact with the marker.
Step 5:
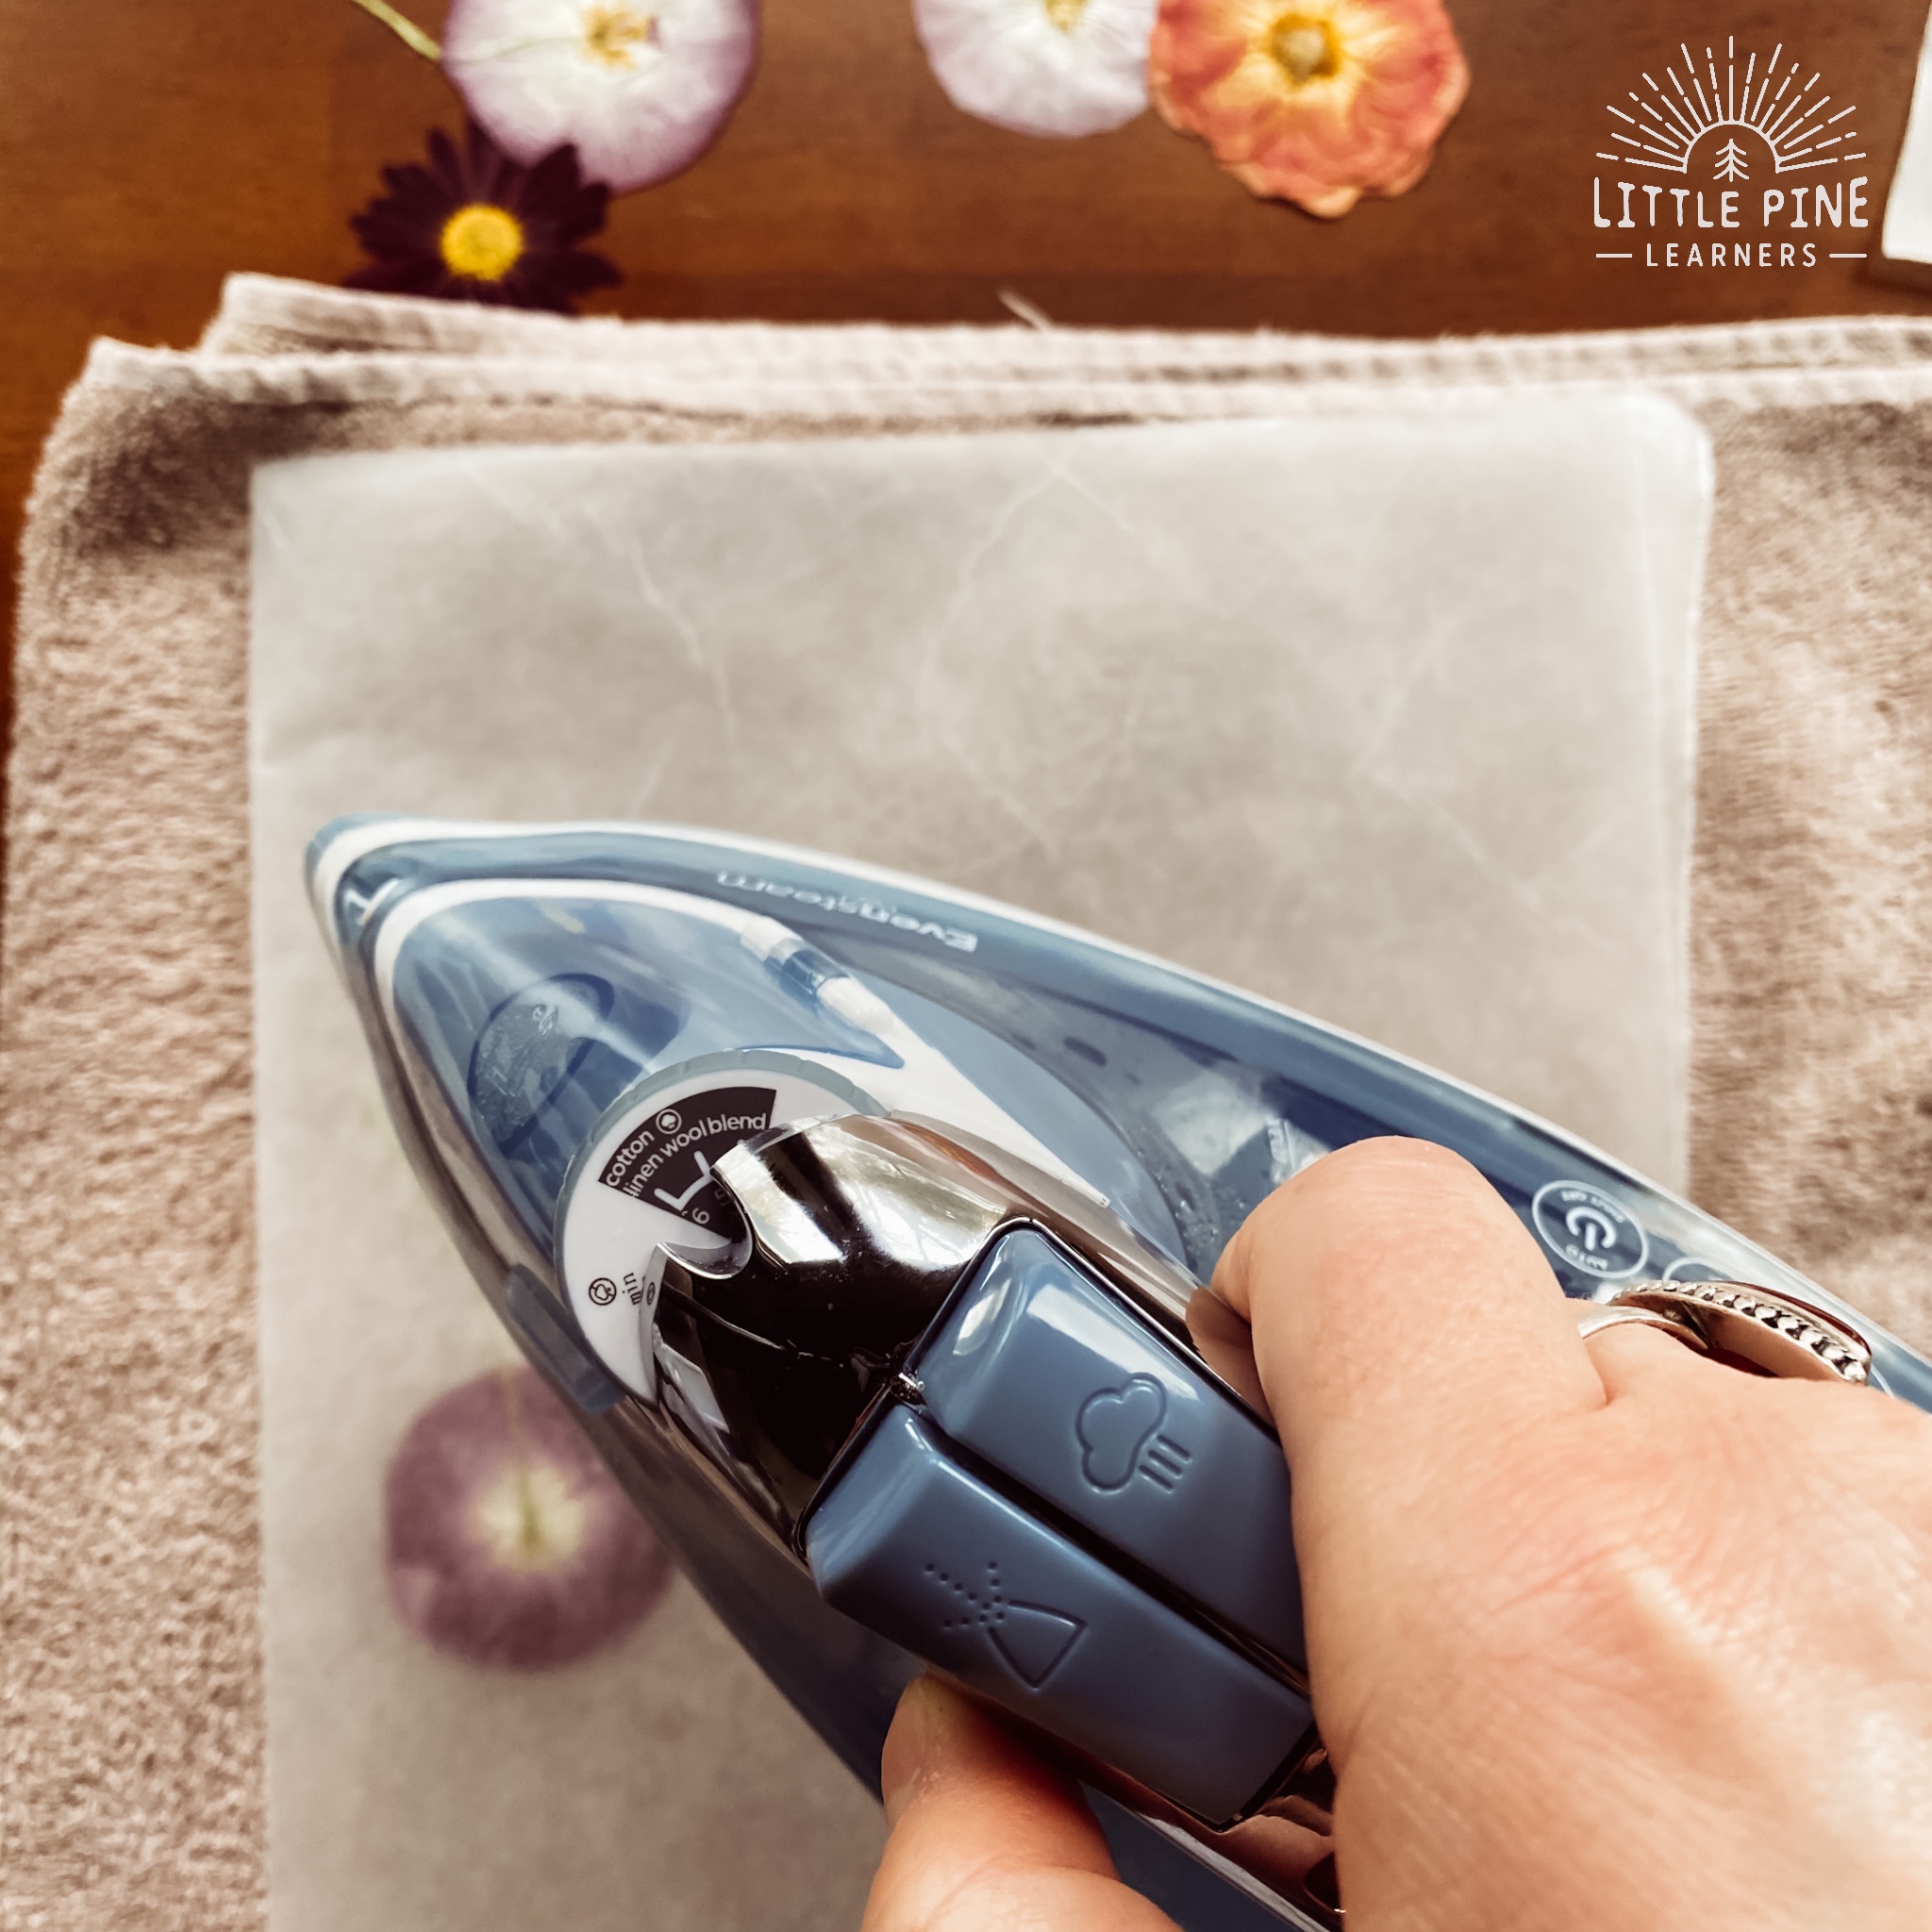
This is my favorite part of this suncatcher craft! As soon as your iron hits the wax paper, it will fuse together! It’s a neat process to observe. I quickly ran the iron over the wax paper several times, then I flipped it over and did the same thing on that side. Get out as many air bubbles as possible while ironing. There will be some air bubbles left over and that’s ok! It adds nice character to the pressed flower suncatcher.
Step 5:
Once the heart is ironed, cut on the heart line.
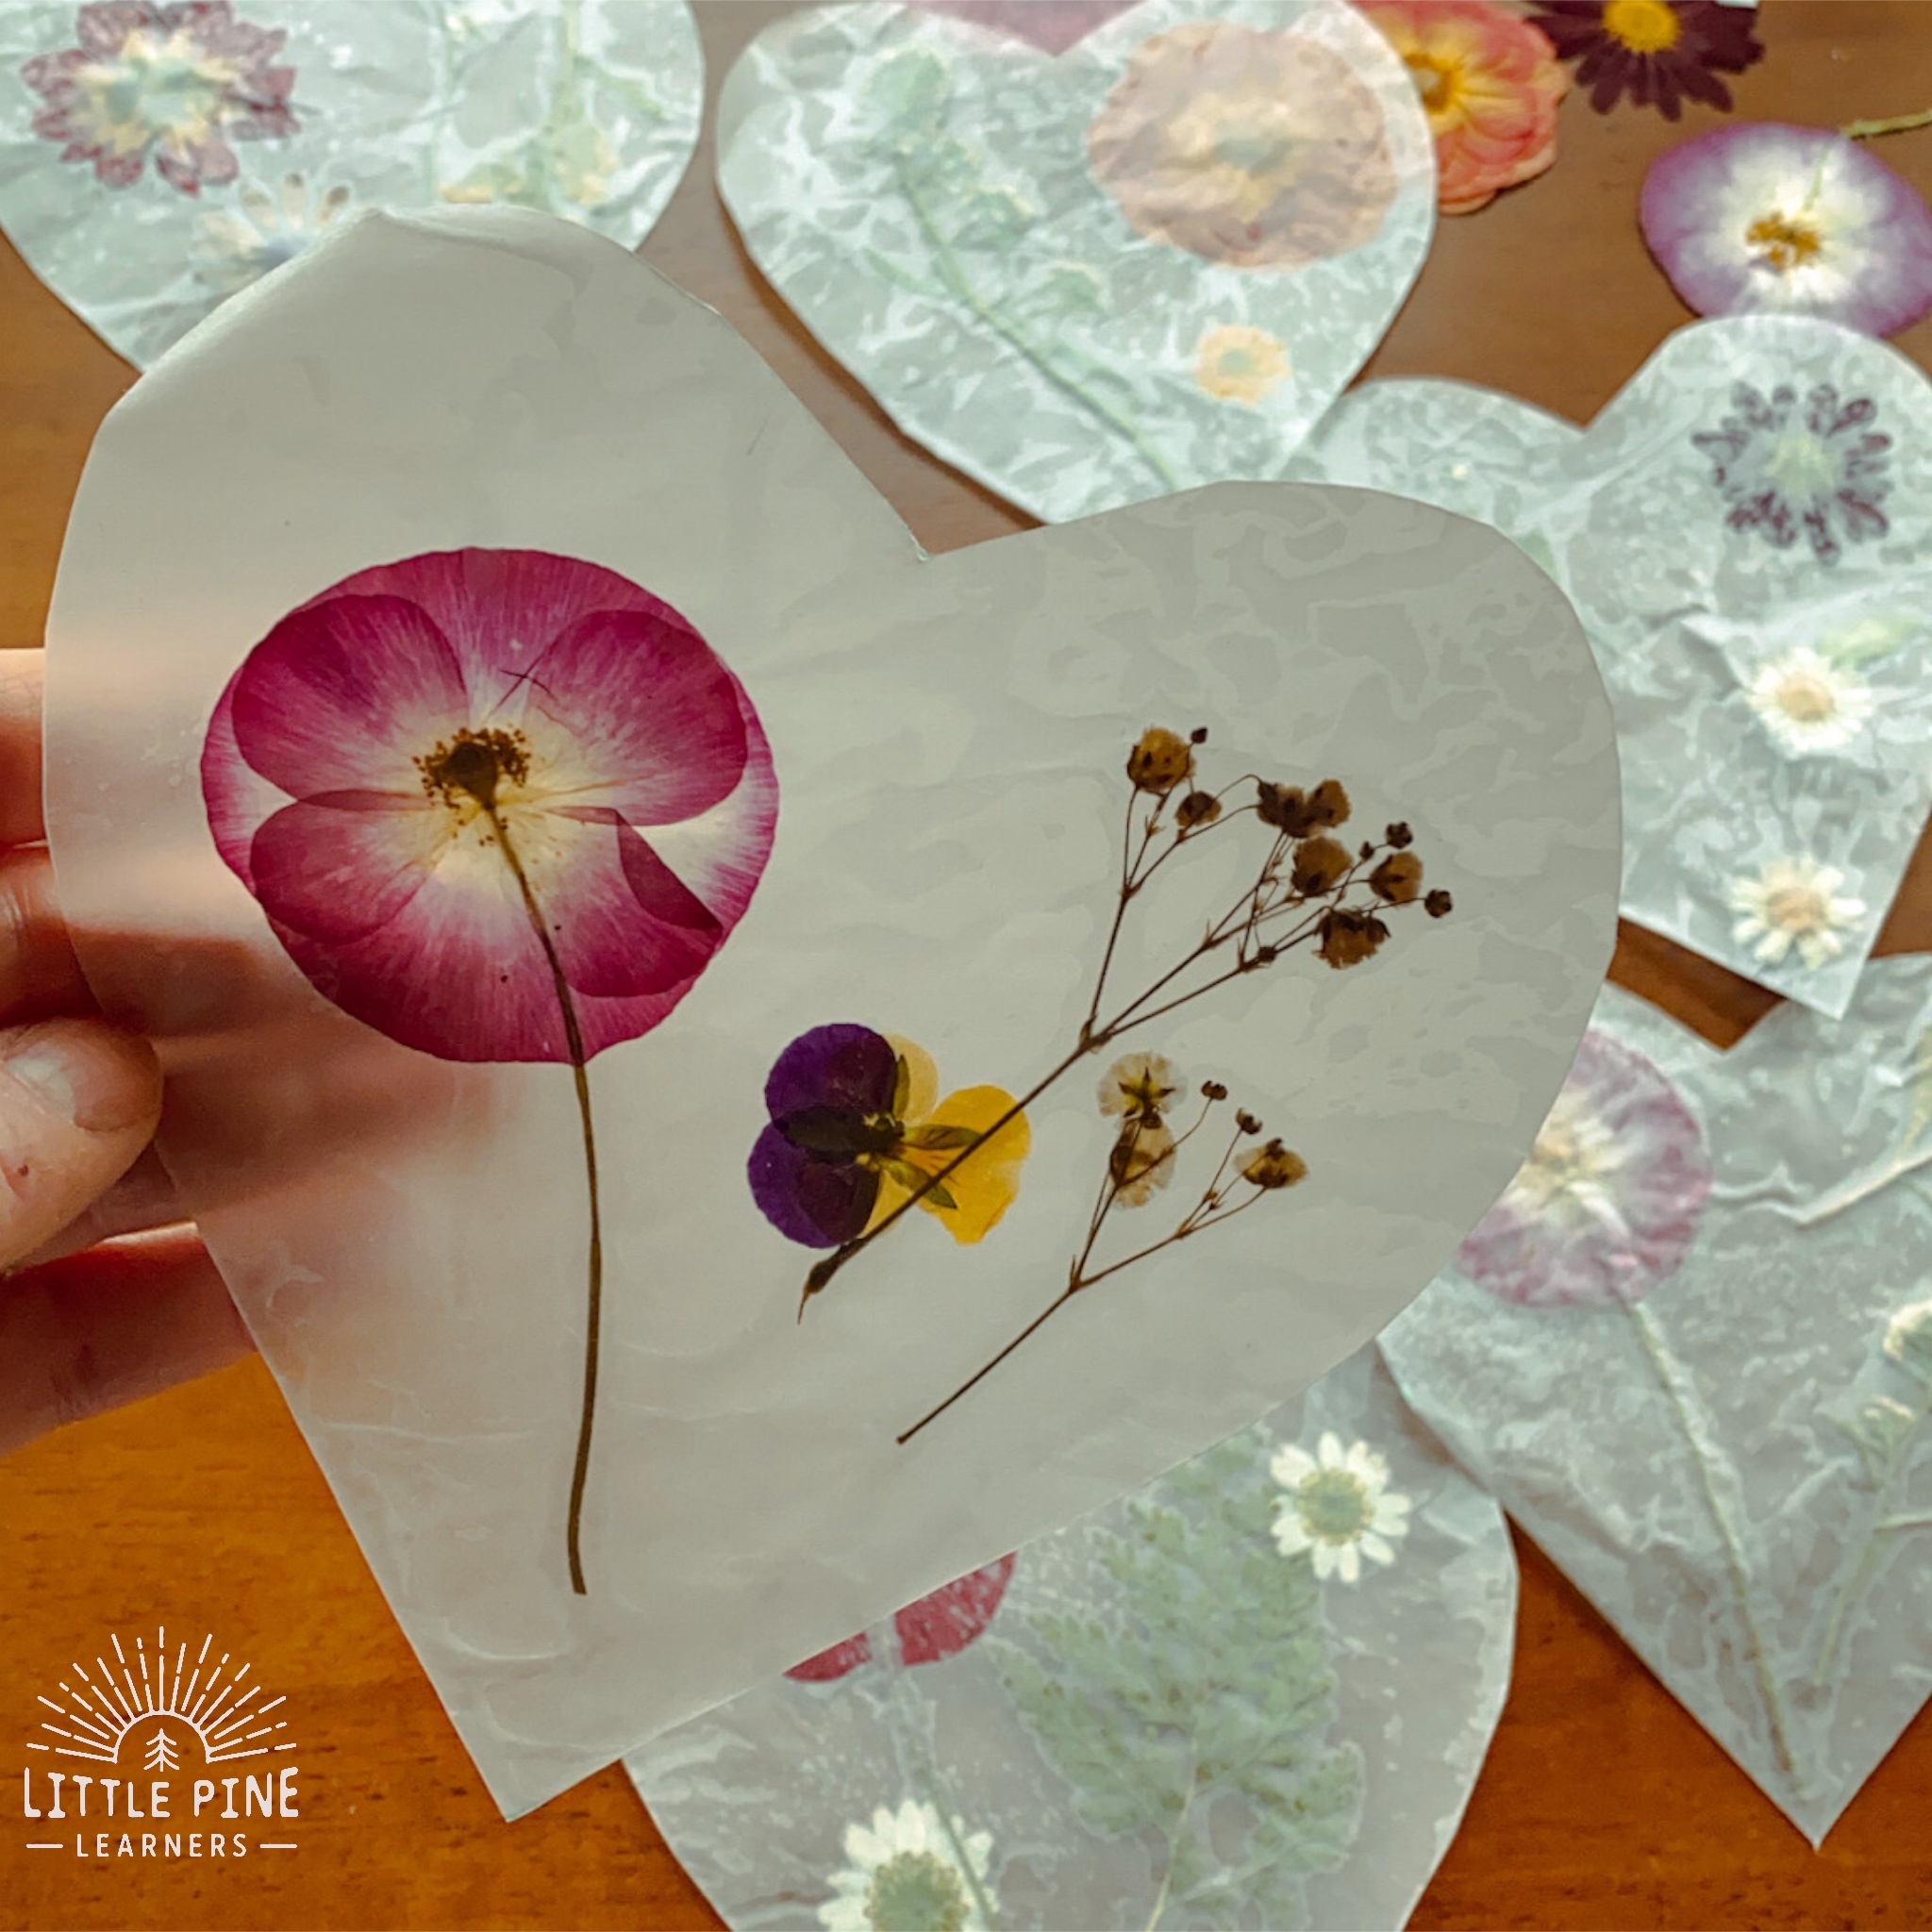
This heart craft makes such a gorgeous indoor decoration! You can hang them in the window as a suncatcher or on a shelf. They also look beautiful as garland.
Save it for Later and Pin It!
I hope you give this pressed flower suncatcher a try! I promise, your little nature lovers will love it as much as my boys.
∼Tara
