Learning about butterflies lends itself nicely to teaching kids about symmetry! This hands-on activity is so easy to prep and looks gorgeous when finished. Turn off the screens, go outside, and give this butterfly symmetry activity a try today!
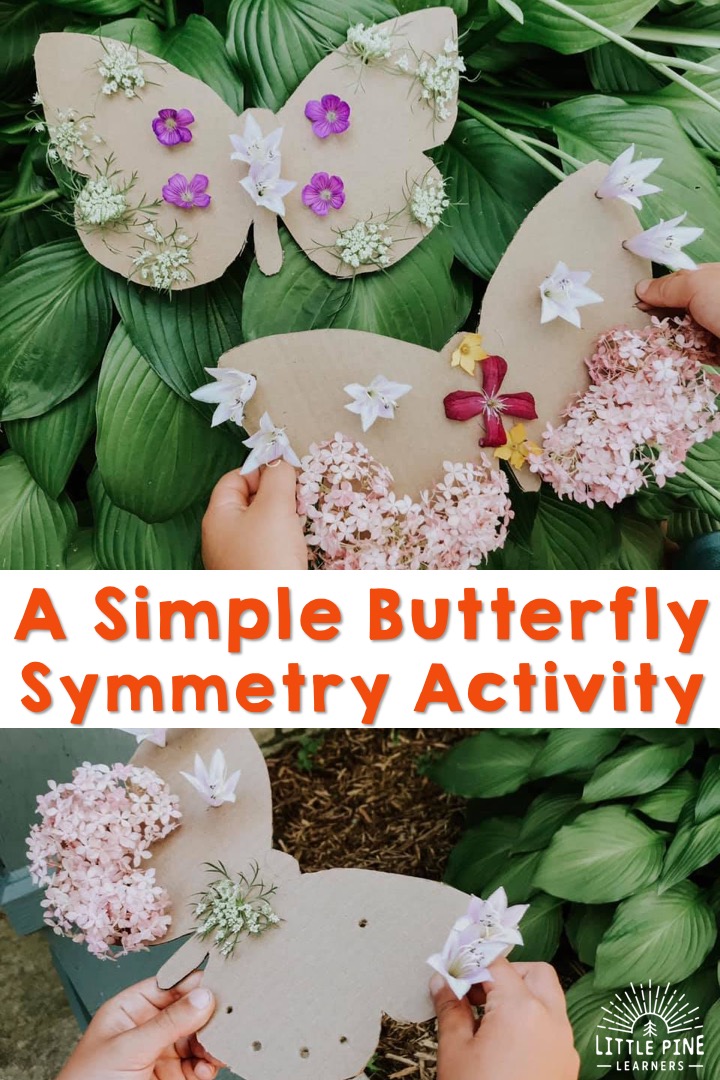
Symmetry is when two parts of a whole are identical. Something is symmetrical if you can draw a line down the middle and each side looks the same. Teaching children about symmetry can be tricky without physically showing them and getting them to interact with manipulatives. This way they are able to put into action what they are learning and it will more likely be something they remember.
I thought it would be fun to try a nature threading activity to teach this math term! I love these nature threading activities because they’re an environmentally friendly way to learn without the use of plastic manipulatives or worksheets. Once you are finished enjoying this butterfly symmetry activity, you can just throw it right in the recycling bin, or press the flowers and save the cardboard butterfly future activities.
Check out these other activities here:
- Rainbow Flower Threading Board
- A Cute Dandelion Wish Activity for Kids
- A Simple Flower Name Activity
- Dandelion Shape Boards
Ready to give it a try!? Here’s what you’ll need..
Supplies:
-
- A variety of flowers
- Cardboard– These cardboard sheets are a convenient option if you don’t have any to reuse.
- Something sharp to puncture holes in the cardboard- A sharp pencil should work.
- Scissors or X Acto Knife– These are excellent for cardboard crafts! They are very sharp ONLY for adult use.
This post contains Affiliate links for your convenience.
Here’s How to Make the Nature Threading Board:
Step One:
Cut out a cardboard butterfly shape. Here’s a trick:
1. Fold a piece of paper in half
2. Draw half of the butterfly
3. Cut it out so you have symmetrical wings.
4. Then trace that butterfly on the cardboard!
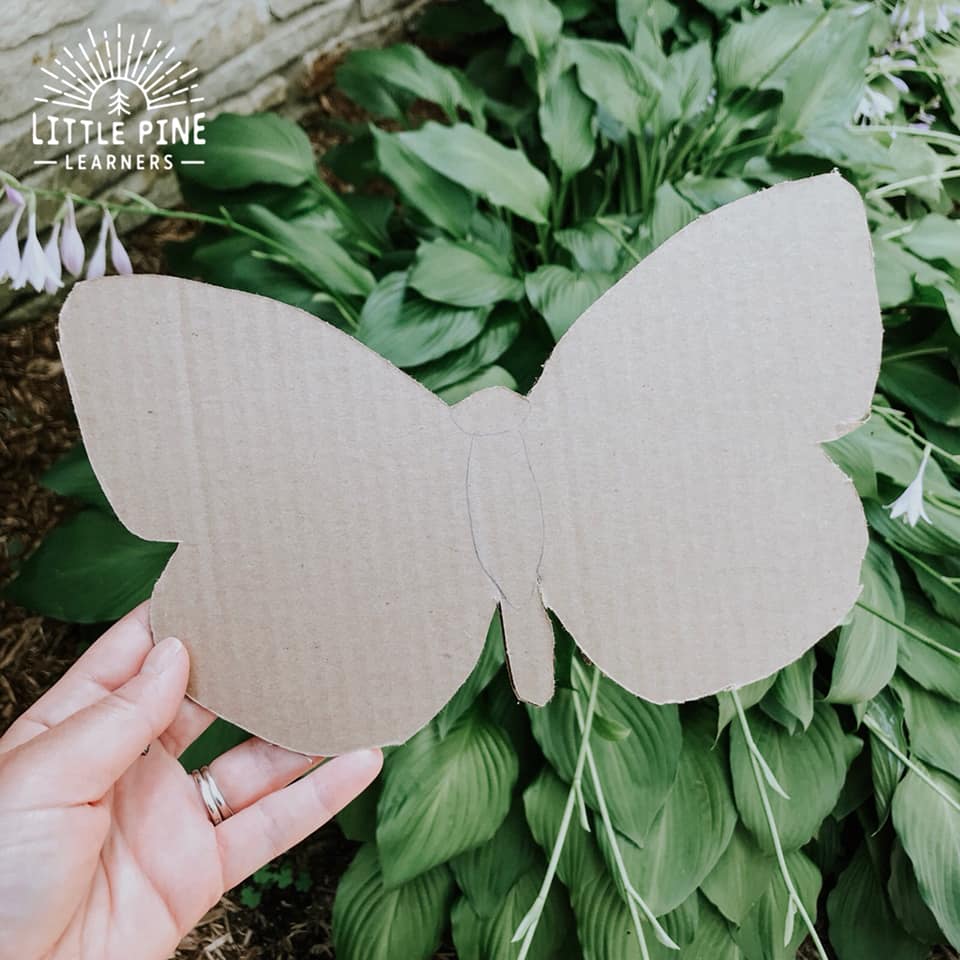
Step 2:
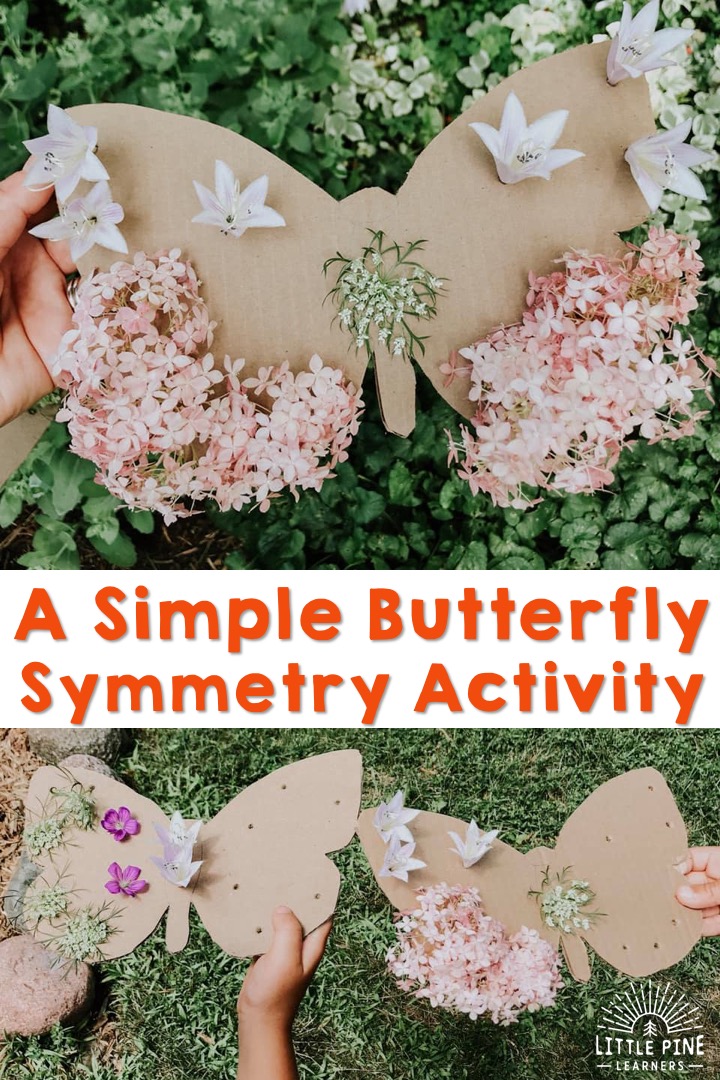
Poke holes in your butterfly. Keep in mind you need the holes to be symmetrical. I used a sharp pencil to poke the holes in our cardboard butterflies.
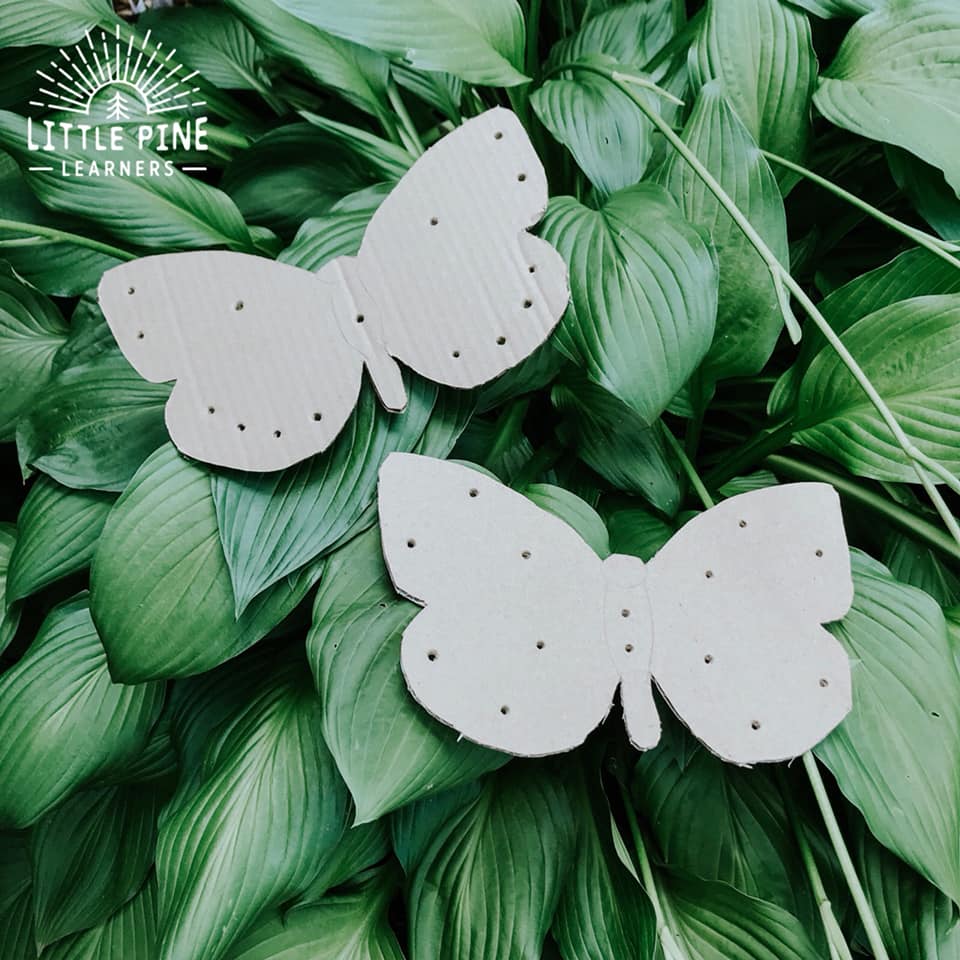
Step 3:
You can either let your children create their own butterflies or you can start them for your kids. I started them since this was a new term for them. I decorated half of the butterflies and invited them to finish the butterflies.
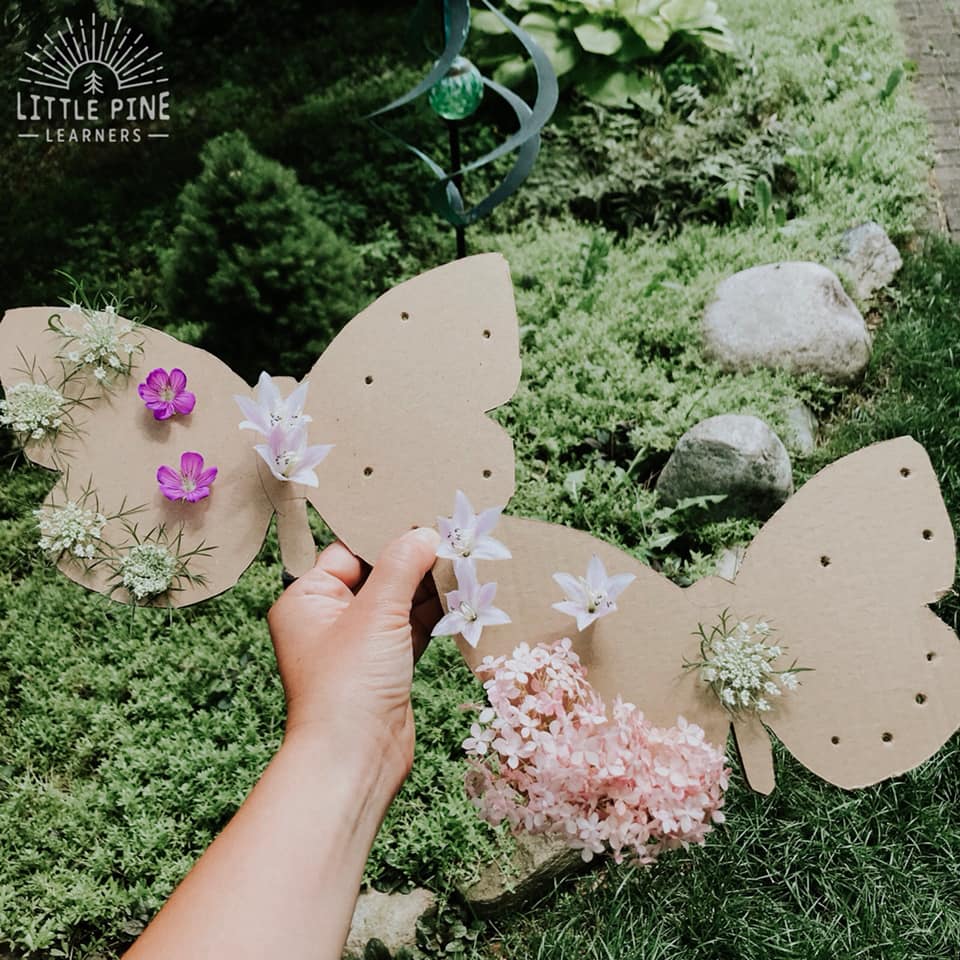
My boys were excited to get going on their butterflies and started searching the yard for matching flowers.
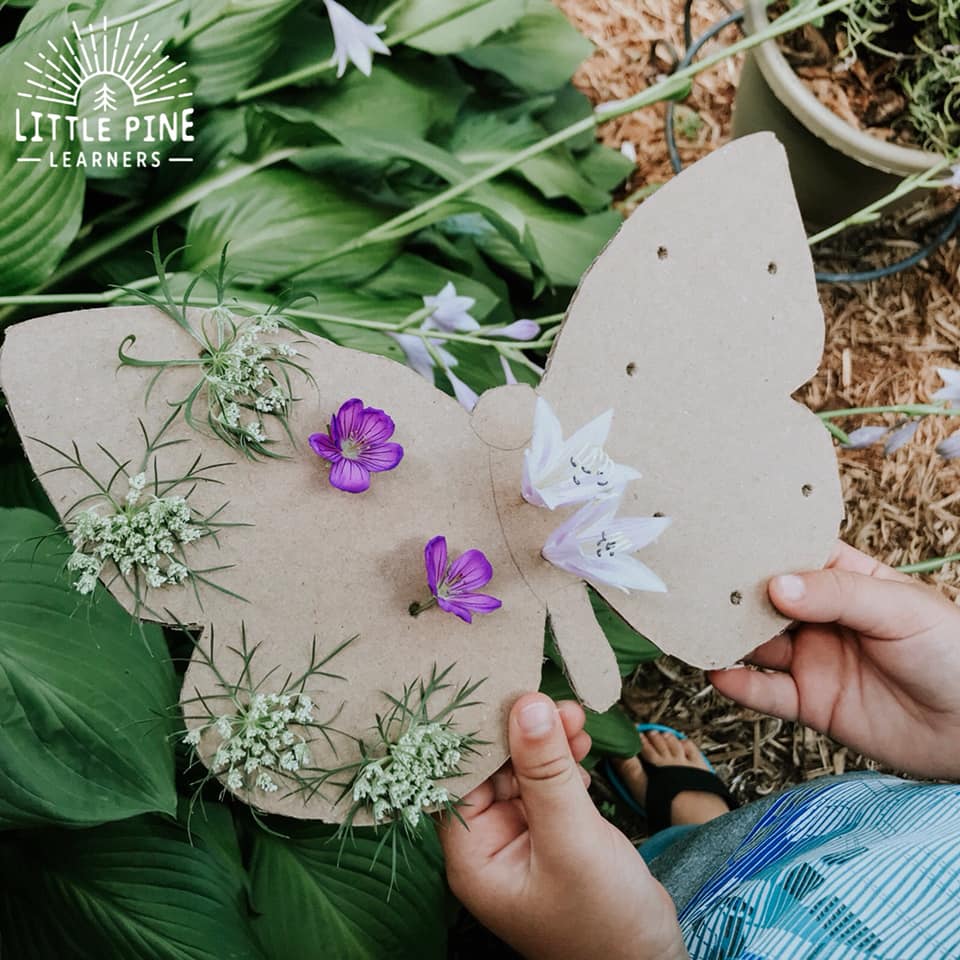
This was also a fun way to work on plant identification. My boys loved trying to figure out which flowers they needed to find!
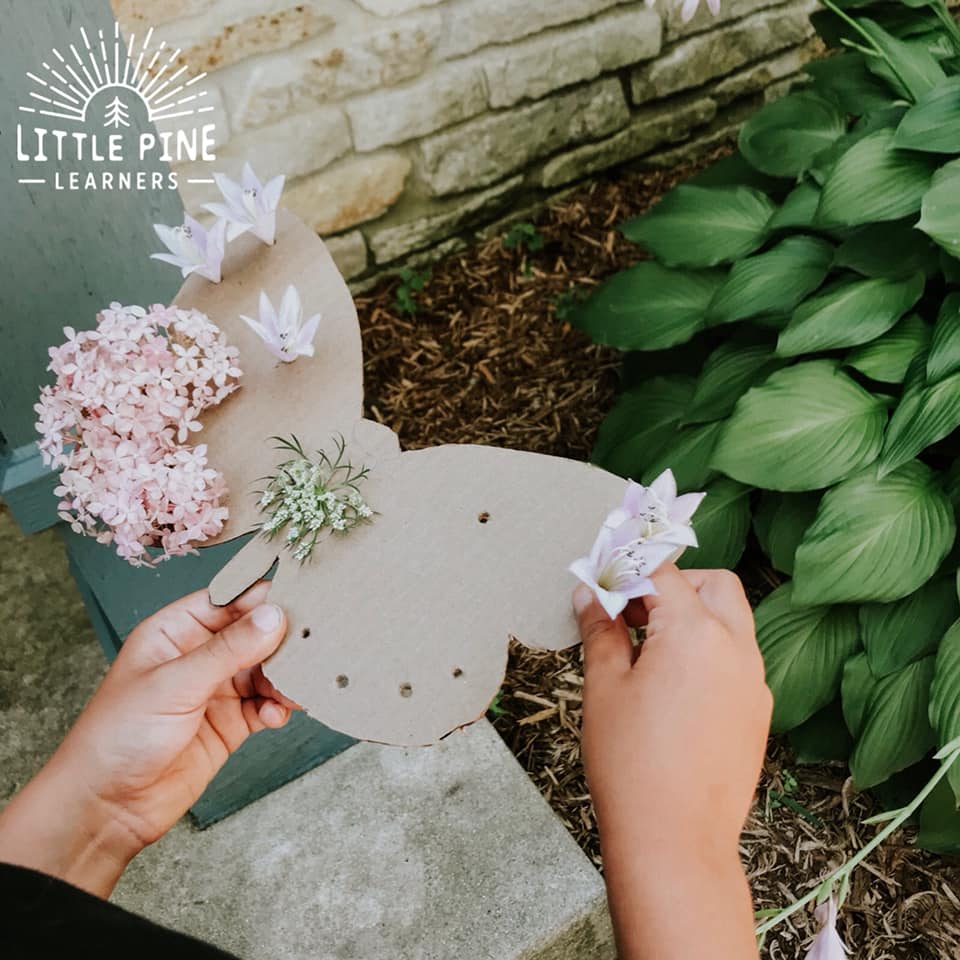
They got to work their gross motor skills while running around the yard and fine motor skills when picking flowers and threading them on the cardboard.
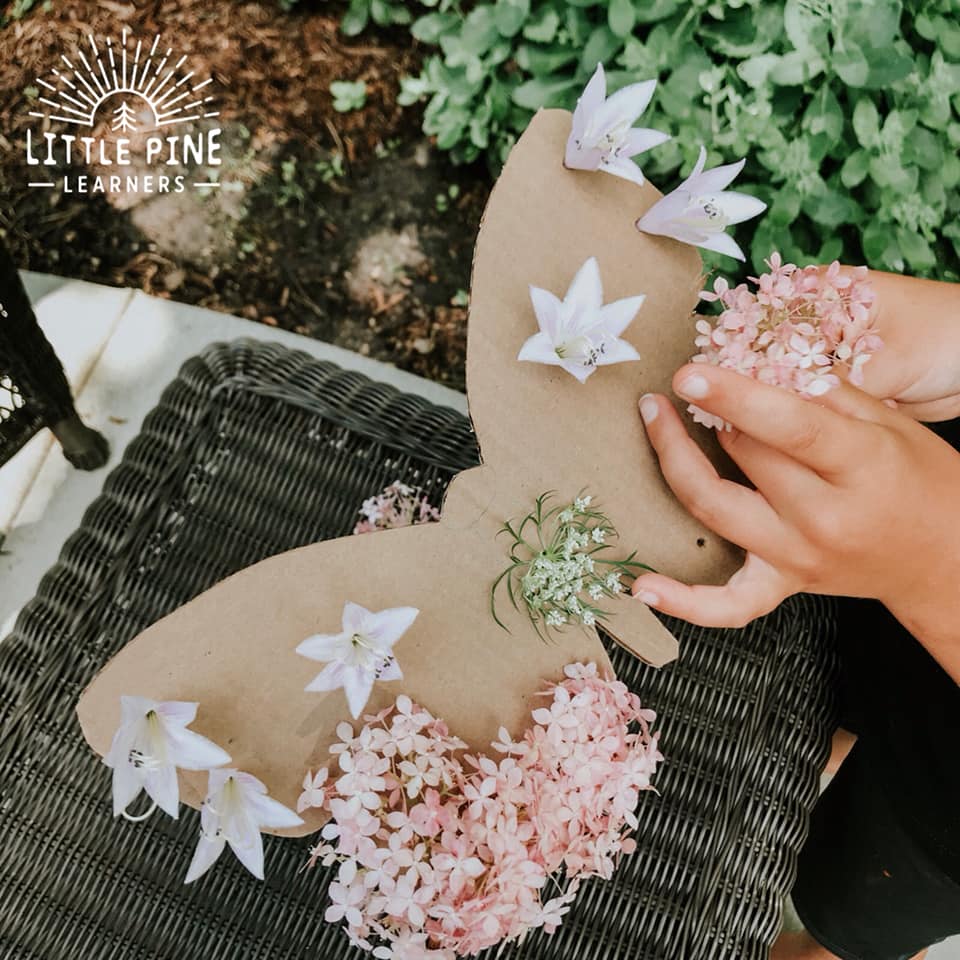
The butterflies looked so beautiful when finished!
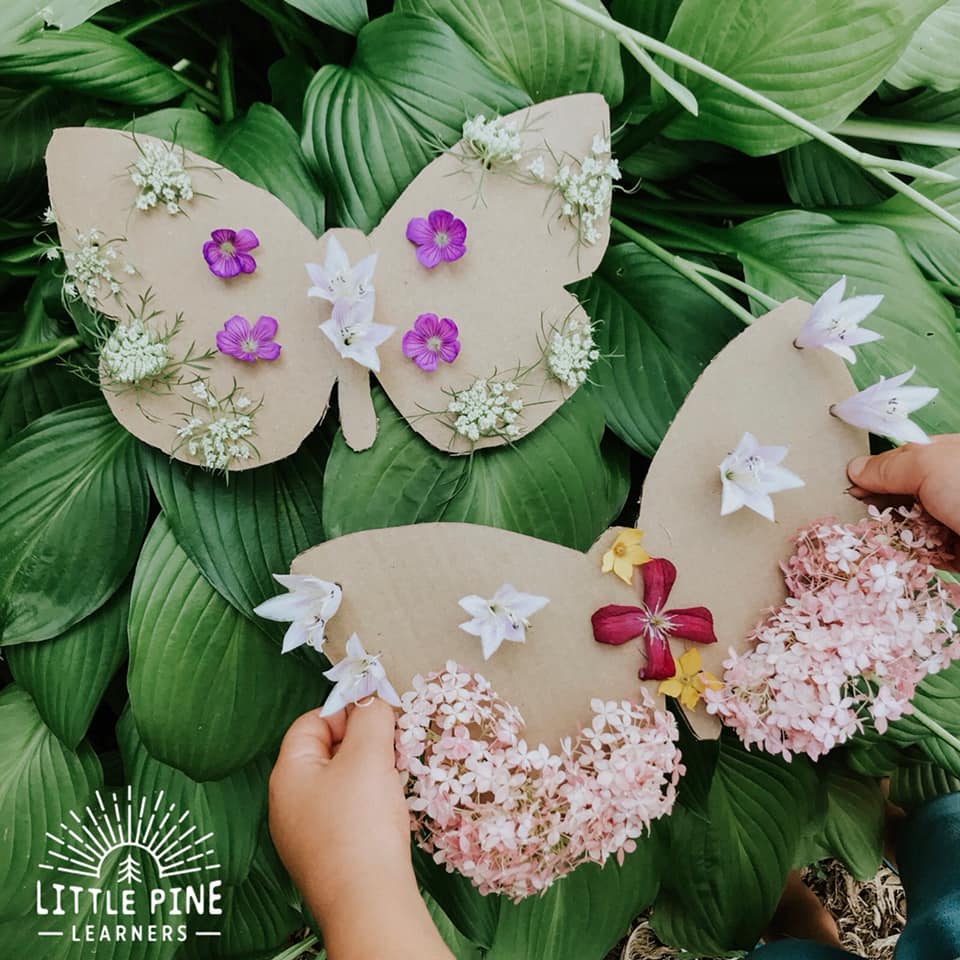
They wanted to make their own butterflies when finished with their first creations. When finished, you can always take the flowers out of the cardboard and press them for another beautiful nature craft!
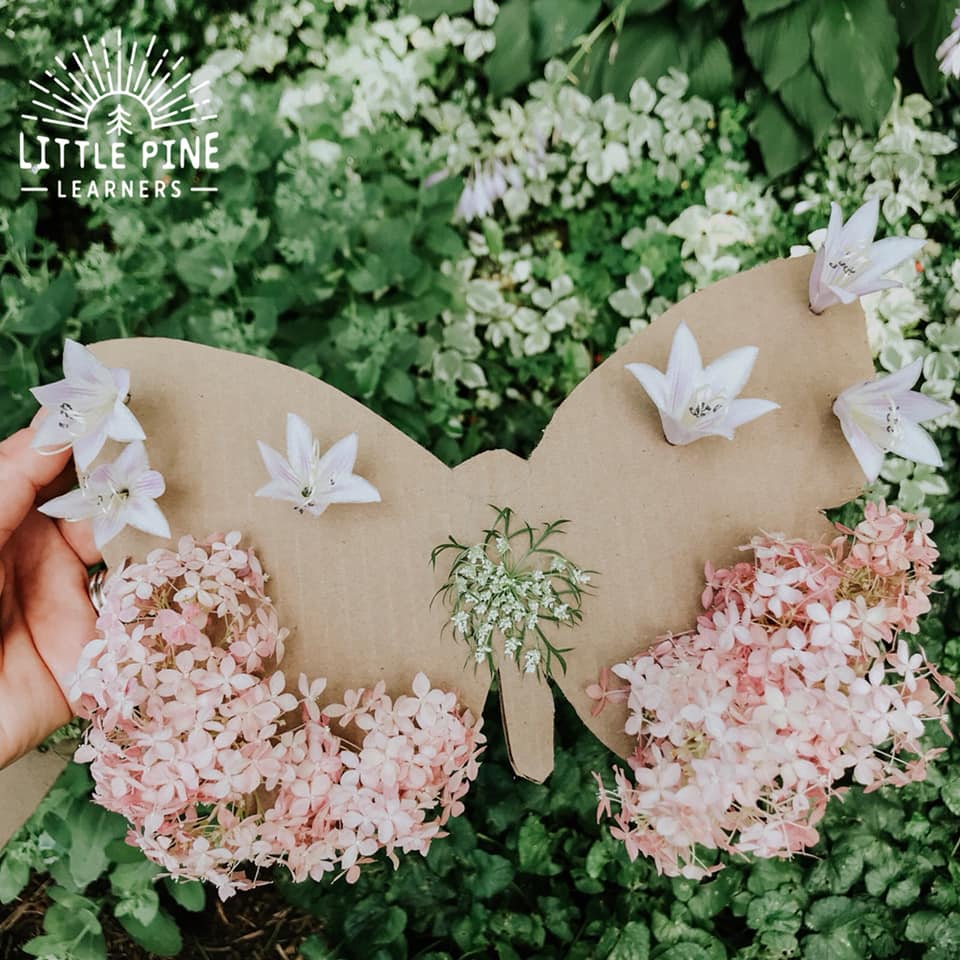
Pin it and save it for later!
I hope you give this simple butterfly symmetry activity a try! I promise, your little nature lovers will love this one.
∼Tara
