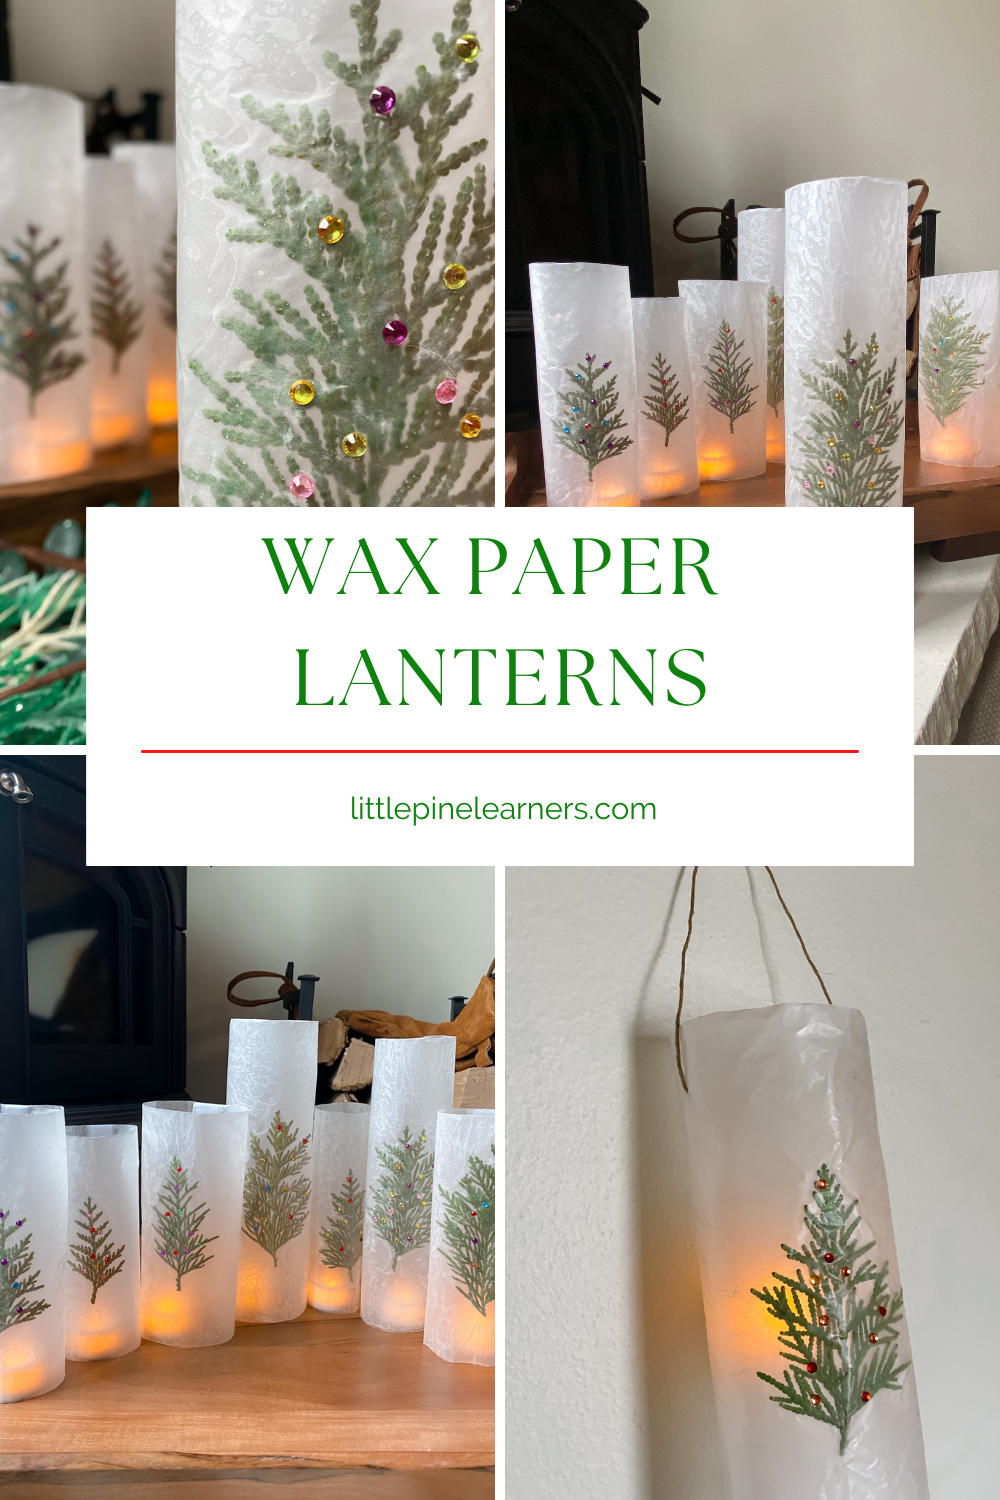
These DIY wax paper lanterns are so easy to make, but look so elegant when complete. They look like expensive frosted candles! You could make them anytime of year, but are the perfect holiday craft.
We made a leaf version of this lantern last fall and loved them so much that we HAD to try them again for a sweet winter decoration.
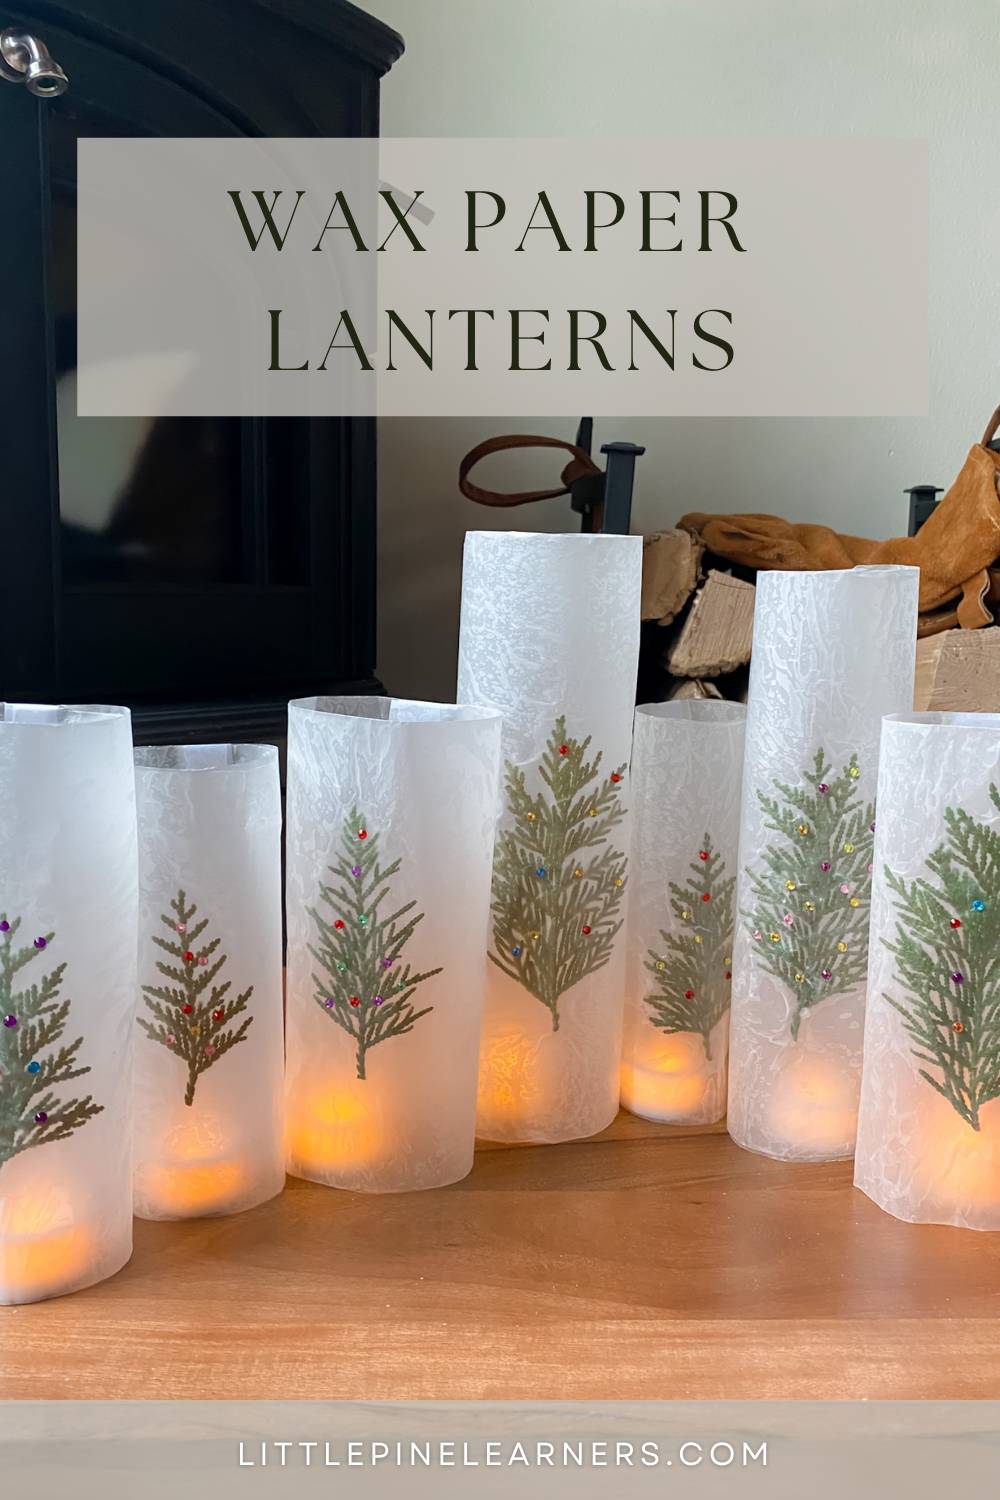
We have accumulated quite the beautiful collection of these wax paper lanterns! I suggest making a few of them and placing them together for a more dramatic effect. We have our lanterns placed in front of the wood stove. I keep thinking we have a fire going because they are so bright and add a nice warm glow to our home.
If these look familiar that’s because we made beautiful wax paper bookmarks using the same supplies. You could make both crafts at the same time!

Ready to give it a try!? Here’s what you’ll need..
Supplies:
-
- Arborvitae Pieces
- Wax paper
- Towel or ironing board
- Scissors or portable paper trimmer
- Tape
- Flameless candles
- Gem Stickers (optional)
This post contains Affiliate links for your convenience.
Related: Check out this adorable Rosemary Wreath Necklace
Here’s How I Made these DIY Wax Paper Lanterns:
Step 1:
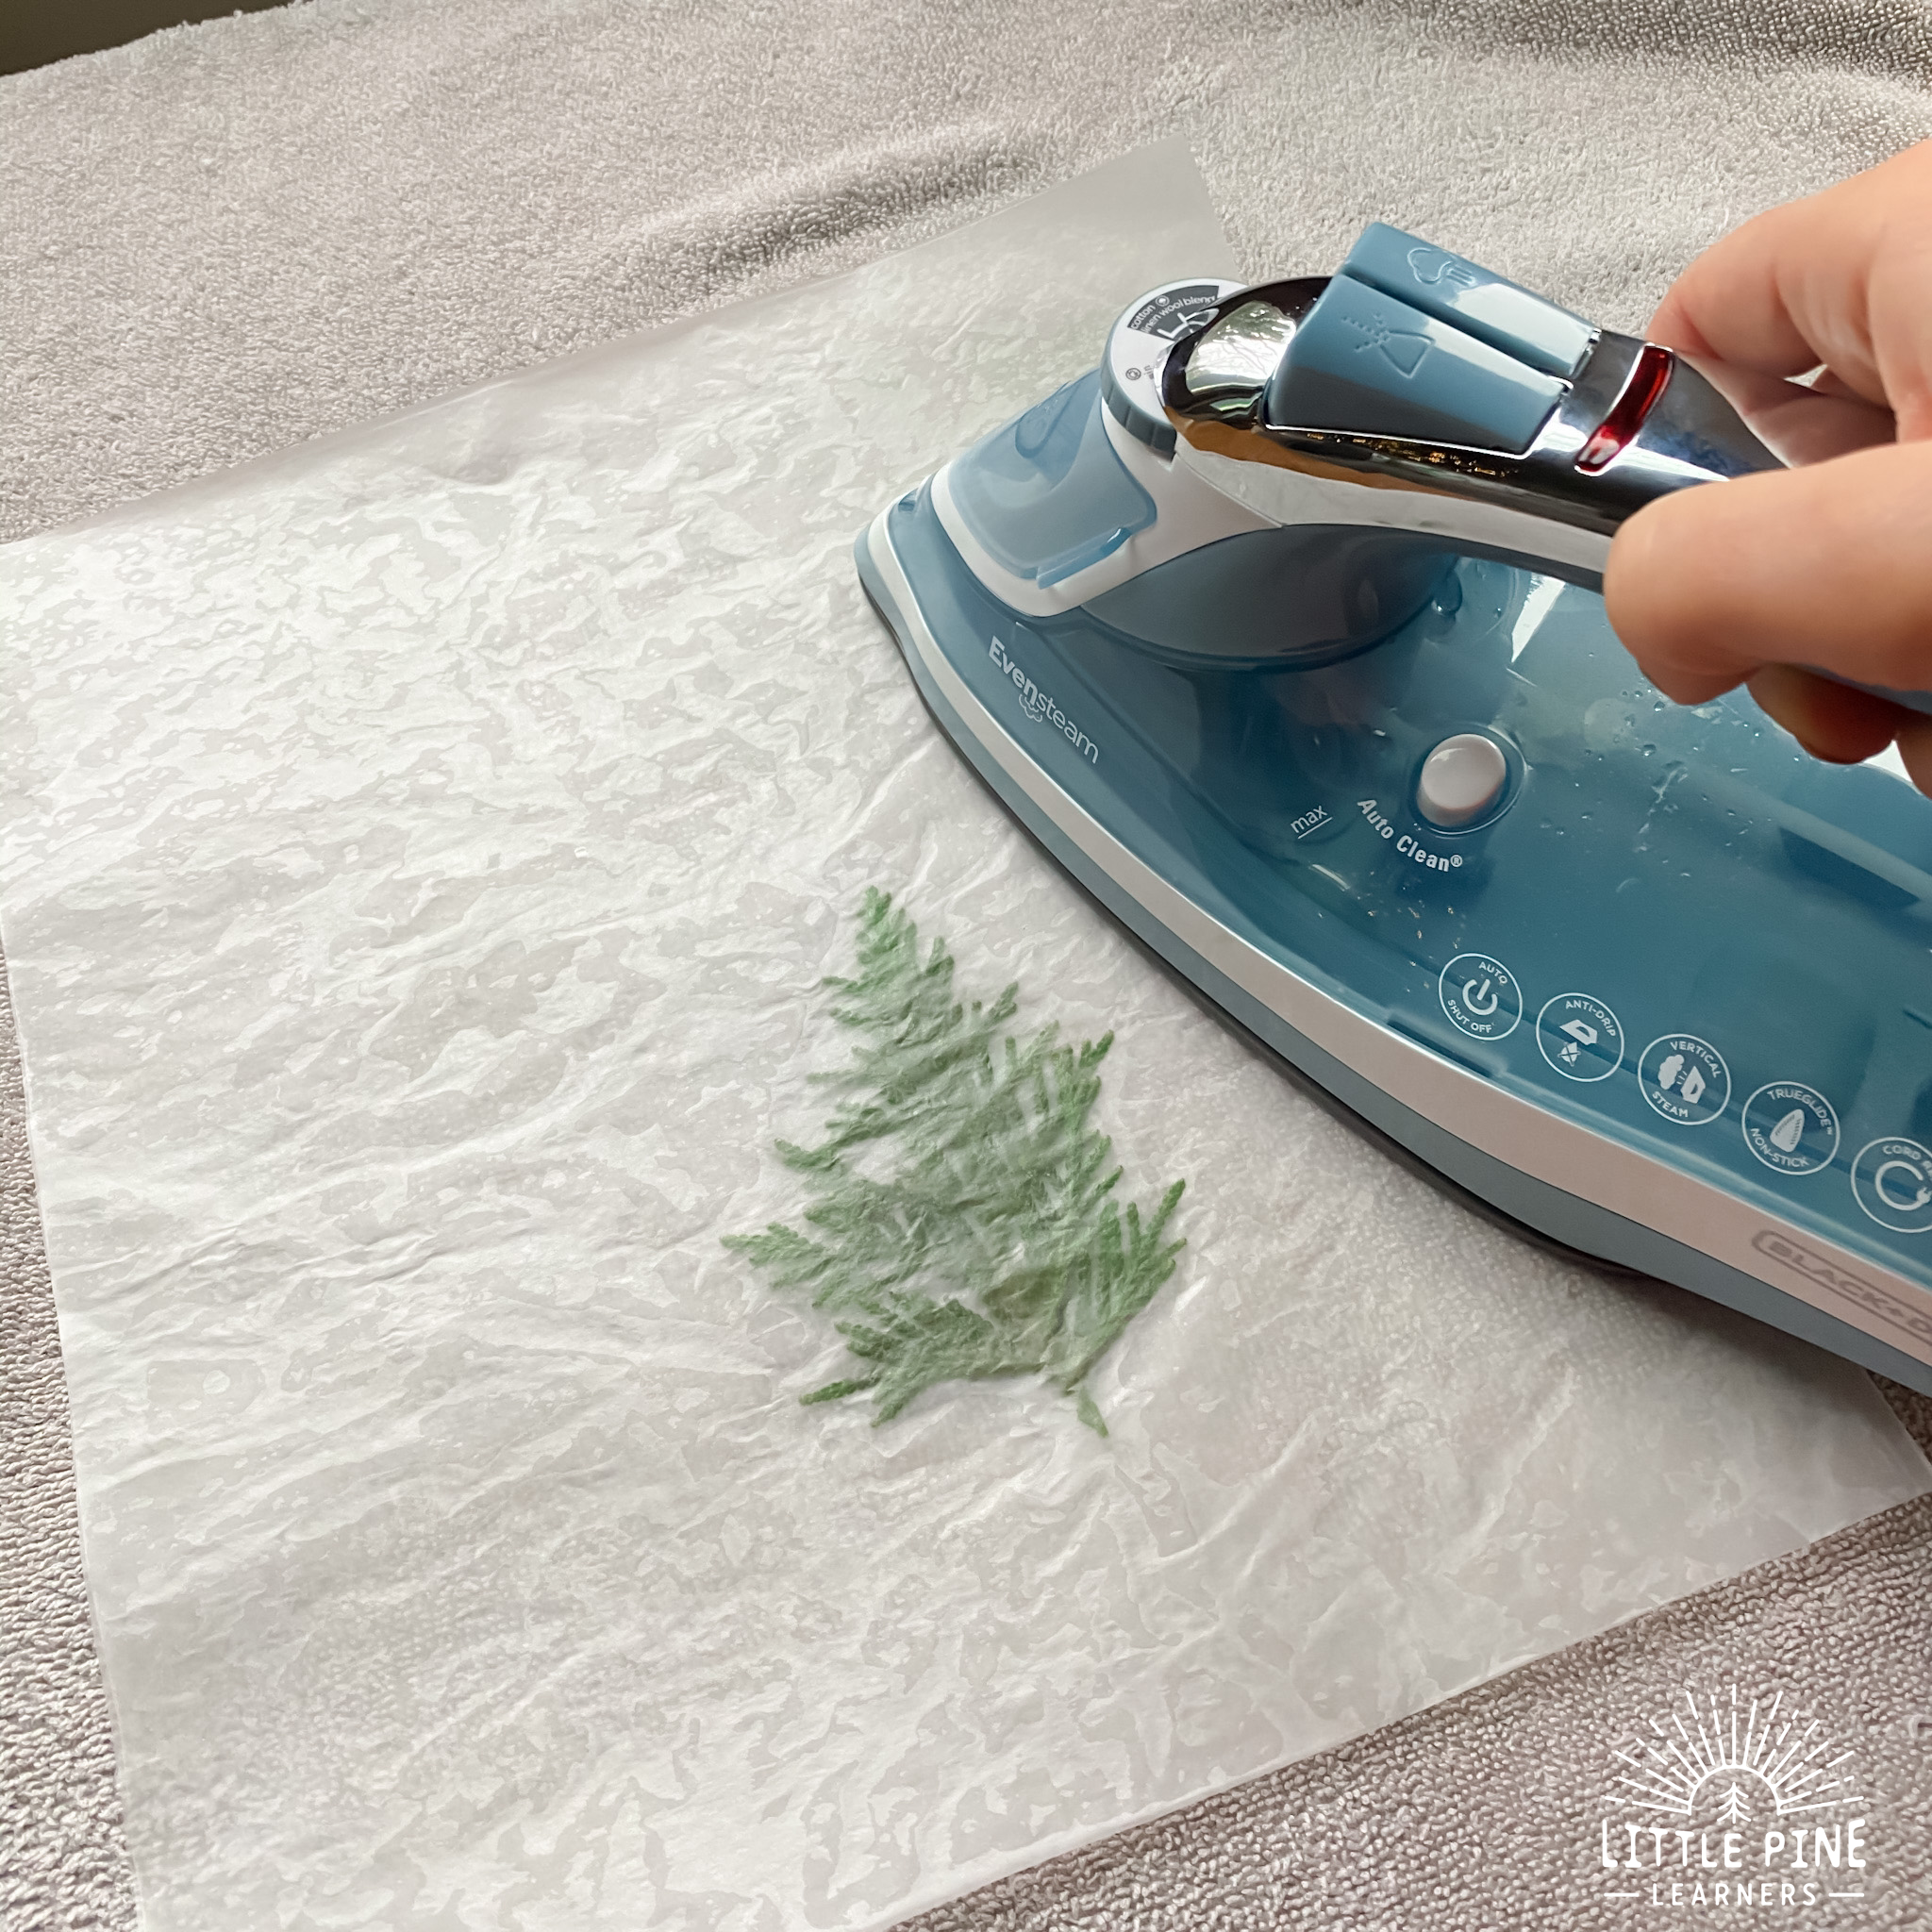
Clip some arborvitae pieces. Next, turn on your iron to a medium high setting. If your wax paper doesn’t stick together, then turn your iron up to a higher setting.
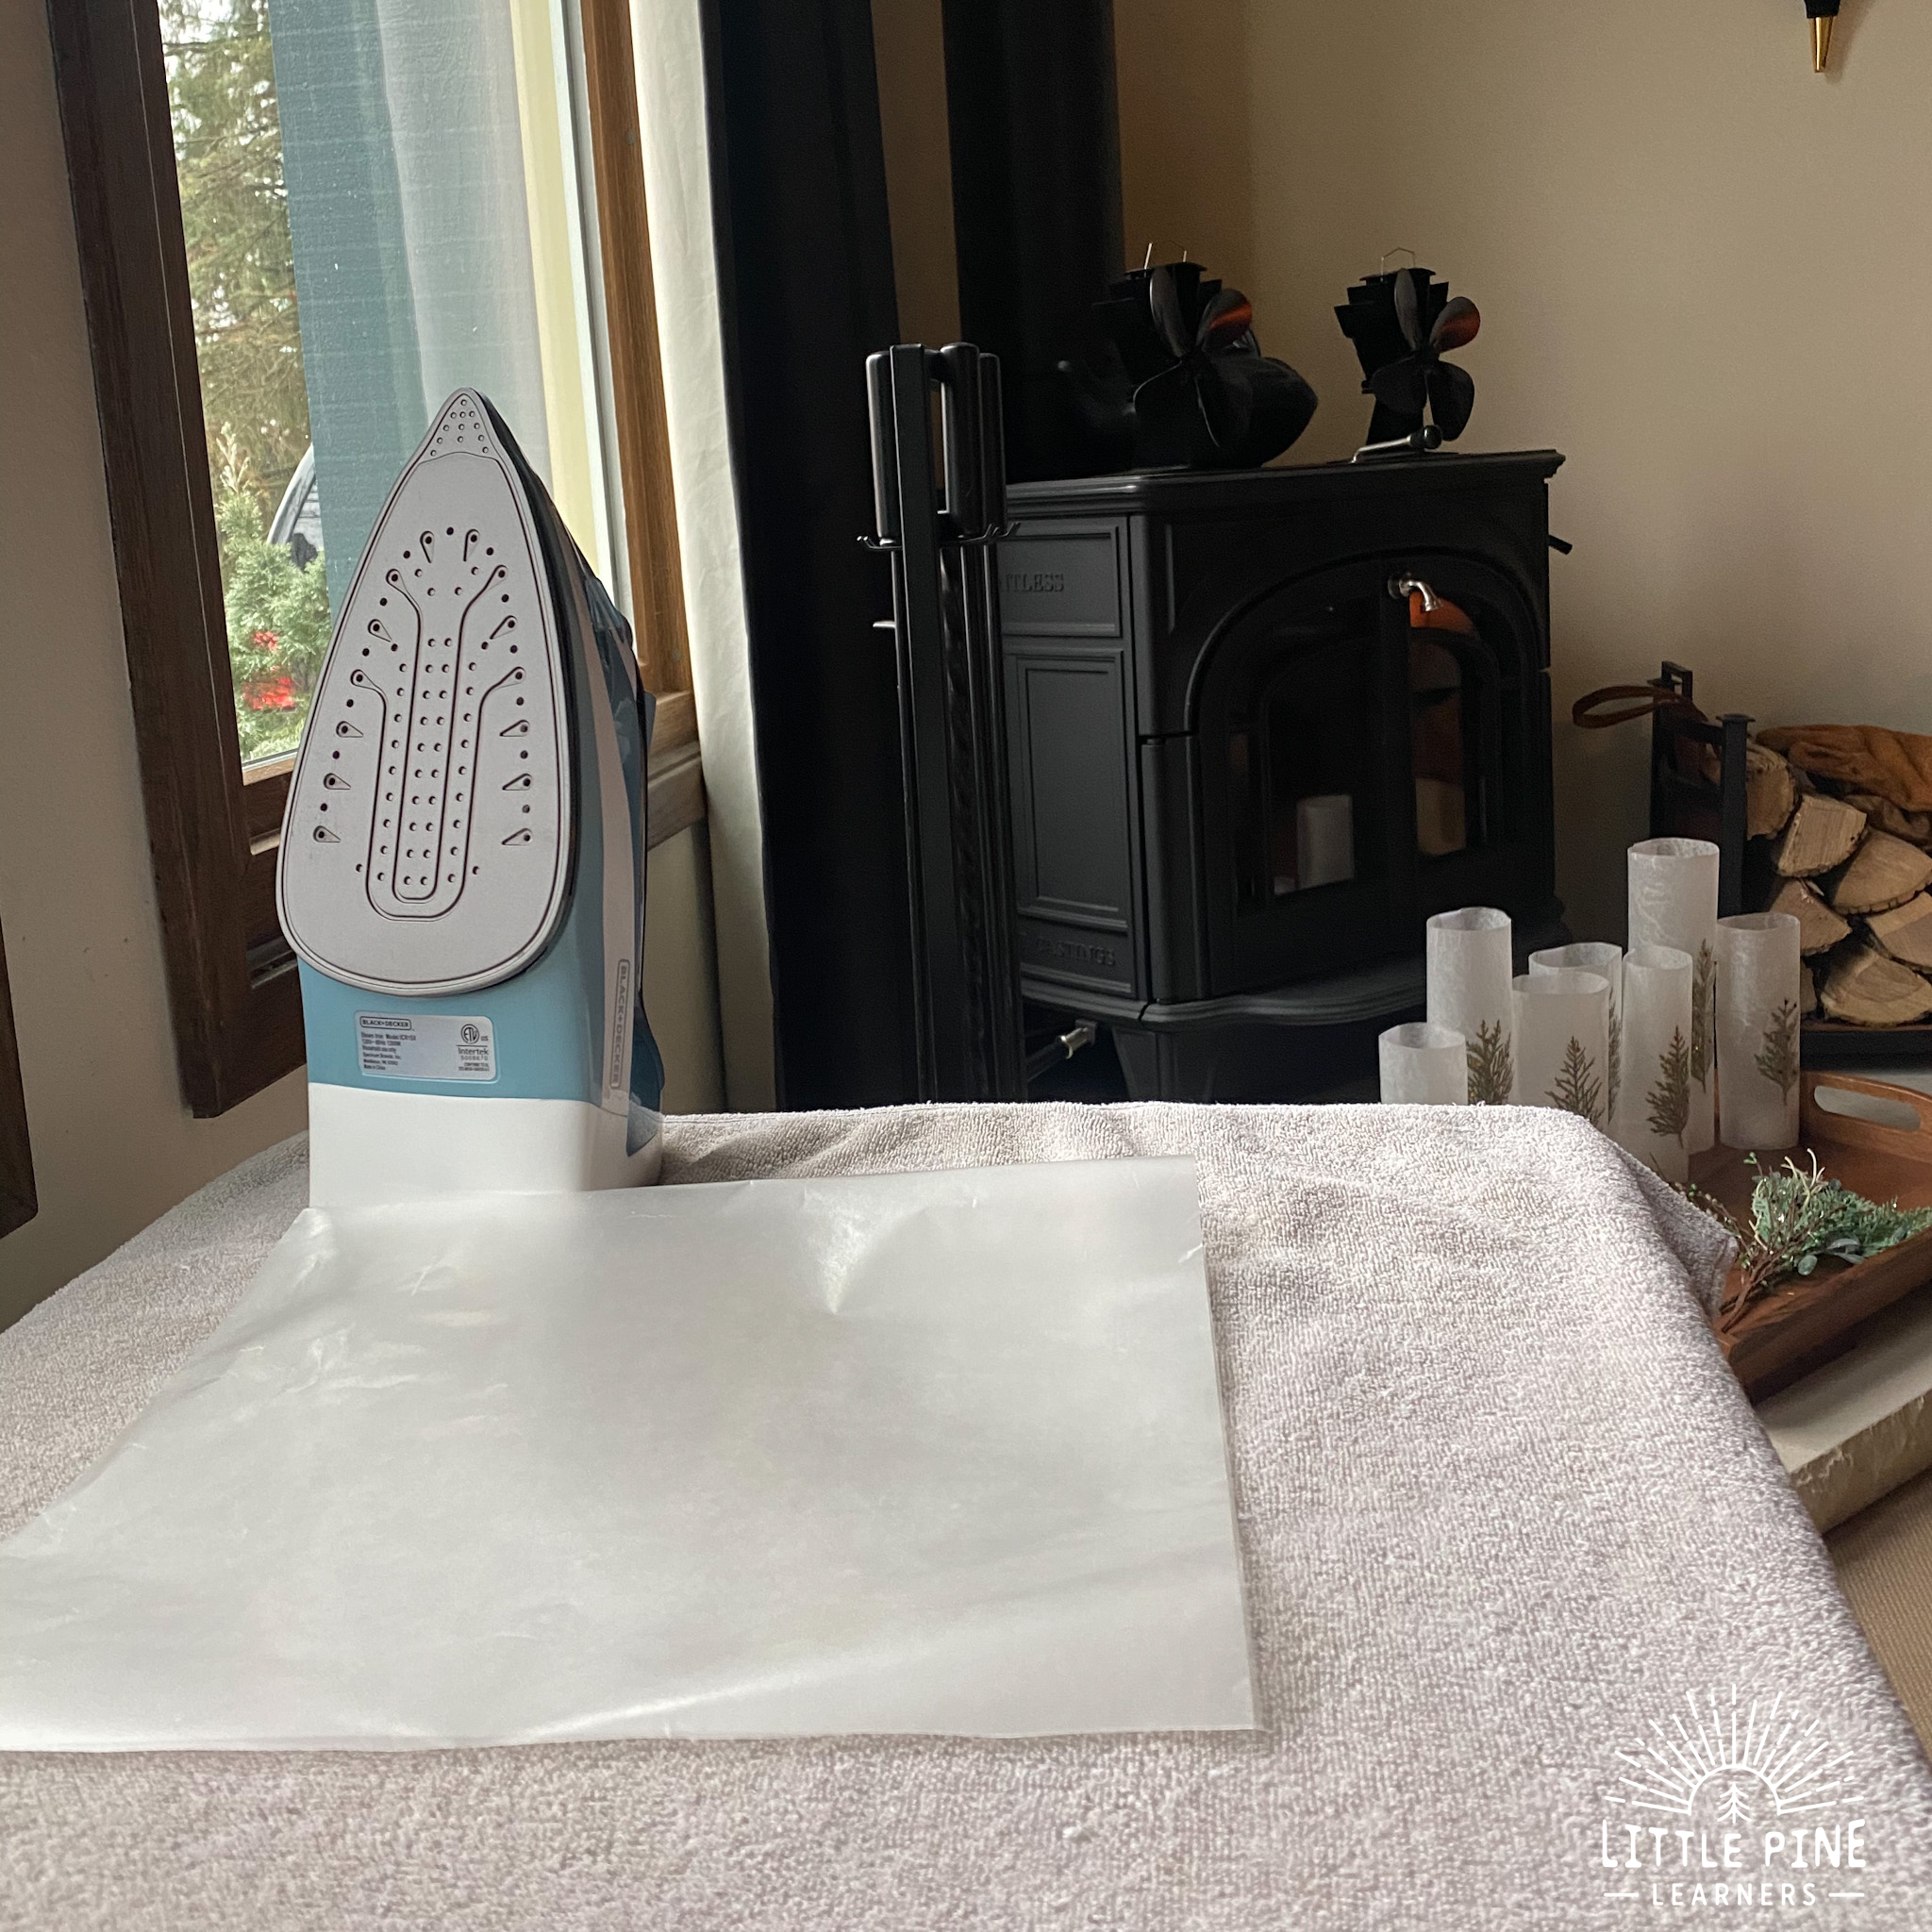
Step 2:
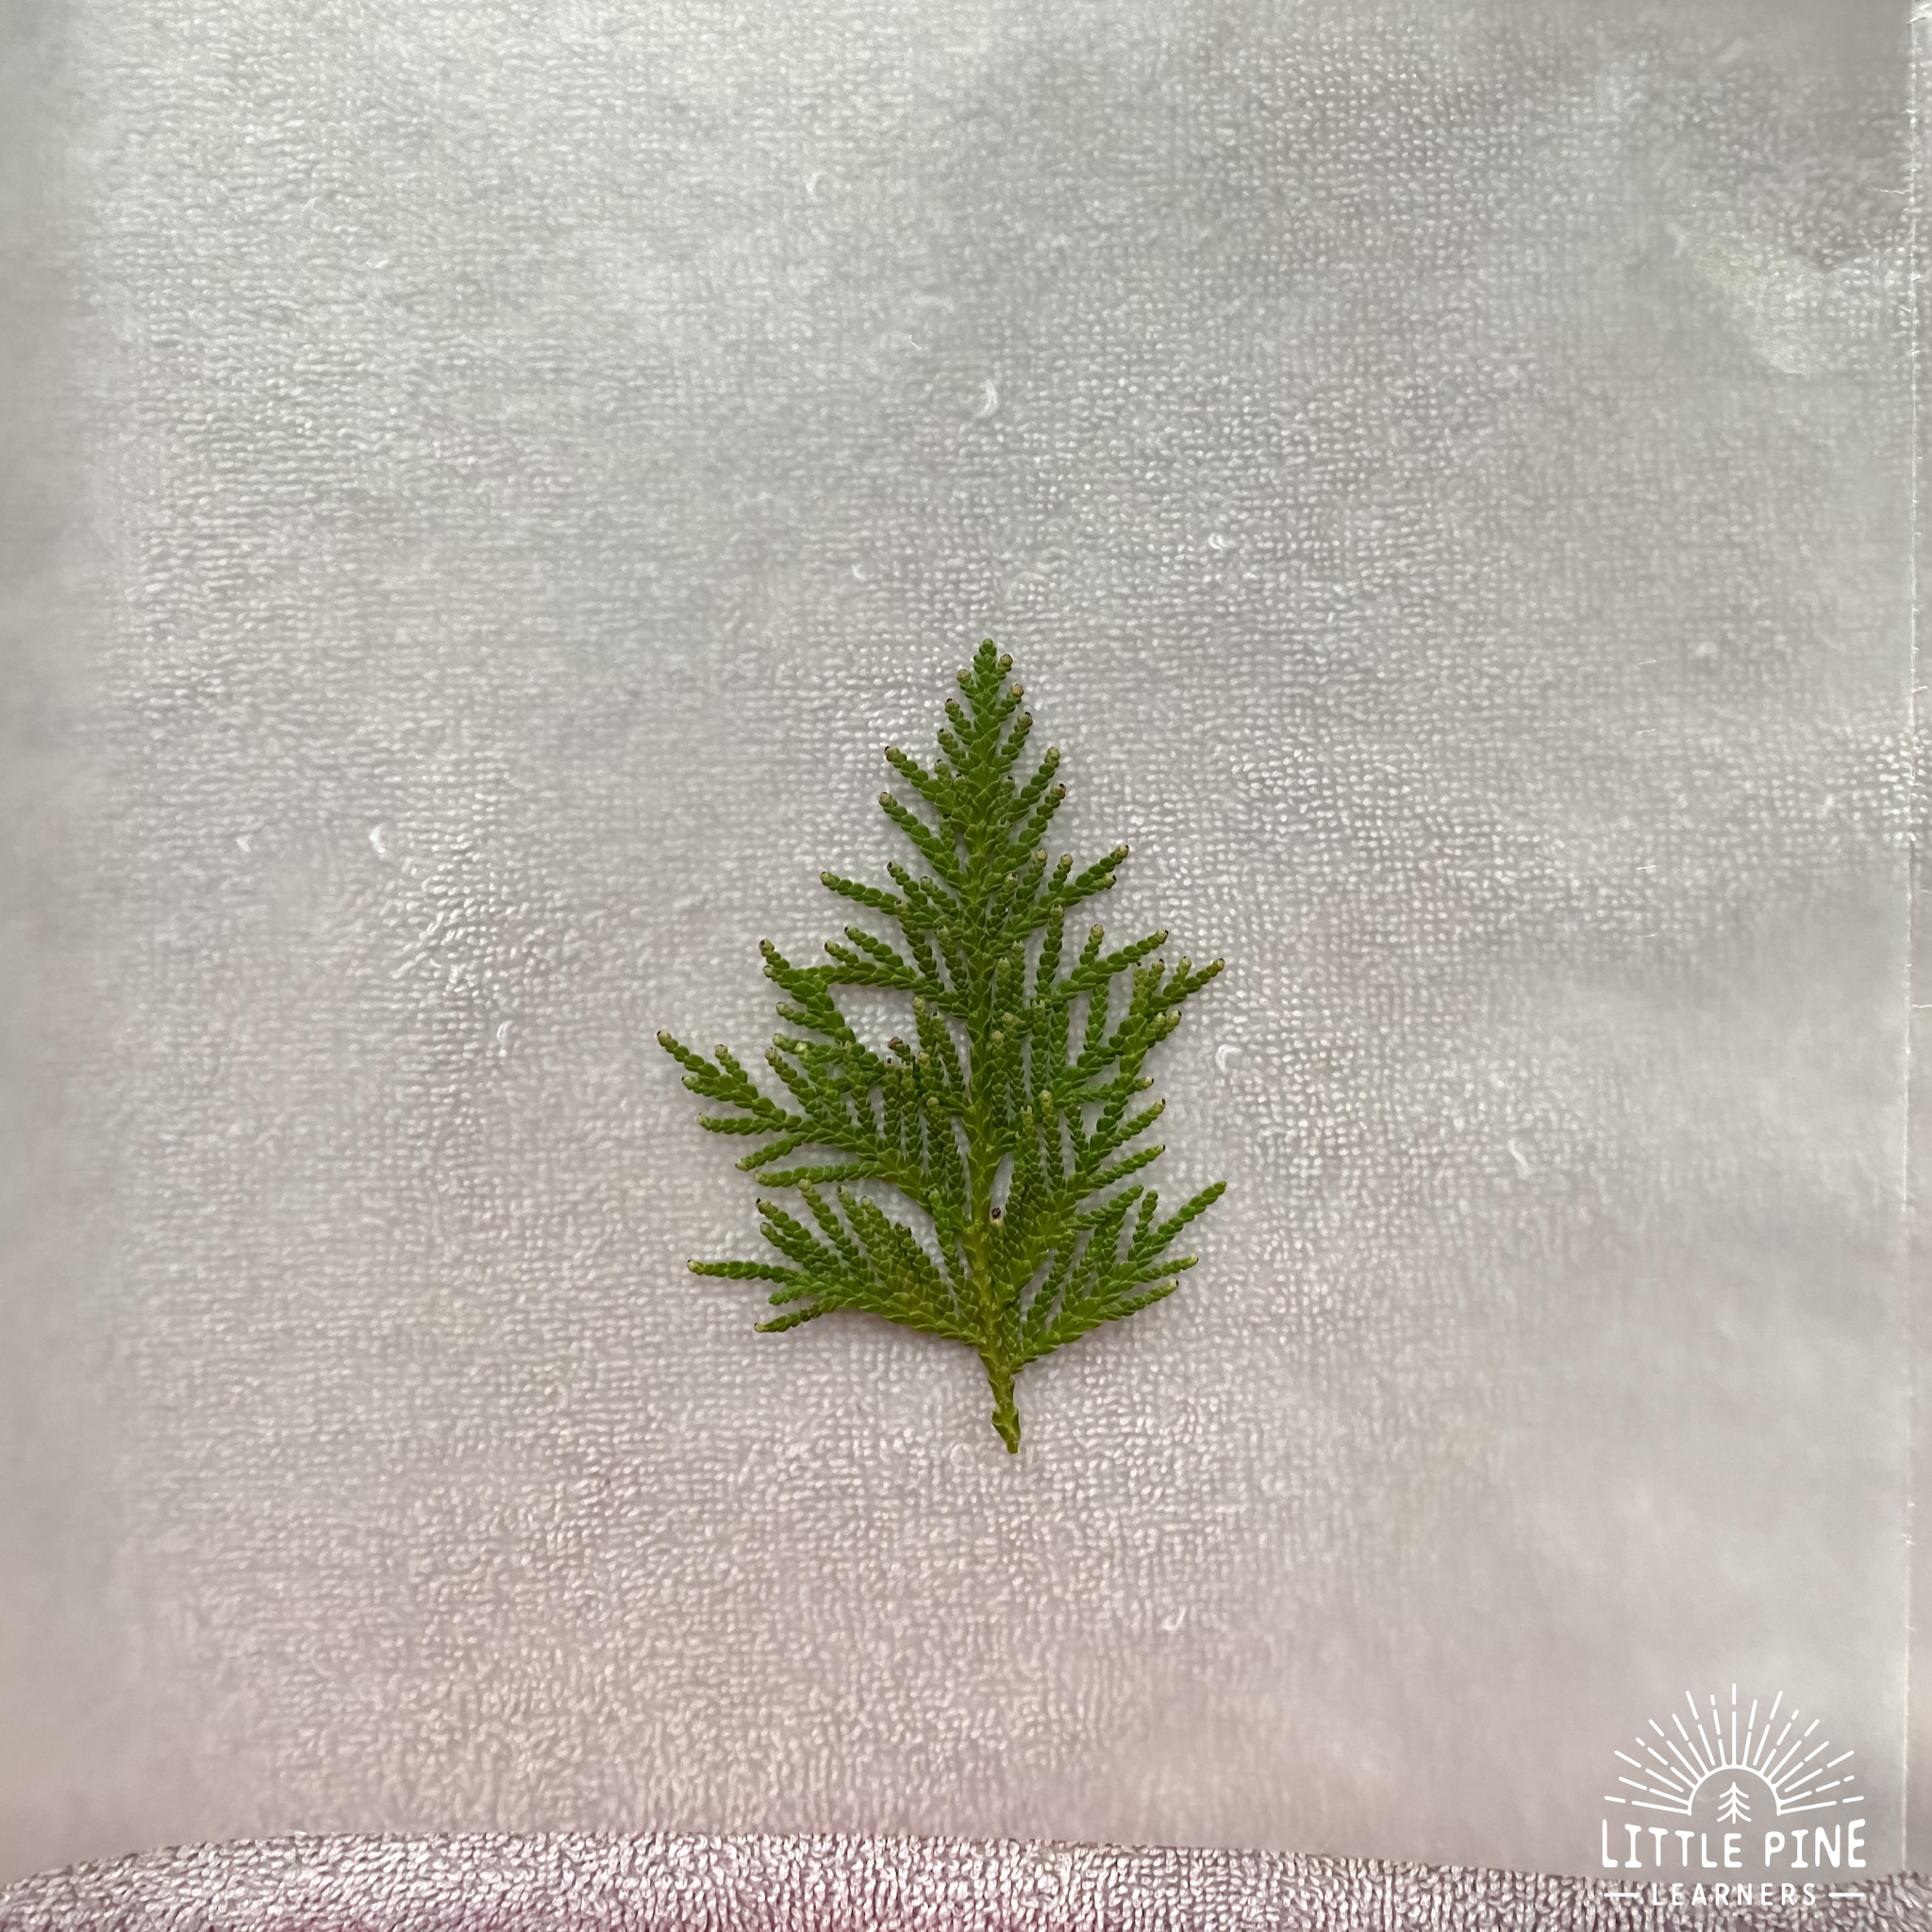
Cut a large piece of wax paper, fold it in half to make a crease, and open it back up again. My whole piece is about 32 inches long.
Place your arborvitae piece on one half of the piece of wax paper.
Step 3:
Fold your piece of wax paper over the arborvitae piece. This doesn’t need to be perfect because you can always trim it up later.
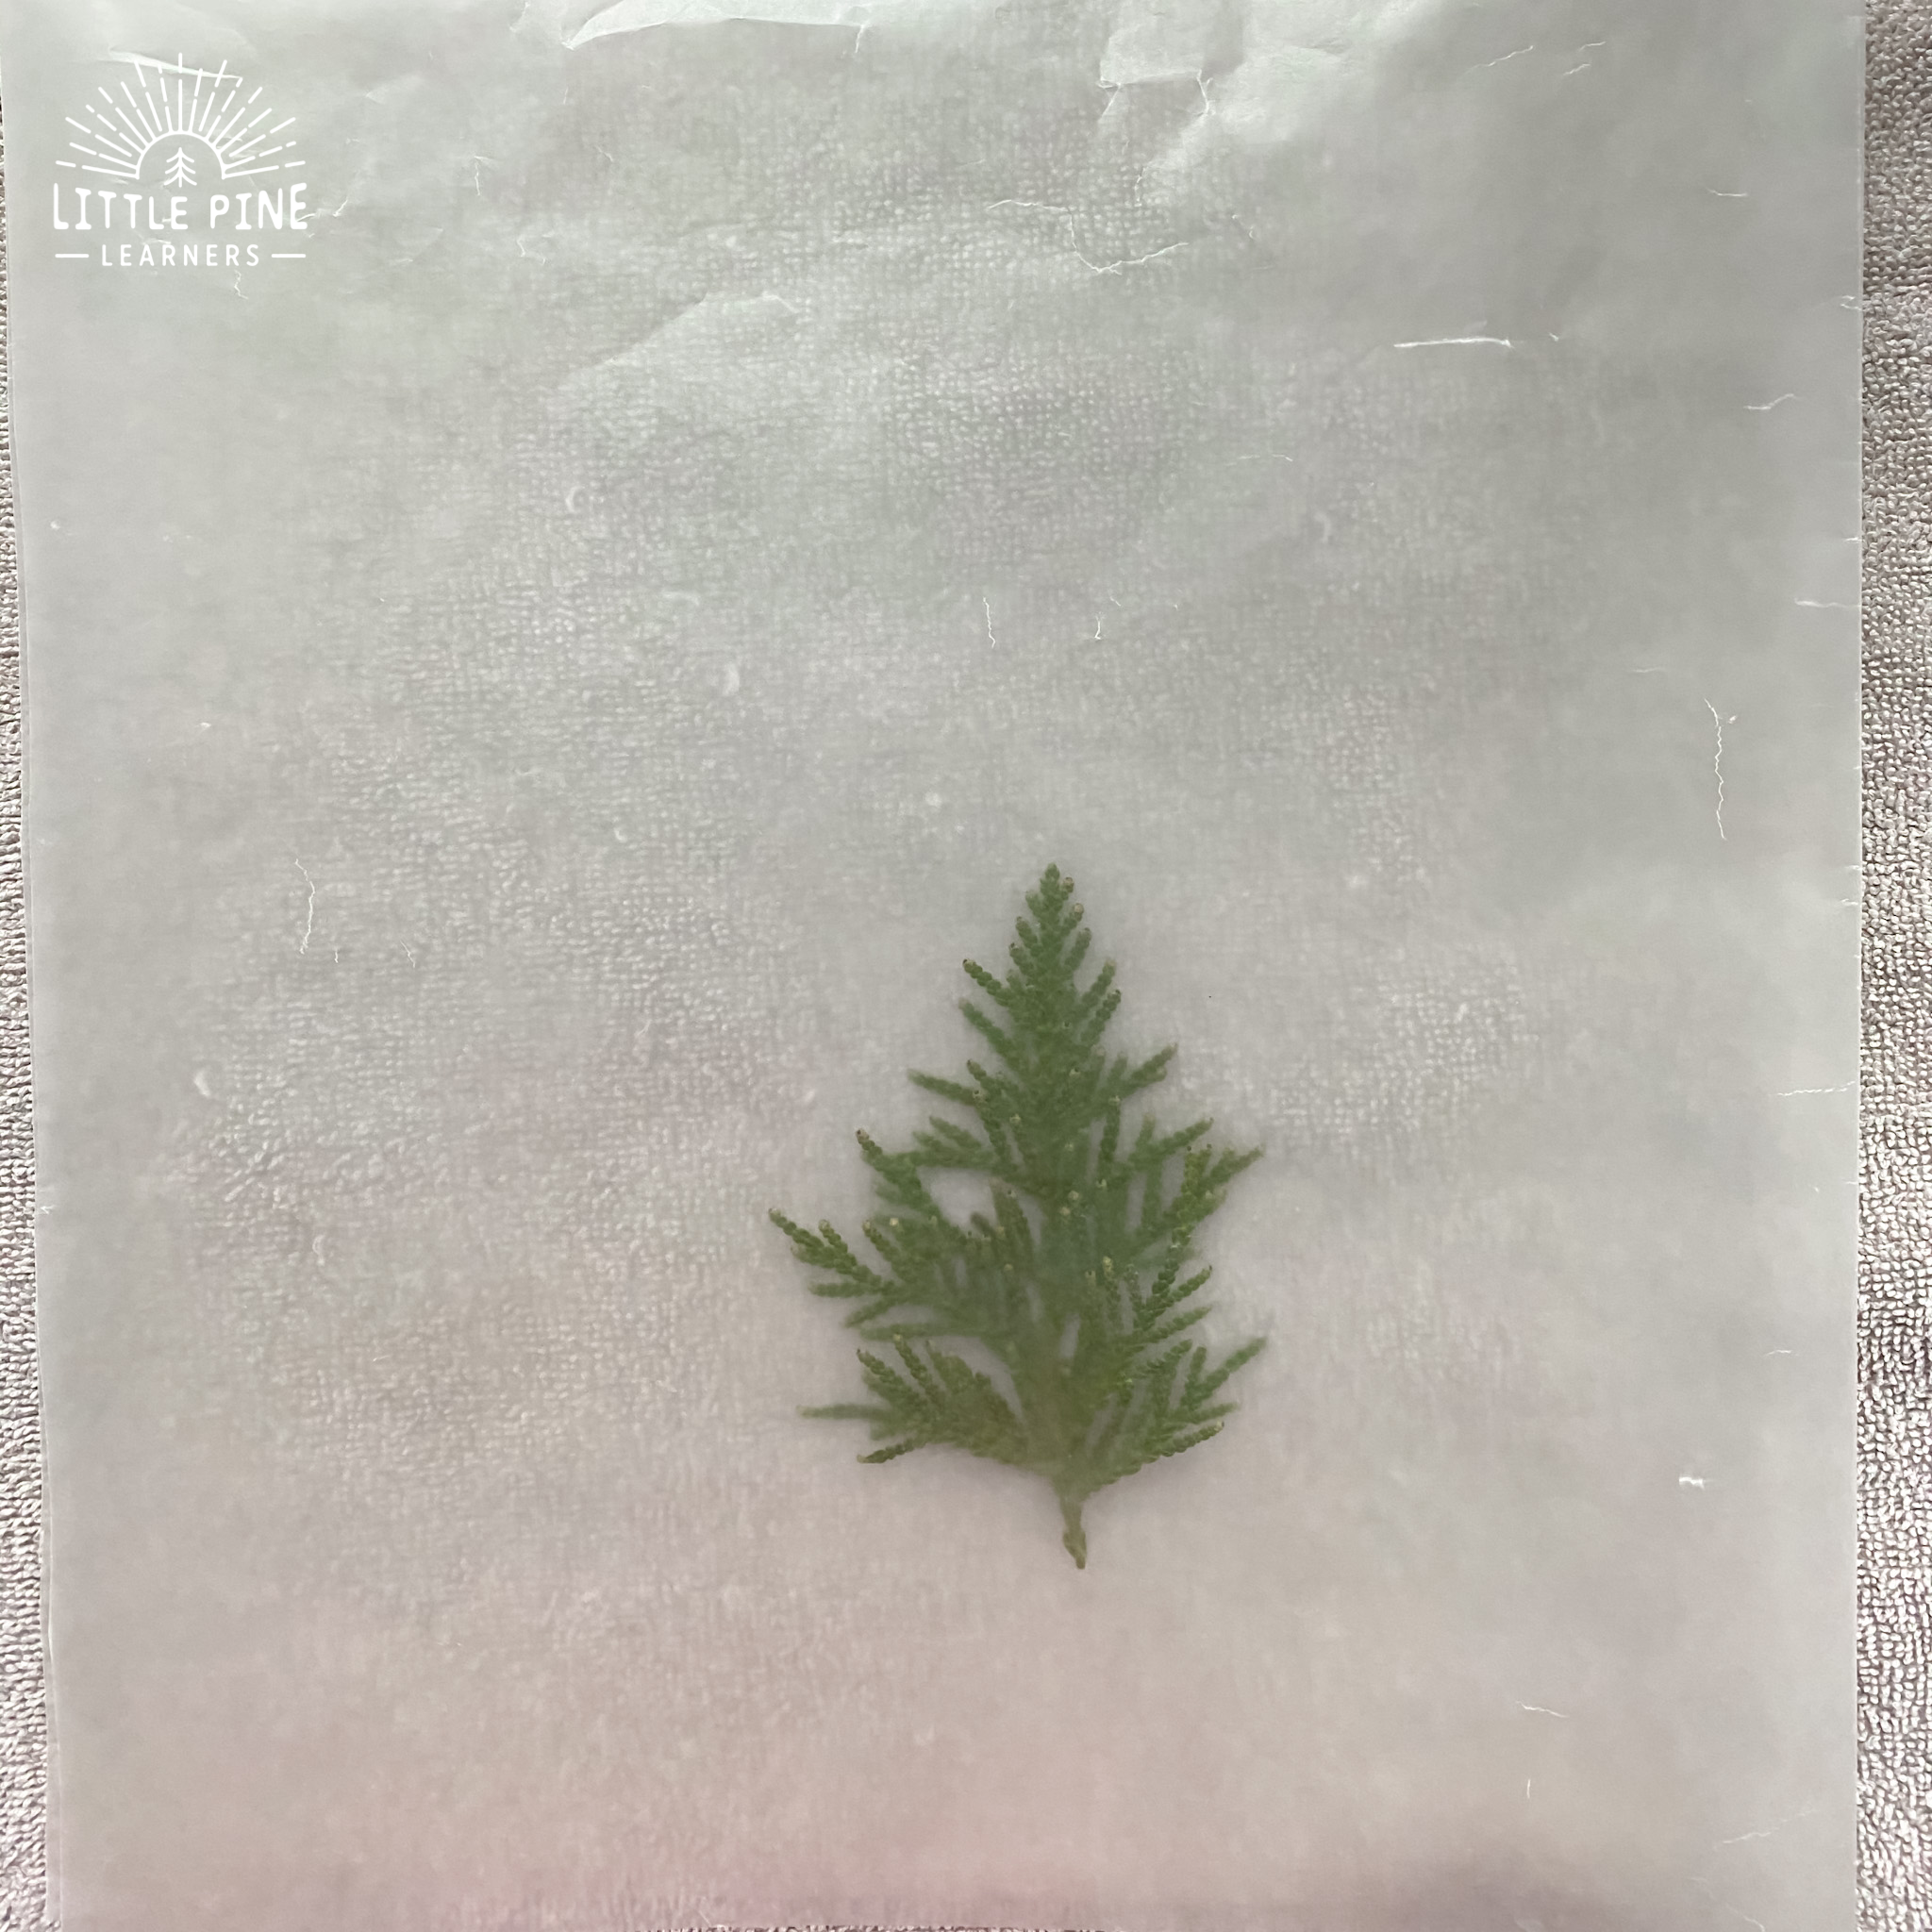
Step 4:
As soon as your iron hits the wax paper, it will fuse together! It’s a neat process to observe. I quickly ran the iron over the wax paper several times, then I flipped it over and did the same thing on that side. There will be some air bubbles and creases after ironing, but those add character! They make the lantern look like a beautiful frosted candle!
Step 5:
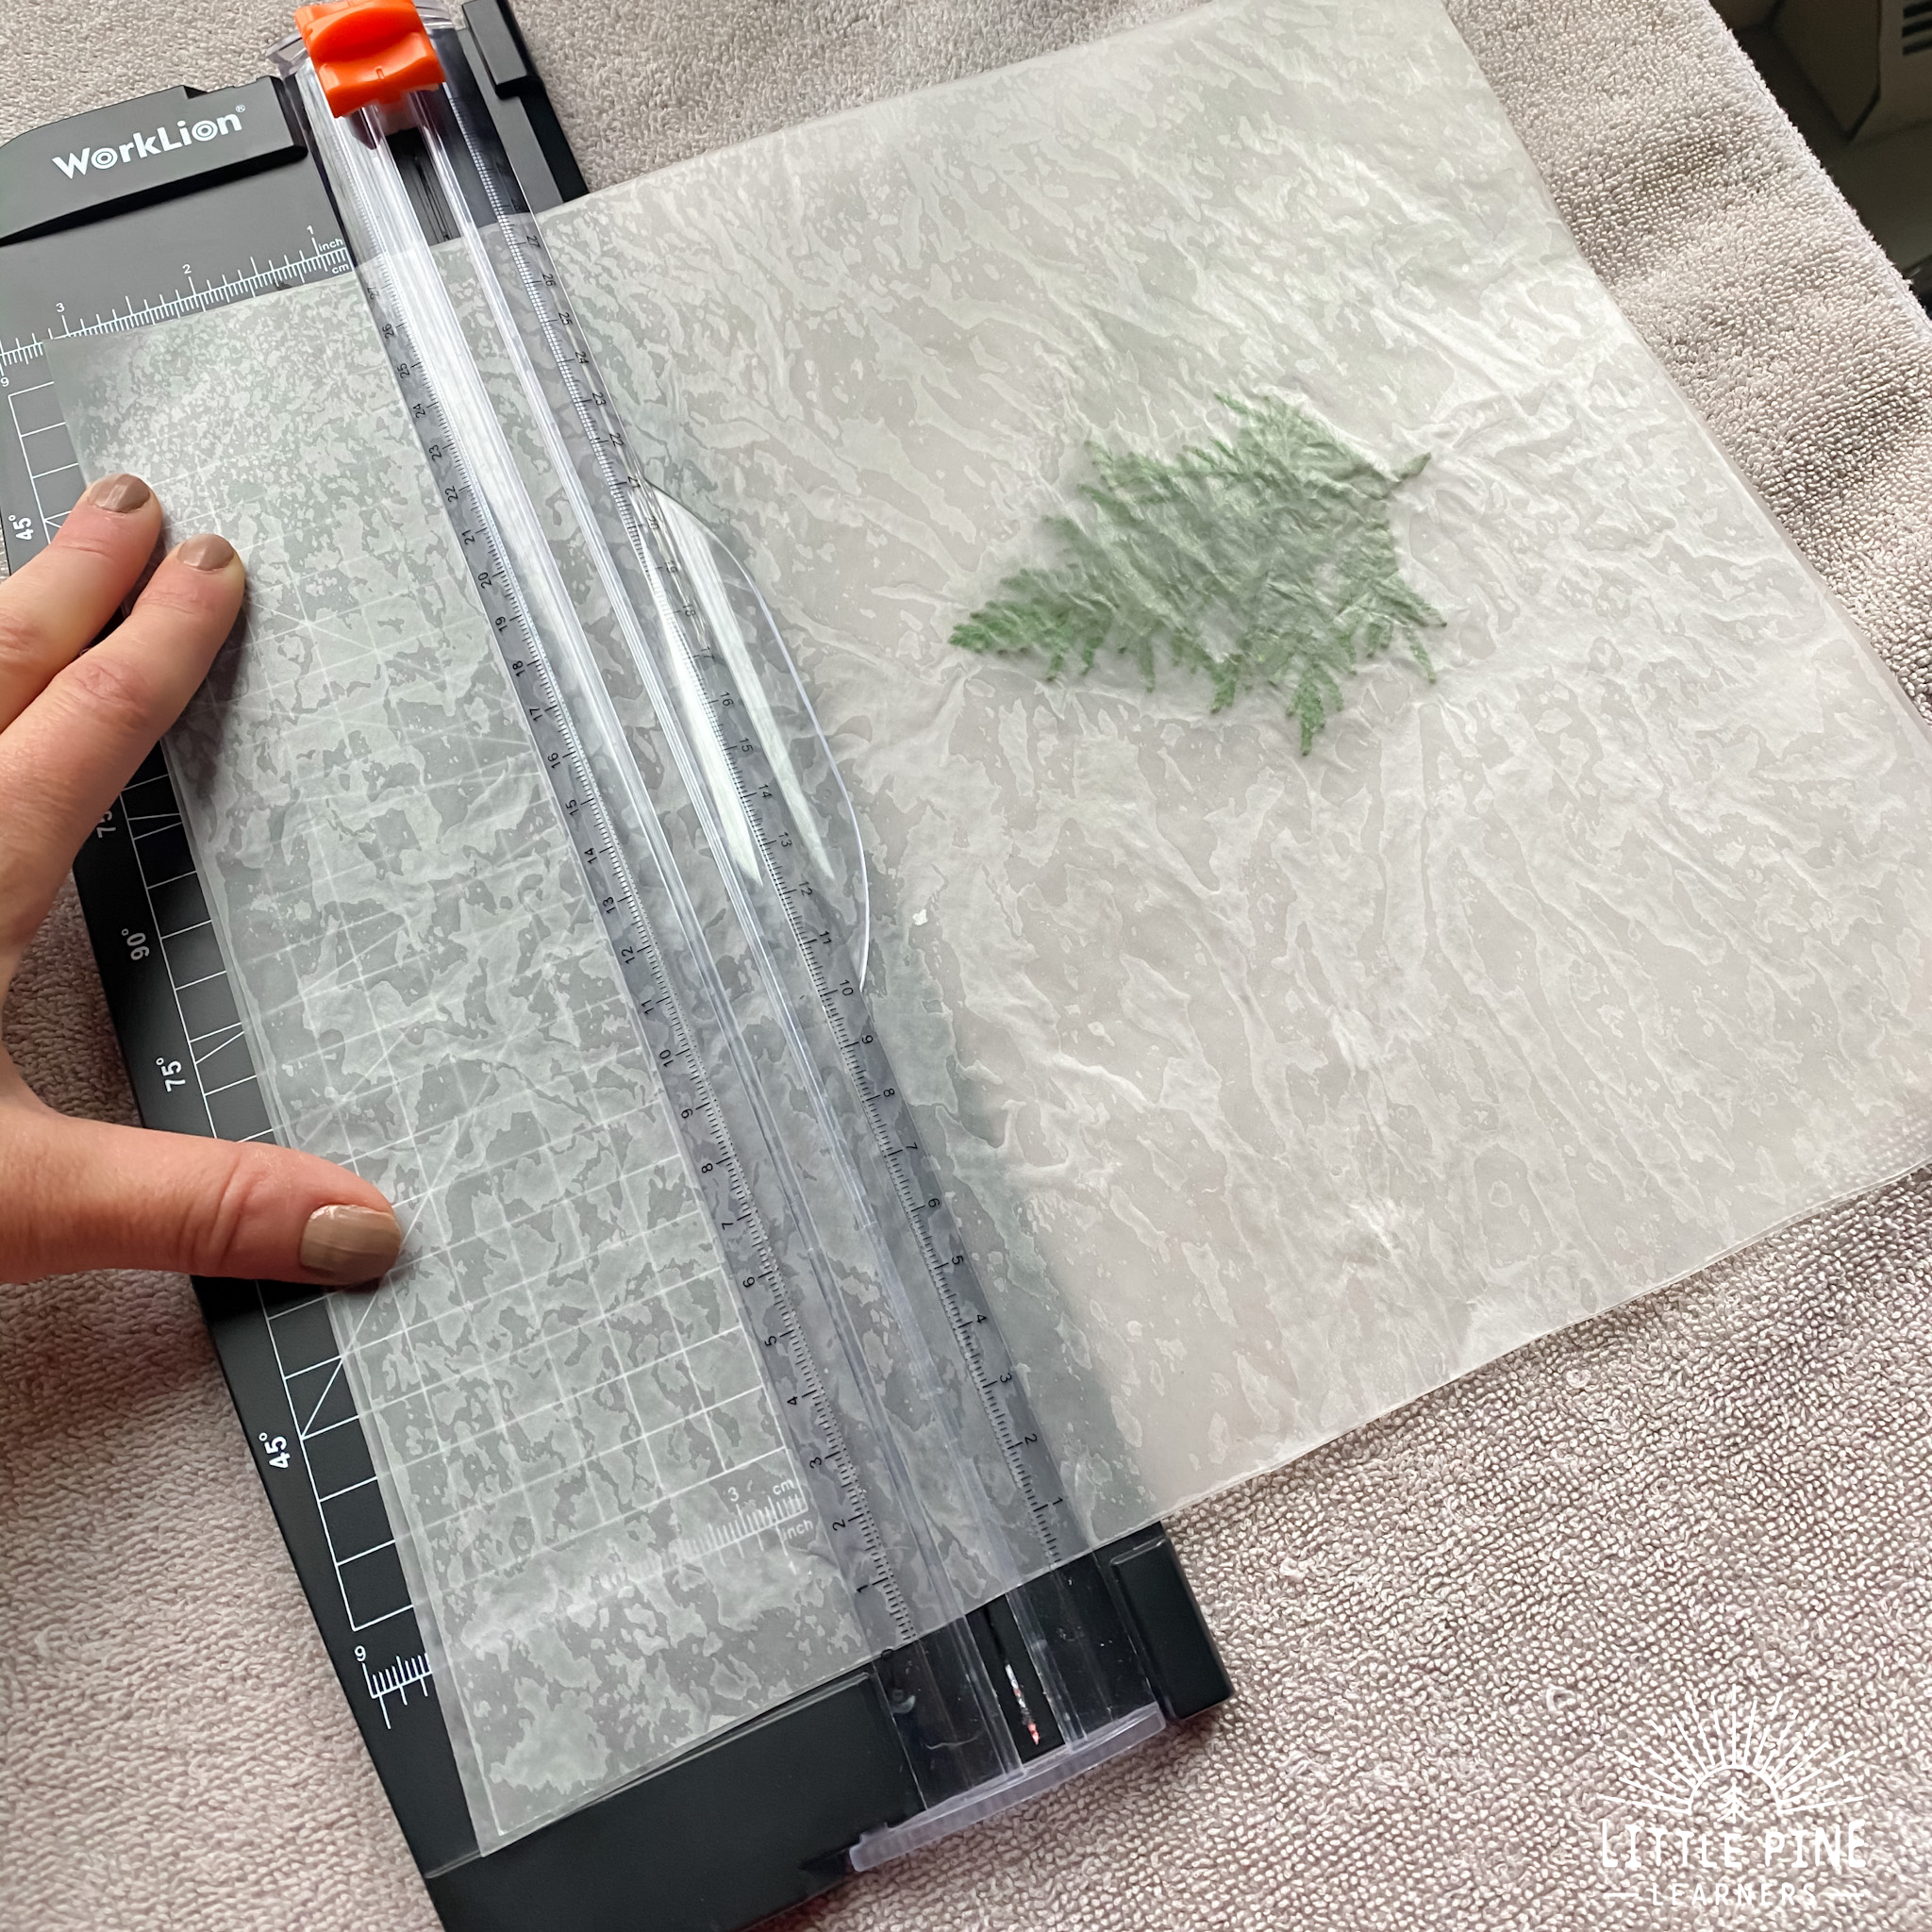
Now trim your paper to make it the height and width you would like. This is also when you can trim up those rough edges. You can use scissors, but I find this paper trimmer pretty handy! I wanted this lantern to be shorter, so I trimmed a lot off the top.
Since there is an air pocket around the arborvitae piece, the green will fade a bit over time. They are just too thick to seal 100%.
Step 6:
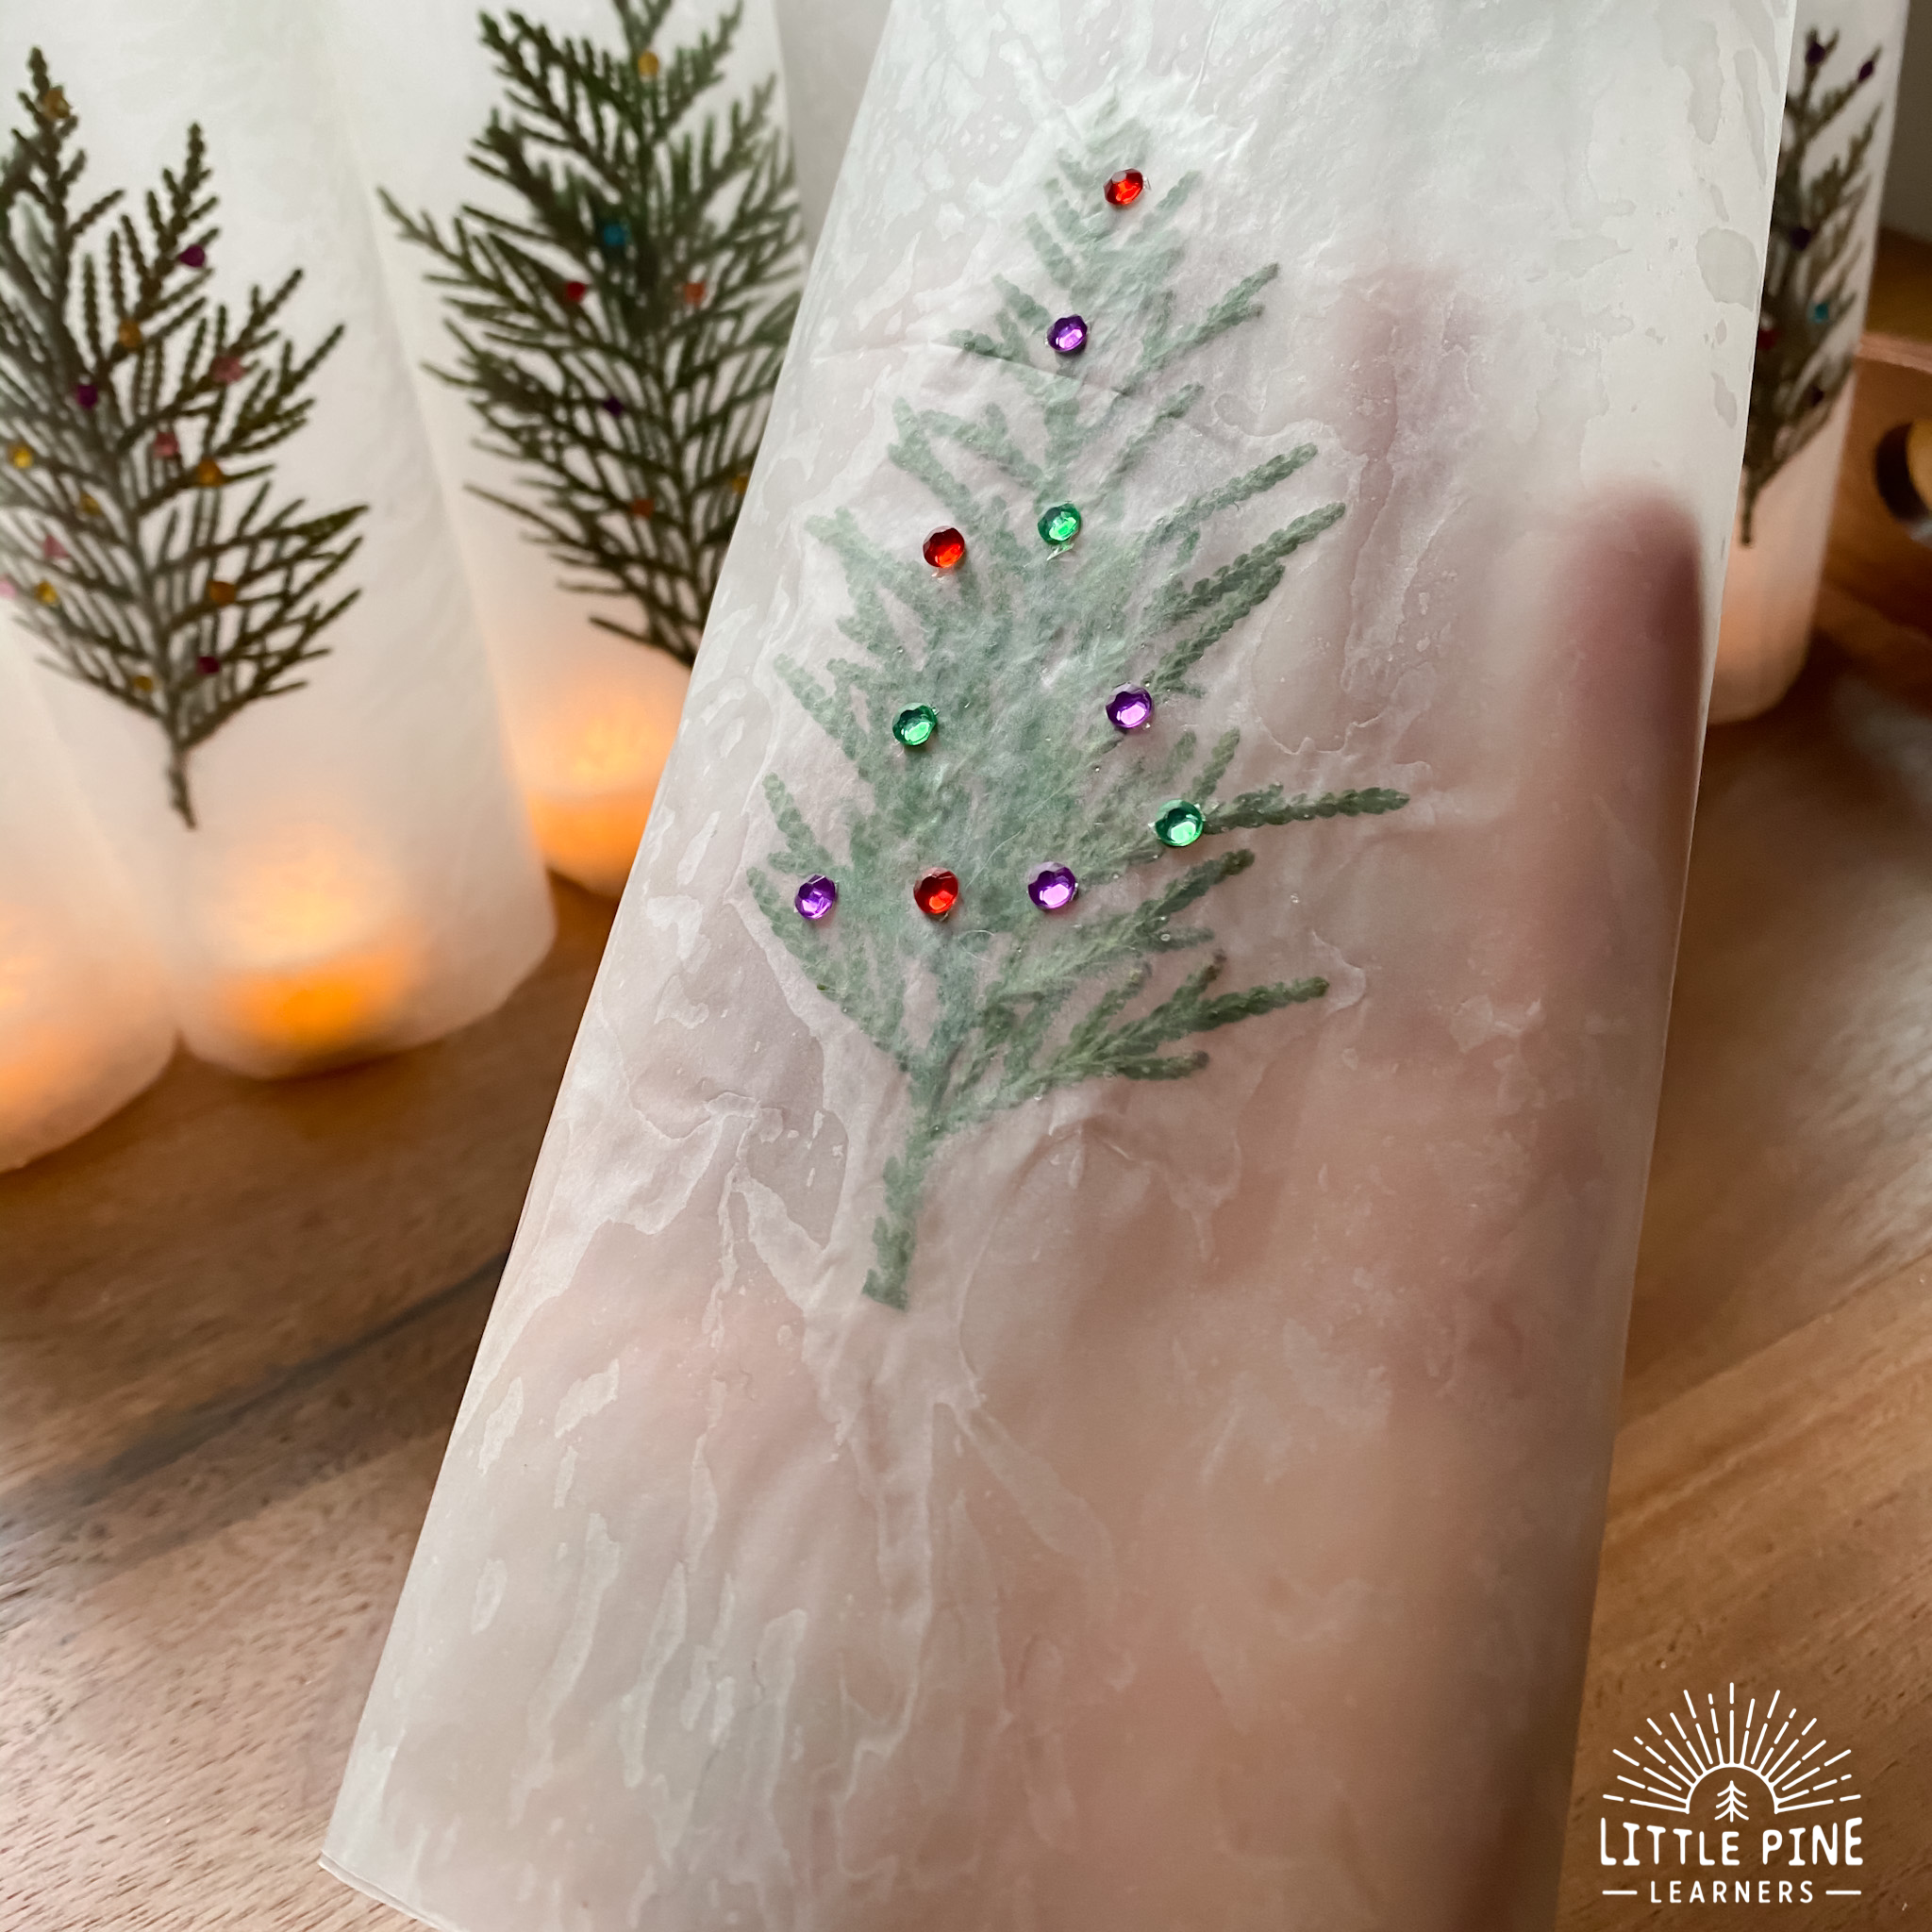
This step is optional. We added some small gem stickers to mimic Christmas lights. They are pretty small and only noticeable during the day! You can’t really see them at night with the candle turned on.
Step 7:
Roll your paper to make a cylinder and tape the wax paper lantern together where the edges meet.
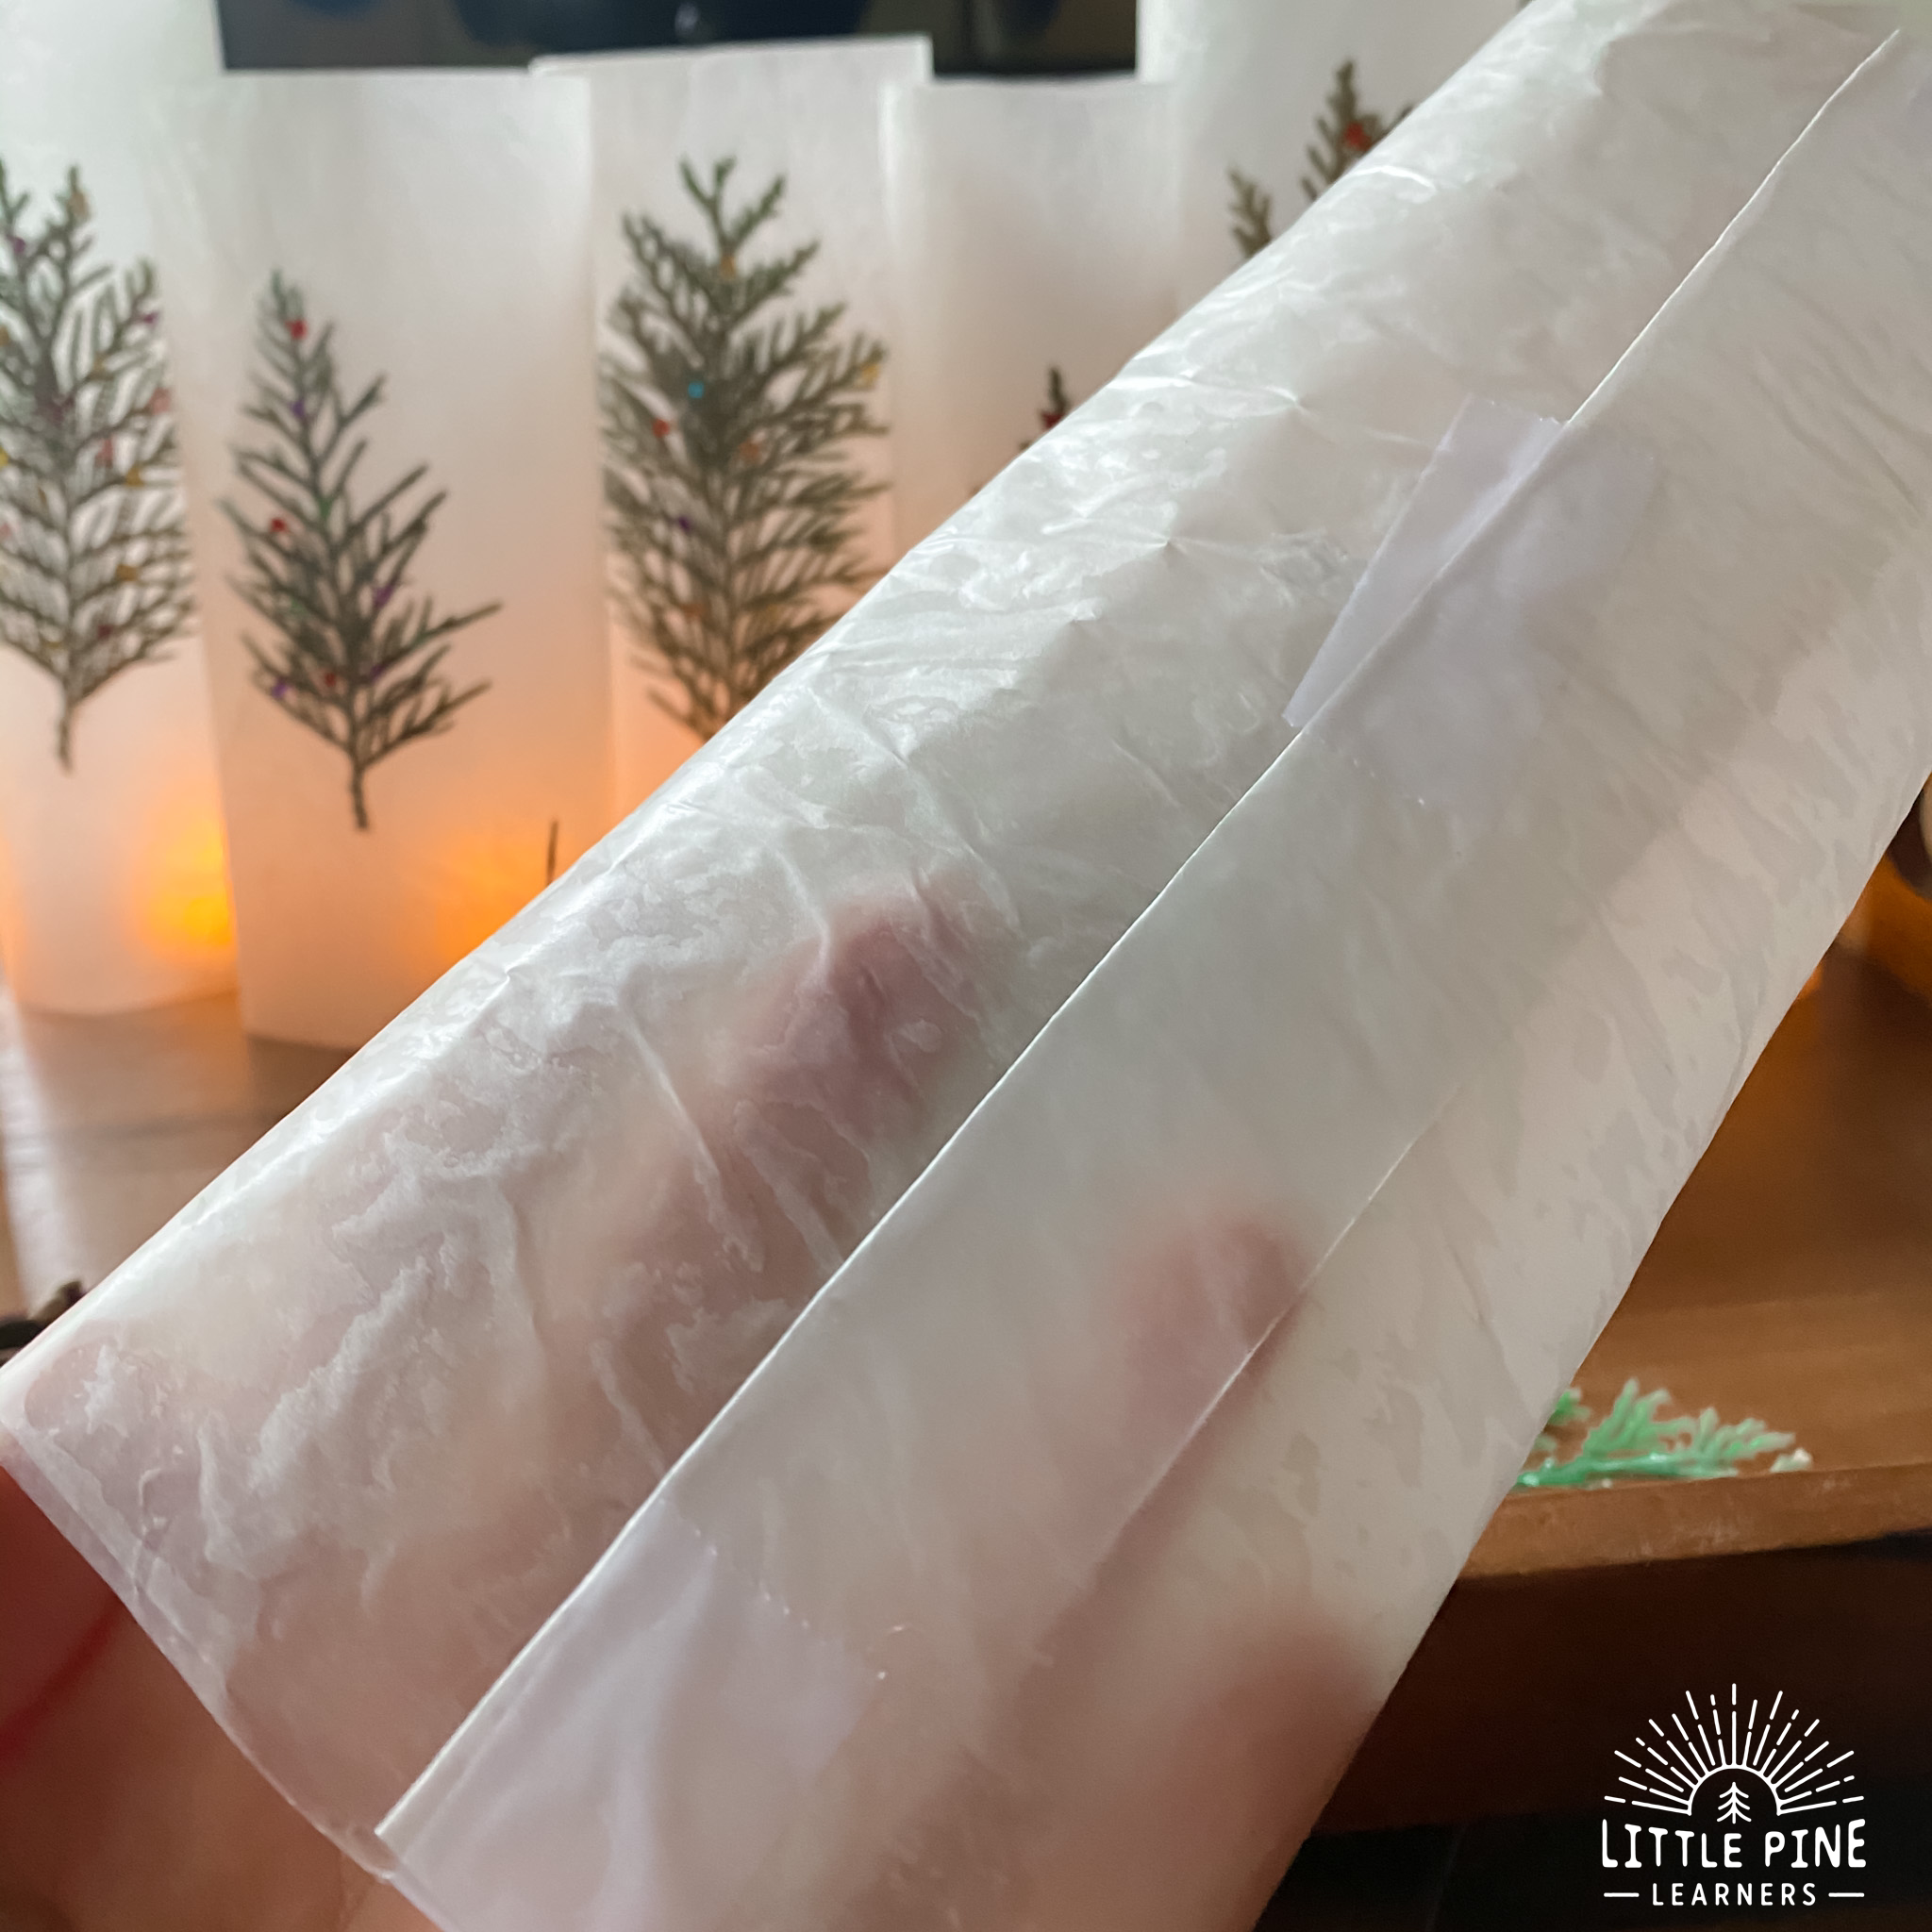
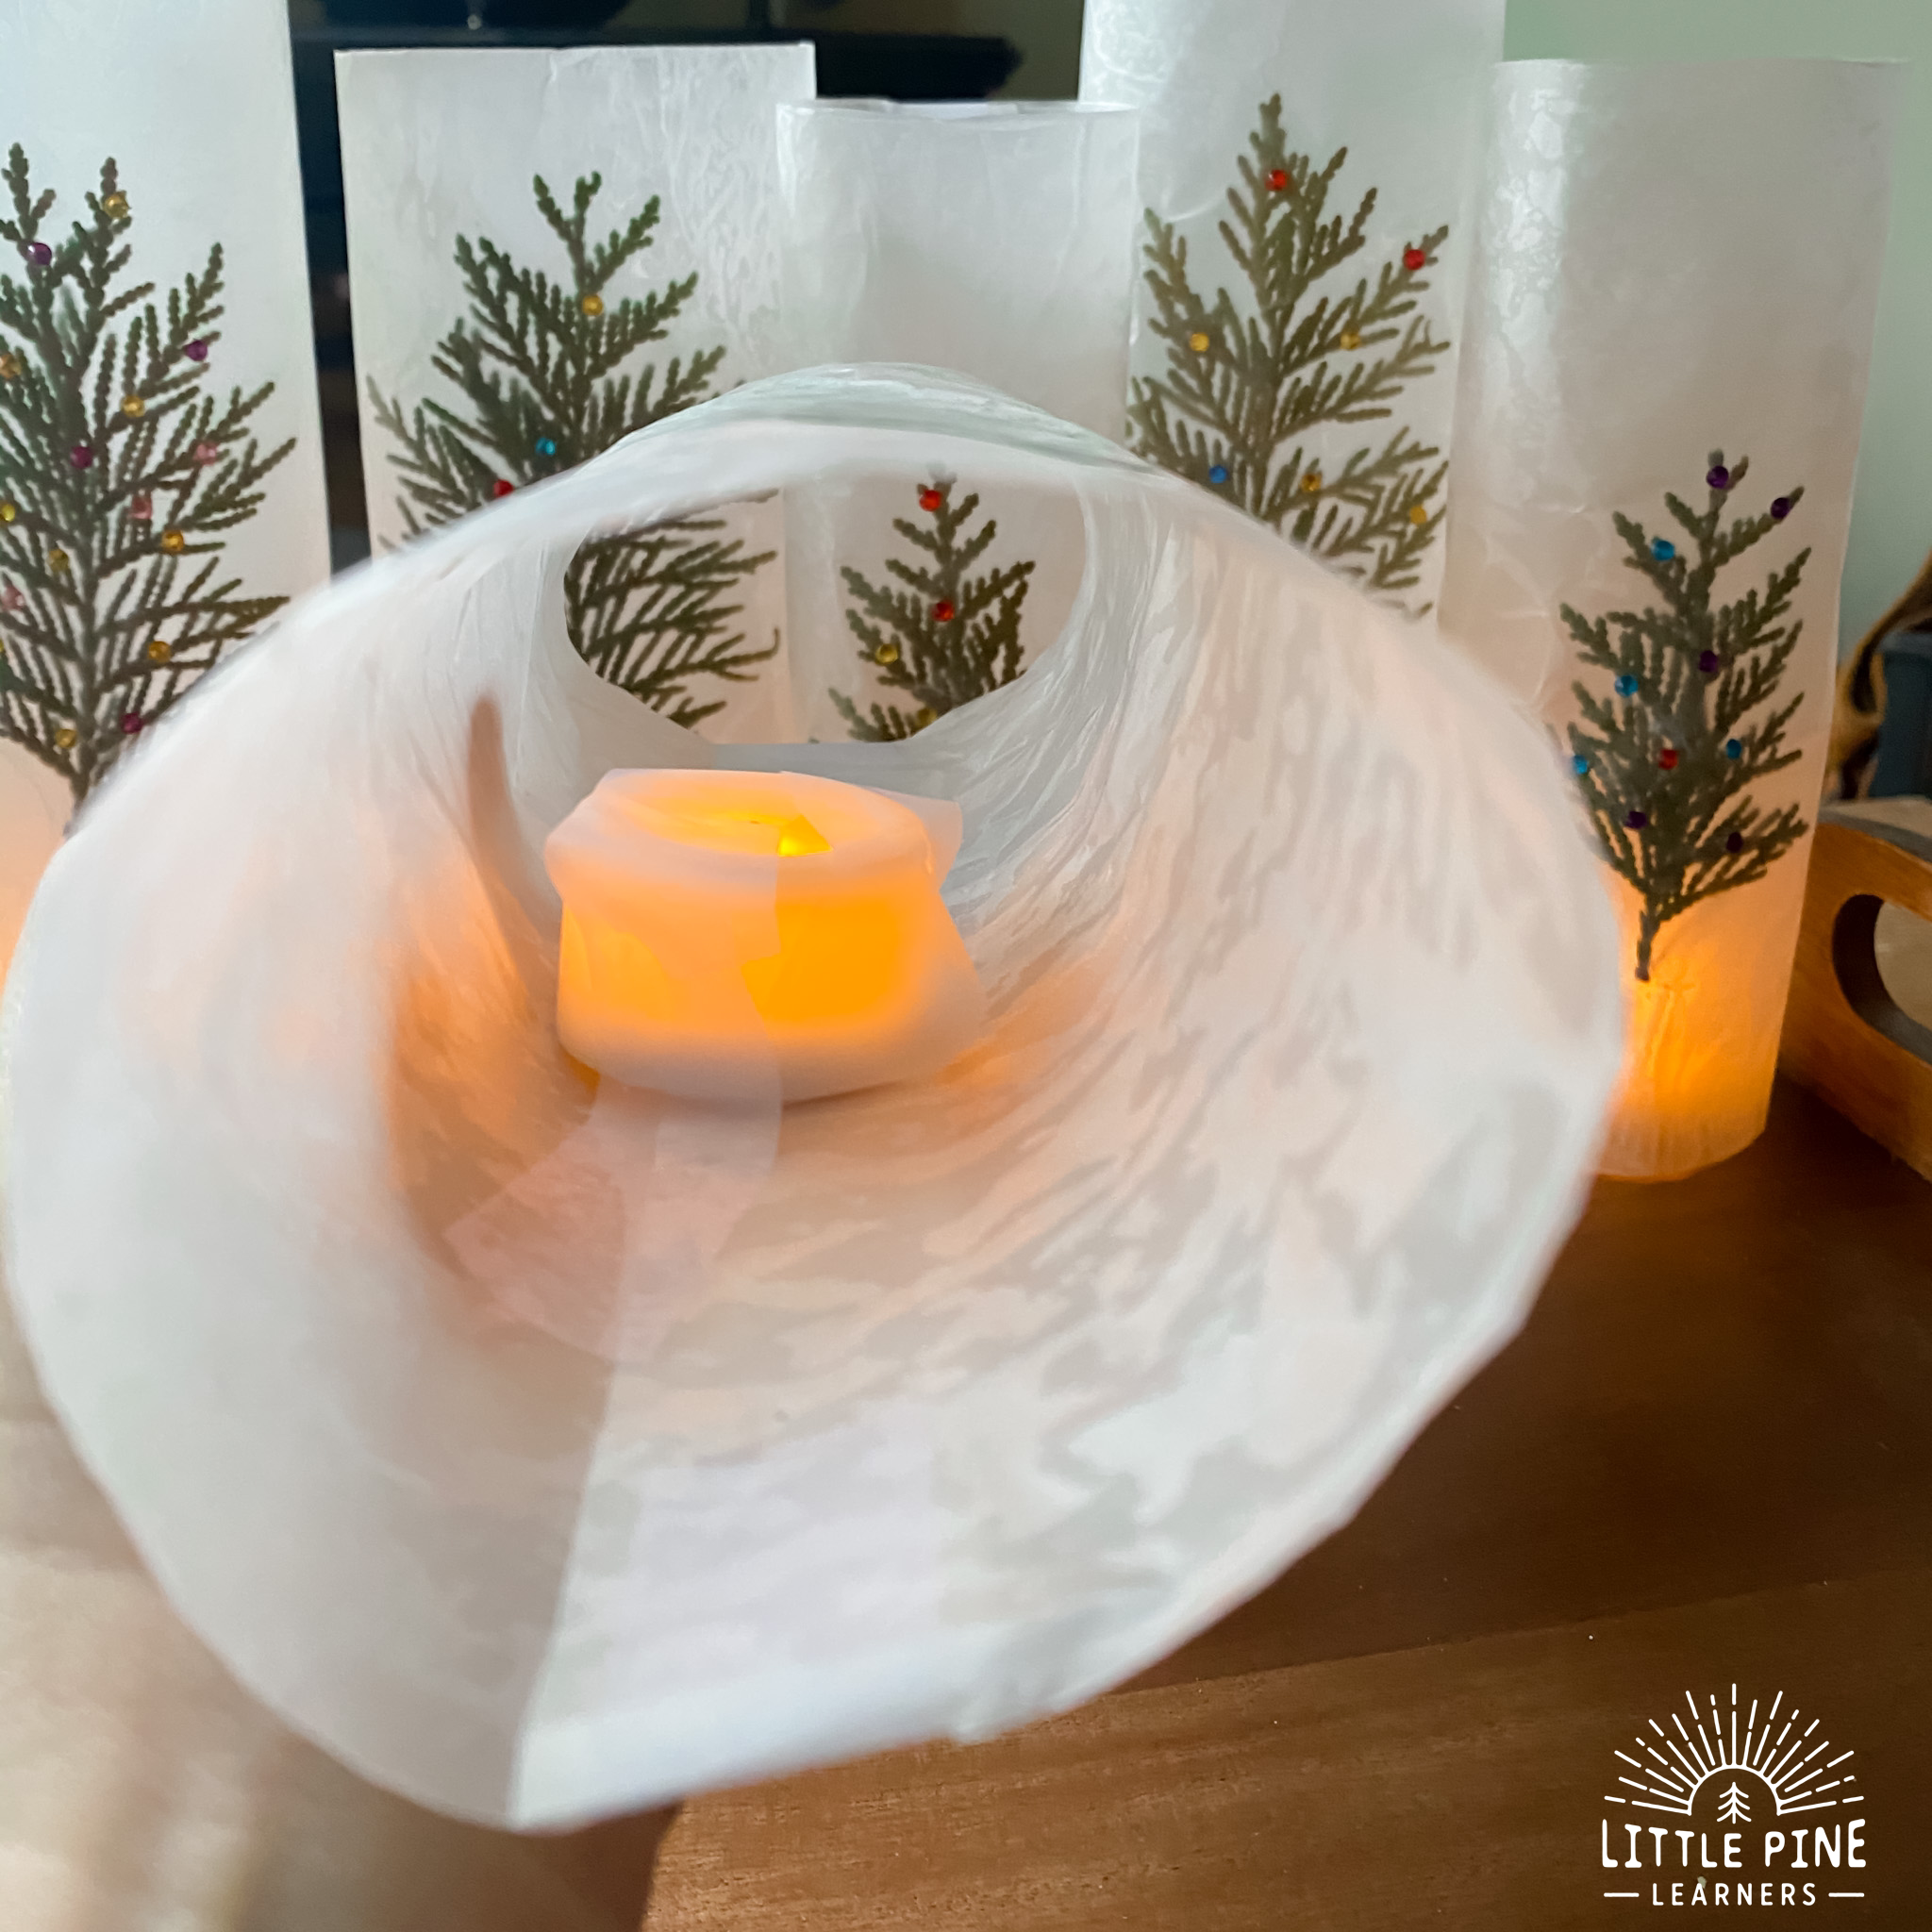
Now choose how you would like to light your lantern. If you will be adding a string handle and want to carry the lantern, you can tape a flameless candle on the inside of the lantern as pictured below.
You can hang your lantern with a string handle!

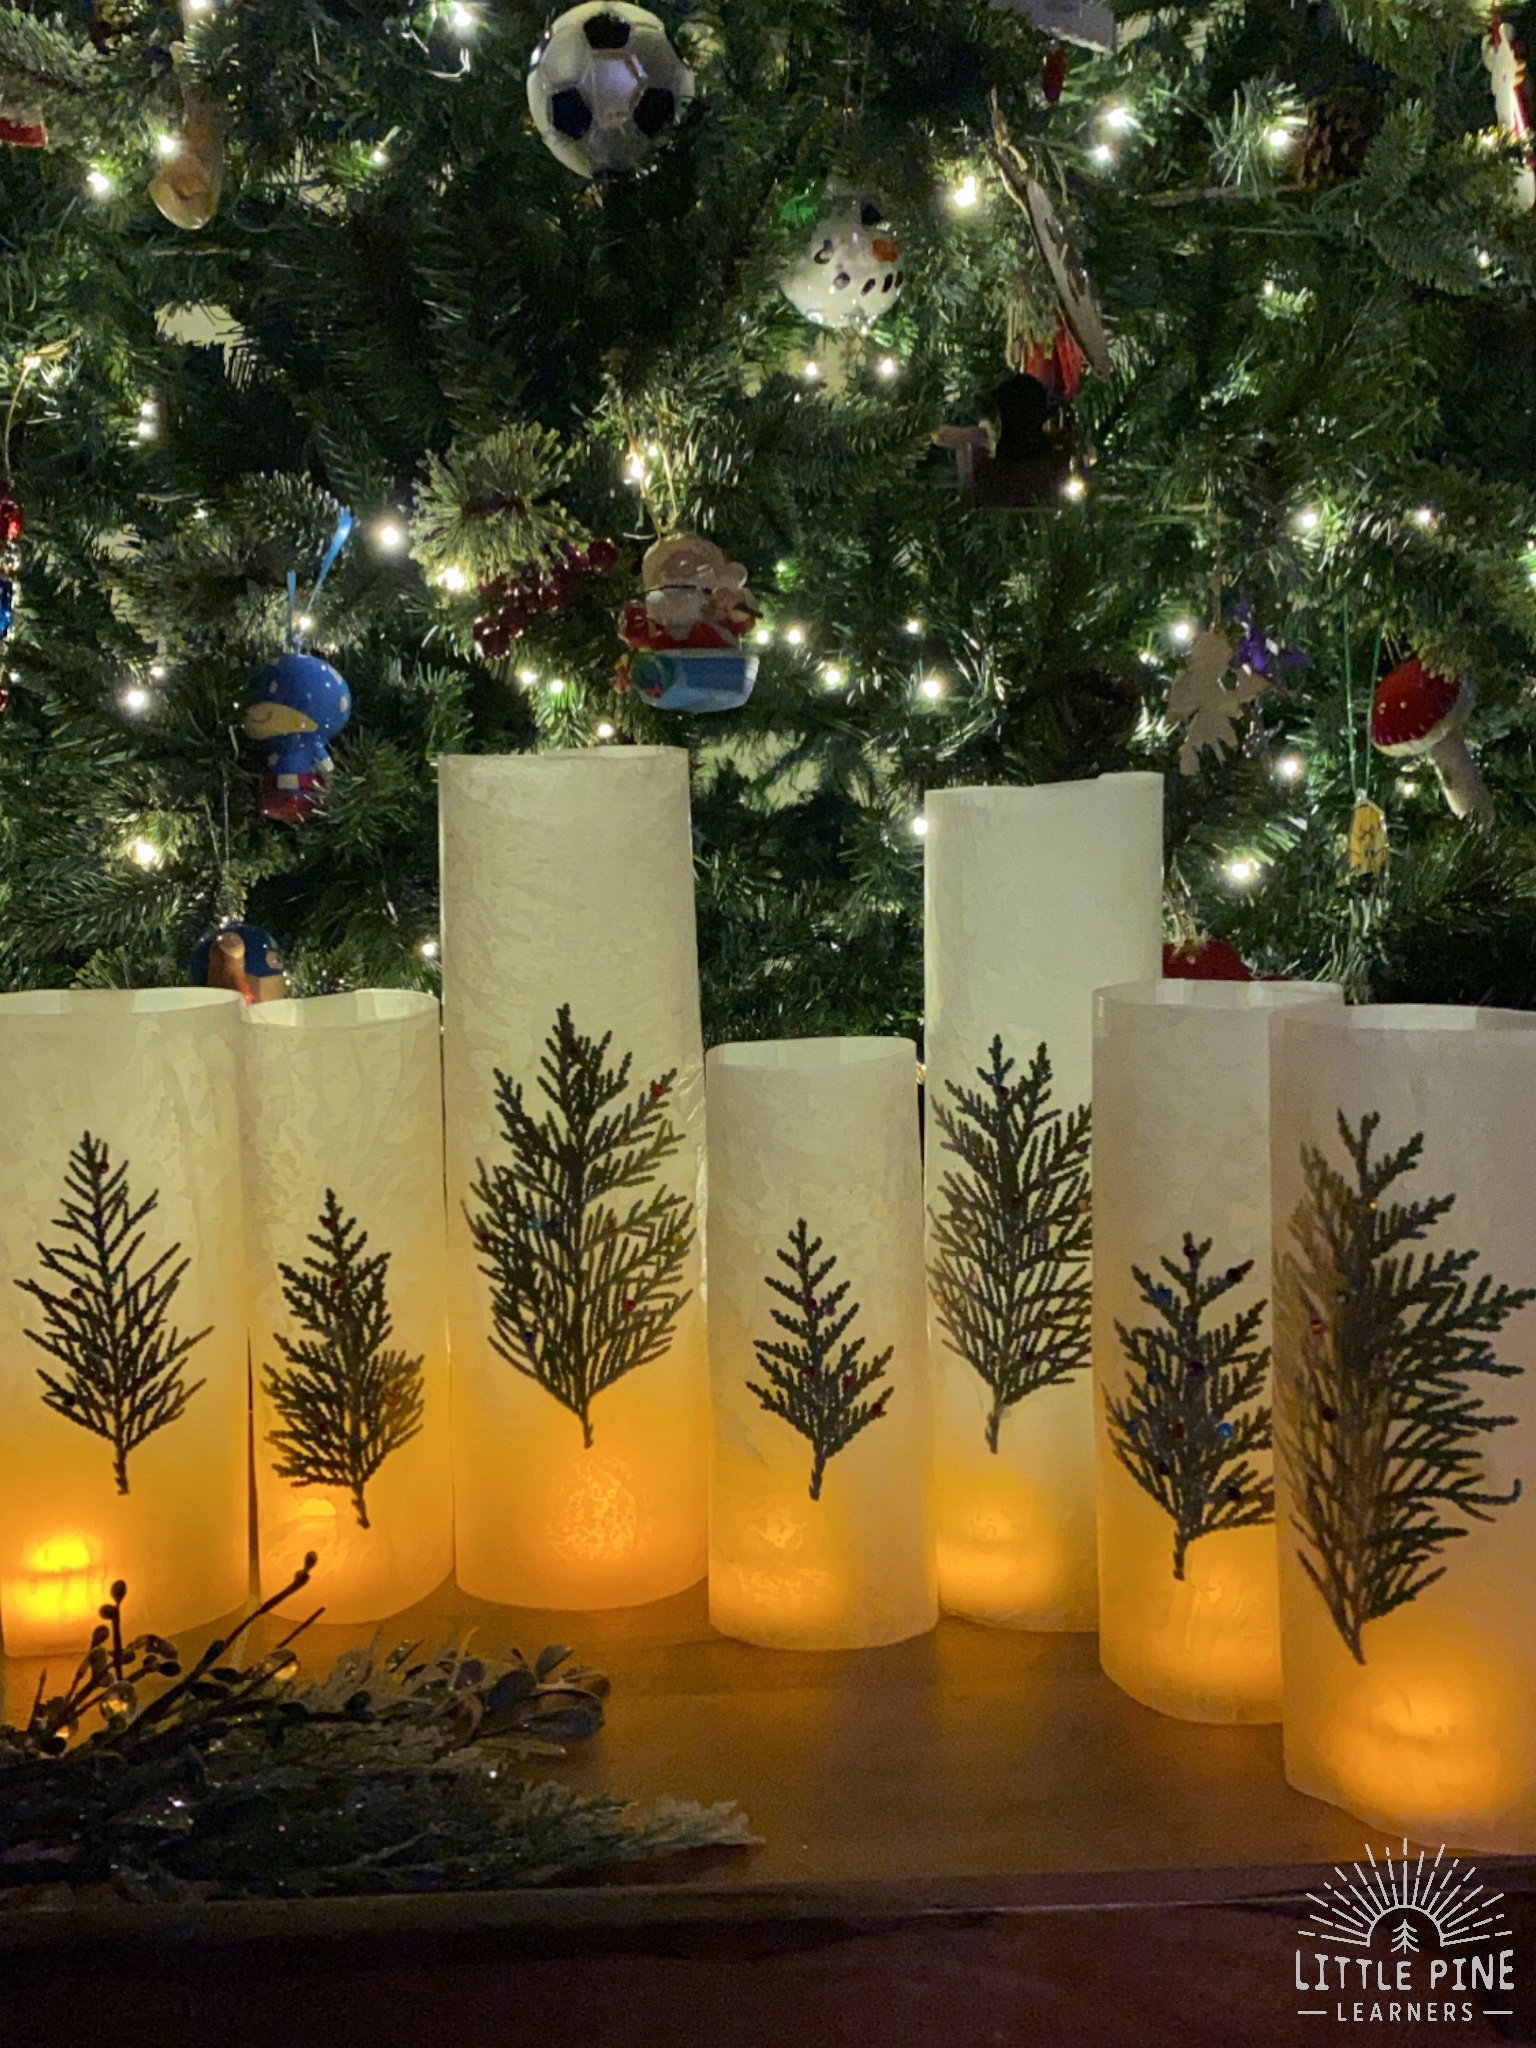
I love how beautiful these DIY wax paper lanterns look at night! We placed them in front of our Christmas tree and they look STUNNING.
But I have to say, they look just as beautiful during the day. The little gem stickers look so pretty in the sunlight.

Pin it and save it for later!
I hope you give these DIY wax paper lanterns a try! I promise, your little nature lovers will love it as much as my boys.
∼Tara